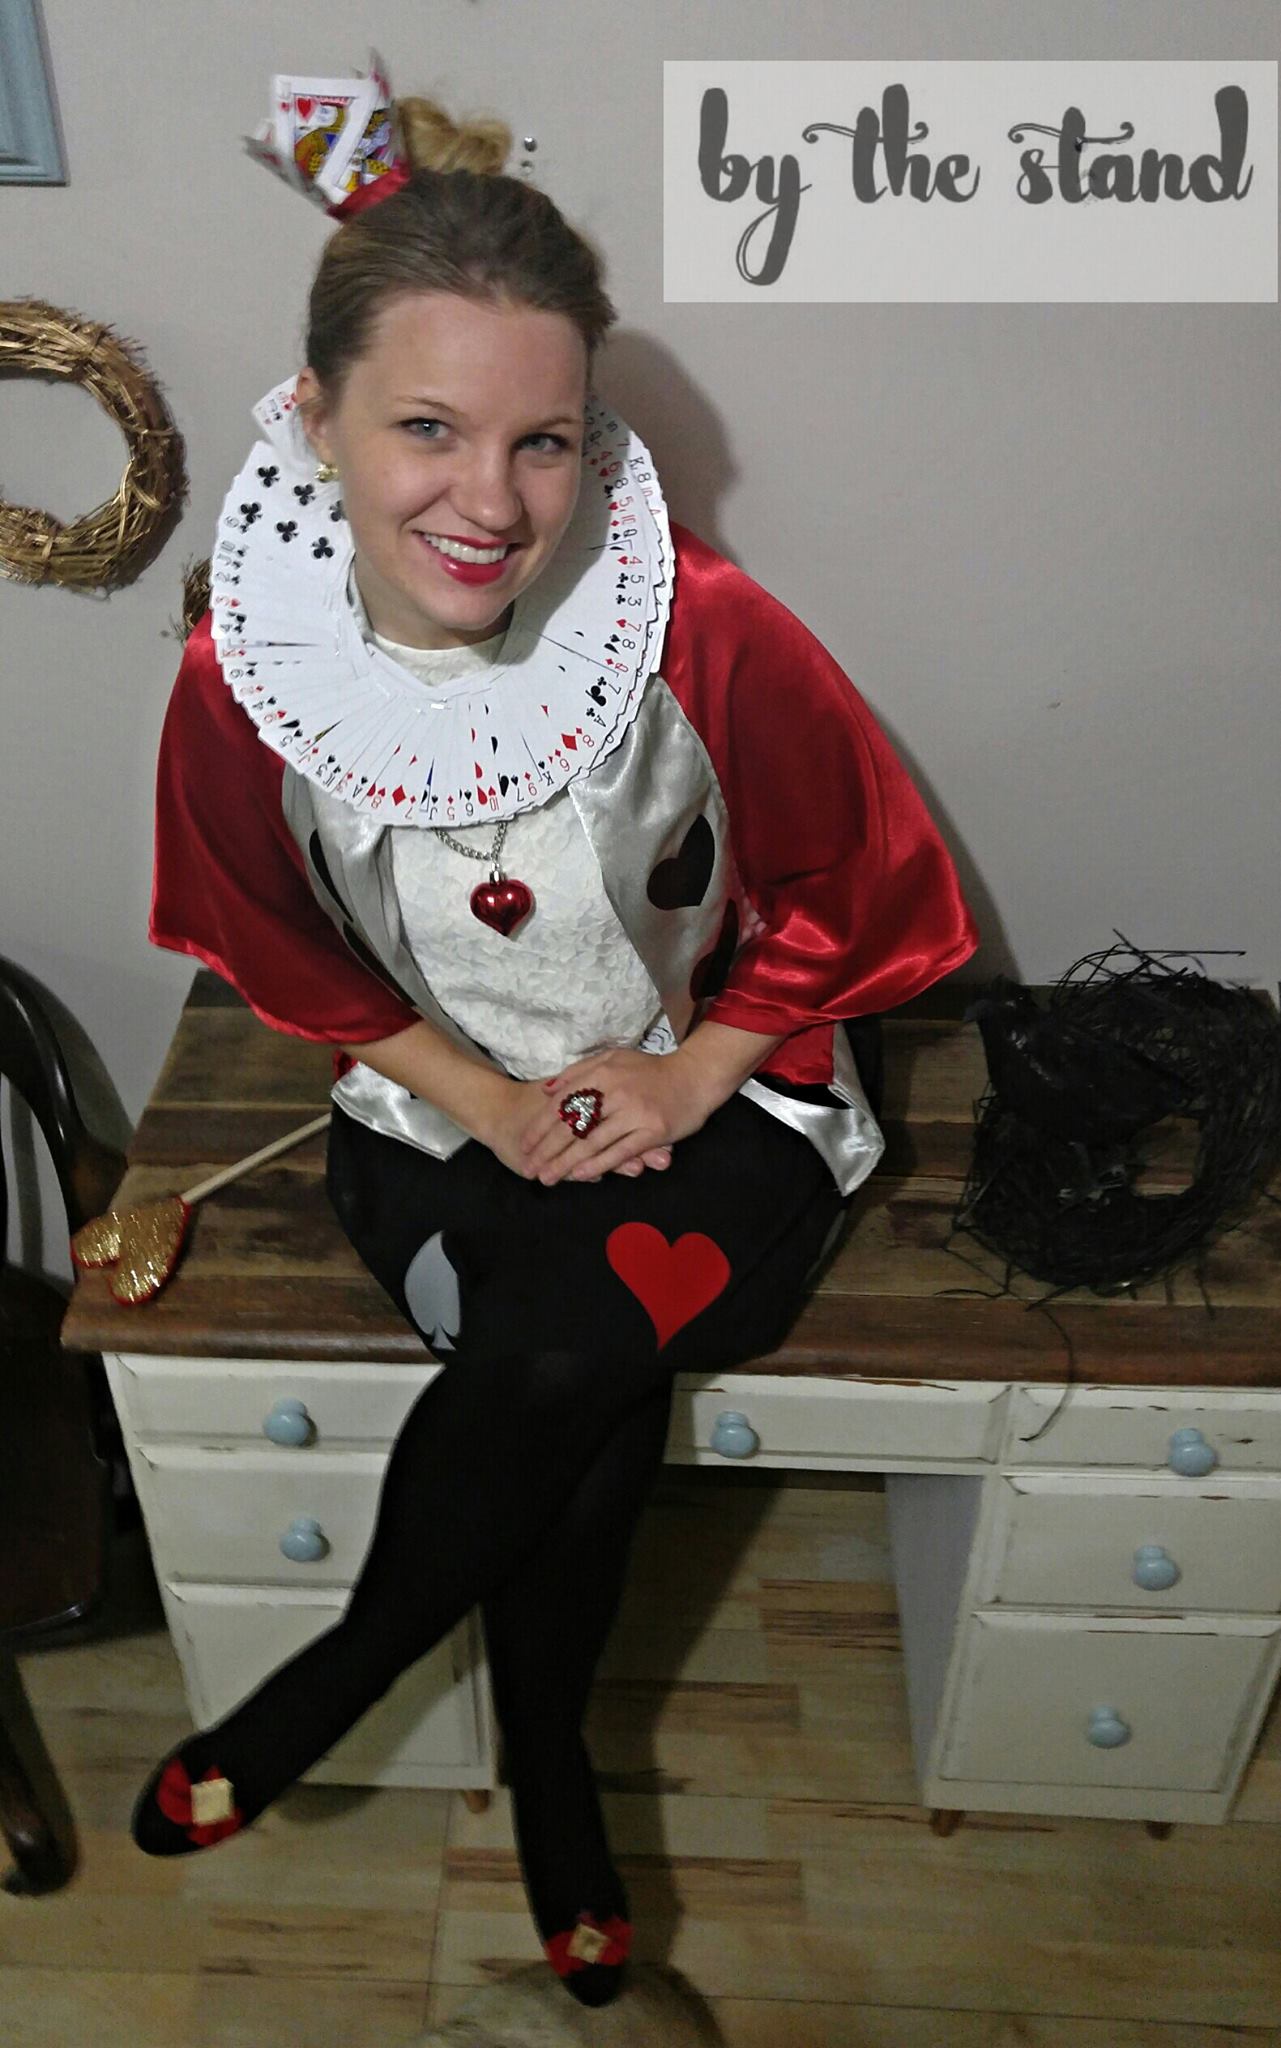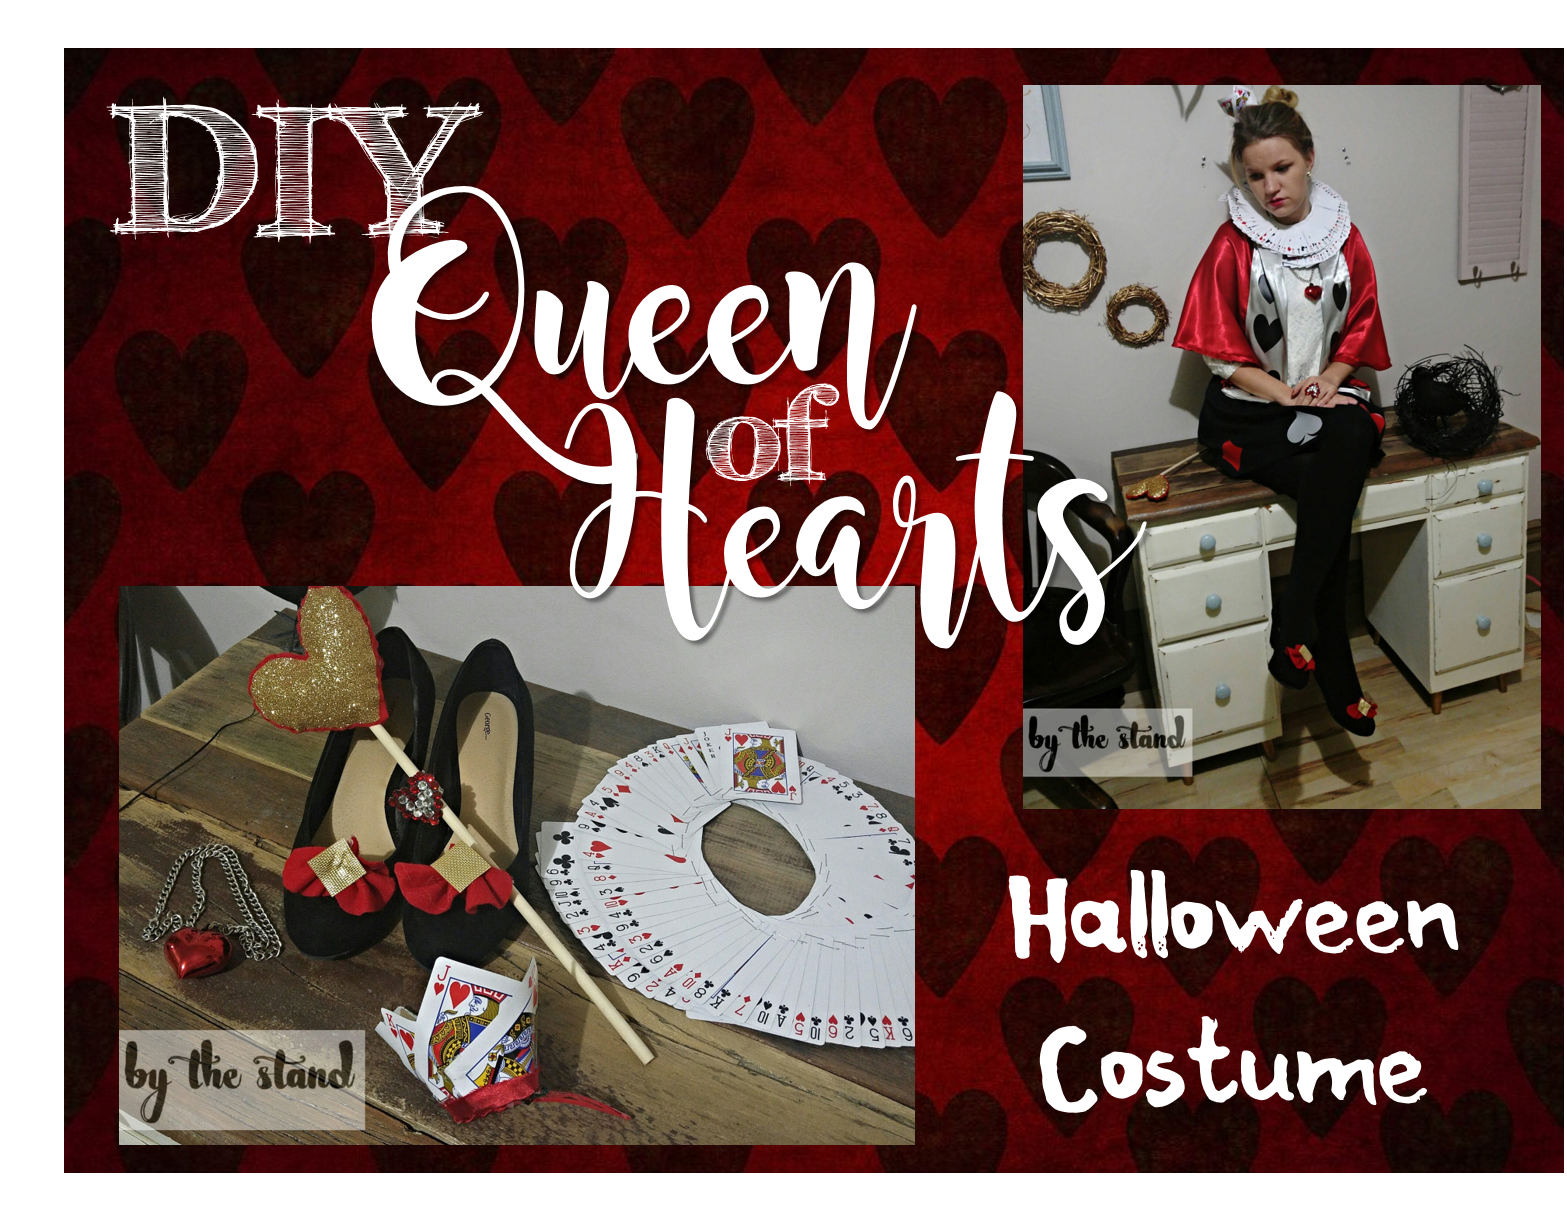

Anywho… At my work they have a costume contest and being that I will take any excuse to DIY, I jumped all over this!!! I have to say, that I am a little sad that I have been missing out on all this fun! I had the best time making this costume and I can’t wait to wear it to work on Monday! It’s not that I don’t want to dress up for Halloween, but I have two kids, so I am always more focused on their costumes.
Let me walk you through how I put this costume together.
First off, I chose the Queen of Hearts after looking on Pinterest and thought that it would a pretty easy costume to whip up. Also, I have always loved Alice in Wonderland, and as well the show ONCE. Did anybody else see the spin off ONCE Upon A Time In Wonderland? They only did one season of this spin off, but I loved it!!! If you are a ONCE fan and haven’t seen it, I suggest you check it out…amazing! But let’s get back to the costume.
When you are going to make a Halloween costume the first place you need to go is a thrift store of some kind. My favorite thrift store is Talize. I don’t know if that is just a Canadian store, but I find they have the best stuff and they get a lot of clothes from stores that still have tags on them.
I picked up this lace shirt and black skirt. The total for these two was $15. Not bad, right?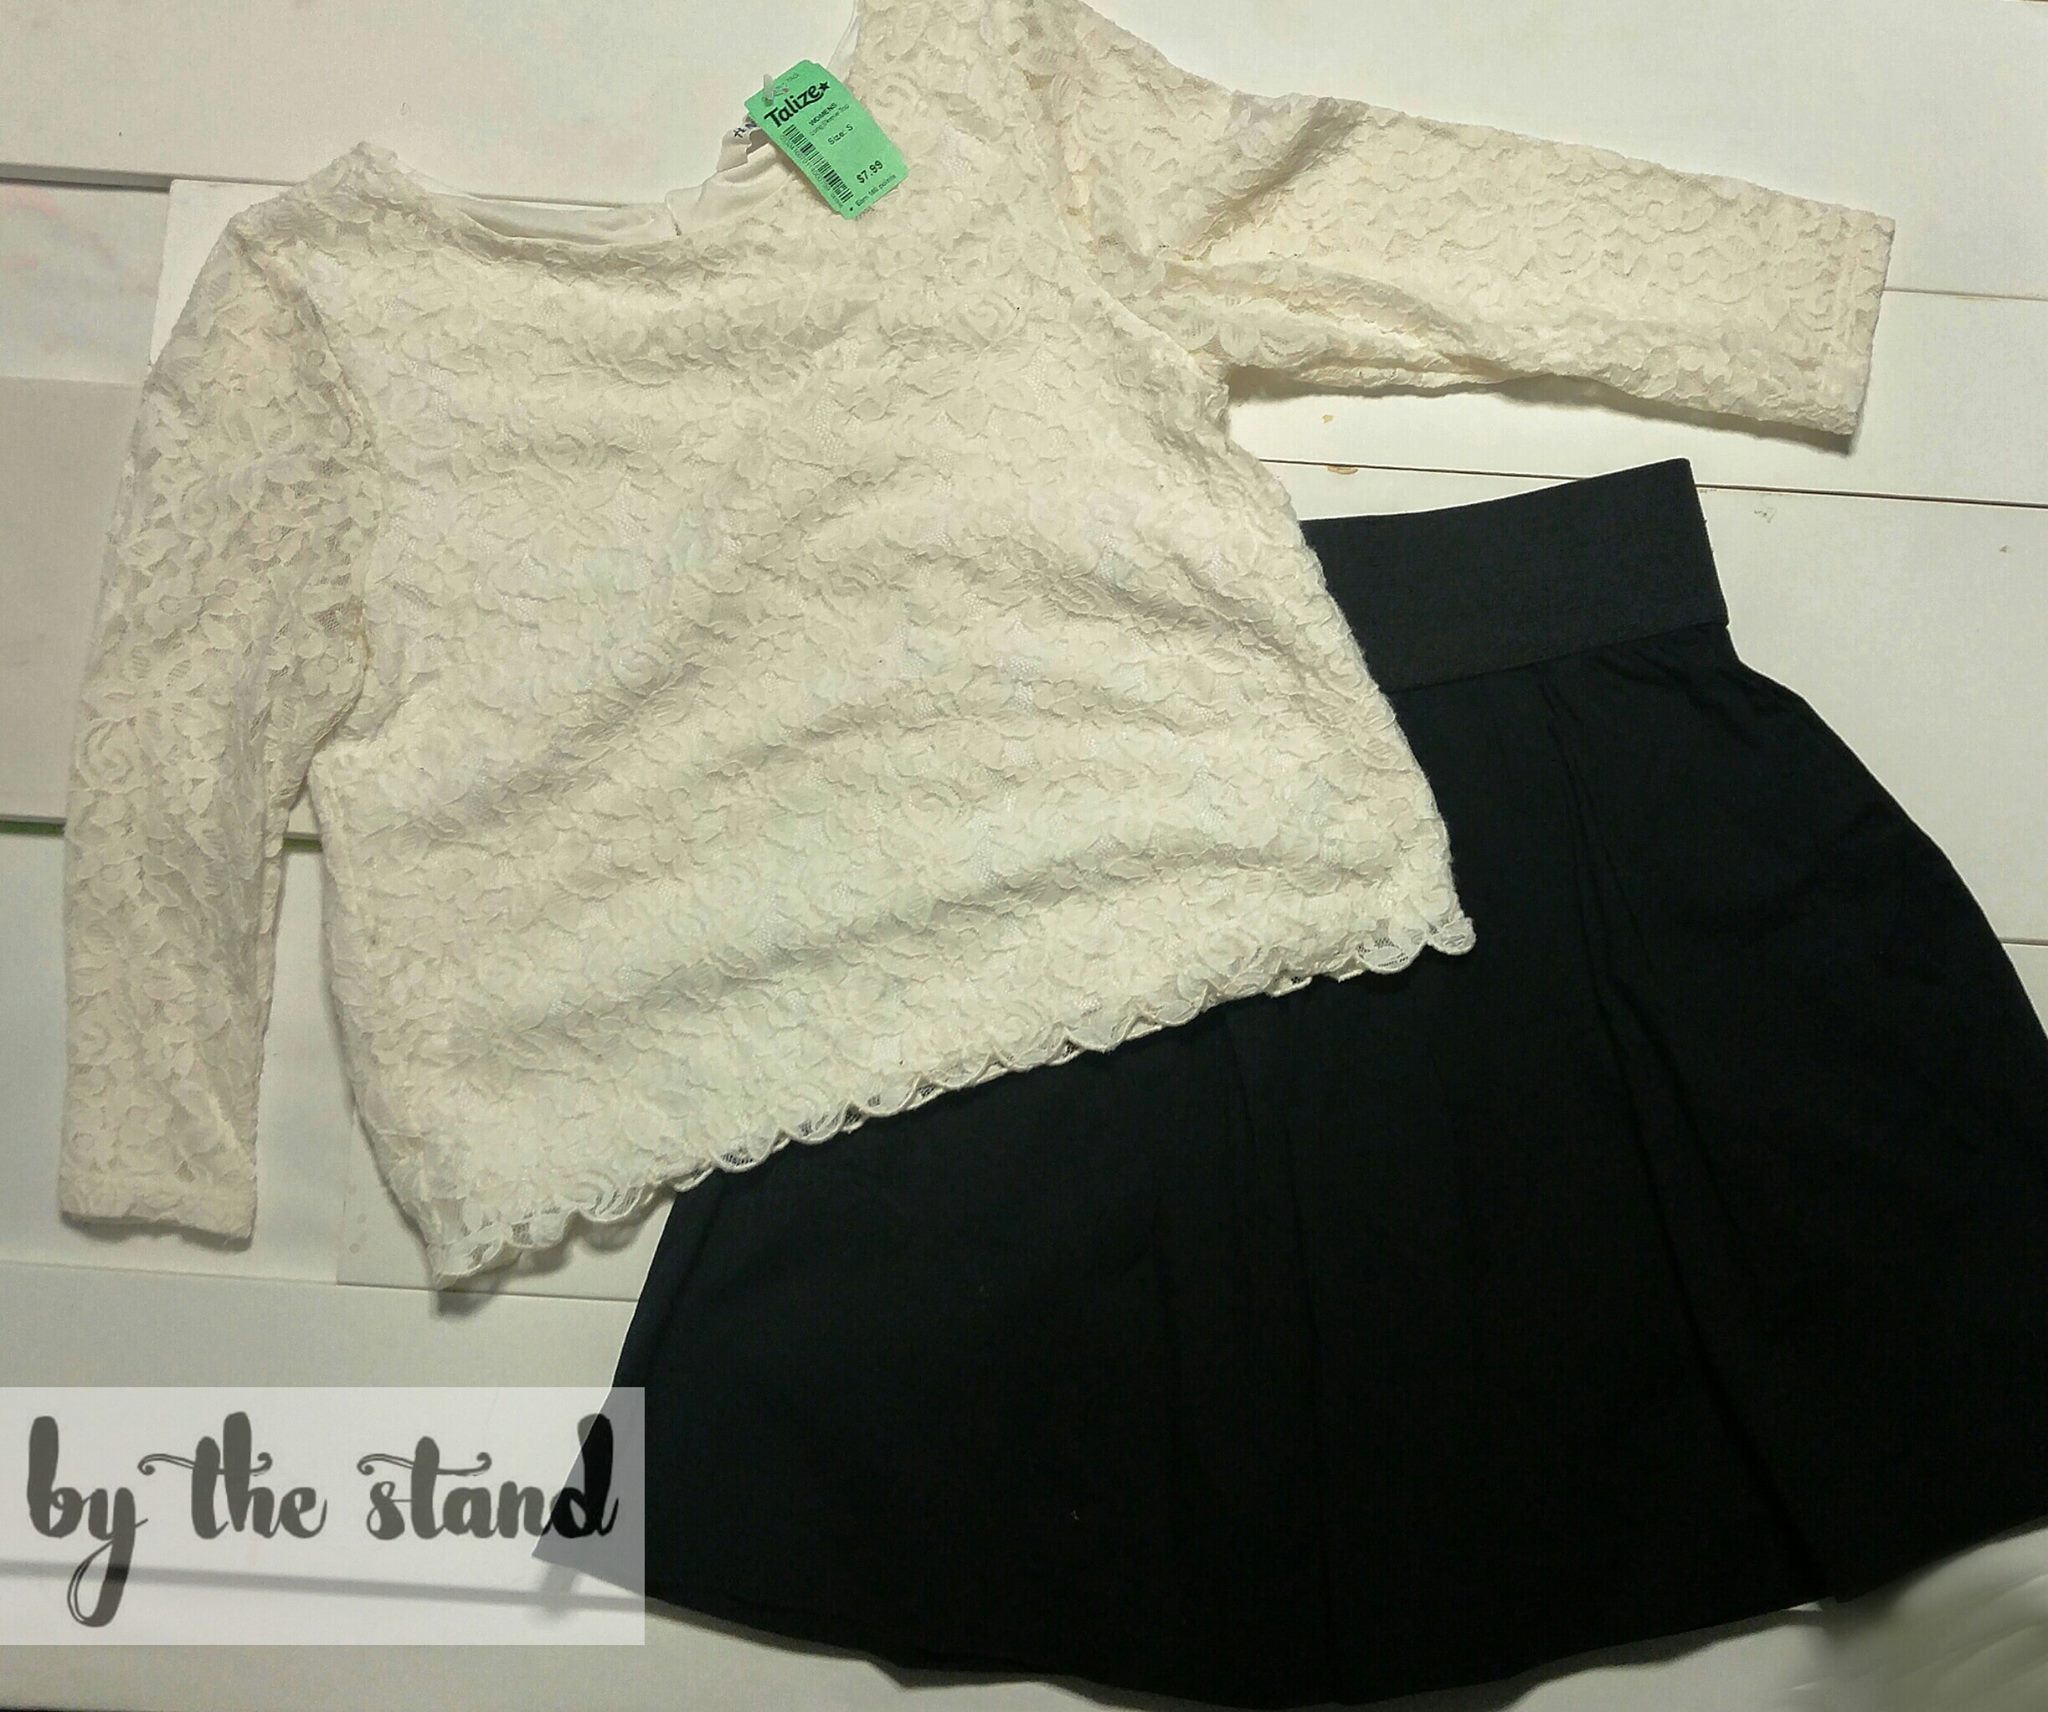

I used my heat press and some HTV to adhere the playing card suits to the bottom of the skirt. If you don’t have a heat press, you could certainly cut them out in felt and then sew them on. 

The Card Collar
The card collar was super easy to make! You need two decks of playing cards, a stapler and some paper to make a template. I used a piece of newspaper.
I measured my neck and then cut out a template. 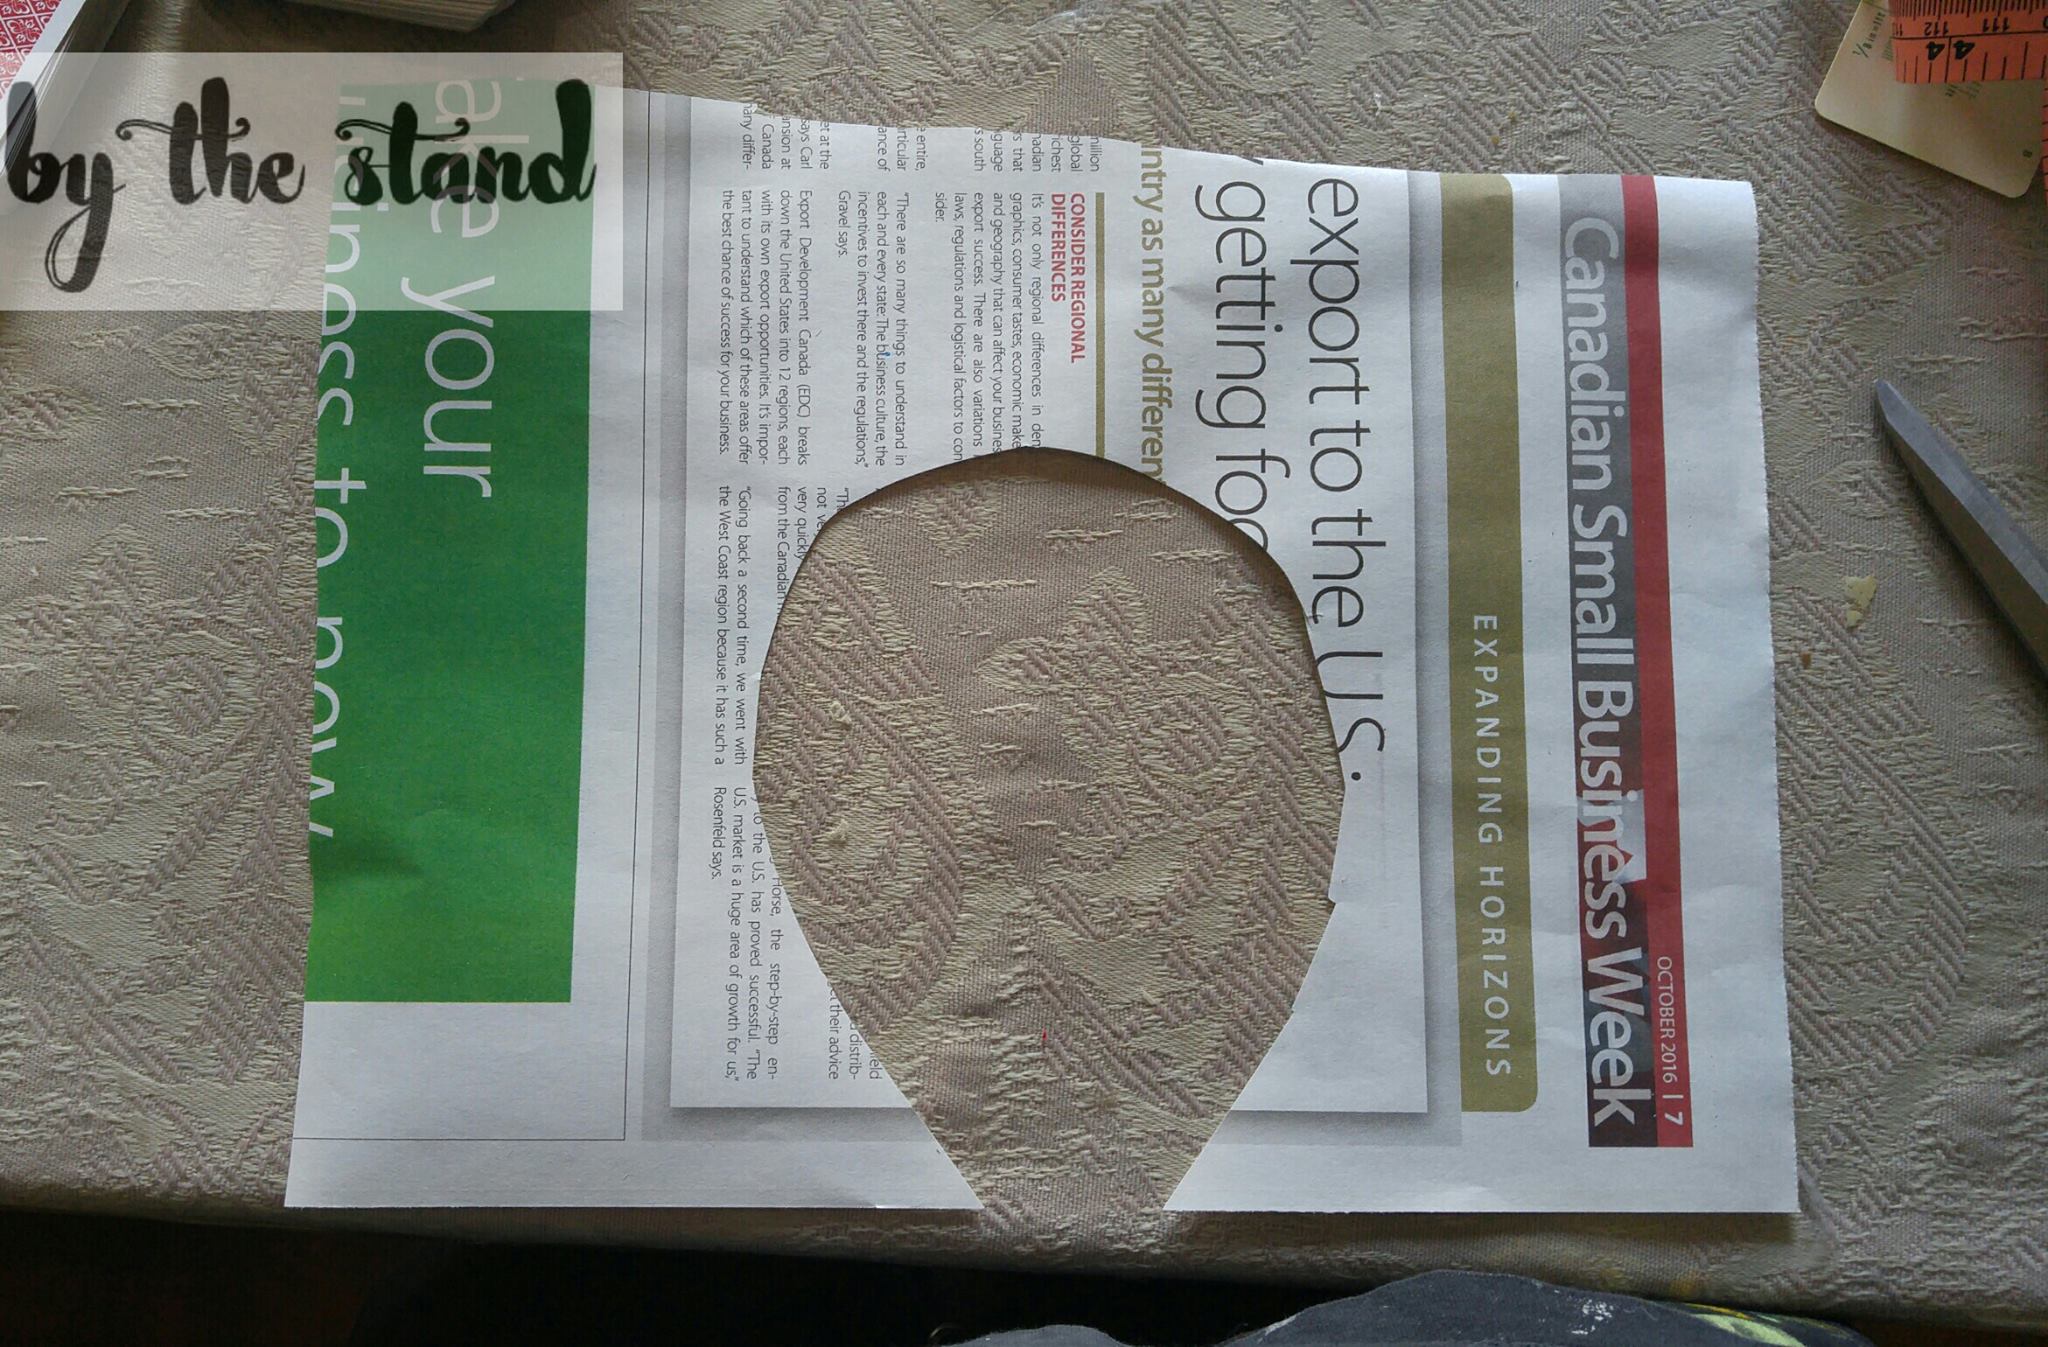

I then laid the cards out around the edge of my template. 


The Card Crown
Ok, this was seriously fun to make! To make the card crown I used 5 cards from a deck of playing cards and a large hair clip. 

I got a piece of cardstock and I traced half of a bowl, so that I would have a semi-circle. 
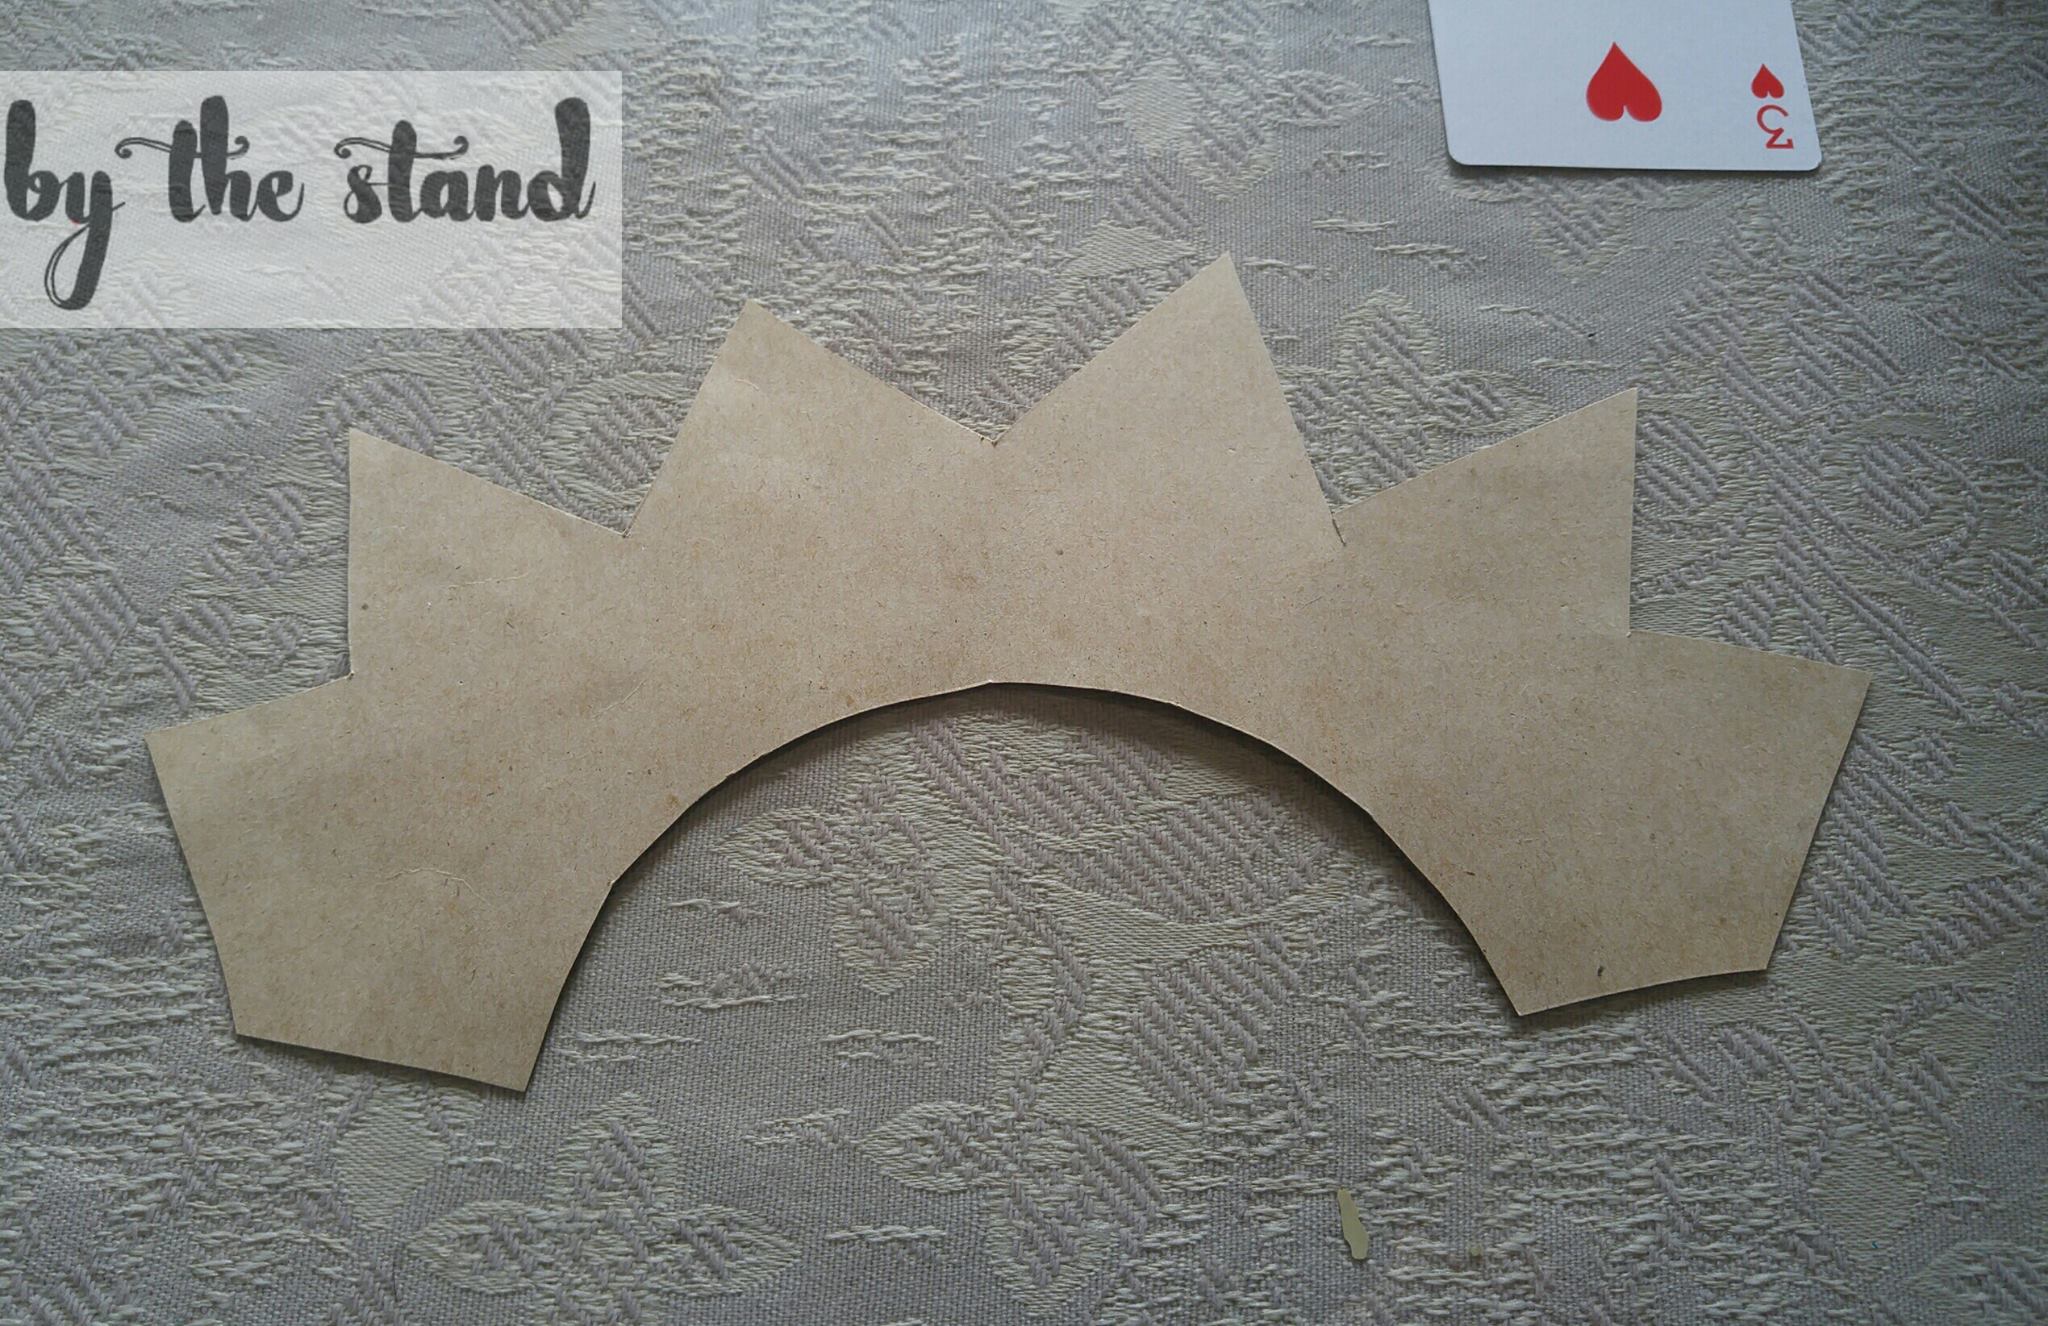
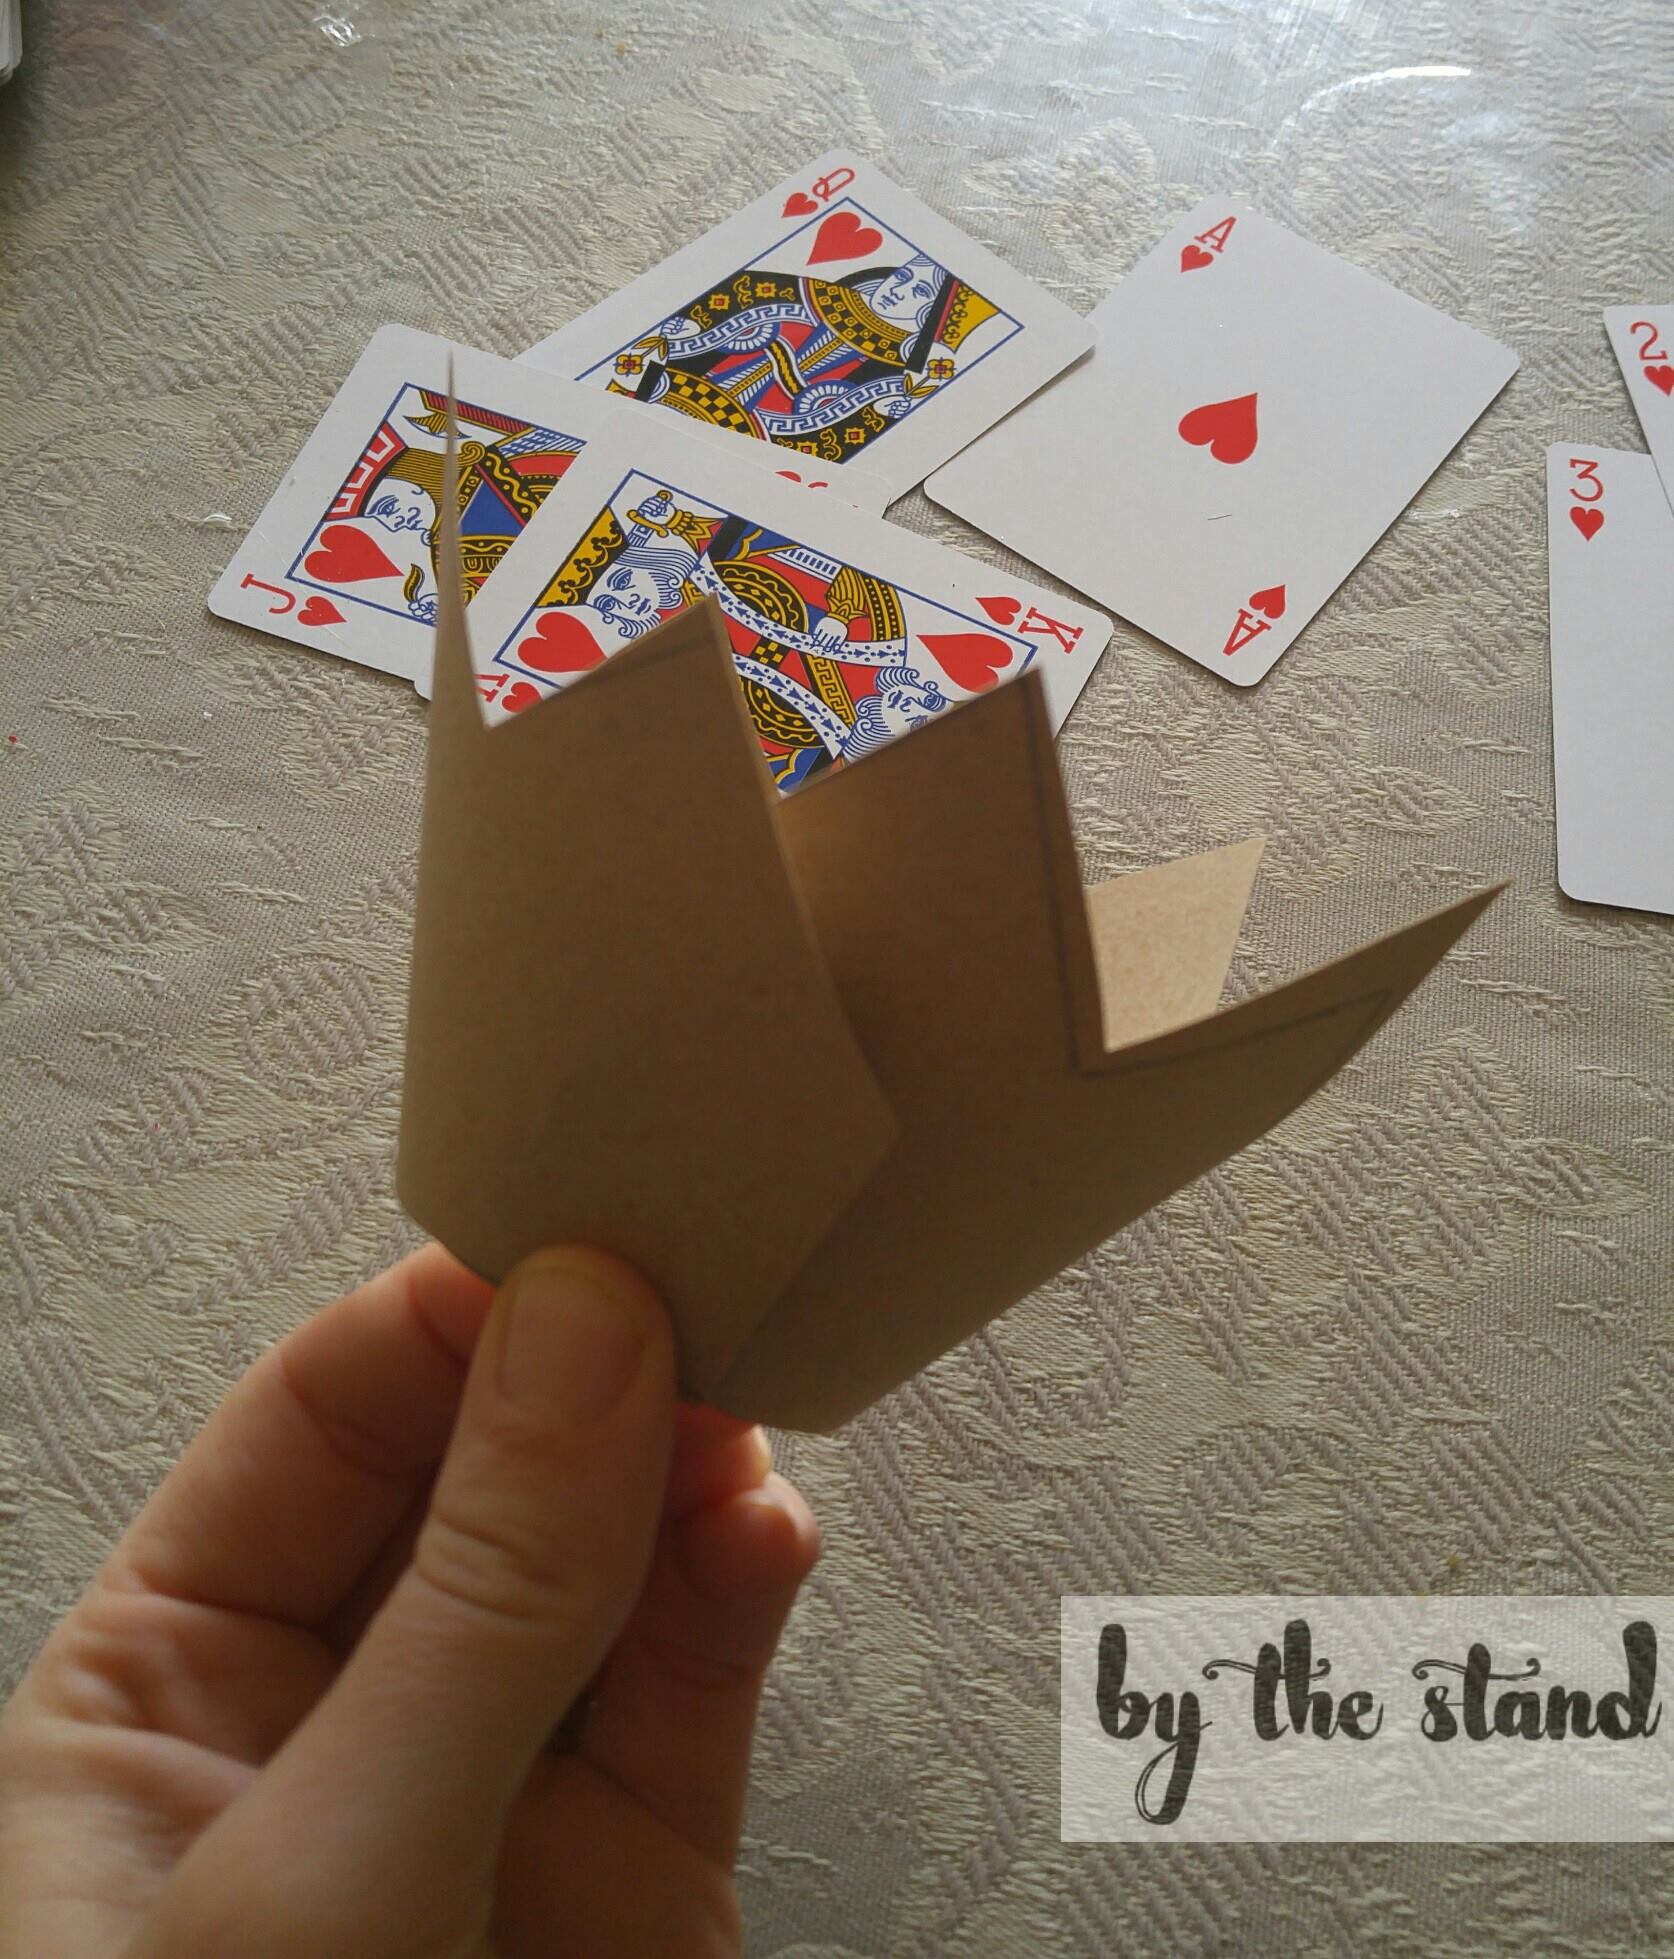


A handy tip: When you are attaching anything around a curved edge, make little cut slits in the material and then over lap them when gluing. This will give you a smoother edge. 

To attach the crown to my clip I used crafting wire and hot glue. There was no rhyme or reason to how I did this. I just started wrapping the wire around the clip and then poked a hole in one of the playing cards and thread the wire through. I added hot glue for a little extra strength.


I could have just stopped at the crown, but I needed a little bit more!! How about a heart wand? I used my heat press again to adhere some glitter HTV to some red felt, and then cut out the felt around the hearts.


I hand stitched the two hearts together and then added a little stuffing to make the heart puffy rather than flat.


I hot glued it to a dowel and ta-da! 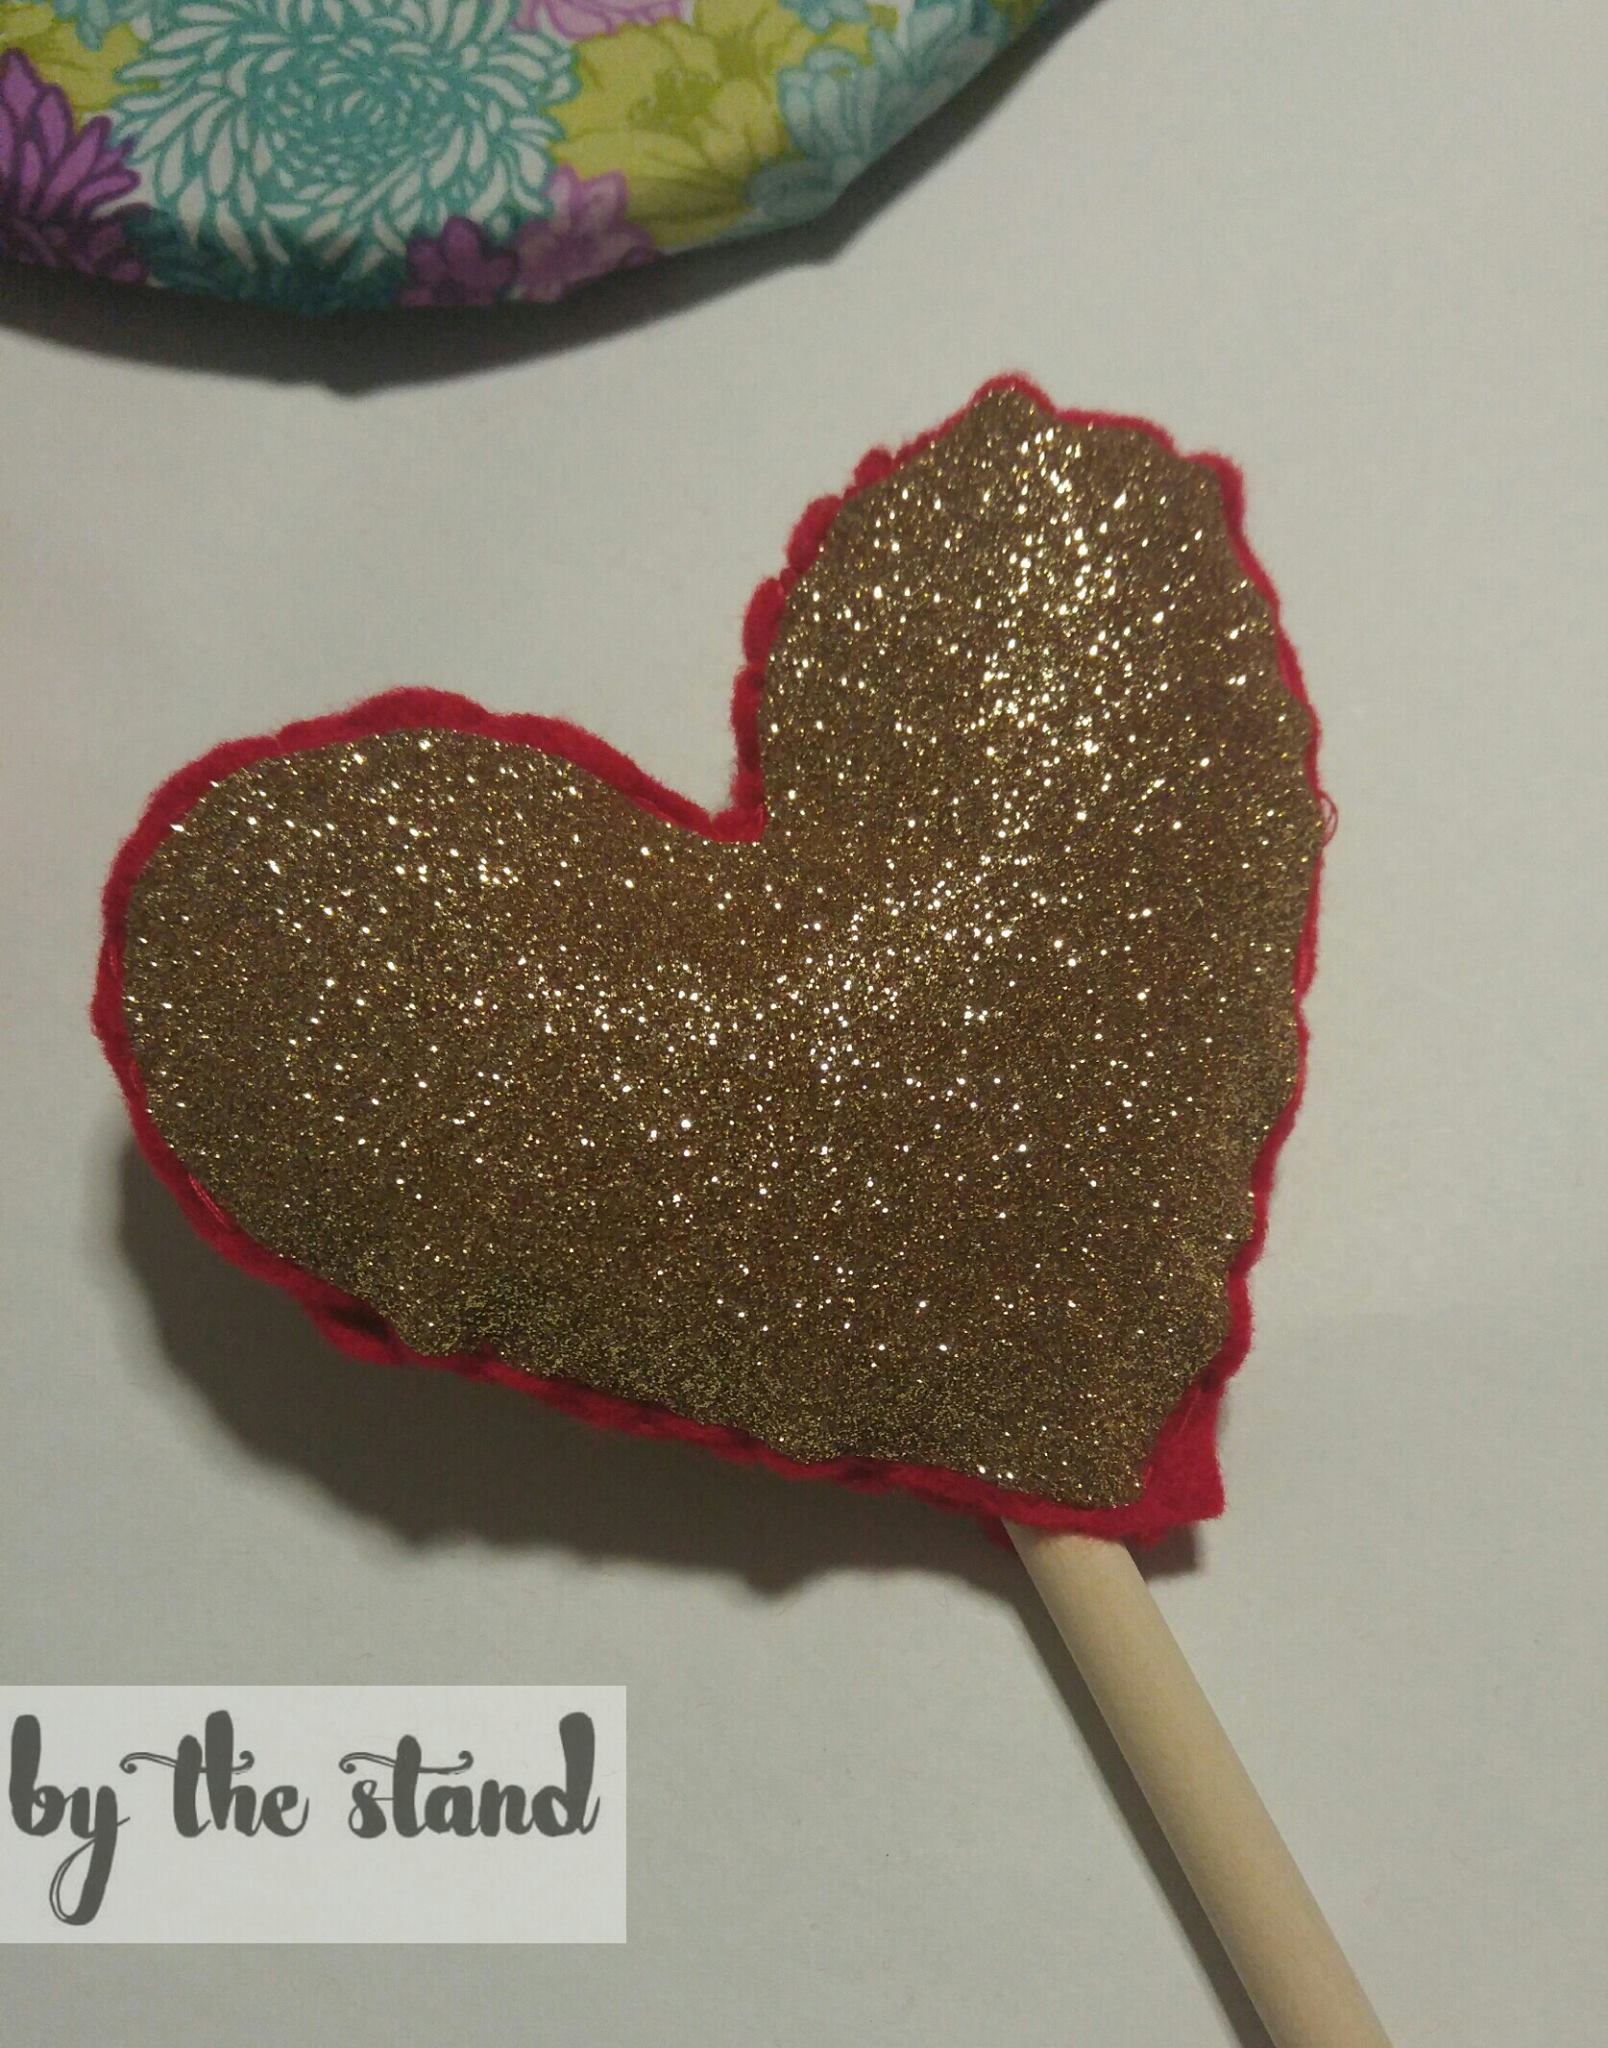

I also whipped up a little DIY jewelry worthy of a Queen. Well, a DIY Queen anyway.
Since the dollar store already has all their Christmas stuff out, I found these heart shaped Christmas ornaments and just added one to a chain. Super easy.


For my ring, I dismantled this skull Halloween ring and put it back together with wire.


I used my wedding rings as a guide for how big to make it. 😉
I cut out a little heart from some cardstock, stuck these sticky jewels on it and then glued the heart to the ring with hot glue. Another super easy and quick DIY.


I had my mom whip up the cape, so I don’t have any pictures of that. I can sew, it is just not one of my favorite things to do.
I was so excited to get this costume on to take some pics! I even upgraded a pair of my shoes with some felt and some gold embellishments. 

Time to put the look together! 


This whole costume cost me under $20. I had a lot of the stuff already and my mom had the fabric already for the cape. You don’t have to spend a lot on Halloween and you can still look fabulous!! 

Happy Halloween everyone! And be safe out there!