Got another great DIY for you tonight! This is a cute little table makeover that I whipped up at about midnight on Friday… I’m a night owl.
I was joking with my inlaws on the weekend and I was telling them that I do all my best DIYs between the hours of 9pm and 2am — funny, right? But actually true.
Take a look at this wood shim table makeover and let me know what you think!
This is the table before


I got this old side table from my father in law which he gave to me so long ago I can’t even remember so I thought it was about time that I did something with it!
In fact, he even gave it to me before I discovered the amazing world of DIY.
I’ve wanted to do a wood shim table top for a while now and I thought this tiny table would be perfect to get me in the swing of things.


I got this pack of shims at Home Depot for just a little over $4.00 and I didn’t even use half of them.
Before I attached the wood shims, I gave the table legs a fresh coat of paint. I used Lazy Linen from Country Chic Paint — one of my personal favs.

Once the paint had dried, it was time to have a little fun with the wood shims.
I used Liquid Nails to attach them. This is got to be my new favorite thing! It’s so easy to use.


I gave the liquid nails a couple hours to set and then I stained the table top with Minwax stain in Cherry.
And voila!
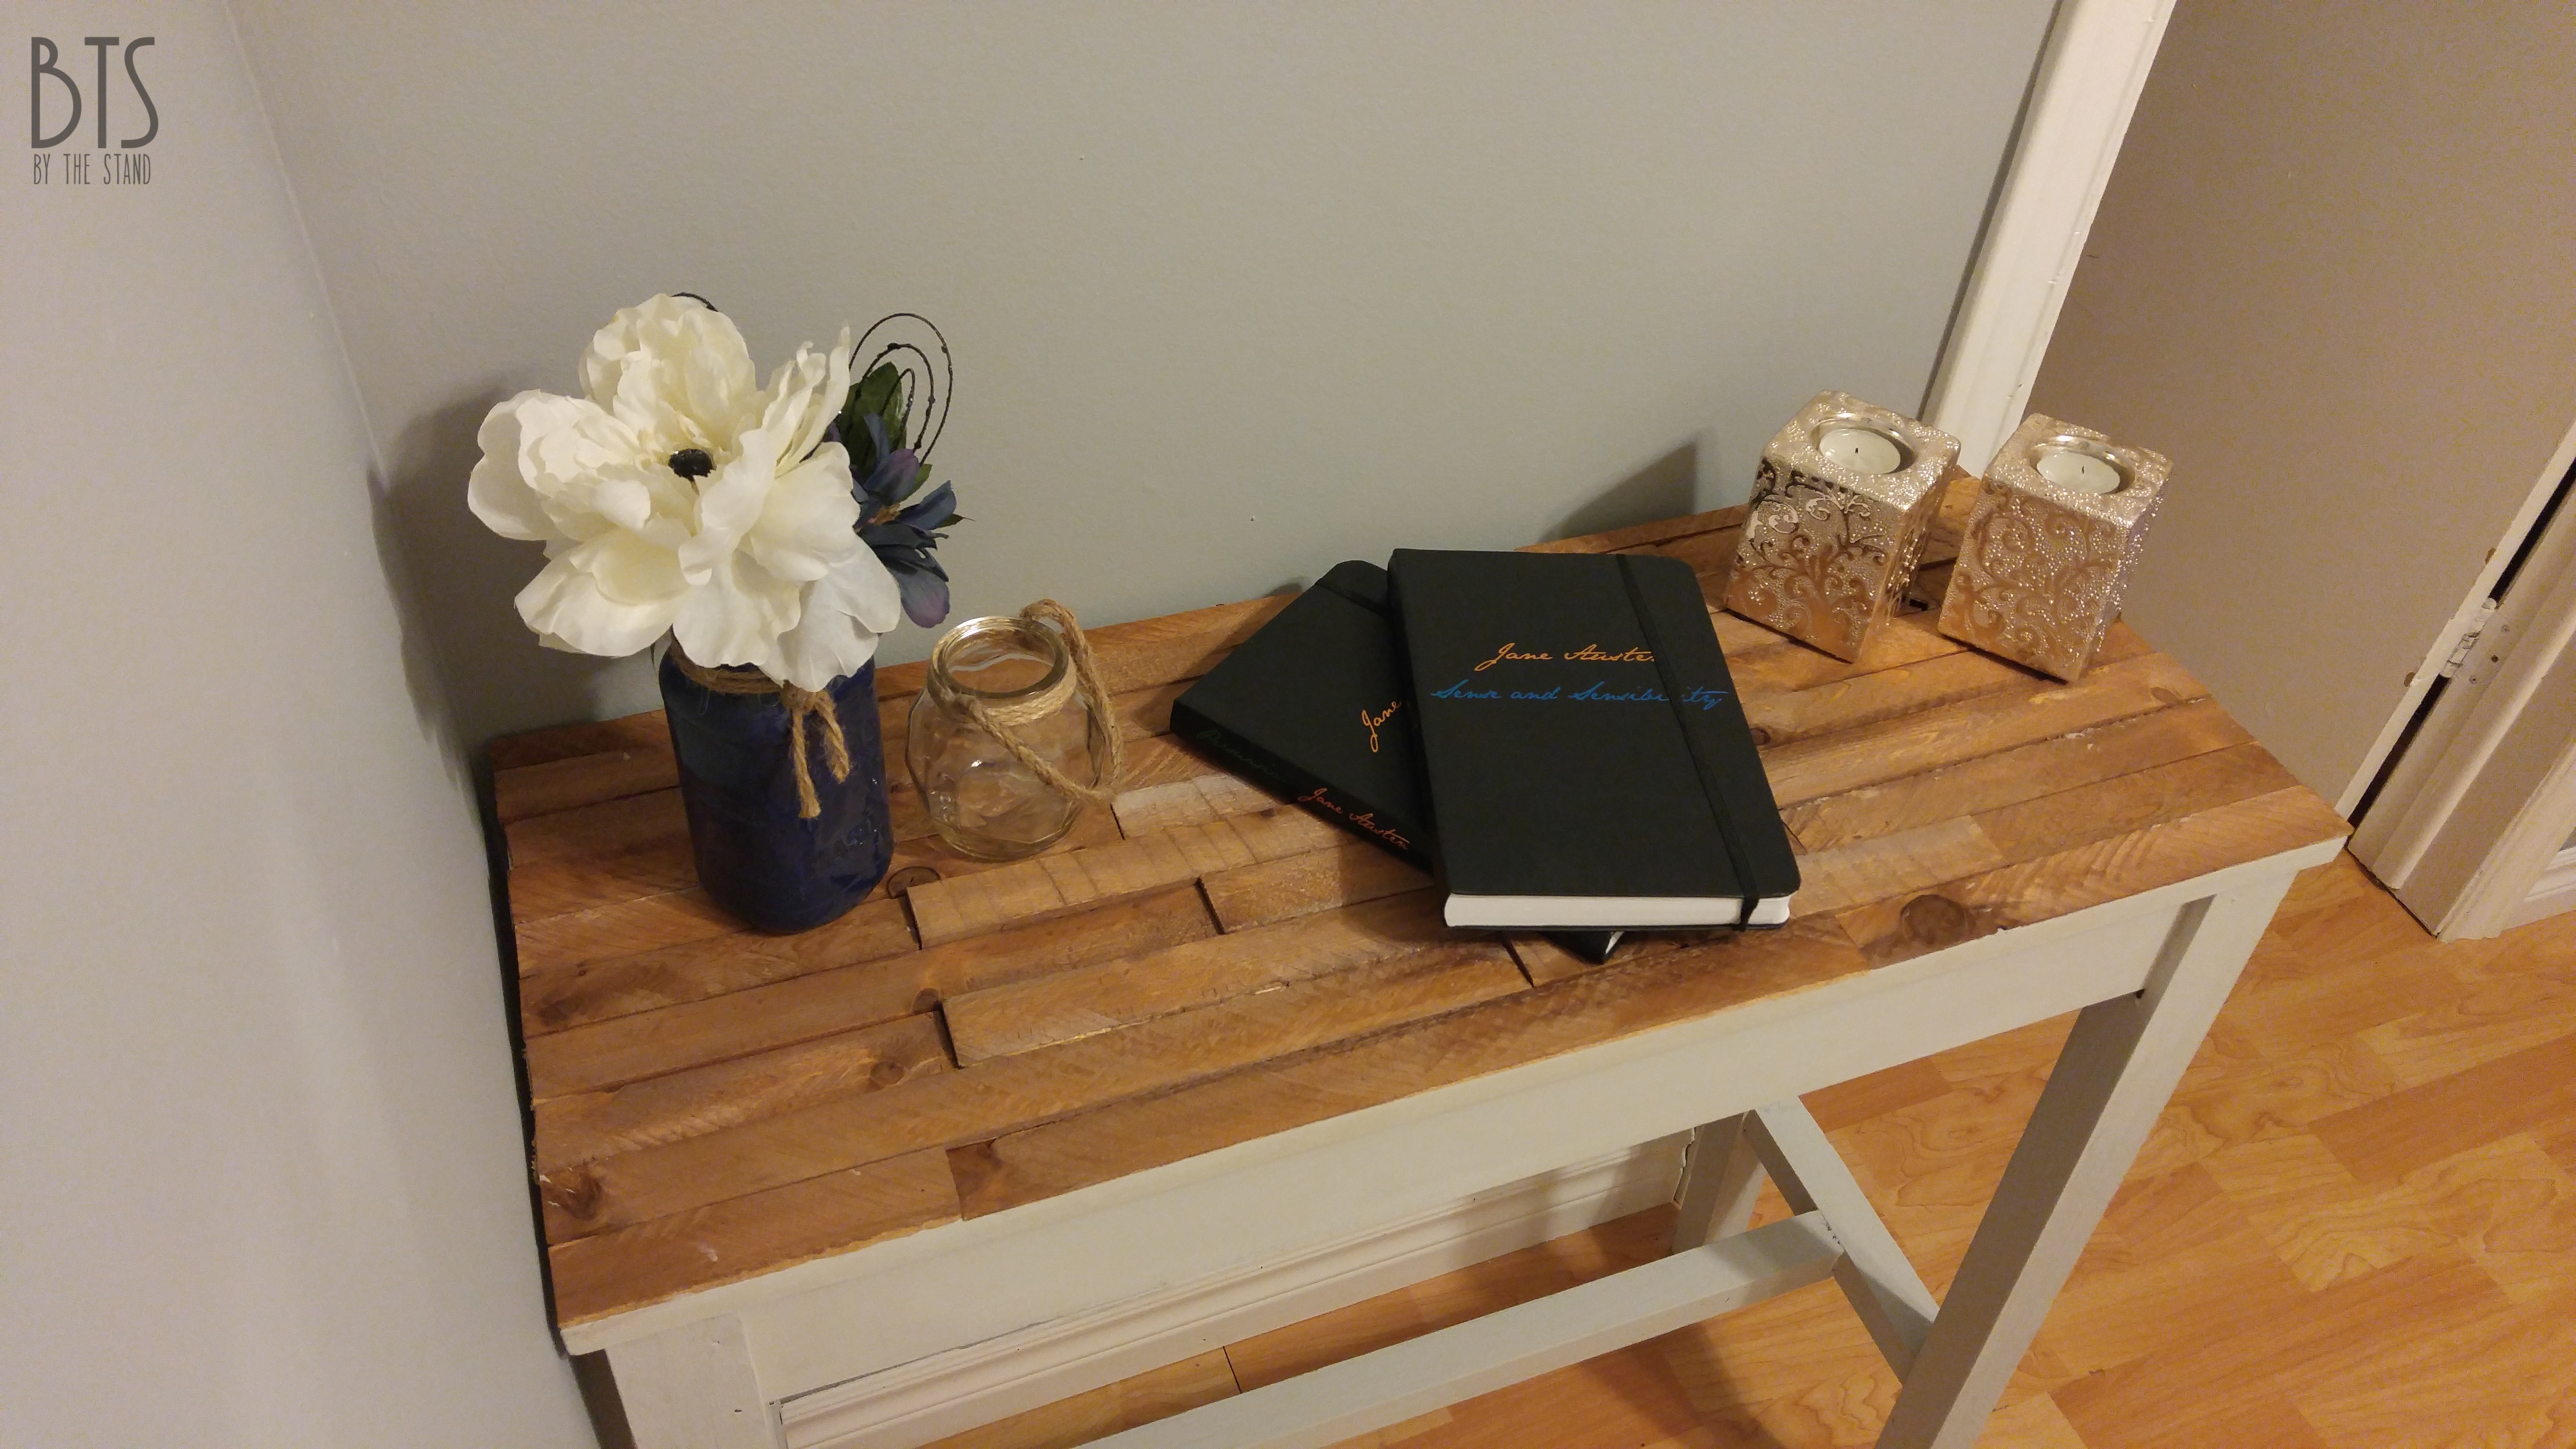
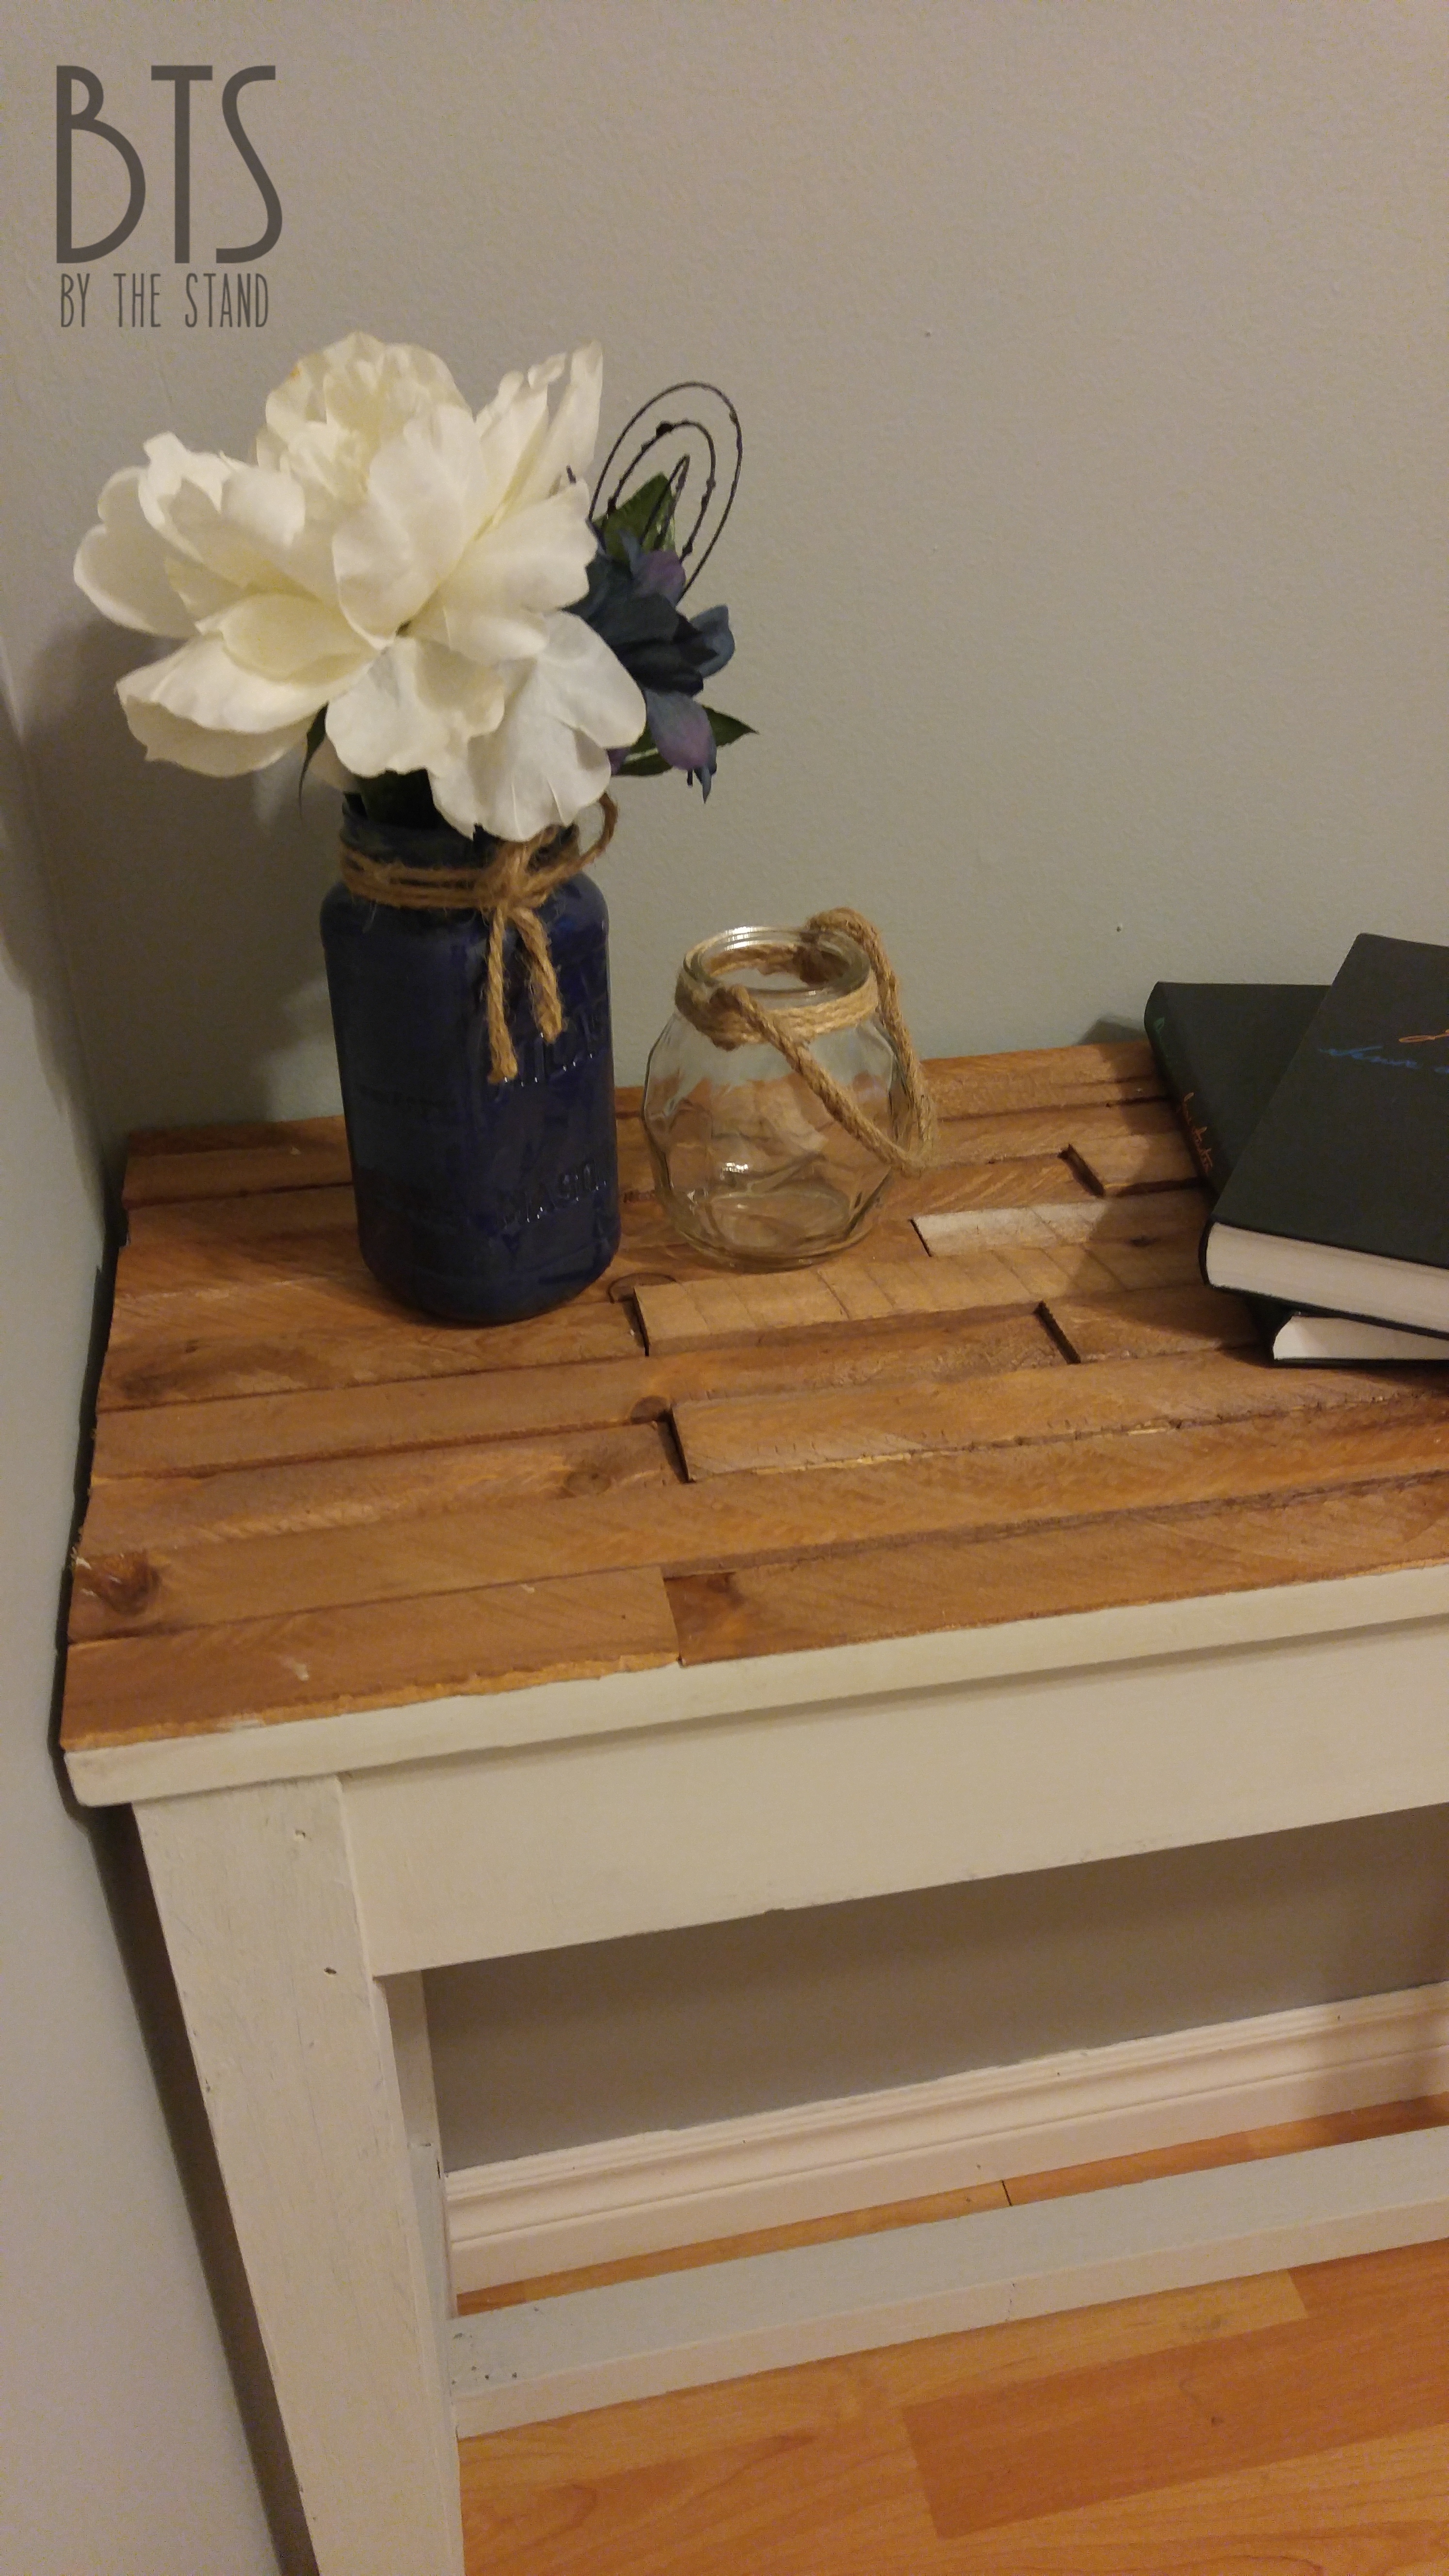
Would you believe me if I told you I got those mirrors from the dollar store?
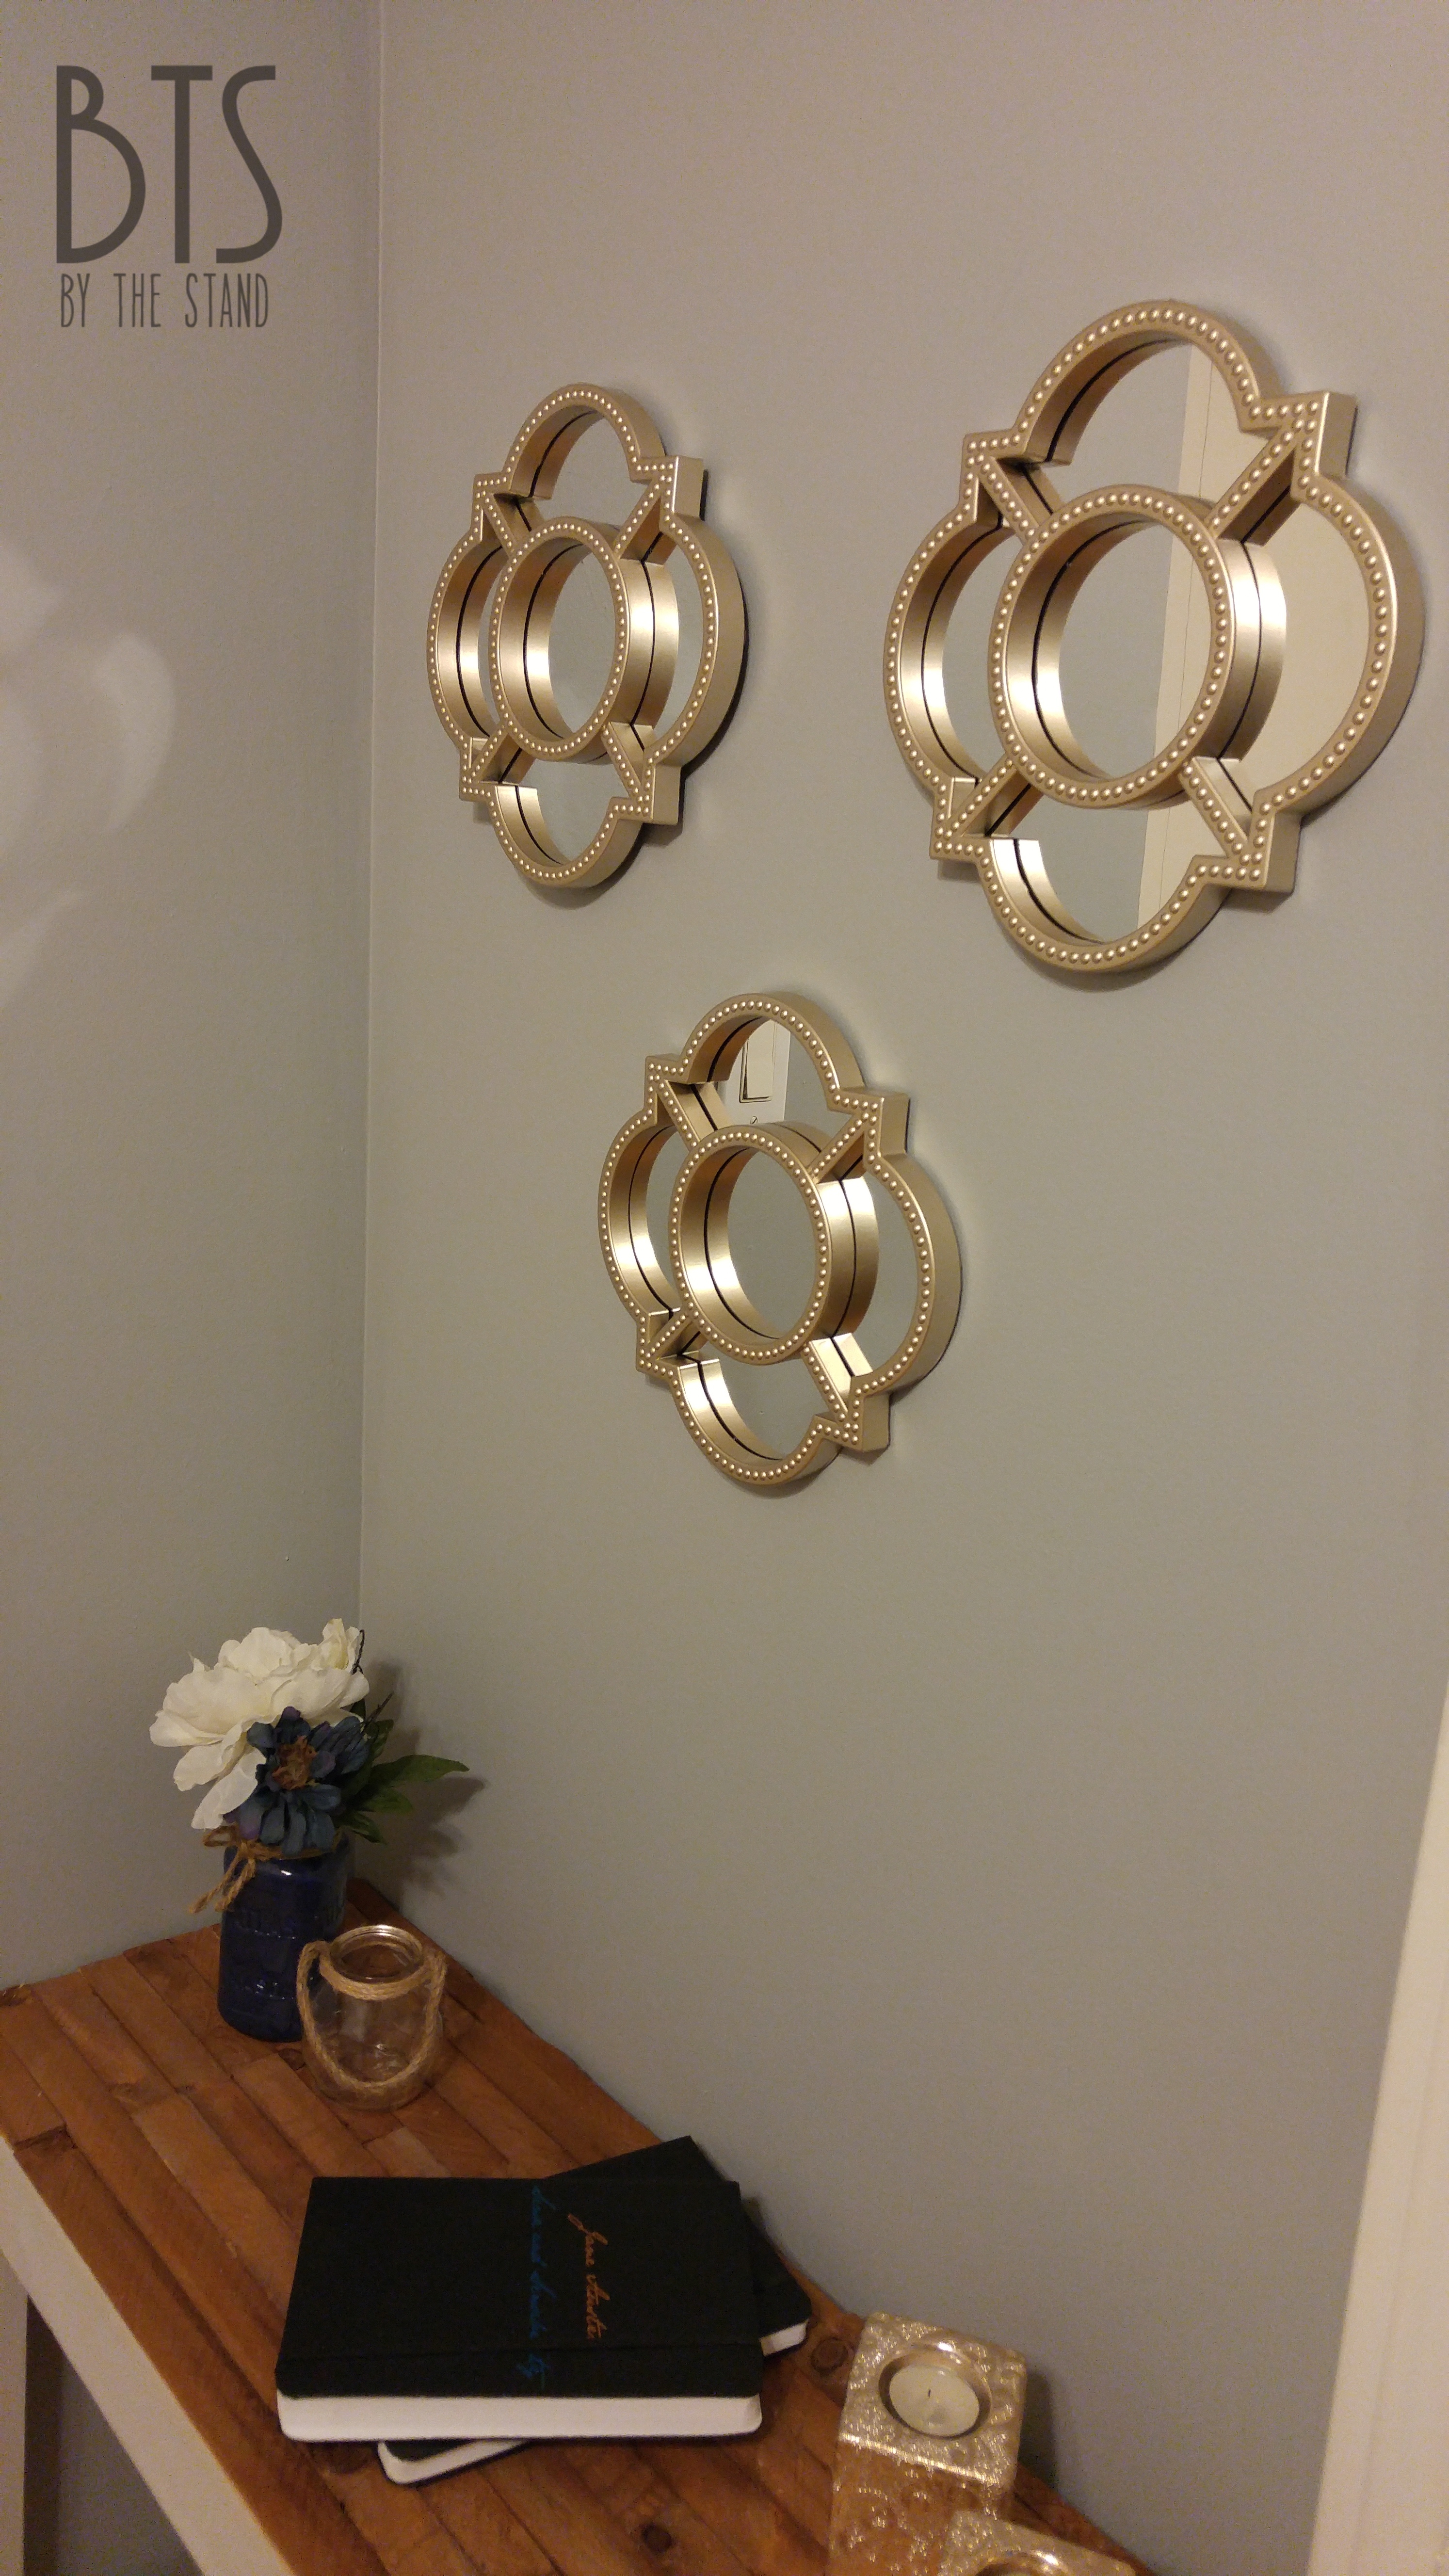
That’s a Dollarama purchase! $3 a mirror and they look great! You just never know what you’re gonna find there.


Same with the little glass jar — another great dollar store purchase!

Let me know what you think of this DIY makeover by commenting below!
And if you love it, make sure you Pin it!!