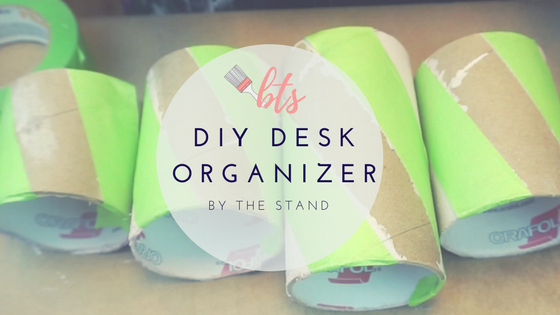
Hey friends! If your desk has been a little bit messy, it’s time to get it in order! It’s also time for a DIY!
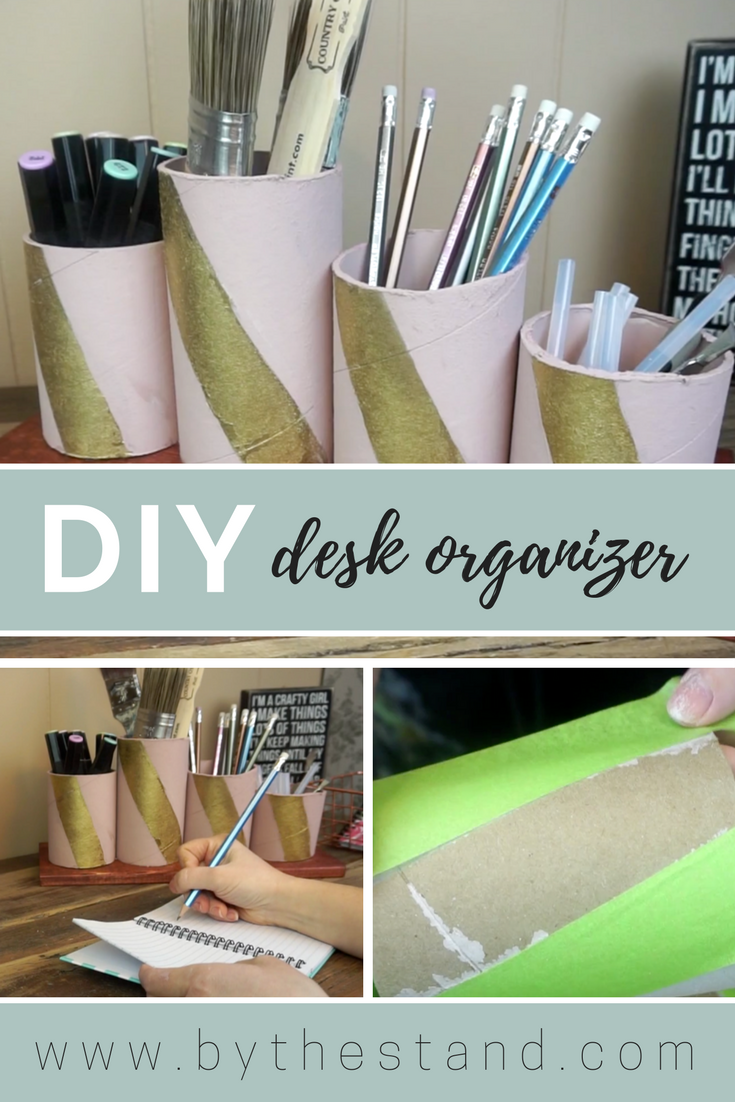
I decided that I needed a little order to my own desk so that’s why I created a DIY desk organizer and the best part is, I made it using materials that I just had laying around the house.
You can totally make one, too! Even if you don’t have these exact materials, take a look around your house and see what you can use.
Let’s jump into the project!
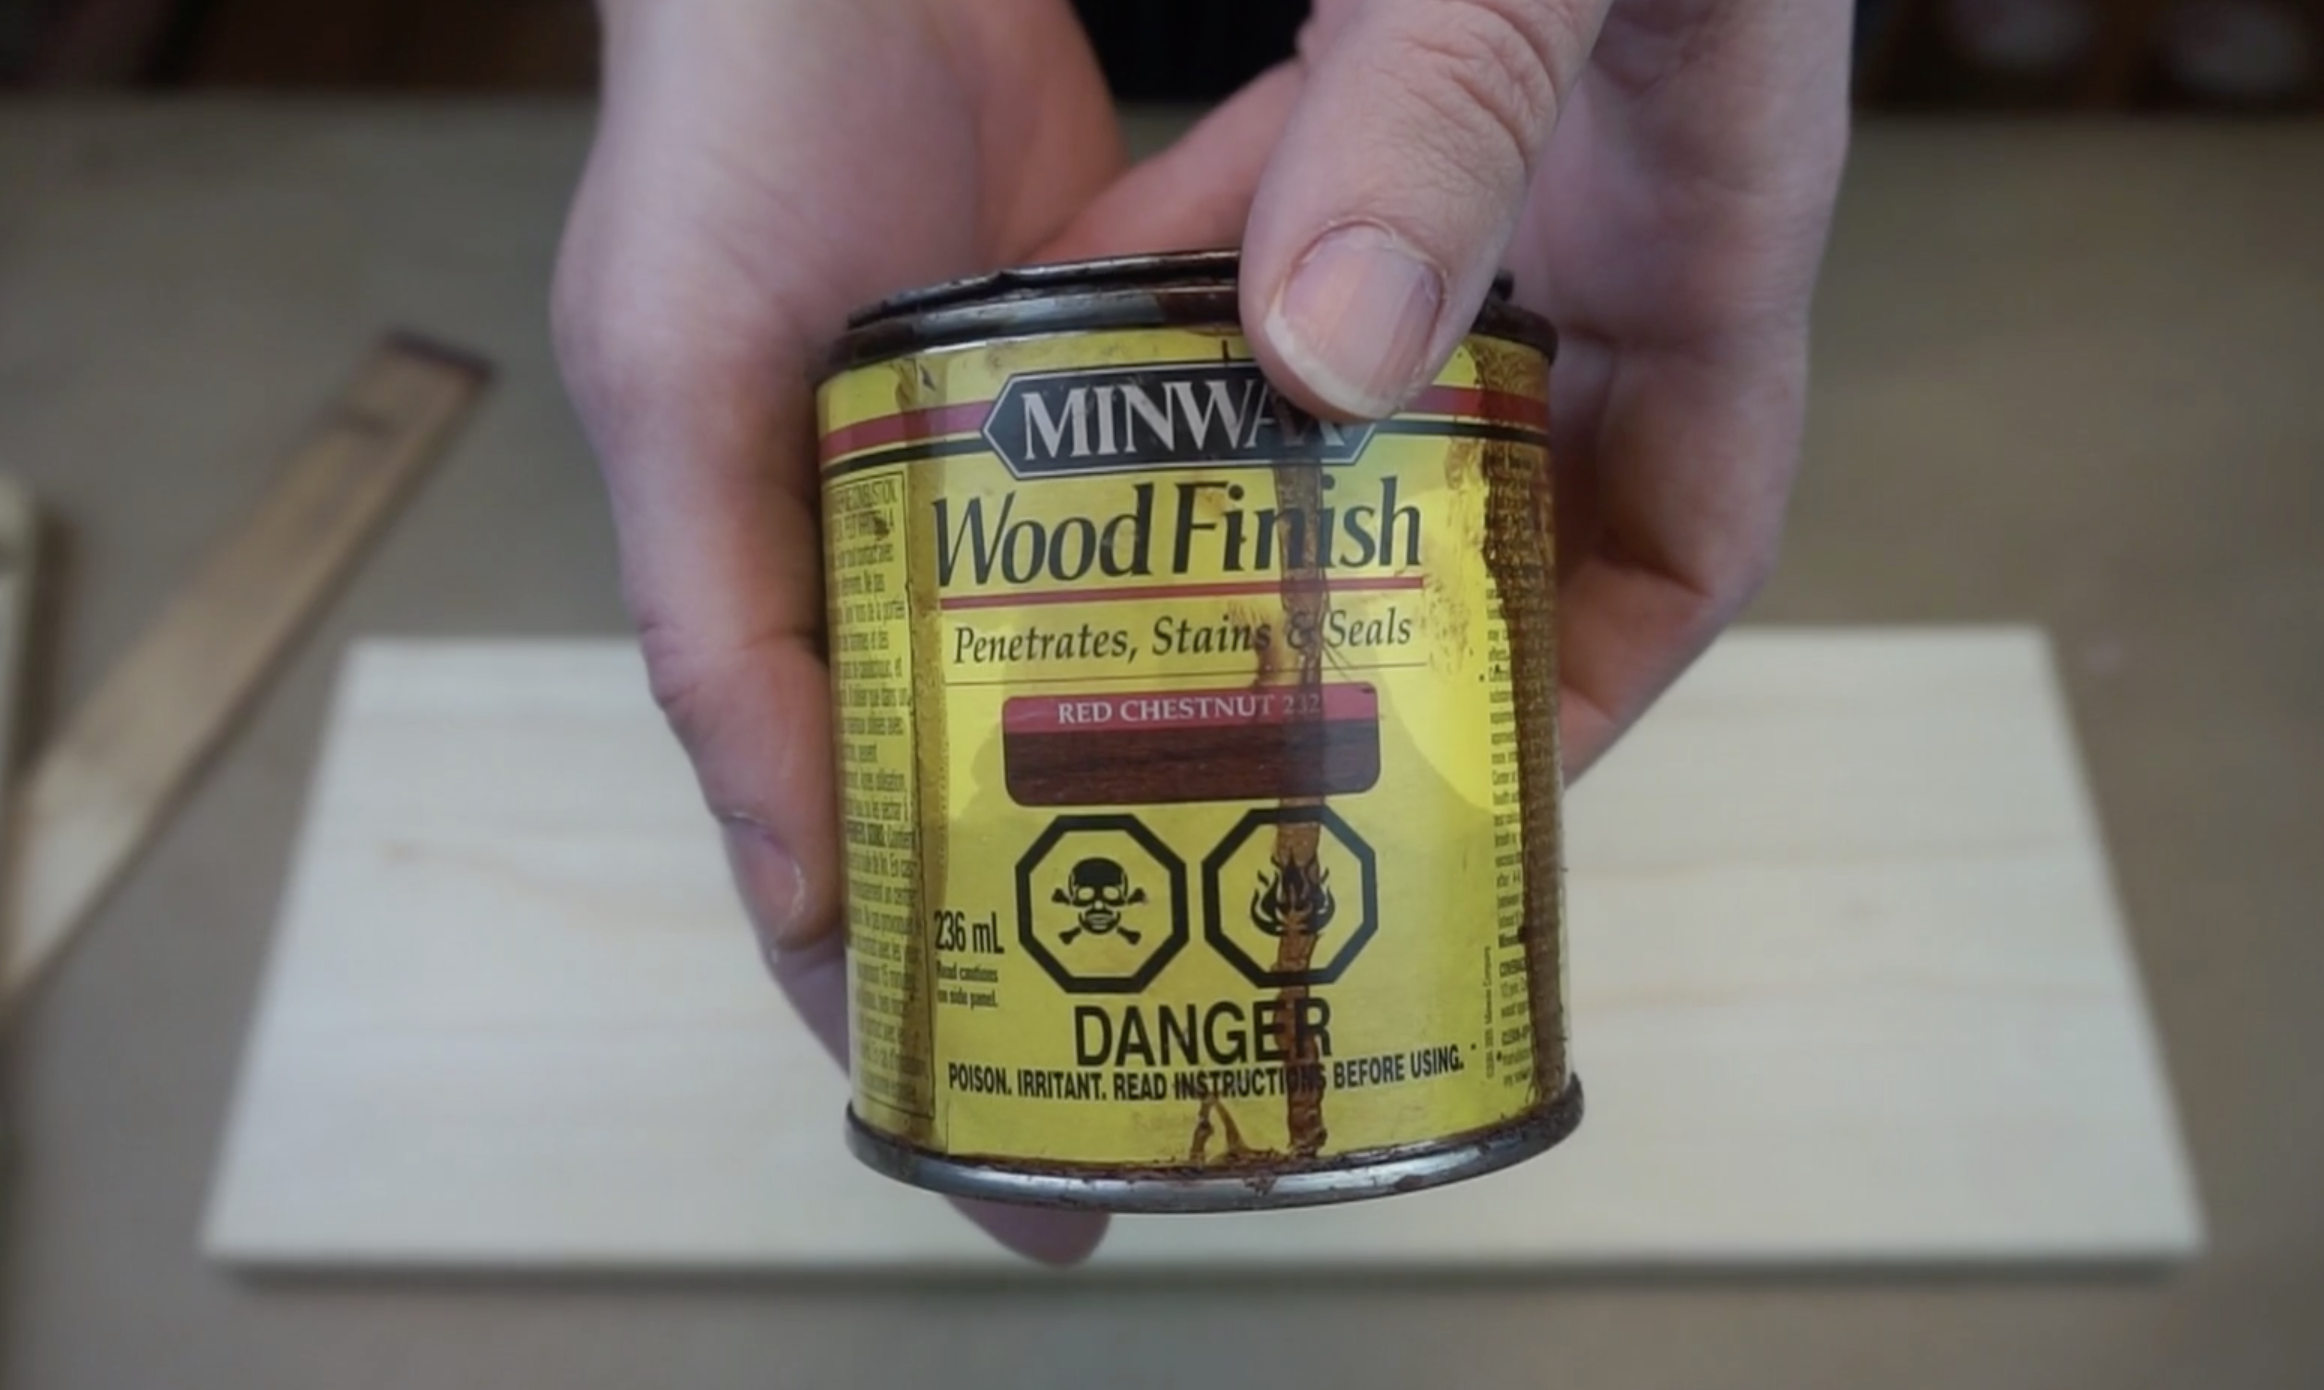
To begin, I took a piece of scrap wood from my ever-growing pile and I stained it using Minwax Red Chestnut.

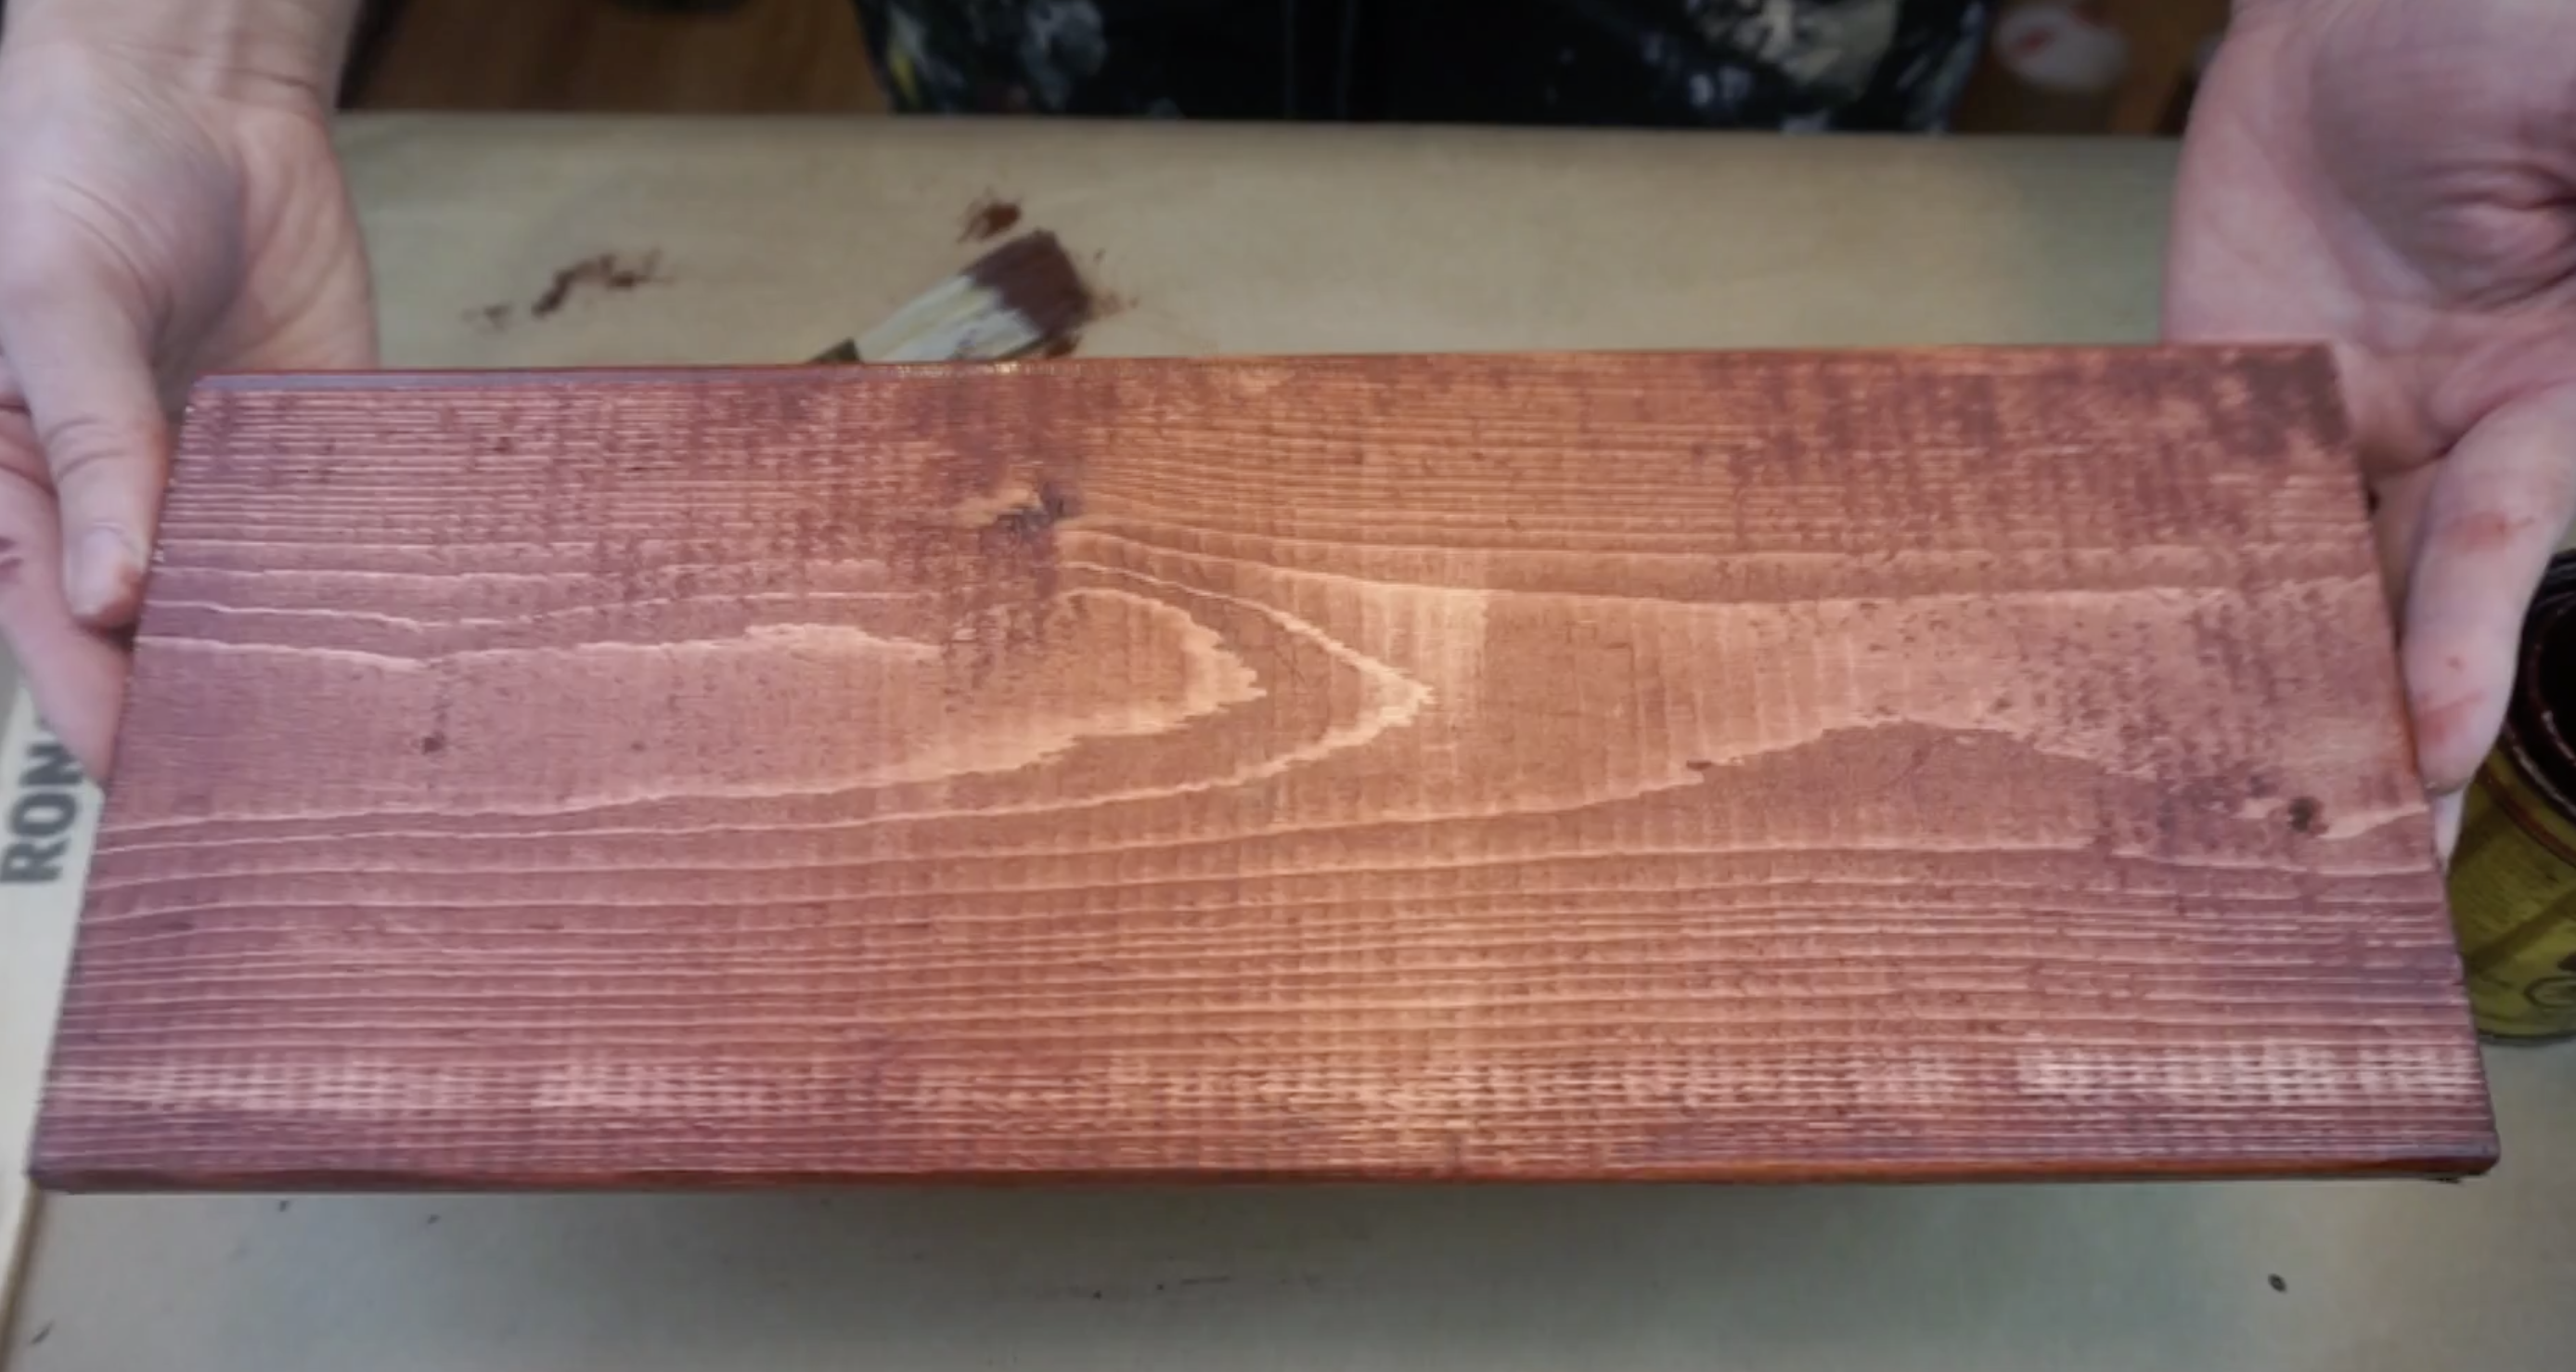
I set the piece of wood aside to dry.
Next, I had to find something to use as a holder for my pens, pencils and crafting tools.
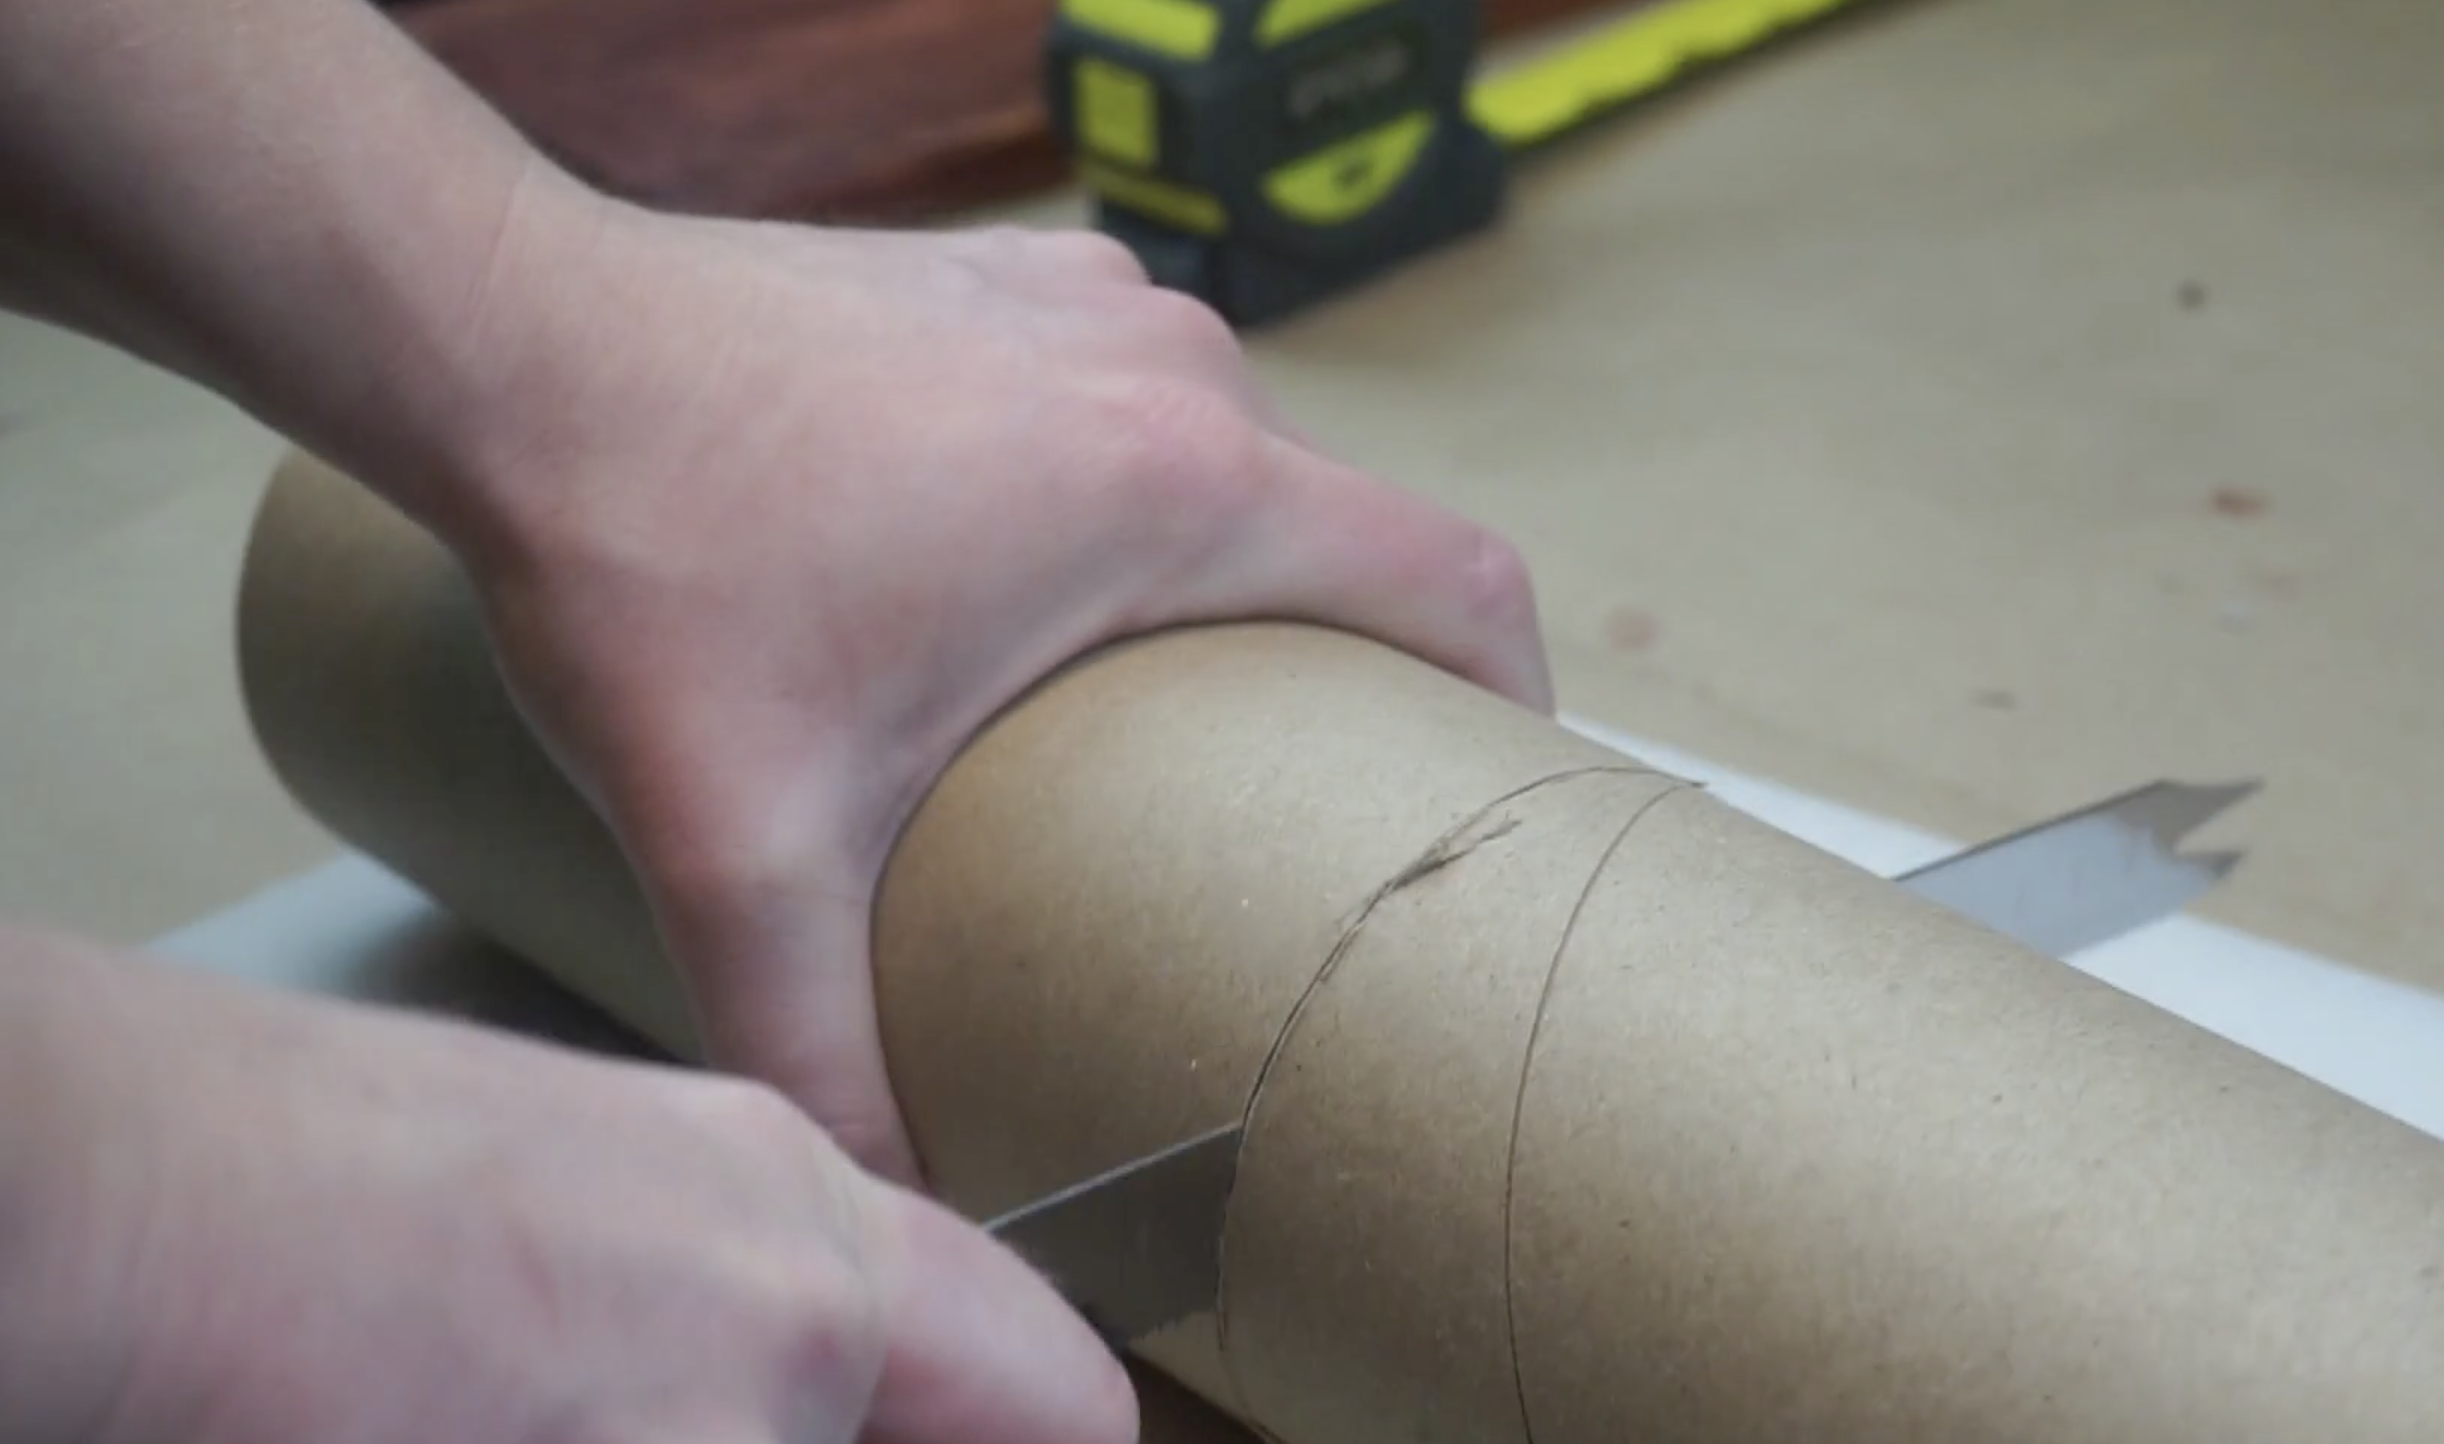
I had been hanging onto the tubes that my crafting vinyl comes in. I don’t know why but I knew that down the road I would find some way to repurpose these things.

I love these tubes. They are super thick and heavy duty. Perfect for crafting with. If you don’t have tubes like these, you could easily use tin cans or even mason jars.
Once, I cut the tubes I sanded down where it was rough from my cut with a piece of 80 grit sandpaper.

Next, I lined up all the tubes the way I wanted them in order. You’ll notice that I cut the tubes at different heights.

I used painter’s tape to create a pattern on my tubes.


The first coat of paint I applied to the tubes was Rust-Oluem Chalked in Blush Pink


After the layer of Blush Pink had dried, I removed the painter’s tape.
If there is any bleeding under the painter’s tape it’s not the end of the world at this step.
Next, I applied more painter’s tape on the edges along where the cardboard was showing.


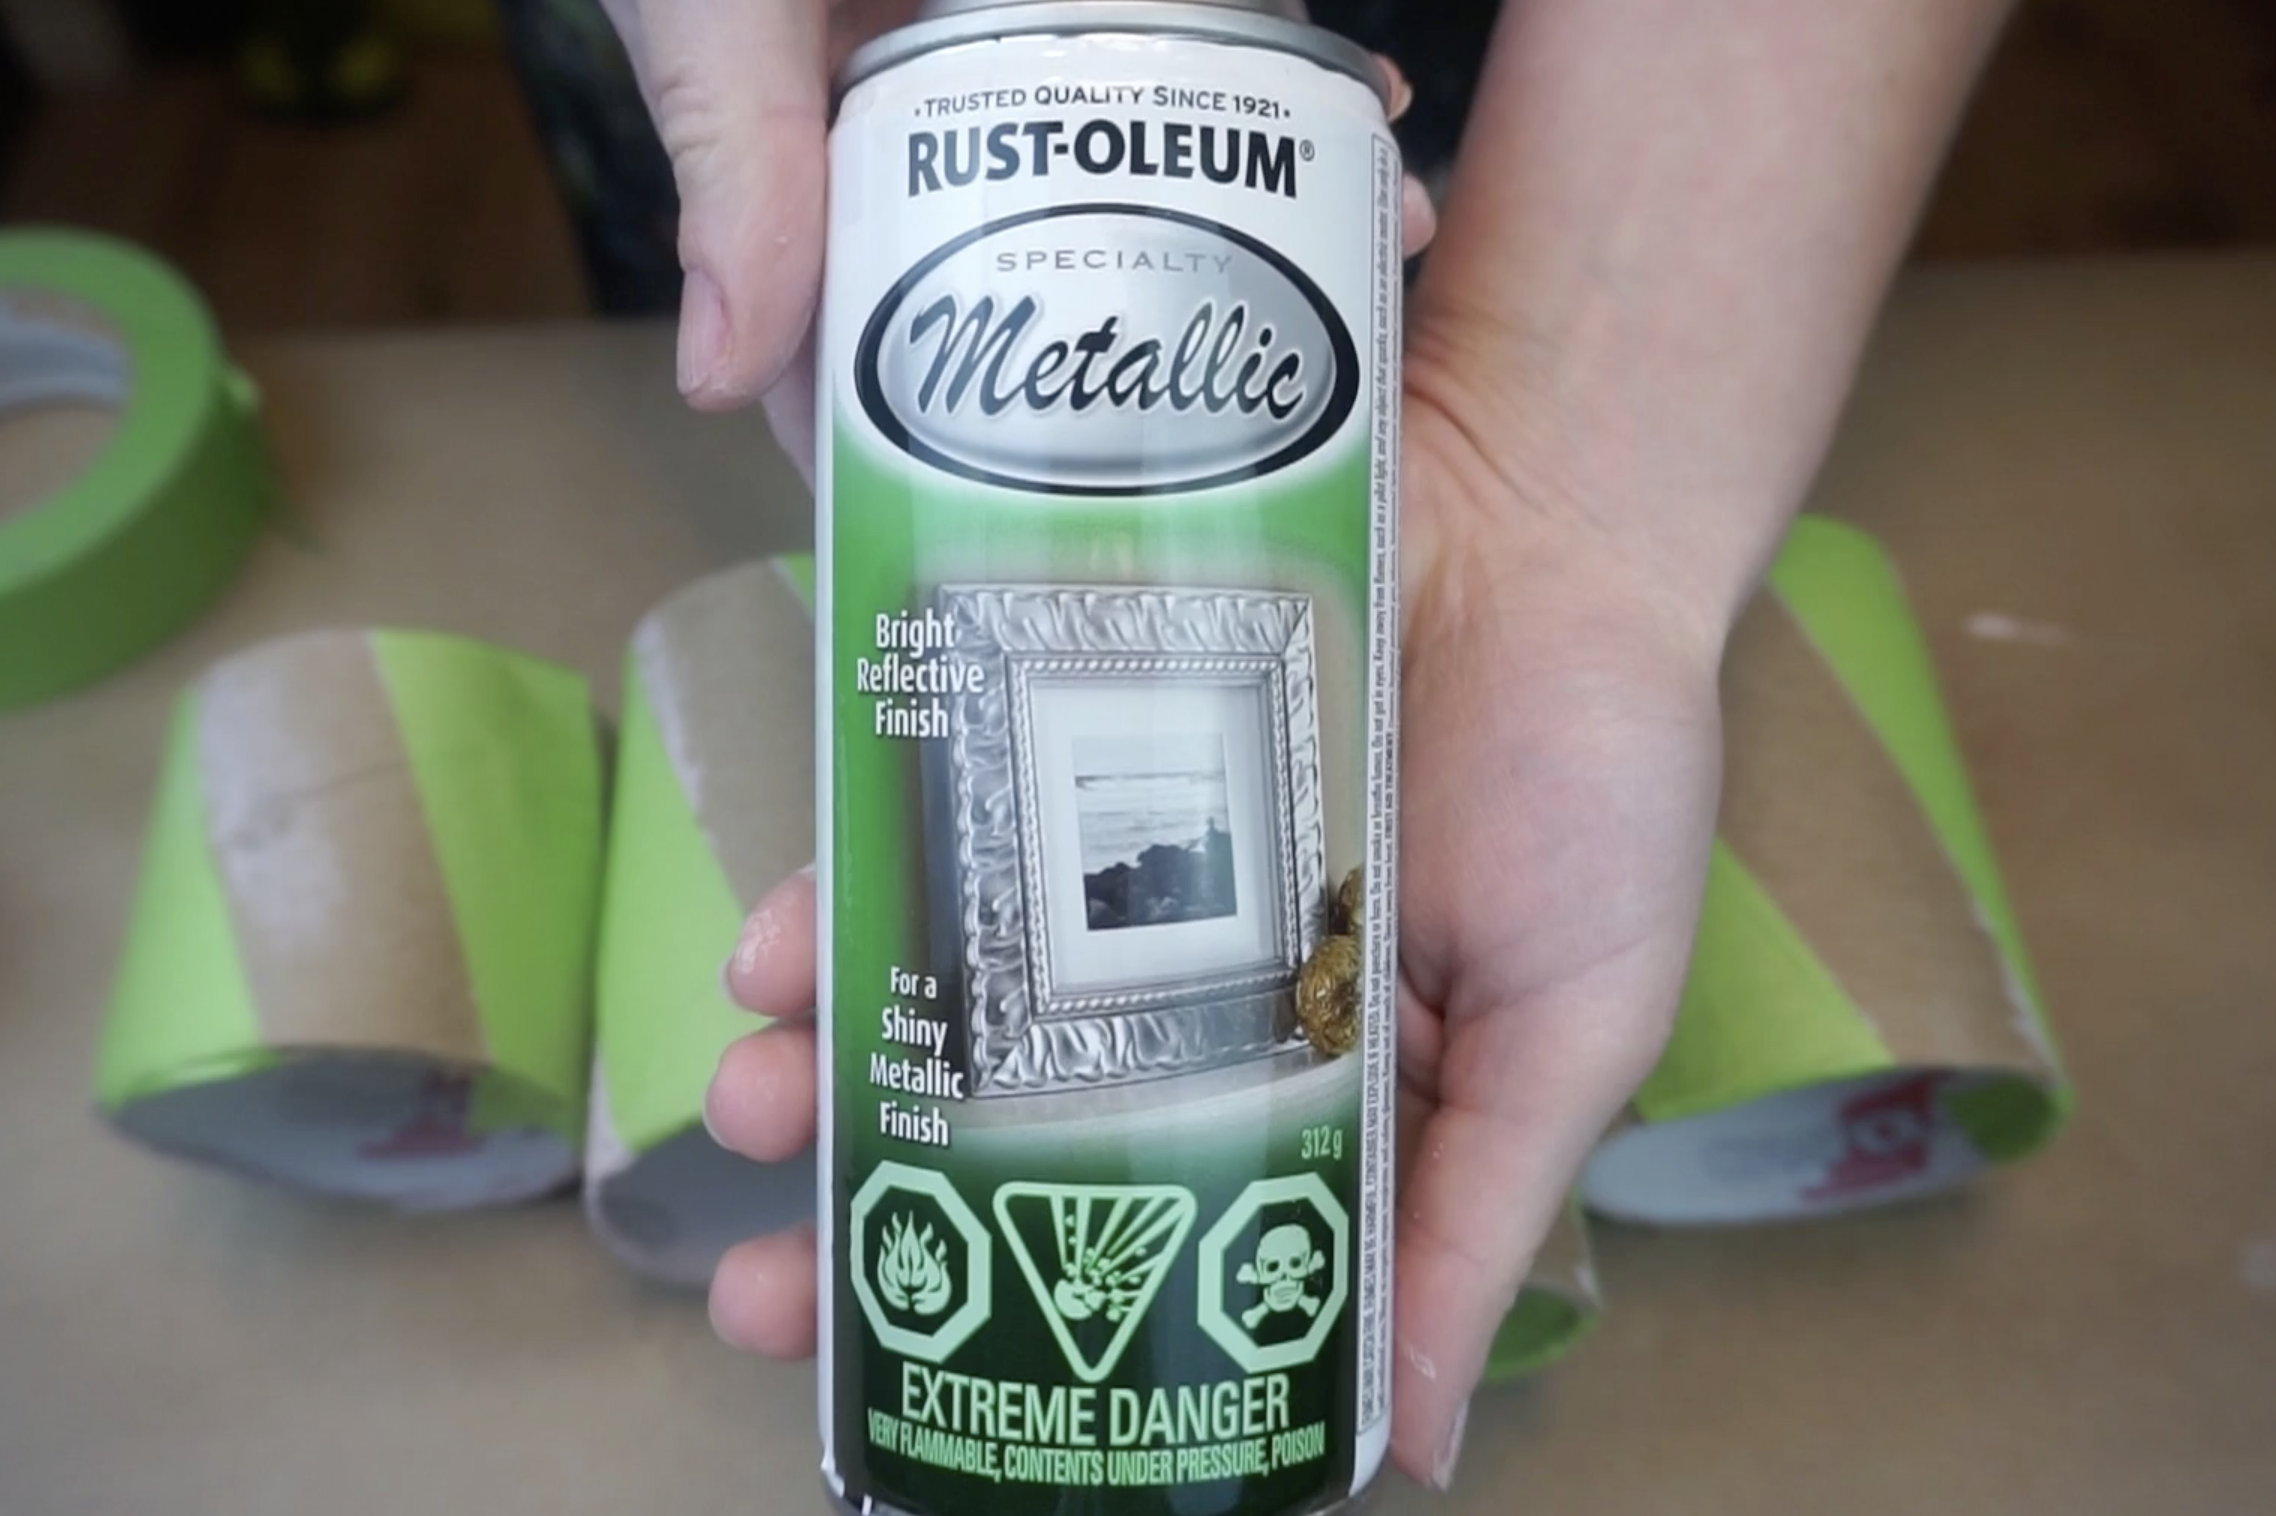
I painted the tubes again but this time with Metallic Gold Spray Paint from Rust-Oluem.
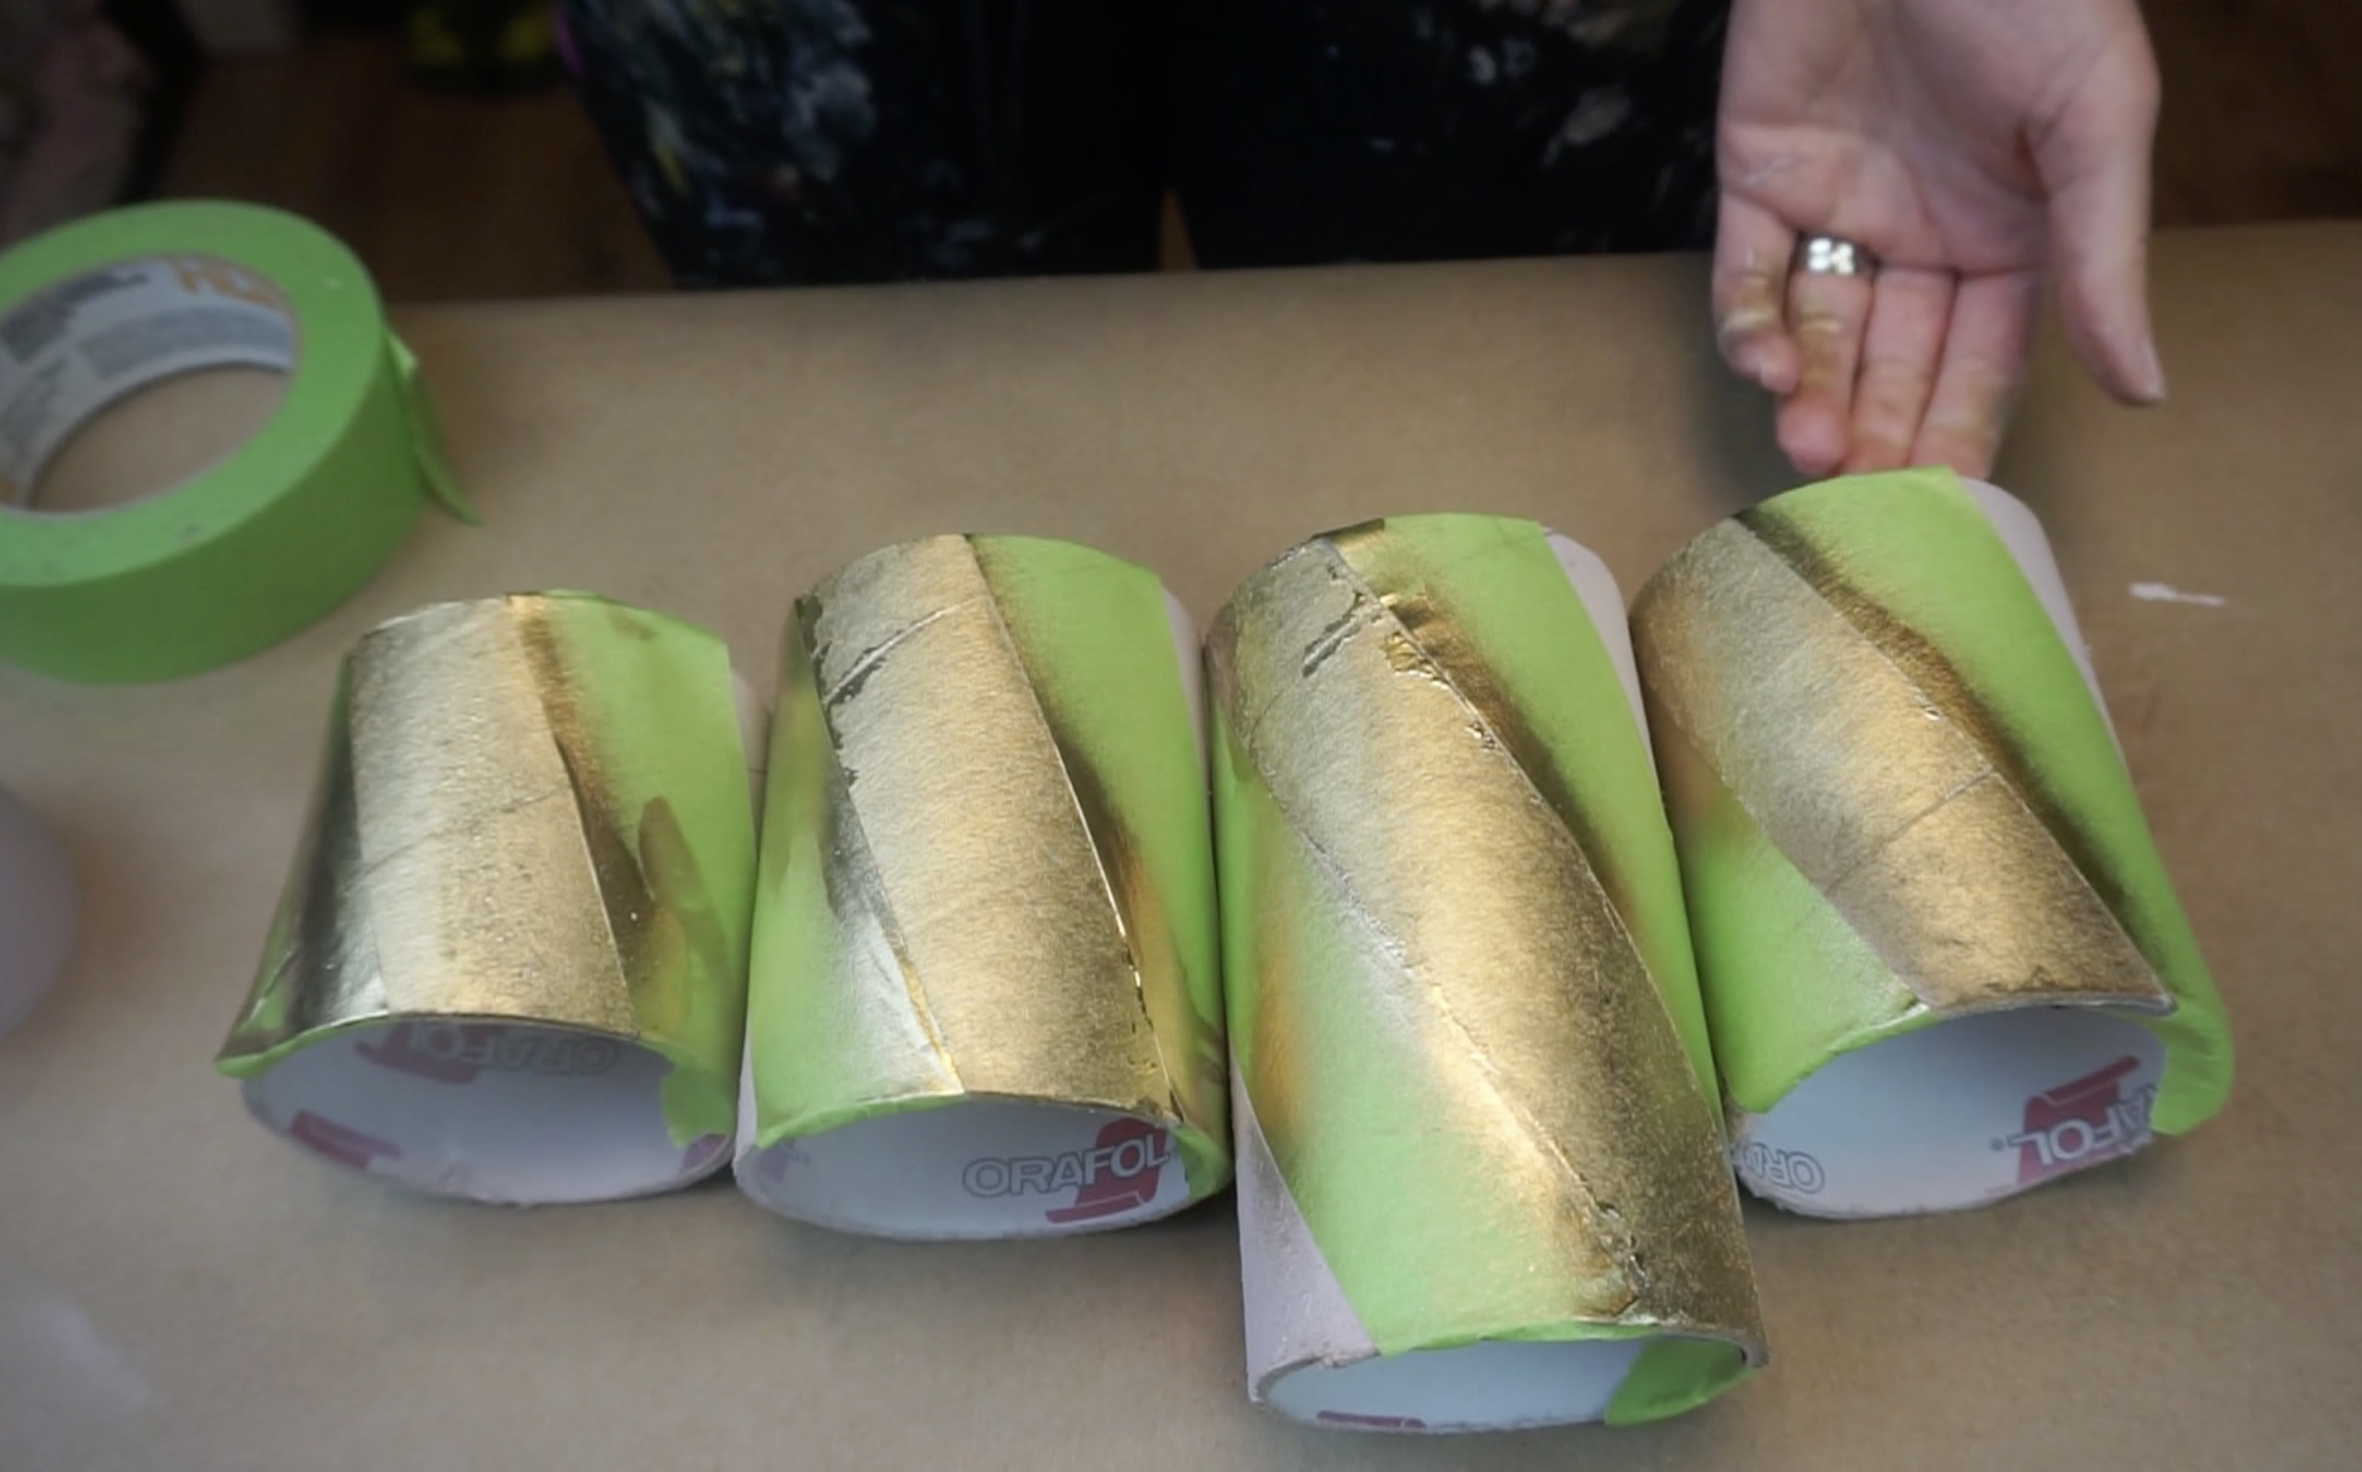
After letting the gold paint dry, I removed the painter’s tape and then I took some e6000 glue and glued the tubes to the piece of stained wood.


For the best results with this glue, make sure you apply glue on the tube, the piece of wood and then wait a few minutes before pressing them together.
Allow the glue to set for 12 hours for a stronghold.

To clean up any residual glue that oozes out from underneath, I used a damp cotton swab.
Once the glue is all set, you can fill it with all your stuff!


It’s that easy!
Check out this video as well, to see this DIY in action!
If you guys love this project, make sure you pin it to your DIY and craft boards!
Want to learn something new? Try your hand at a FREE Craftsy class. Click here


2 COMMENTS
avila790
8 years agogreat way to tidy up your desk
hollygrace13
8 years ago AUTHORThanks!