This is a sponsored post written by me on behalf of Cricut. All opinions are 100% mine.
I have been feeling the ‘Joy’ that is all around me lately — pun totally intended.
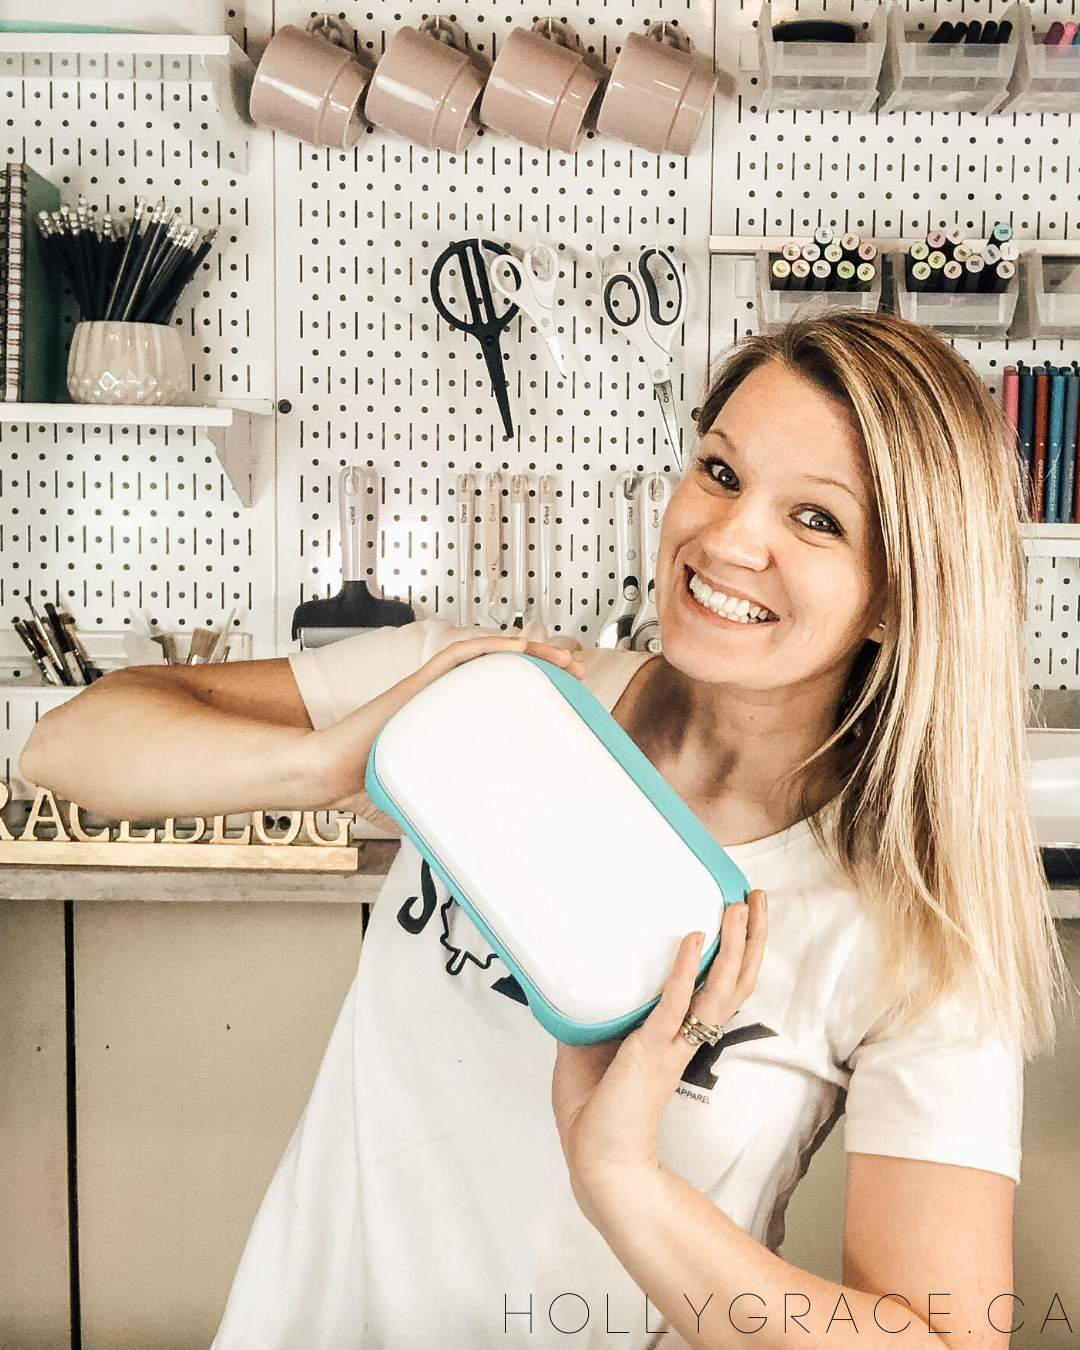
You see, I managed to get my hands on the newest machine from Cricut, the Cricut Joy and do you know what I have found the very best feature of this tiny yet mighty machine to be?
You don’t need a don’t have to have a craft room to DIY and personalize the little things that make a big difference.
This machine is lightweight and portable. You can take it with you wherever you go. You can easily personalize on your kitchen counter, coffee table or anywhere in your home in 15 minutes or less.
To prove it, I made three little projects with the Cricut Joy. I made all three of these personalization projects in under an hour.
Disclosure: This post is sponsored by Cricut. All opinions are my own. Also, this post contains affiliate links – should you choose to purchase through these links I make a small commission at no cost to you.
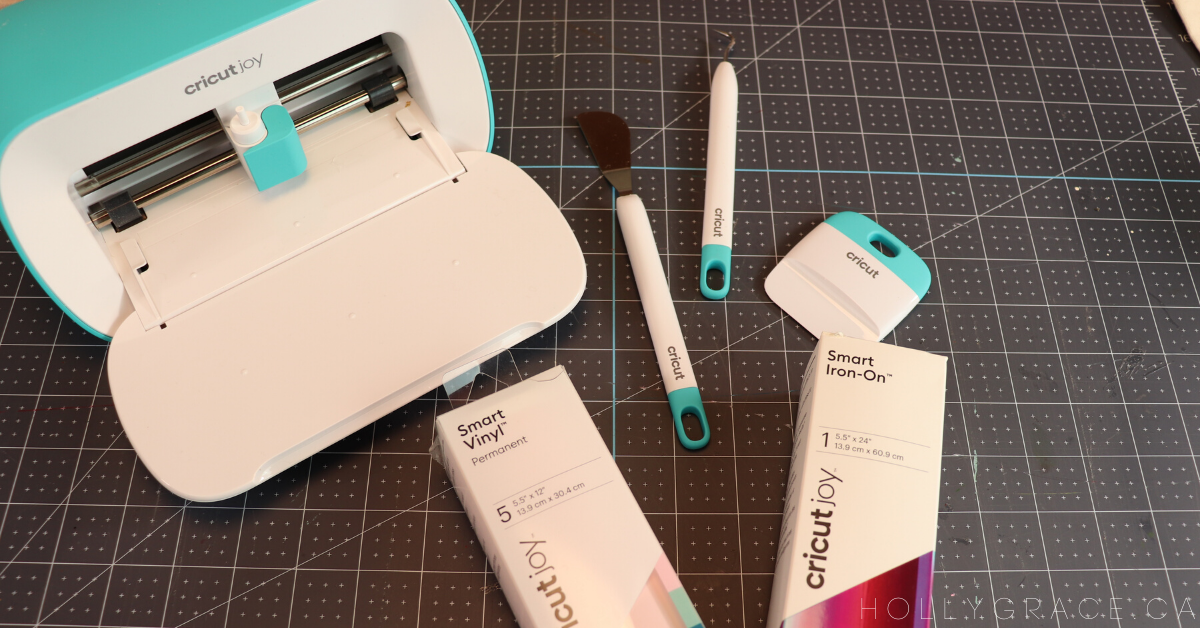
I had these three blanks in my craft room and I am going to show you how I added a unique and personal touch to each one, quickly and easily with the help of my Cricut Joy.

Project #1 – Easy Monogram Ring Dish
For this project here are the supplies I used:
- ring dish
- Cricut Joy
- Cricut Joy™ Smart Vinyl™ Sampler, Beachside – Permanent
- Cricut Joy Transfer Tape
- Cricut Joy Starter Tool Set
Step One:
Find your monogram in Cricut Design Space images. I searched “monogram” in the search bar and tons of options came up. This H tropical one is the one that I liked and selected to use.

Step Two:
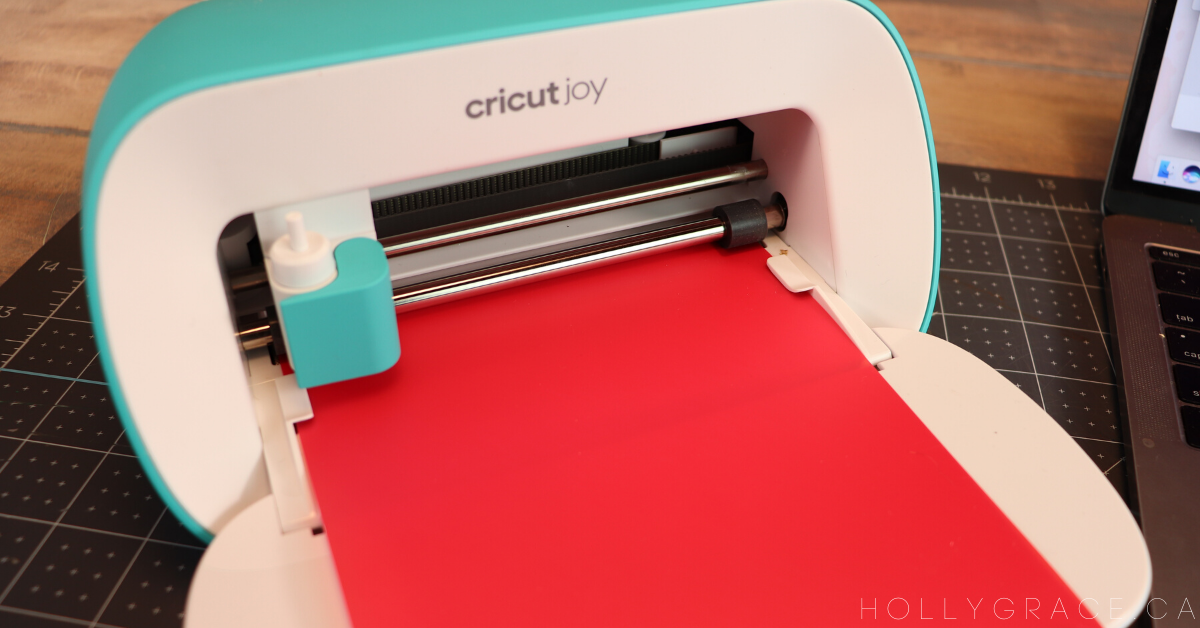
Plug in your Cricut Joy and connect it in Design Space. Follow the prompts from the cut screen on what colours to load in your Cricut Joy.
For this project, I chose to use the Cricut Joy Smart Vinyl so I selected to cut the material without a mat.

Step Three:
Continue to load in the colours of Smart Vinyl by following the project in Design Space.

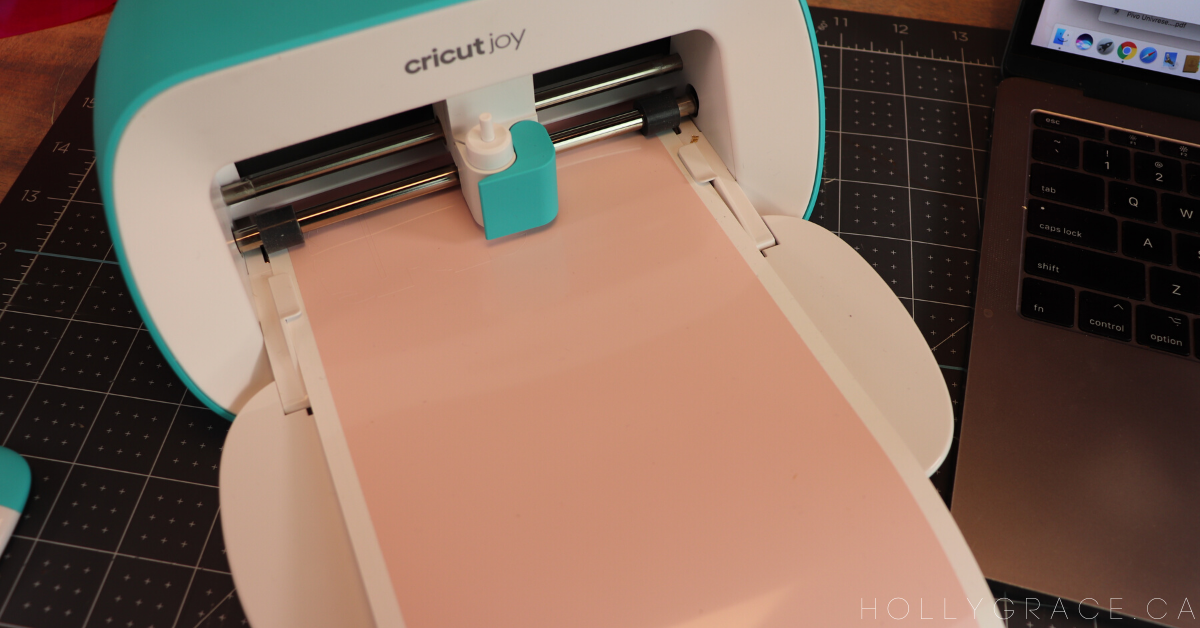
Don’t worry about not cutting on a mat. The Cricut Joy always tests first to make sure that you have enough material for your cut.
Step Four:
Once your design is finished cutting, use a weeding tool to weed all the parts of your design.


Step Five:
Using transfer tape, layer your design on in the correct order. You can use your scraper tool to smooth out each layer of vinyl and to get rid of any air bubbles.
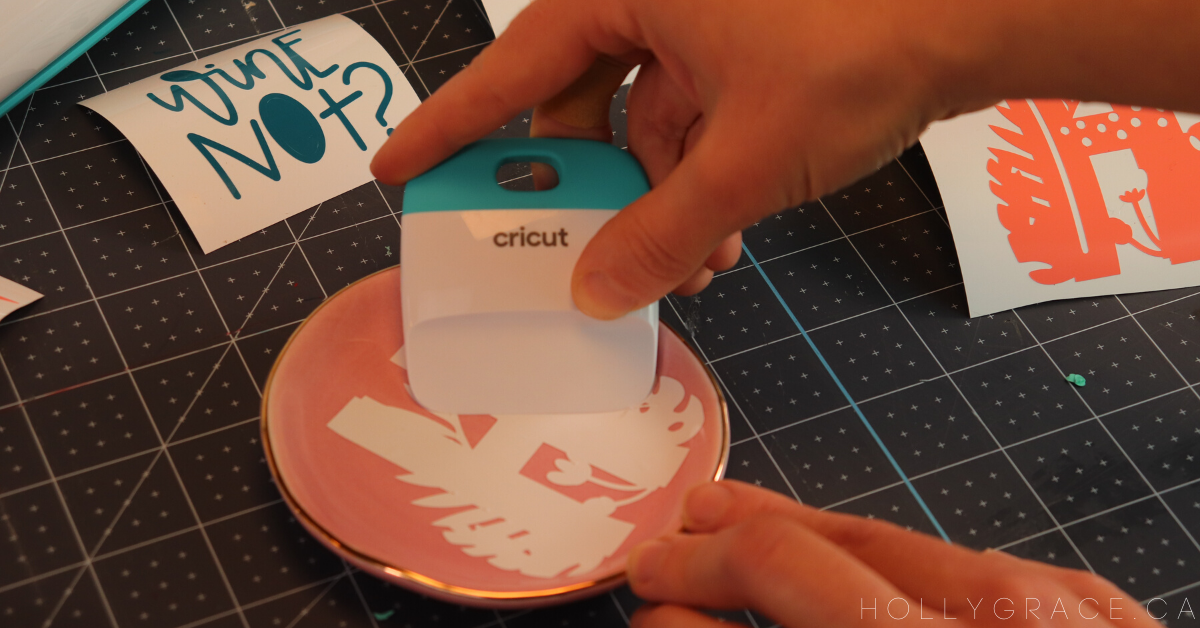

I made this project in under 10 minutes! It was so easy with the Cricut Joy and now I have a cute little personalized ring dish.

Project #2 – Easy Wine Tumbler
For this project here are the supplies I used:
- Cricut Joy
- Cricut Joy™ Smart Vinyl™ Sampler, Beachside – Permanent
- Cricut Joy Transfer Tape
- Cricut Joy Starter Tool Set
- Wine Tumbler
Step One:
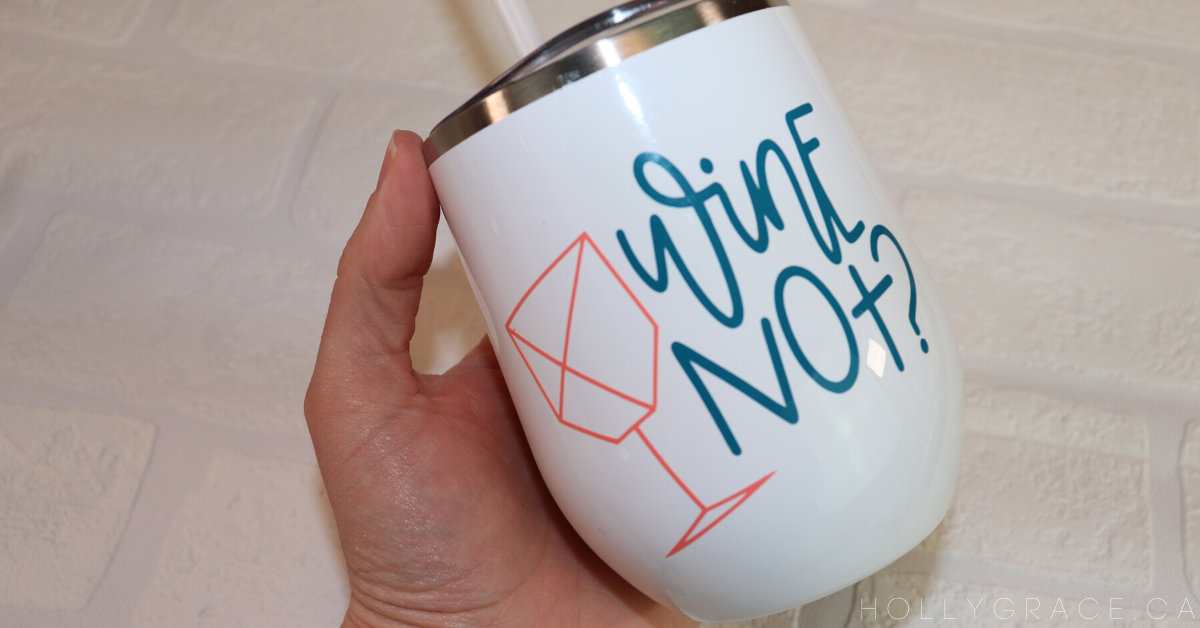
I found these two images on Cricut Design Space and I imported them into my project.

Step Two:
I changed the size of both images to fit within the dimensions of my wine tumbler. I also changed the colour of both images so that they would cut out of two separate colours of Smart Vinyl.


Step Three:
Once my design had finished cutting, I used the Transfer Tape to transfer it onto my project.
This wine tumbler took me all of five minutes to make. So super quick and easy. Isn’t it just so cute, too!?
Project #3 – Personalized Zipper Tote
The last project on this list is a super simple project. My daughter wanted a little zipper pouch to carry her tablet in so I personalized this blank canvas one.
It was super easy. I made my design in Design Space and loaded the Cricut Joy with the Smart Iron-On.
Again, no mat needed with these smart products from Cricut. These smart materials save you time and money! No extra supplies like a mat needed.
Make sure you mirror your project as this Iron-On works just like all the other Cricut brand Iron-On.
Once my Cricut Joy was done cutting the design out, I weeded it and then used my Cricut Mini Easy Press to apply it onto my tote.


You don’t need transfer tape when you are working with Iron-On designs because the Iron-On material is already on a plastic sheet.

And easy as pie, another project complete!

I can’t believe how easy these projects were to complete.


The best part of all this working with the Cricut Joy is that this machine is so compact and portable is that when I am done with it I just place it back on my shelf. It looks so cute in my work area, too.
Cricut Joy is the perfect companion to quickly and easily personalize anything with one cut and one color, in 15 minutes or less. It is fun, functional, and simple to use. Practical,
everyday projects have never been more accessible or easier!
Interested in giving it a try!? Get one for yourself and see just how small but mighty this little machine can be.
Already have a Cricut Joy? Let me know what you think about this machine in the comments below!


Leave a Reply