So a while ago I promised a tutorial for my pinecone pineapple… so as promised, here it is!
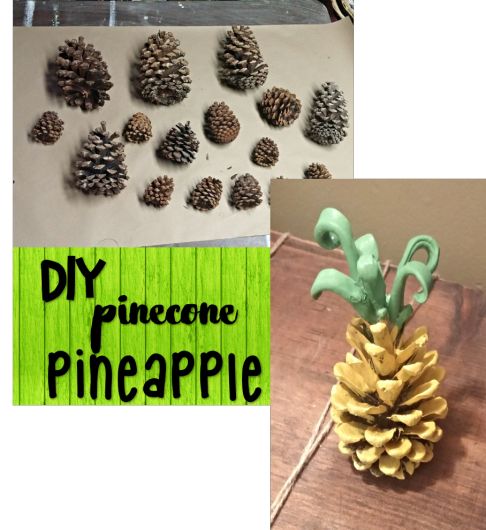
So this unique little pinecone pineapple has quite the back story. Many of you know that as well as blogging, I work for Diply as a DIY Content Writer. When I am done writing an article I send it off to my amazing editor. Well this particular editor, as awesome as she is… hates pineapples. Actually, LOATHES pineapples. Knowing this, I chose to have a little fun with her one day, and I put in a little dig in my article about loving pineapples. It went something to the effect of, “who doesn’t love pineapples, right?” We both had a little giggle about it, and I am glad she doesn’t mind us (me and the other DIY writers) having fun with her and her aversions to pineapples. So to make “amends” I decided she needed a little pineapple for her desk, so I made her this…

She LOVED it… but she still doesn’t like pineapples! But that’s ok!
This little pinecone pineapple is so cute and super fun to make, so I thought I would share the instructions with you all!
Step 1
Head outside and gather some pinecones. I found this BIG score by the side of the road… I kid you not, basket and all… it was just sitting there ready for the garbage man to pick it up. I am glad I spotted it first!
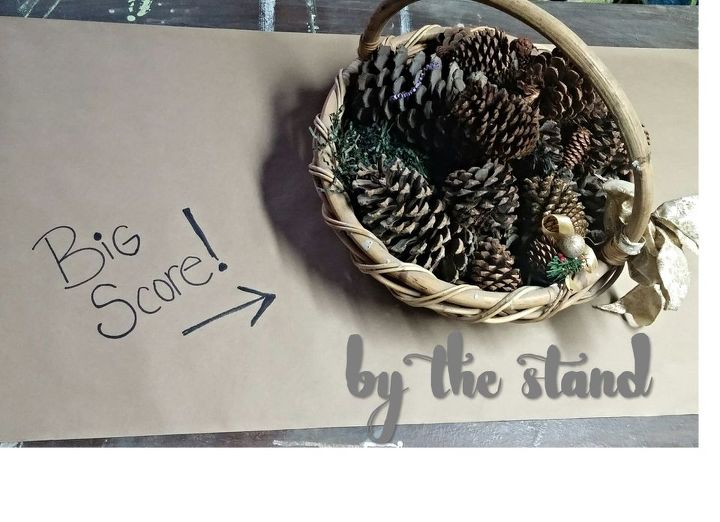
Seriously… it even had the packaging crinkles (or whatever that stuff is called) in the basket!
Step 2
Lay out your pinecones in an area that is safe for spray painting and spray paint your pinecones yellow.
I used Krylon in Sun Yellow shade. I did two coats just to make sure I got all the nooks and crannies. You paint one side of the pinecones, wait for it to dry, then flip them over and paint the other side.

To make the leaves you will want to get some of this stuff!
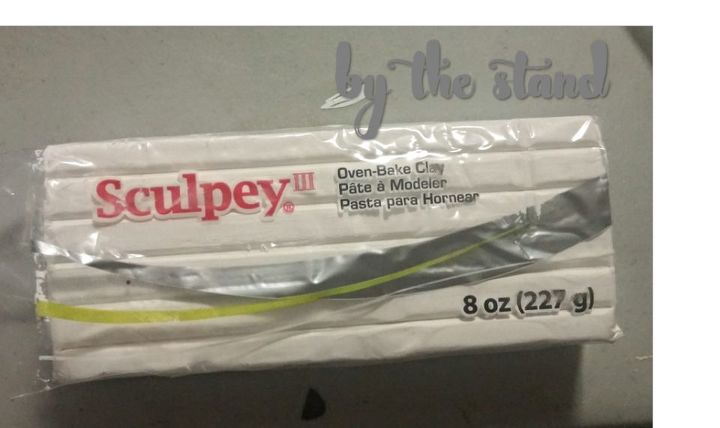
It is an over baked clay. I got this particular kind at Michael’s. Normally I am a dollar store gal, but the dollar store oven-baked clay just sucked! So I sprang for the good stuff!
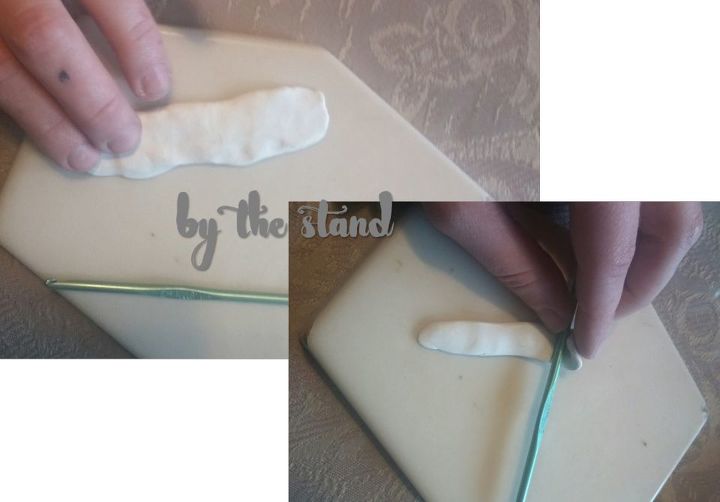
Step 3
There is no pattern or correct way to make the leaves. I sat down ripped off a piece of clay and started playing with it until I had something that looked like a pineapple leaf. I used a crochet hook to curl the ends to make them look more funky.
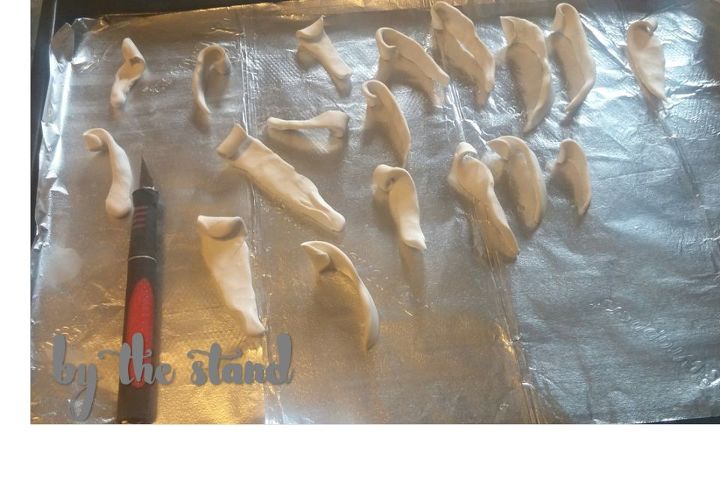
Step 4
Place your clay leaves on a cookie sheet and bake them according to the package instructions. Make sure you put down some tin foil first, though. You don’t want the clay to stick to the cookie sheet.
Step 5
After you remove your clay leaves from the oven, let them cool. After the leaves are cool, you can paint them. I first used Krylon spray paint in Italian Olive.
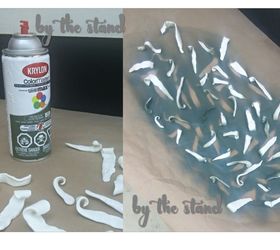
I actually don’t have a picture of them with the spray paint on… I decided it was a little too dark, so I hand painted them with a lighter green color. Do yourself a favor and pick the right color the first time… It was a lot of work hand painting those suckers! At this point I was too frustrated and forgot to take a pic! Ooops… sorry!
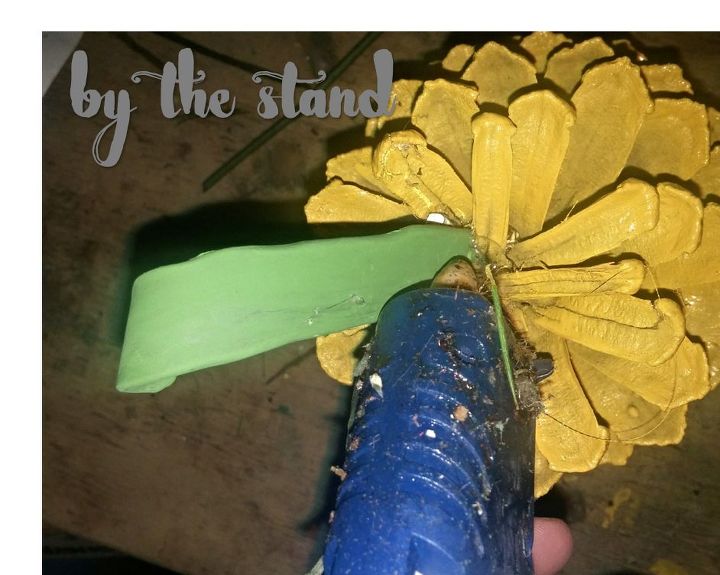
Step 6
Using a hot glue gun attach your leaves to the top of your pinecone. A quick tip — move quick! Once you put the hot glue on the leaves the clay becomes a little pliable again, so get it on your pinecone quick and apply pressure with your fingers. Hold the leaf in place until the glue sets. Apply more leaves until you are happy.
Now it’s time to PARTY LIKE A PINEAPPLE!!
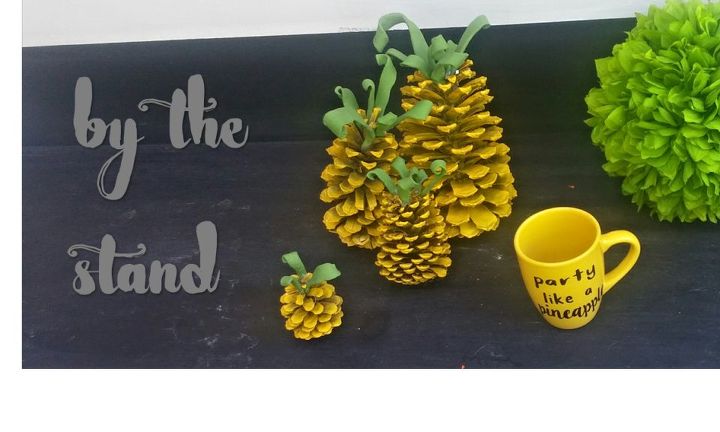
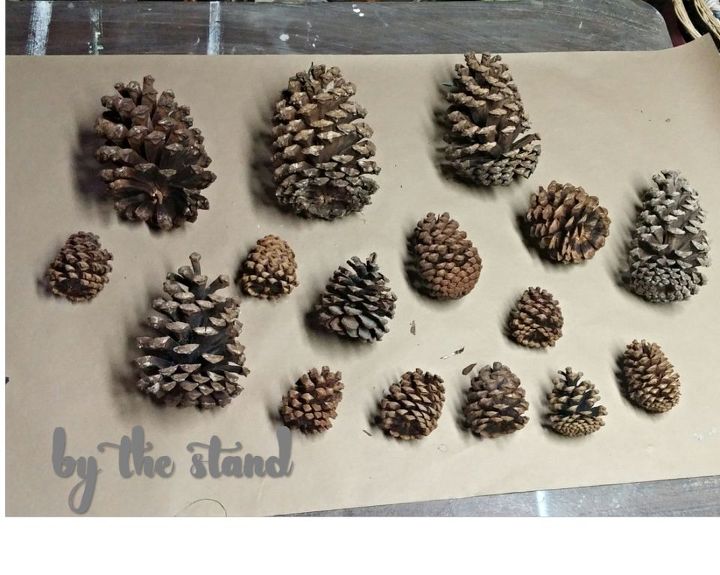
Make all kinds of different sizes, too! I LOVE the giant pinecones I found by the side of the road!! They made some super awesome pinecones!
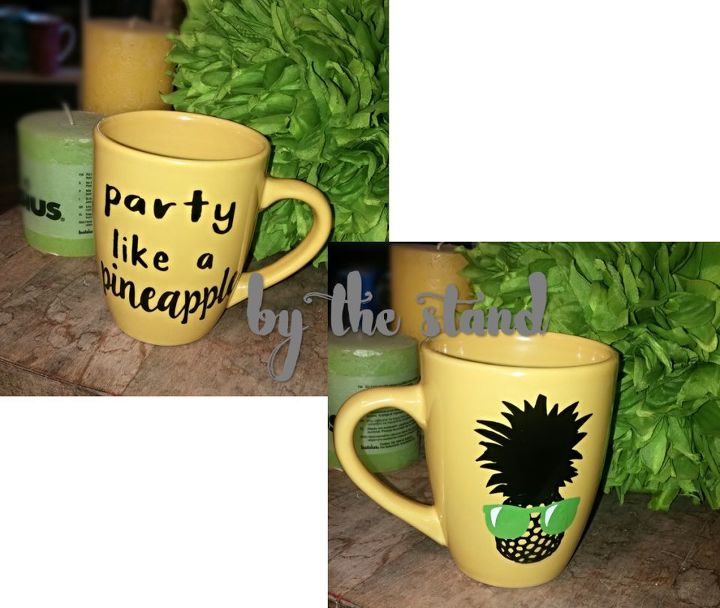
I just love pineapples so much that I needed a mug to match my pinecone pineapples! So I made this mug with my Crircut!
Hope you had a great weekend and as always let me know if you have any questions or comments!


2 COMMENTS
thecraftingtheatregirl
10 years agoWhat a great idea! This would be a great summer craft to make with my kiddo!
hollygrace13
10 years agoThank you!! 🙂