
Hey everybody! Welcome to my very first DIY FUN CHALLENGE FRIDAY!
It occurred to me the other day that I have over a thousand projects pinned on my DIY to-do list Pinterest board, and do you know what? I haven’t done near as many as I should have! So in an effort to try out all the projects I have pinned, I am going to do a DIY challenge every Friday. I will pick a fun project that I pinned and do it myself. I will let you know how easy it was to do, and share with you my pictures!
If you want me to do one of your projects and share it on my blog, feel free to enter your info in the comment box at the end of this post!
Let’s get started with today’s project. This one has been on the to-do list for a while! I am so glad I finally did it! It is a beautiful DIY and very fun to do. I hit some bumps on the road, but I am pleased with the end result. 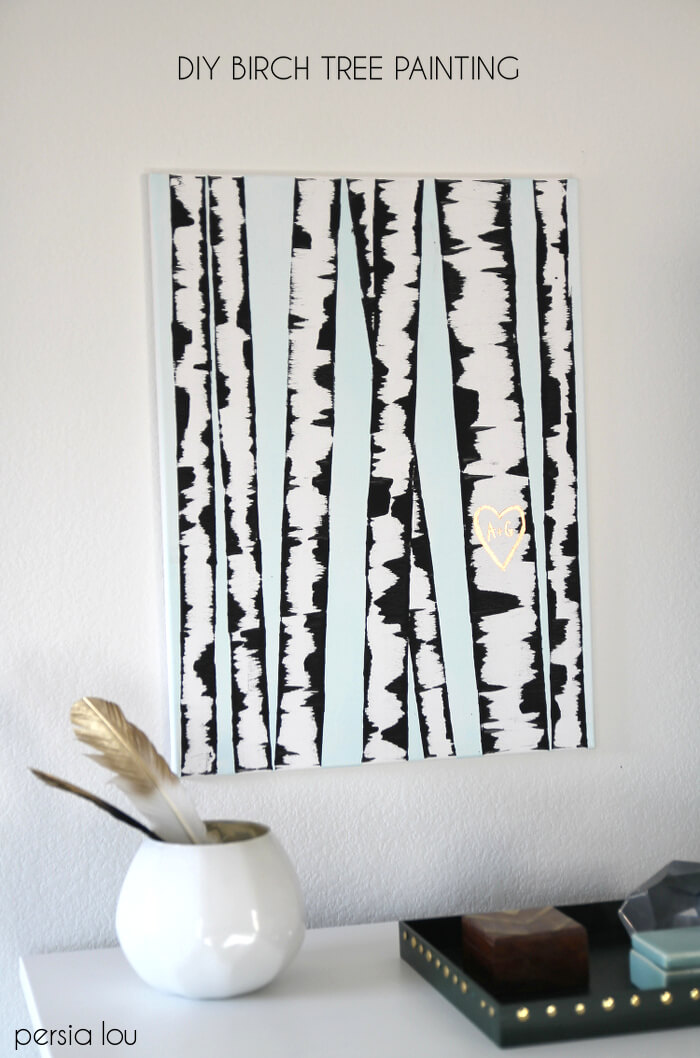 image source: persia lou
This is a fun little project that I found over at Alexis’ blog, Persia Lou. If you have a minute you should check out her blog. She has tons of great DIY tutorials that are easy to follow, and this is one her projects that I have been just itchin’ to try out.
So I started out with a canvas (mine was 16×20), and some painter’s tape, just like Alexis instructed.

Next, as Alexis instructed, I taped of the canvas where I wanted the birch trees to be… so far so good.

To get tree trunks of different sizes, Alexis mentioned to double up the tape. She also showed in her tutorial to cross over the tape so that you would have a tree in the background. This is such a cool effect.
Next, I chose the color that I wanted to be the background. I chose Robins Egg Blue in just a simple acrylic craft paint. I really liked the colors in Alexis’ tutorial, so I wanted something similar to hers.

I painted over the canvas with my paint. Still on track…

Next, I removed the tape and this is what I had. Great! Looks very similar to the one in Alexis’ tutorial.

Next, came the “fun” part, and I only say it like that because I should have listened to Alexis suggestion and I didn’t! You see, she said in her tutorial that for the “credit card technique” you should practice first on a piece of scrap paper before applying to the canvas. Me, being the smarty pants that I am, decided that I didn’t need to do this — big mistake!

My black lines ended up being waaaay too thick, and not natural looking at all! But I carried on and thought I would get better.
(** I didn’t take any pictures of me doing the “credit card technique” cause at this point I was totally distraught** So word to the wise, when someone tells you to do something in a tutorial… just do it! You can see how to do the technique over at Alexis’ blog)

There were a couple trees that were alright but look at the second one in from the left…eeek. It looks like a cow or something.
Yah, this just wasn’t going to do. So, I sat there for a minute, stared at it and seriously thought about painting over it and starting from there very beginning, but I really didn’t want to do that.
I knew there had to be some way to get rid of the black without wrecking the entire painting. I just went with my gut and grabbed some rubbing alcohol and some cotton eye pads.

I rubbed out the areas where the black paint looked like, well for lack of a better word, crap.
I was a little sad when I realized I would be very hard pressed to get the canvas back to white again.

But the more I looked at it, I realized that I kind on liked the grey look instead of the white. So I just went with it.
I have to say that I am pretty glad I turned this around. Now I just had to re-do the black lines again… and this time I practiced first!

Not too bad, right?

I really like how the grey gives a little bit of definition.
Alexis put a cute gold foil heart on hers, which I just LOVE! 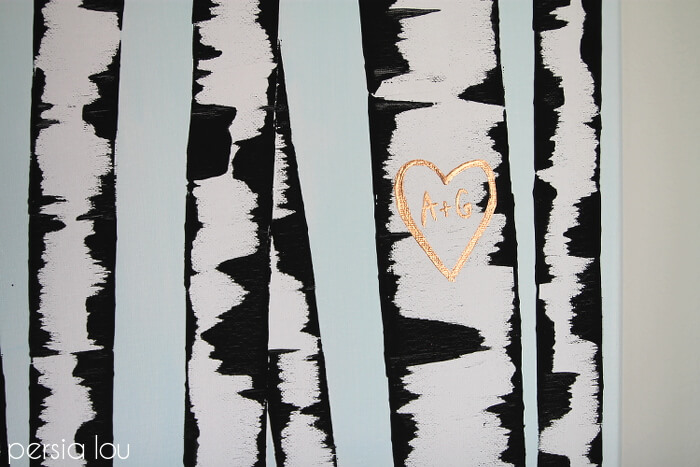
image source: persia lou
This adds a nice little custom touch, so I may just have to head to the craft store to get some gold foil.
Until then I will enjoy my new piece of artwork!

Thanks for a great tutorial Alexis! I really enjoyed this one! 🙂
So if you guys want me to tackle one of your DIYs fill out this form below.


Til’ next time!!


6 COMMENTS
Amanda
10 years agoI love it!! and the mistakes add a real depth to the picture – what a great way to add a piece of art work to your wall at hardly any cost
hollygrace13
10 years agoThank you Amanda! 😀
Heather
10 years agookay seriously, i love yours better!
hollygrace13
10 years agoThank you Heather!! 😀
Ruth
9 years agoI like it better also. The other was pretty but,yours does have more depth. Beautiful job !!!!
hollygrace13
9 years agoThank you Ruth!