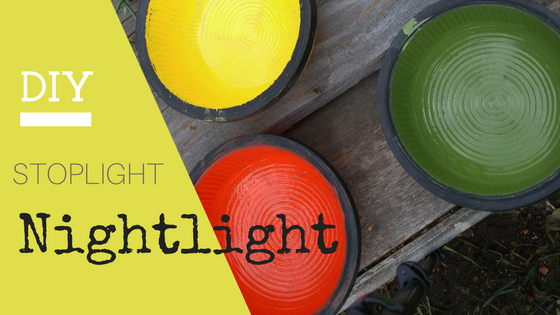
So my little guy has been asking for a night light and I decided that it was due time that I made him one — cause why buy when you can make, right?
My mom had these old lights at the store that have been kicking around forever and I thought that they would be perfect for stoplights — and I was right!
Just take a look at this DIY nightlight I made! Be sure and watch the video at the end to see thing thing in action, too!
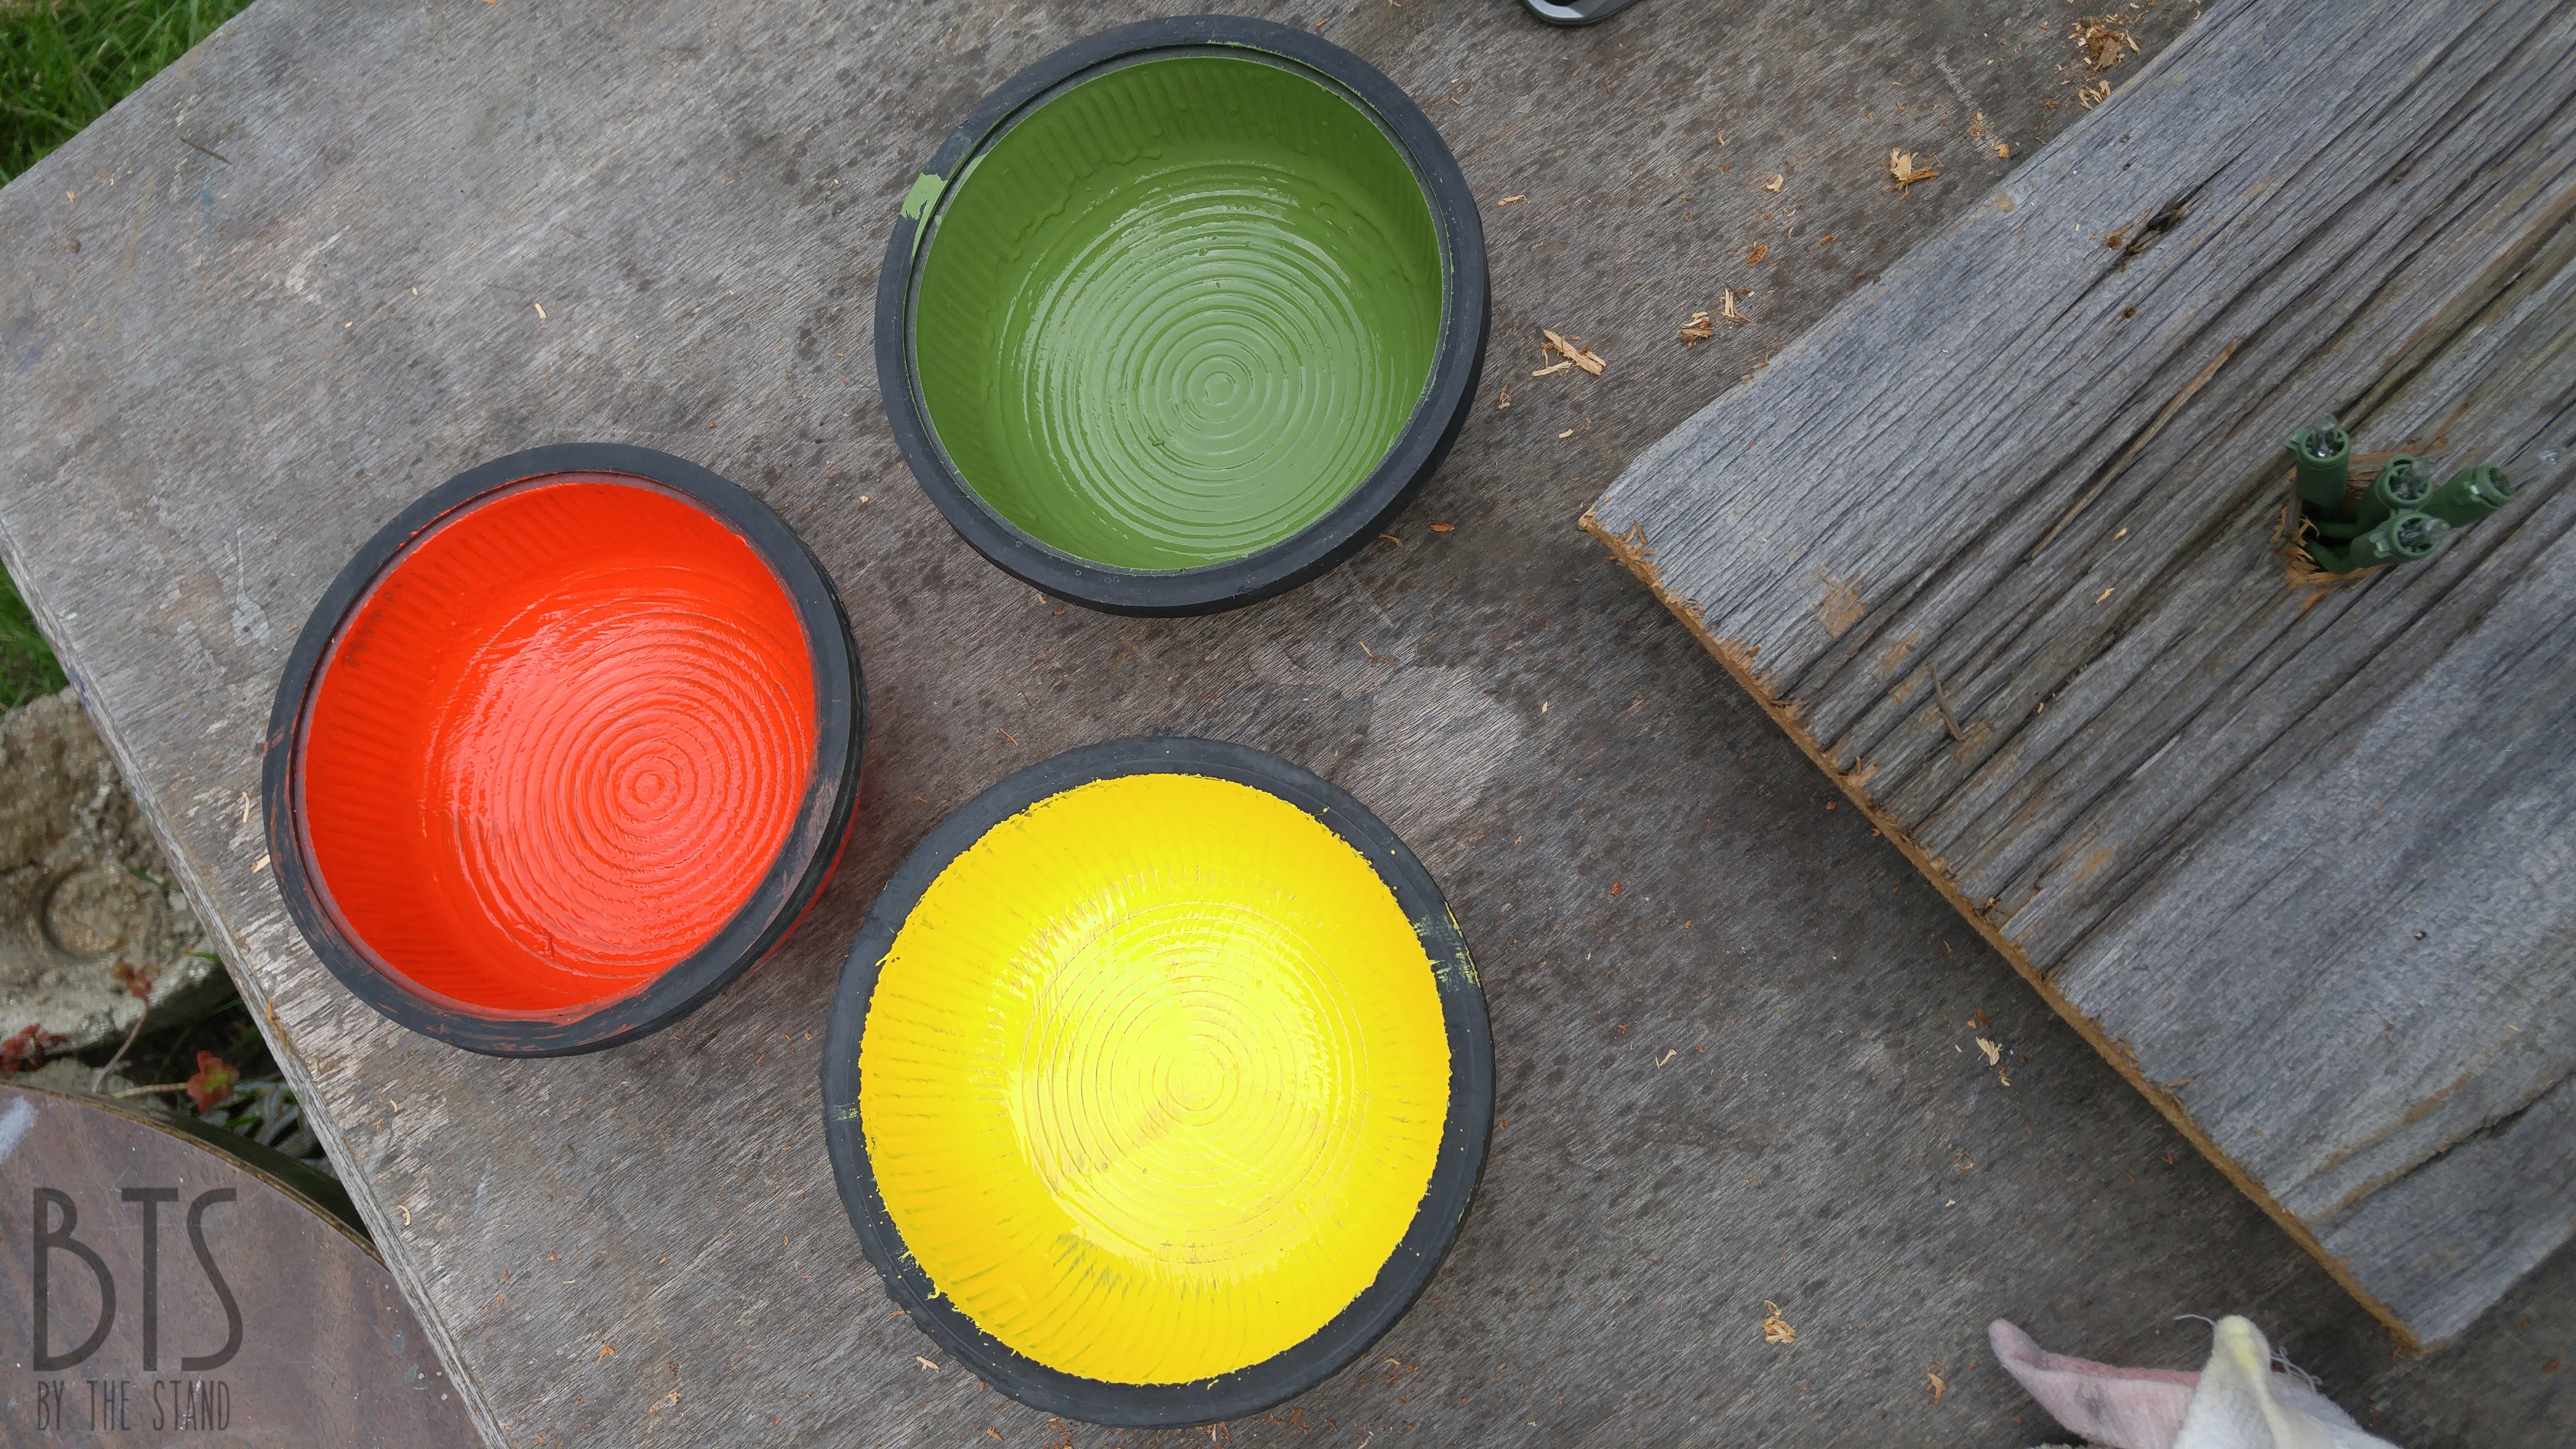
Here are the lights before I painted them.

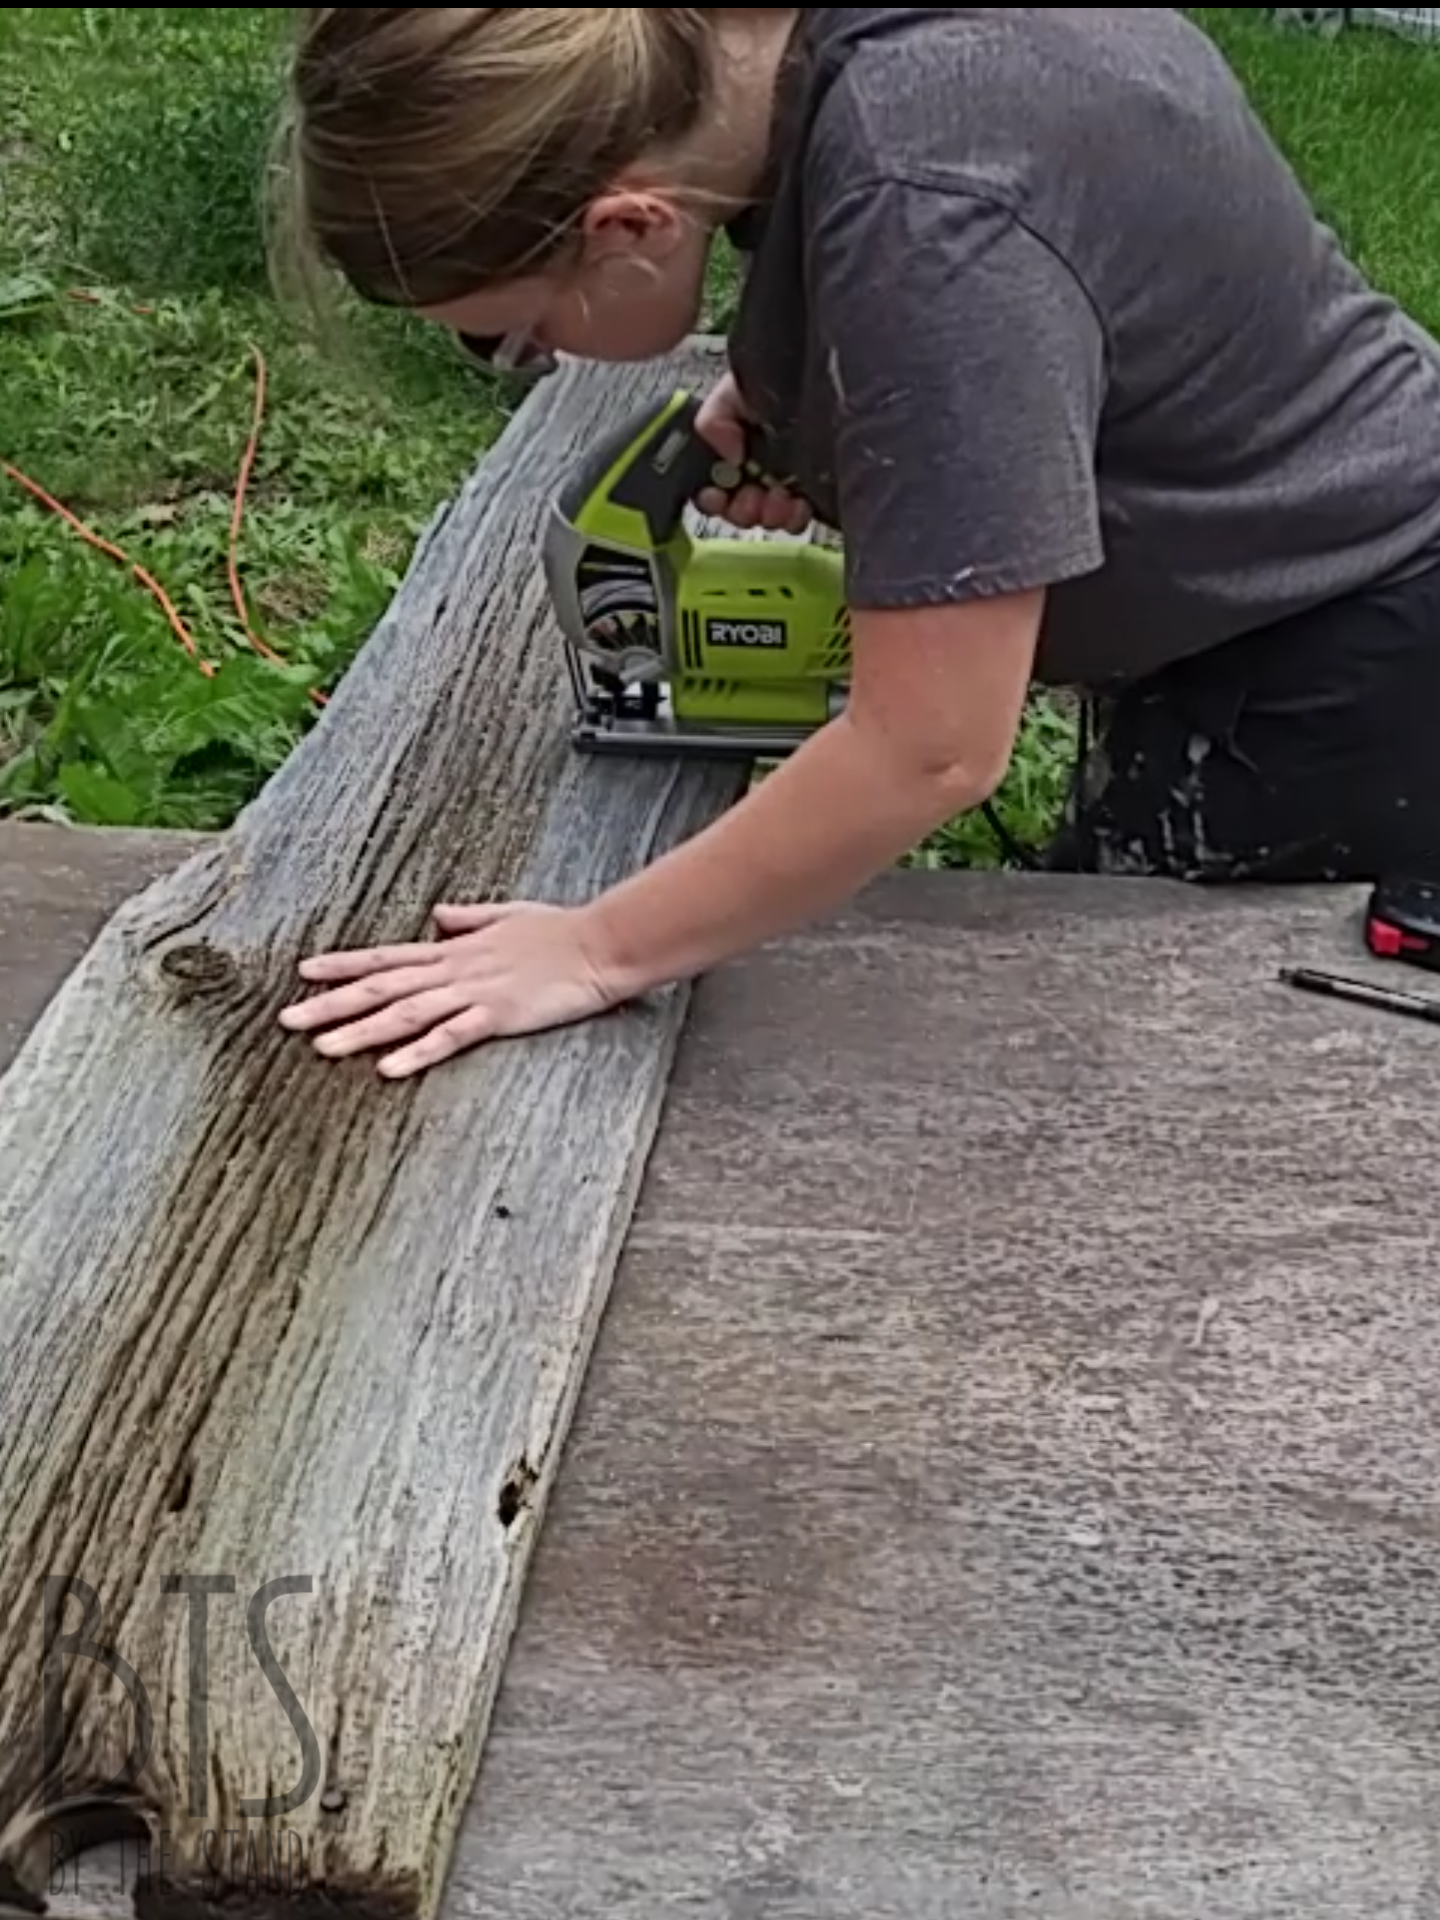
I also got this great piece of barn board that I scooped up off the side of the road on the ever so famous Thamesford Spring Clean up week.
I cut the barn board to the size that I needed using my Ryobi Orbital Jigsaw. This Jigsaw is easy to use and I have used it for so many great projects — one of my go-to tools.
Next, I painted the inside of the lights with an acrylic paint — of course, I painted them the colours of a stoplight.
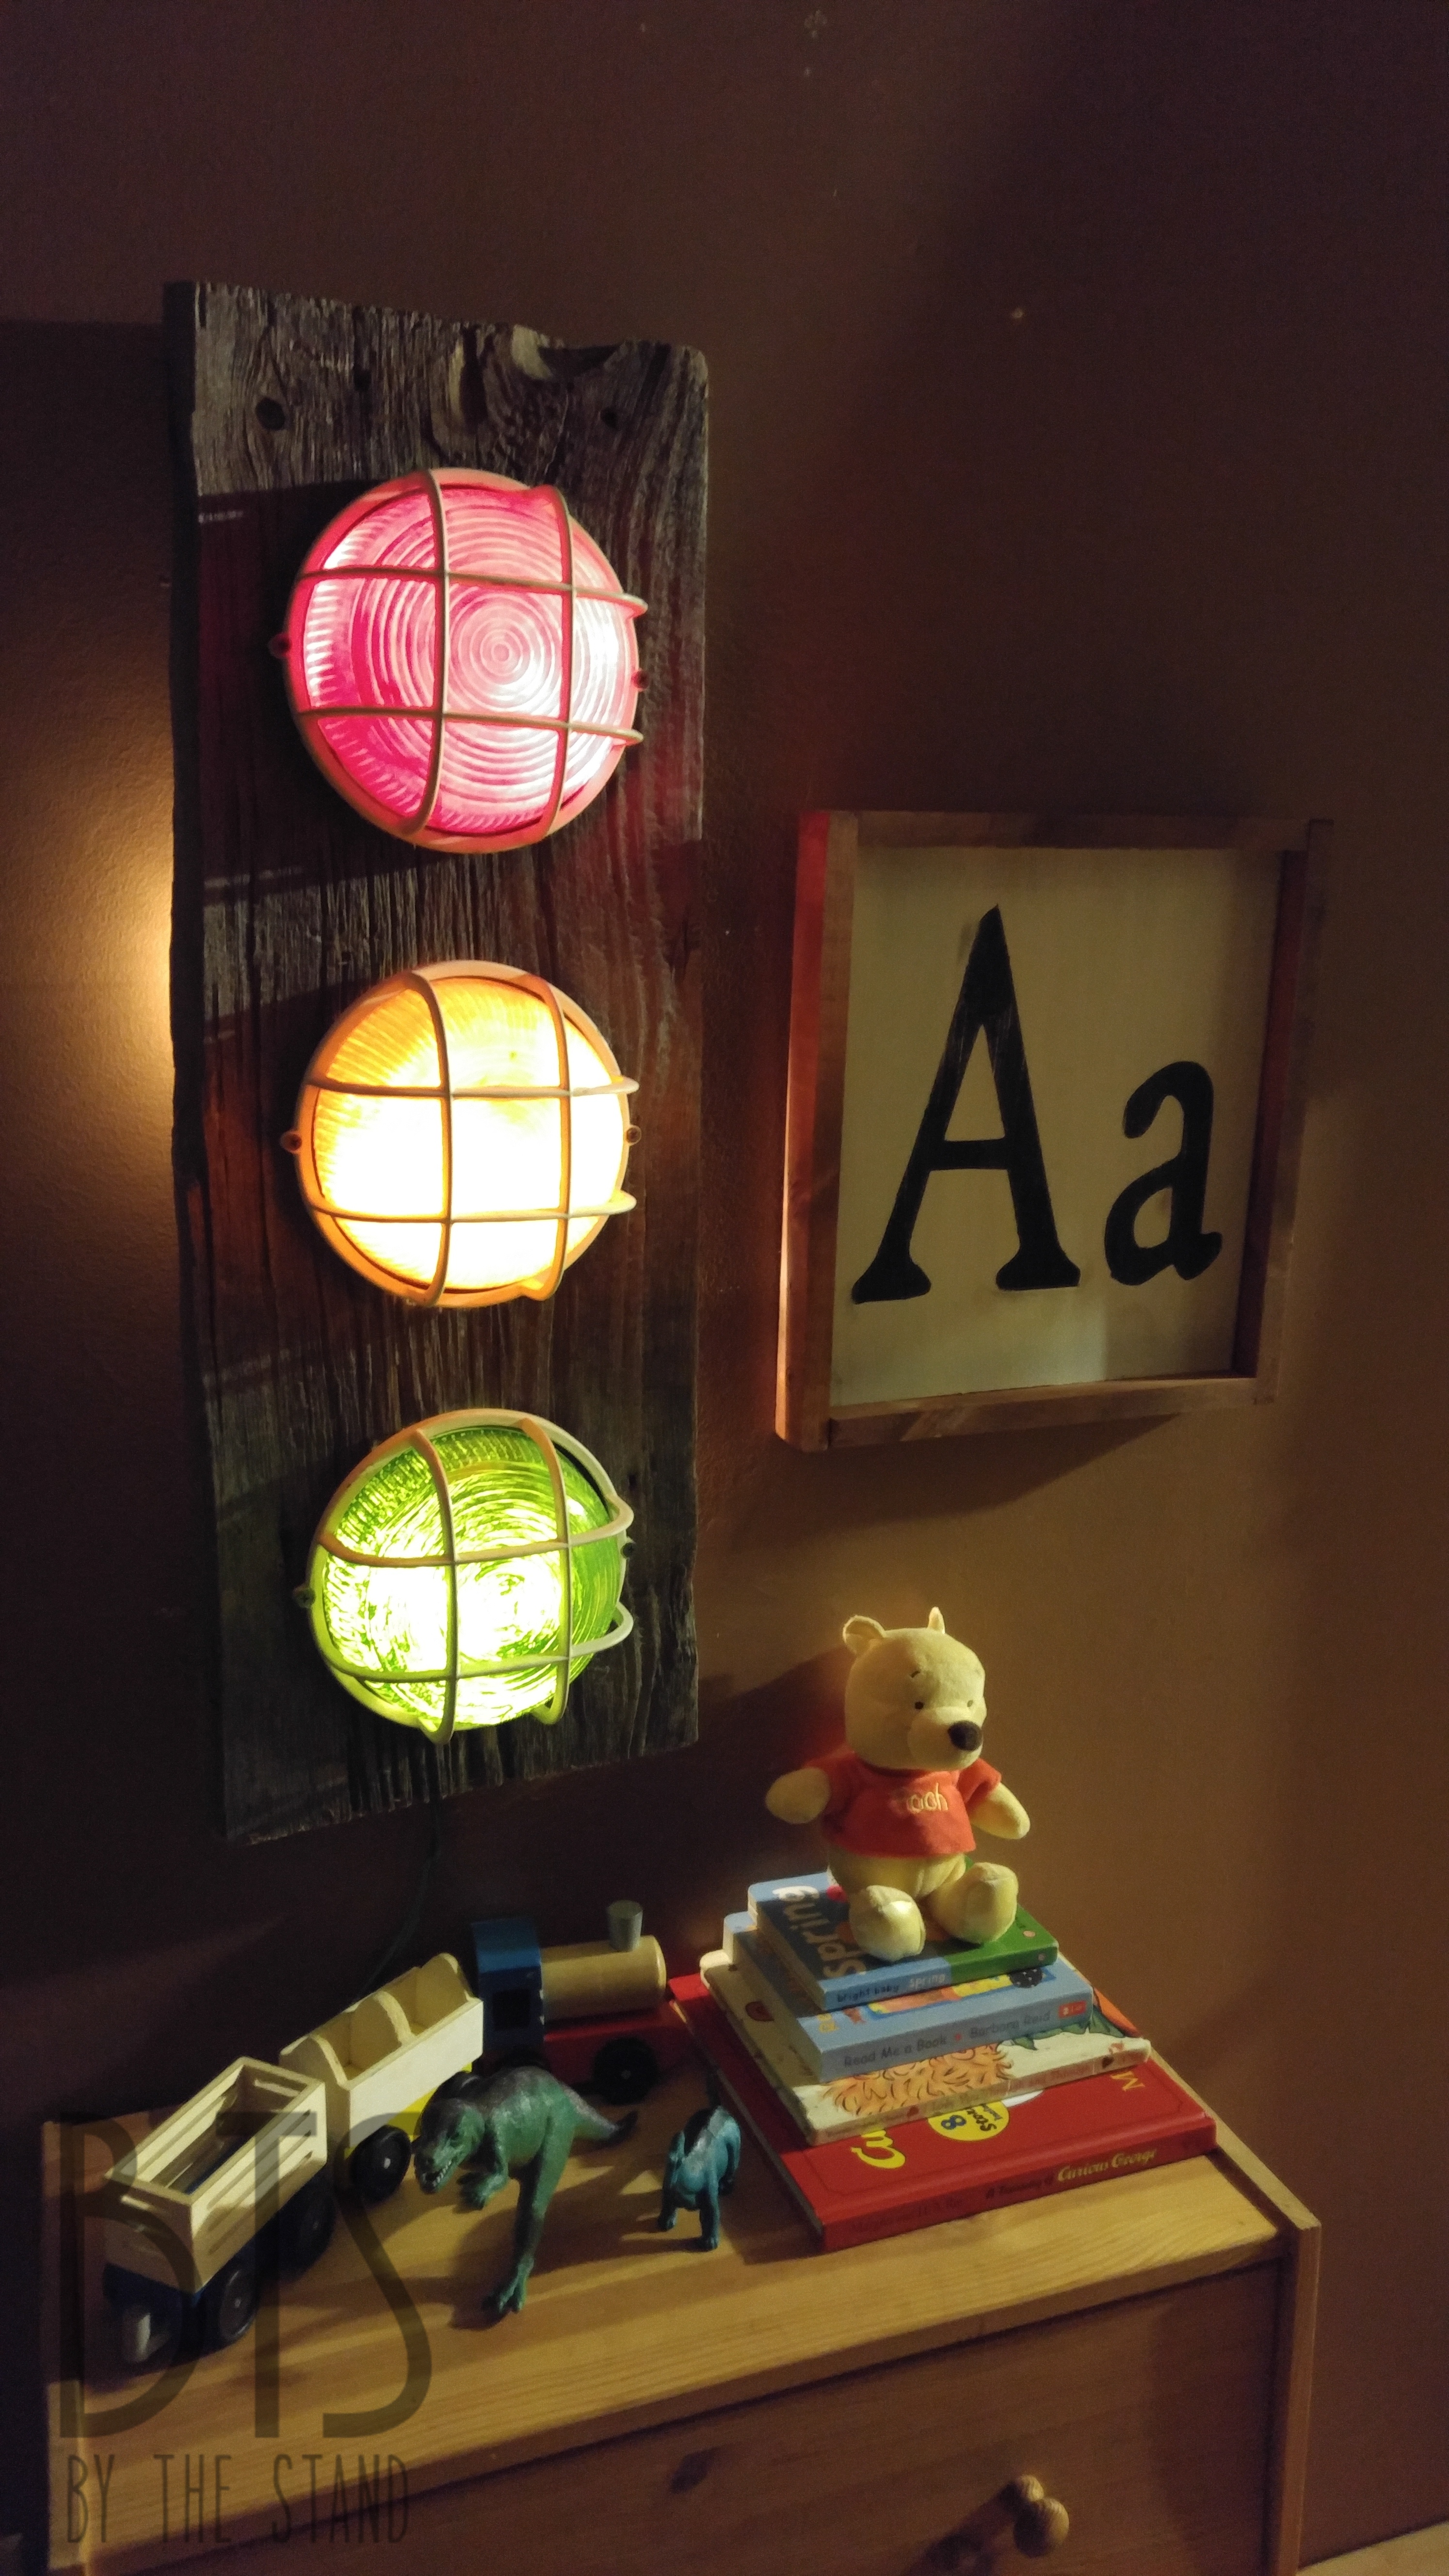
To make this a functional stoplight, I used my drill and a 7/8 spade bit to drill three holes in the barn board so that I could feed Christmas string lights through.


I attached the lights over the holes where the Christmas lights were coming through and viola!

Pretty cool, right?
It looks even better all lit up at night in my son’s room.
Give this video a quick watch so you can see this DIY come together from start to finish!
If you like this project make sure you Pin it!
You never know, you may just come across some lights like these, too!


Leave a Reply
Pingback: A look back at 2017! | By The Stand on August 11, 2017
6 COMMENTS
Maggie
9 years agoThis is so cool and creative! I absolutely love it(: xx
hollygrace13
9 years agoThank you!!! 😄
Maggie
9 years agoNo problem! <3
Susan Depasquale
9 years agoWhere do you get those lights and how much are they
hollygrace13
9 years agoHi Susan, these lights actually came out of an old building that my uncle was renovating. Keep your eyes peeled at thrift stores and maybe you will find something similar 😄