
Hey folks! I have wanted to share this post with you for some time now! I am so excited about it but there was a bit of a delay and only because these shelves were a real nightmare to hang…
You’re probably confused, right? Well let’s get right into this DIY and you will soon see what I am talking about!
First off, if you don’t know, we have a store in Thamesford called Gracie’s Place. It is in a super old building right in the heart of Thamesford. My uncle bought it and we are totally gutting and renovating the whole building. At the back of the building is a turn of the century home that is filled with tons of character that is also getting a bit of a face lift.
Why am I telling you all this? Well, cause my uncle ripped out this trim that was over some of the doorways.

Now before you go getting all “why would he do that!!??” It’s because those doorways don’t exist anymore. The building is getting a full overhaul. So these beautiful pieces were no longer needed.
PERFECT FOR ME!!
I thought that these pieces of trim would make some really beautiful shelves for my powder room and I was right!
I had to add a bit of depth to them because they were’t quite wide enough to make a decent shelf.
I measured and cut a piece of 2×6 wood from my uncle’s scrap pile to fit the same length of the shelf.
To attach it to the door trim, I made my own triangular braces from 2×6 scrap wood. This was super easy to do with my Ryobi Mtire Saw. I LOVE this saw!
Just turn it to 45 degrees and start cutting.

I had the hubby’s help for this one!
I used my Ryobi Palm sander to give this wood a quick sanding.


Time to attach the extra piece of wood to the trim! To do this we used a Ryobi drill with screws.
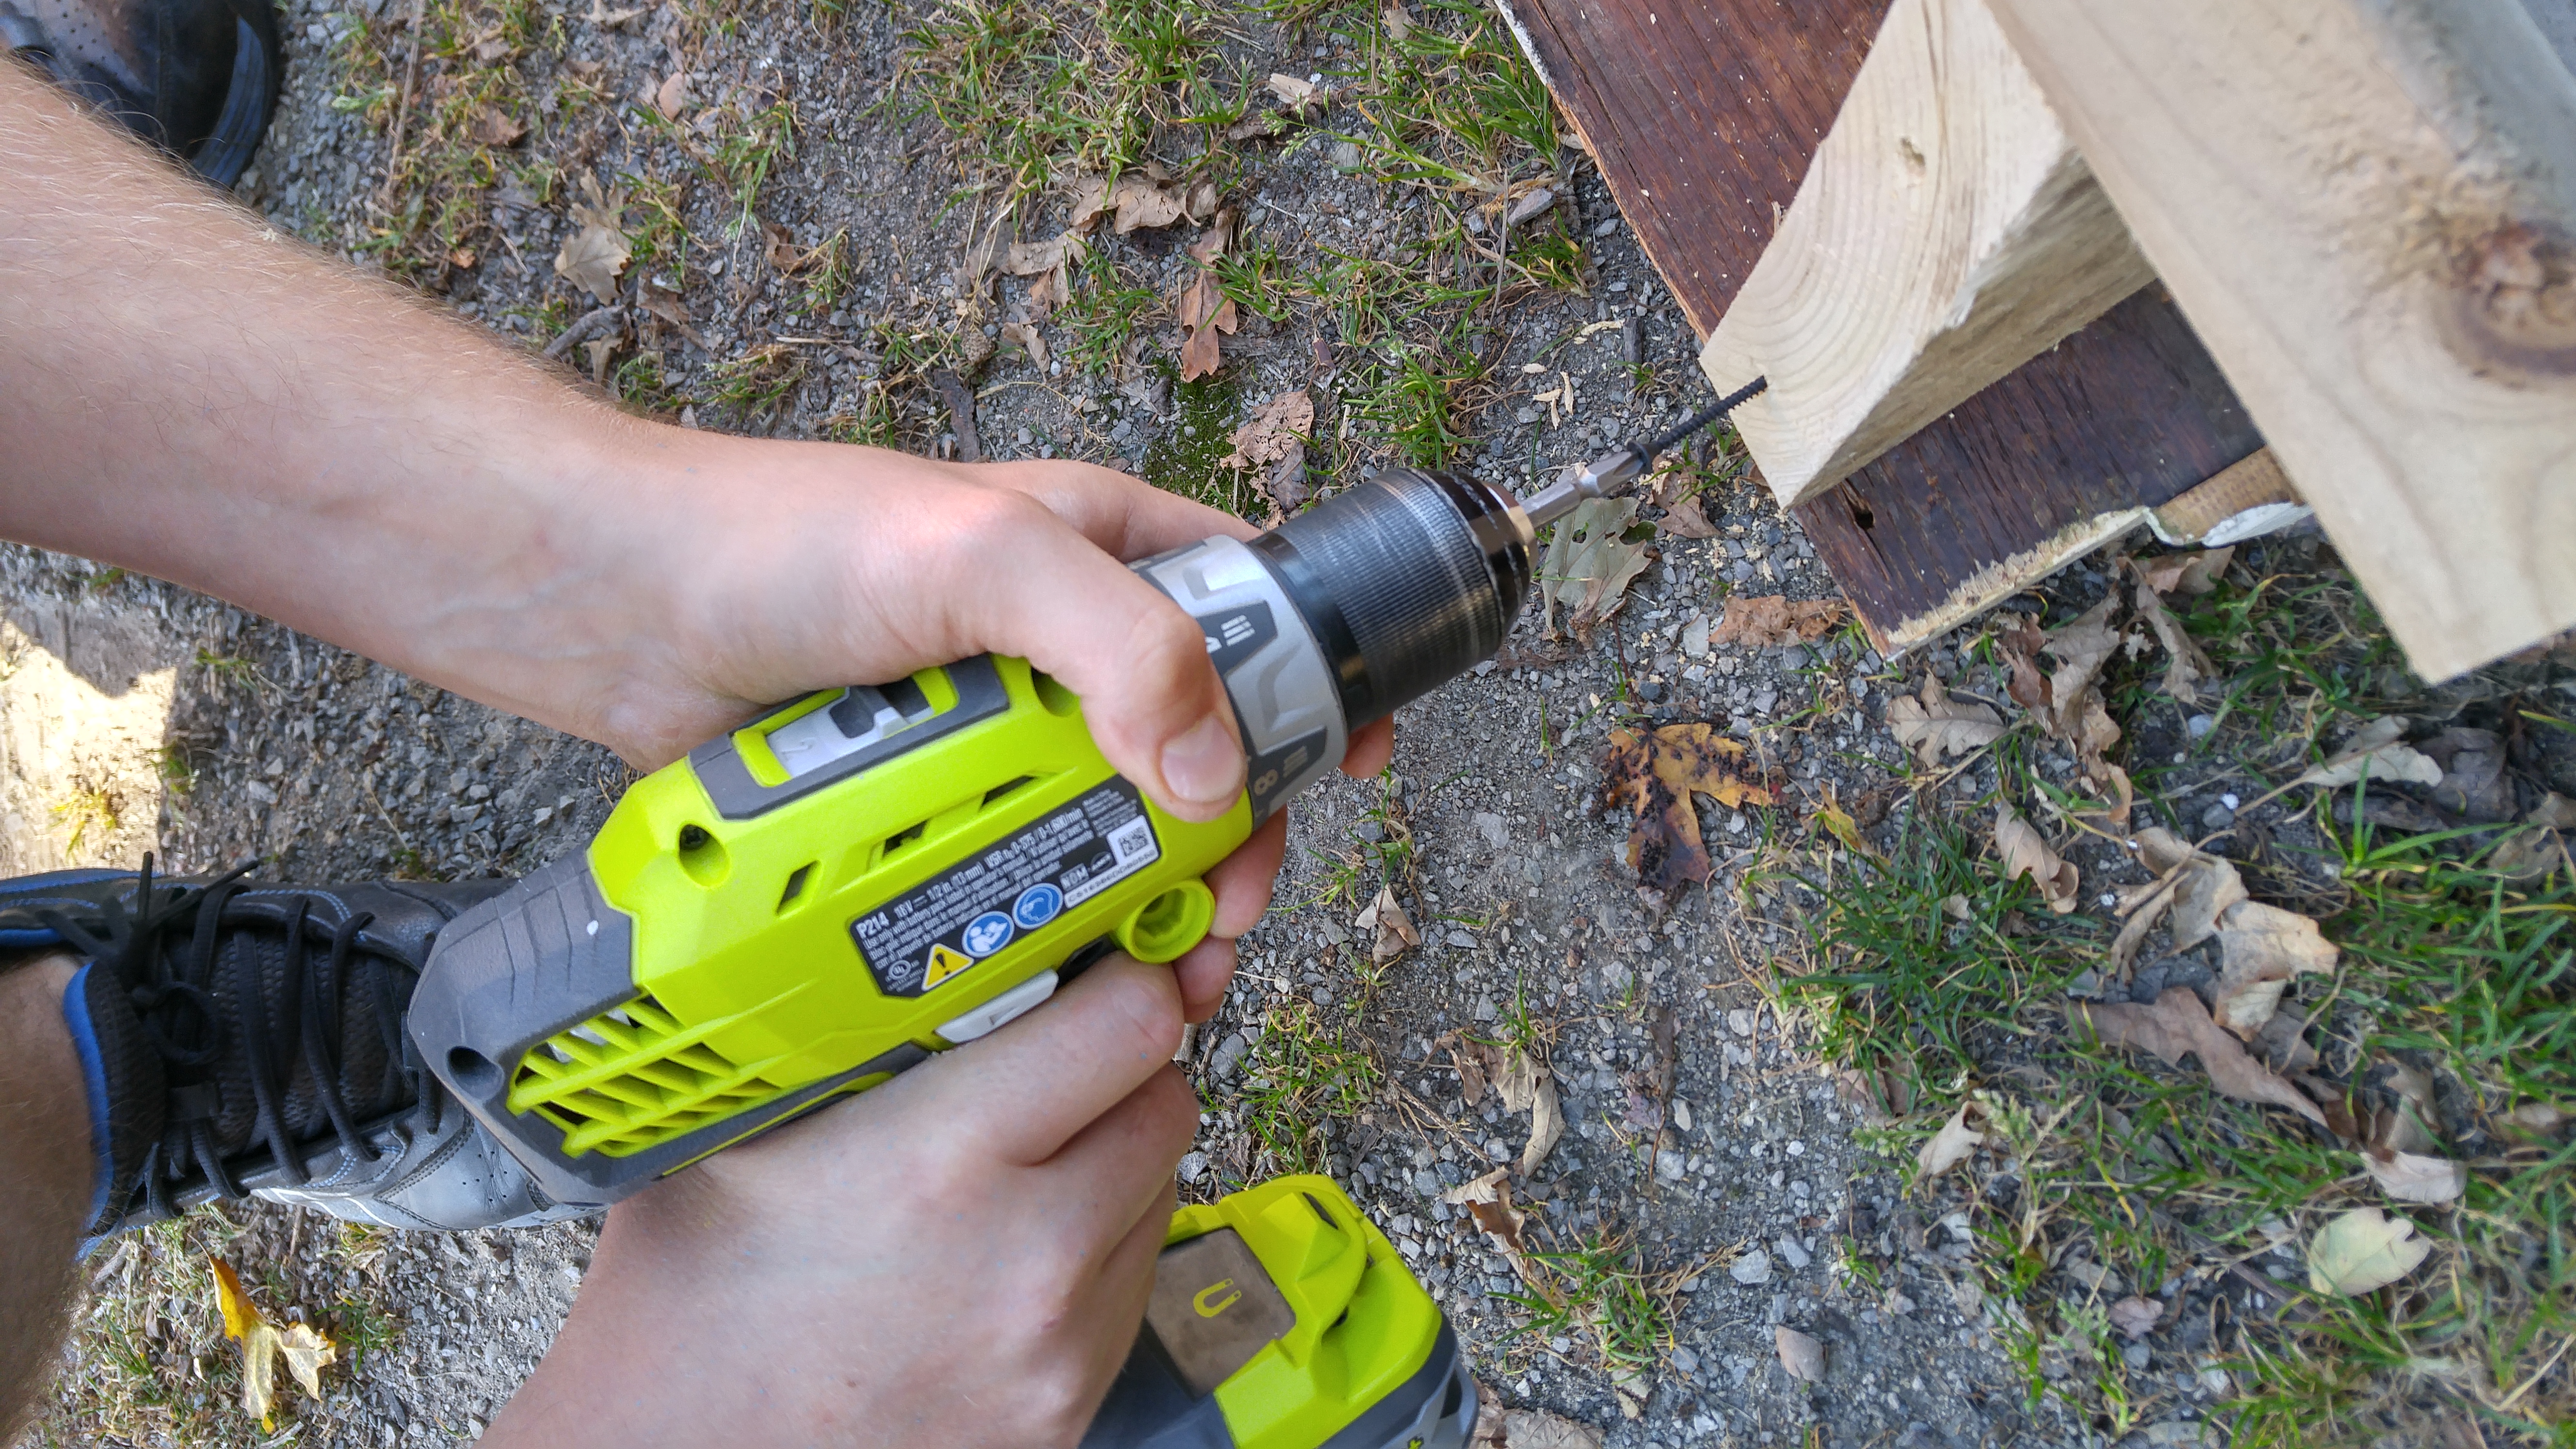

This is what is looks like from the back.

This seems like it might be difficult, but it’s actually quite easy! I didn’t bother including measurements because you would have to have the exact same piece of trim as me and the odds of that are slim to nil.
BUT … you could totally recreate this project with any piece of wood.
I wanted to paint my shelves since they were two different colours.
You will also notice that I had to cut the trim. My powder room is very tiny, so the whole piece wouldn’t fit. Cutting it left me with one straight edge cut. Although this wasn’t ideal, it is what it is and it doesn’t bother me. I actually kind of like it like this. I nestled it right up against the wall (as you will see in the after pic) and you can barely notice.

For the paint, I chose Sunday Tea from Country Chic Paint. This is probably my new favourite colour right now!! I LOVE IT!!


After the paint had dried, I went over the whole piece with Grey Wax — another one of my favourites from Country Chic Paint.
I have to apologize… I do not have any pictures of us hanging the shelves. Remember how I said earlier it was a nightmare… well, it was a NIGHTMARE.
These shelves actually ended up being super super heavy. It was quite the ordeal to hang them so taking pictures didn’t even cross my mind. Sorry!
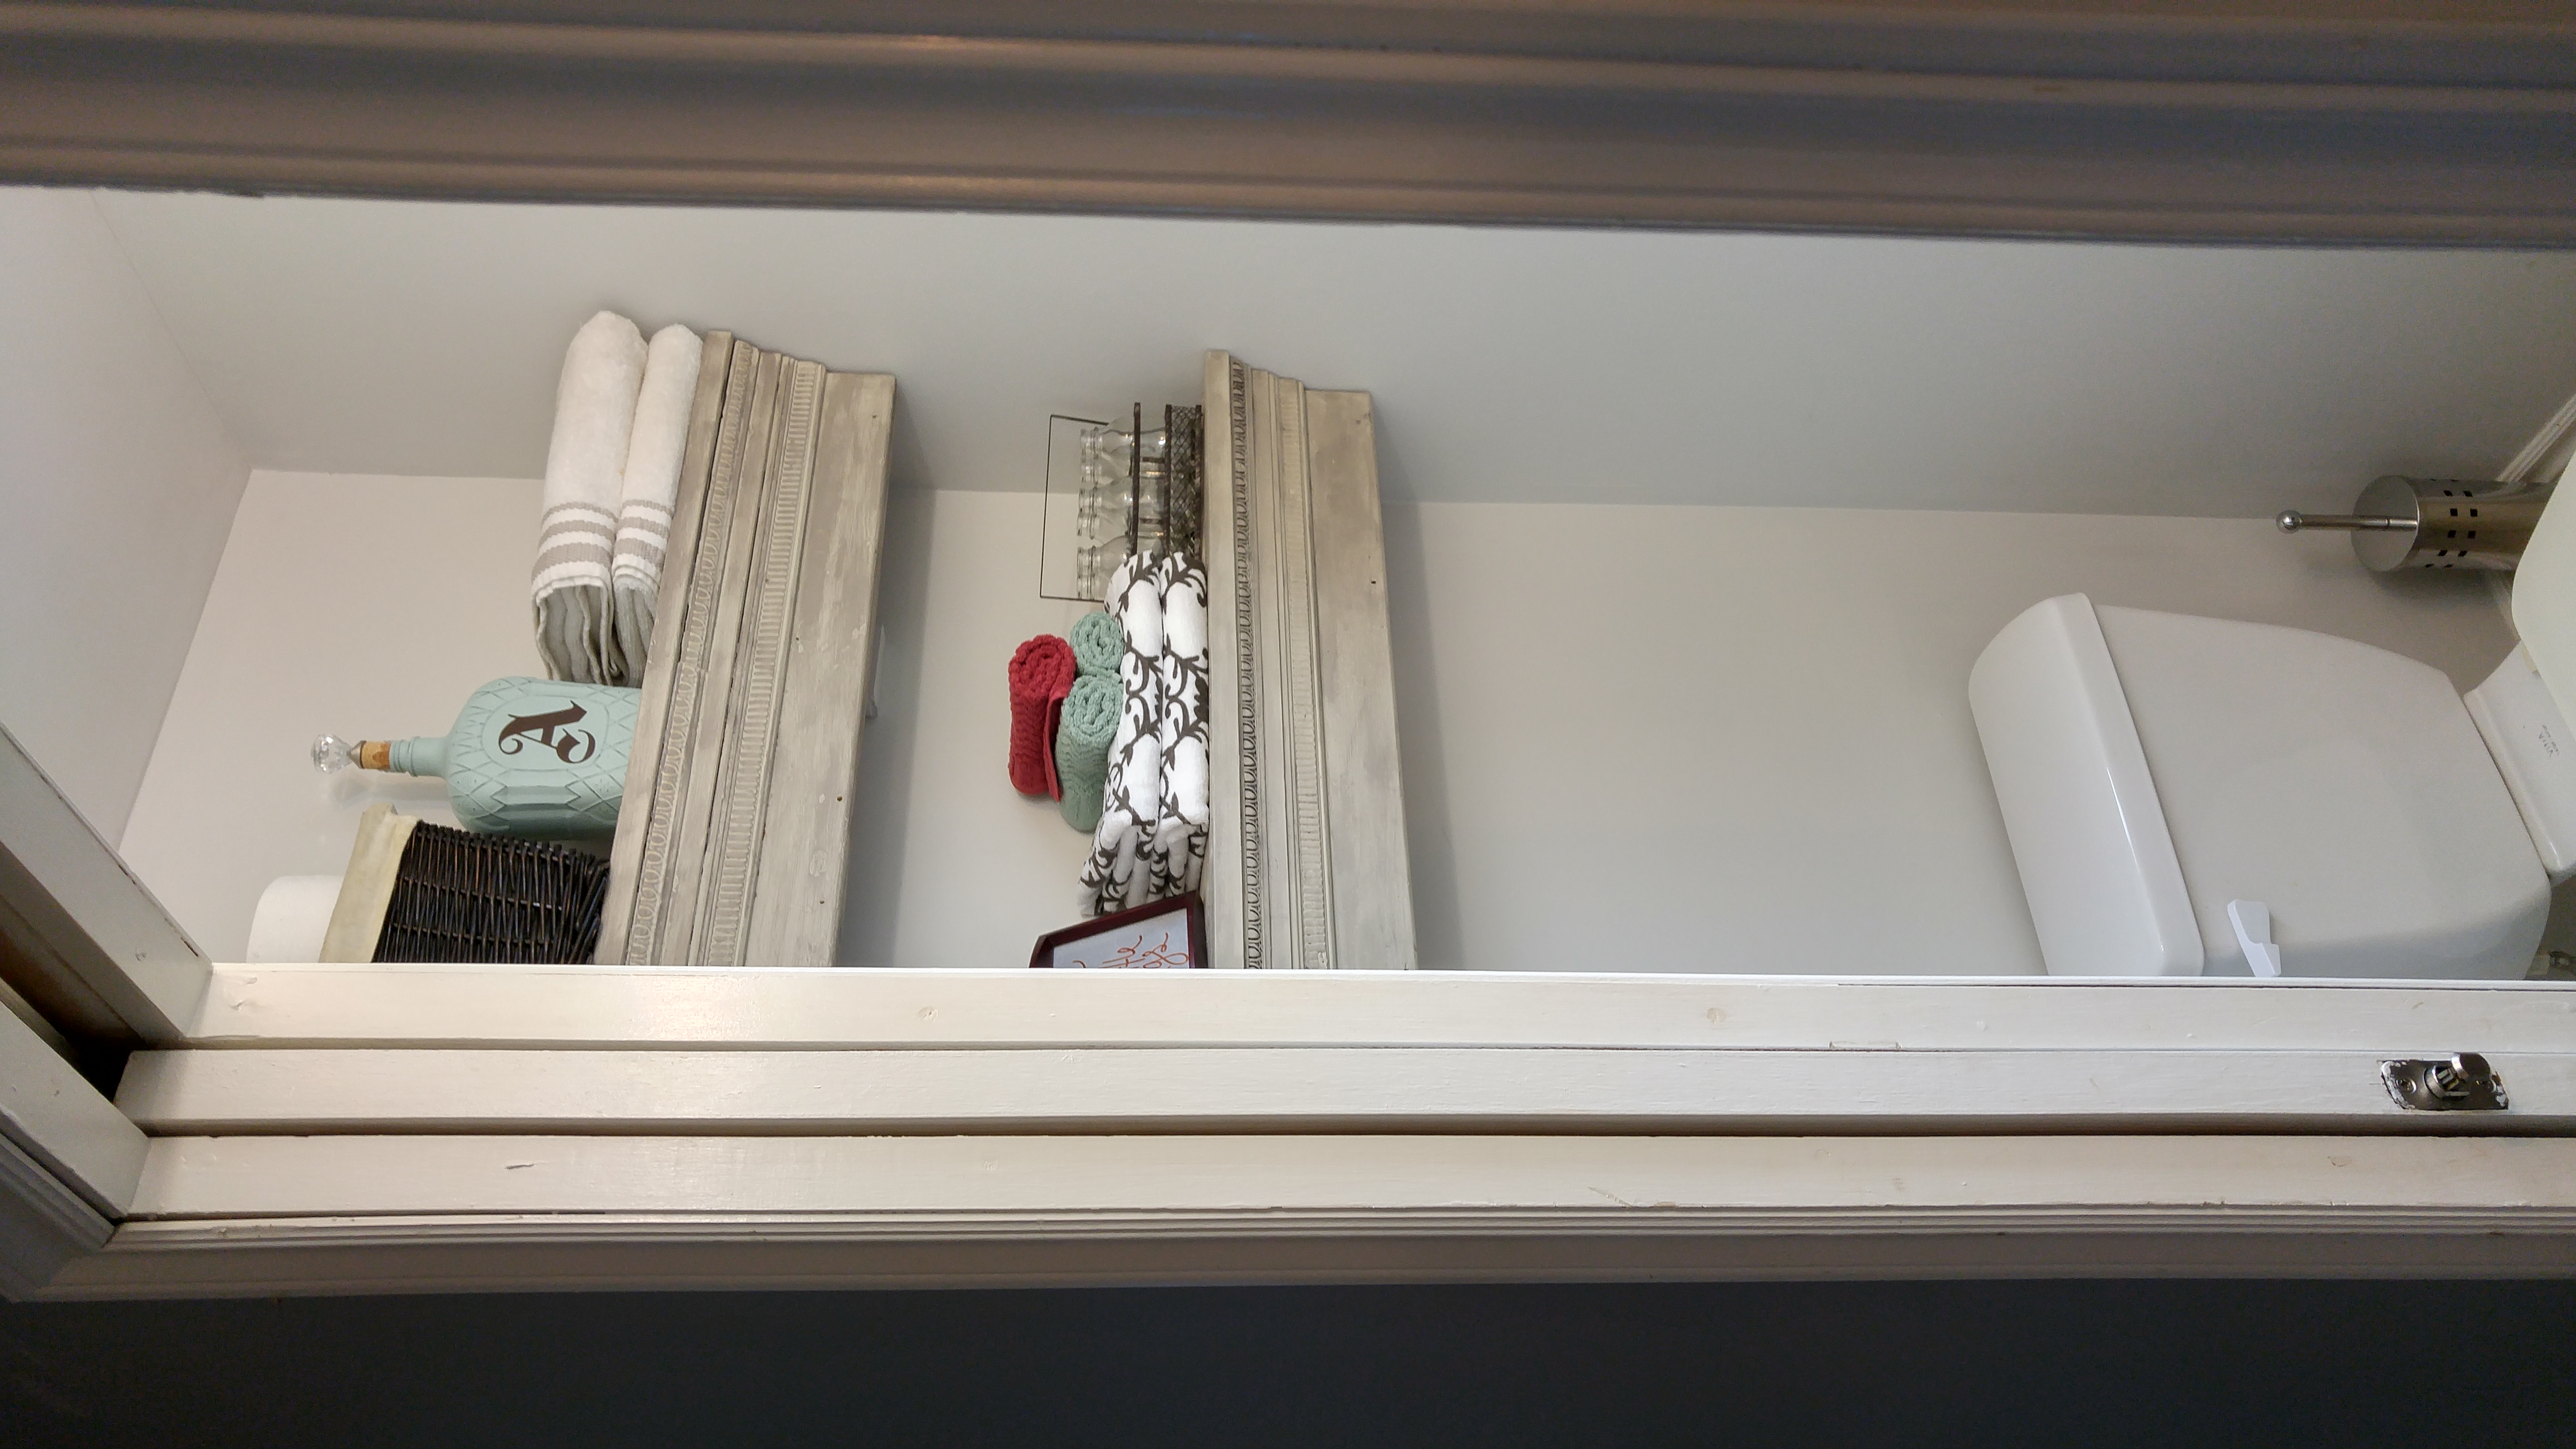
But here they are!

What do you think?? I personally, am in LOVE!
They have totally transformed my tiny little powder room!


The front half of the powder room will be getting it’s own little makeover soon so make sure that you come back and check for that — or subscribe to my mailing list so that you don’t miss out!
If you love this, make sure you pin this image to your DIY board!
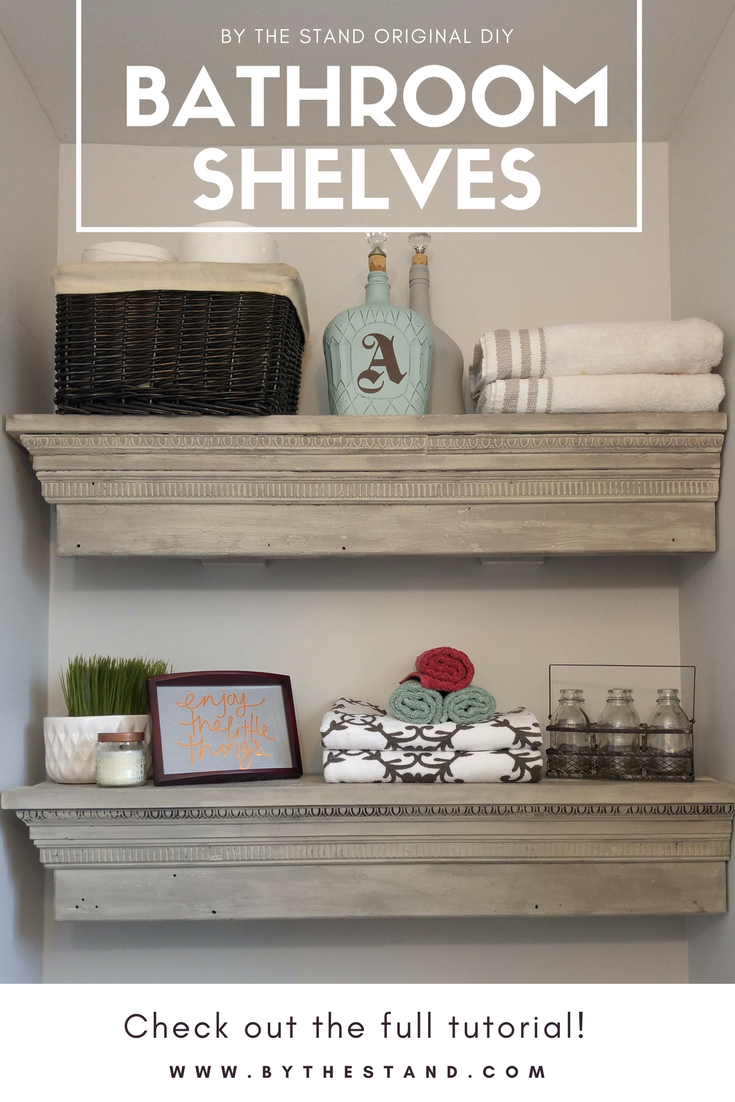
If you guys love this DIY, don’t be shy! Share it with a friend!!


8 COMMENTS
Yvonne Houle
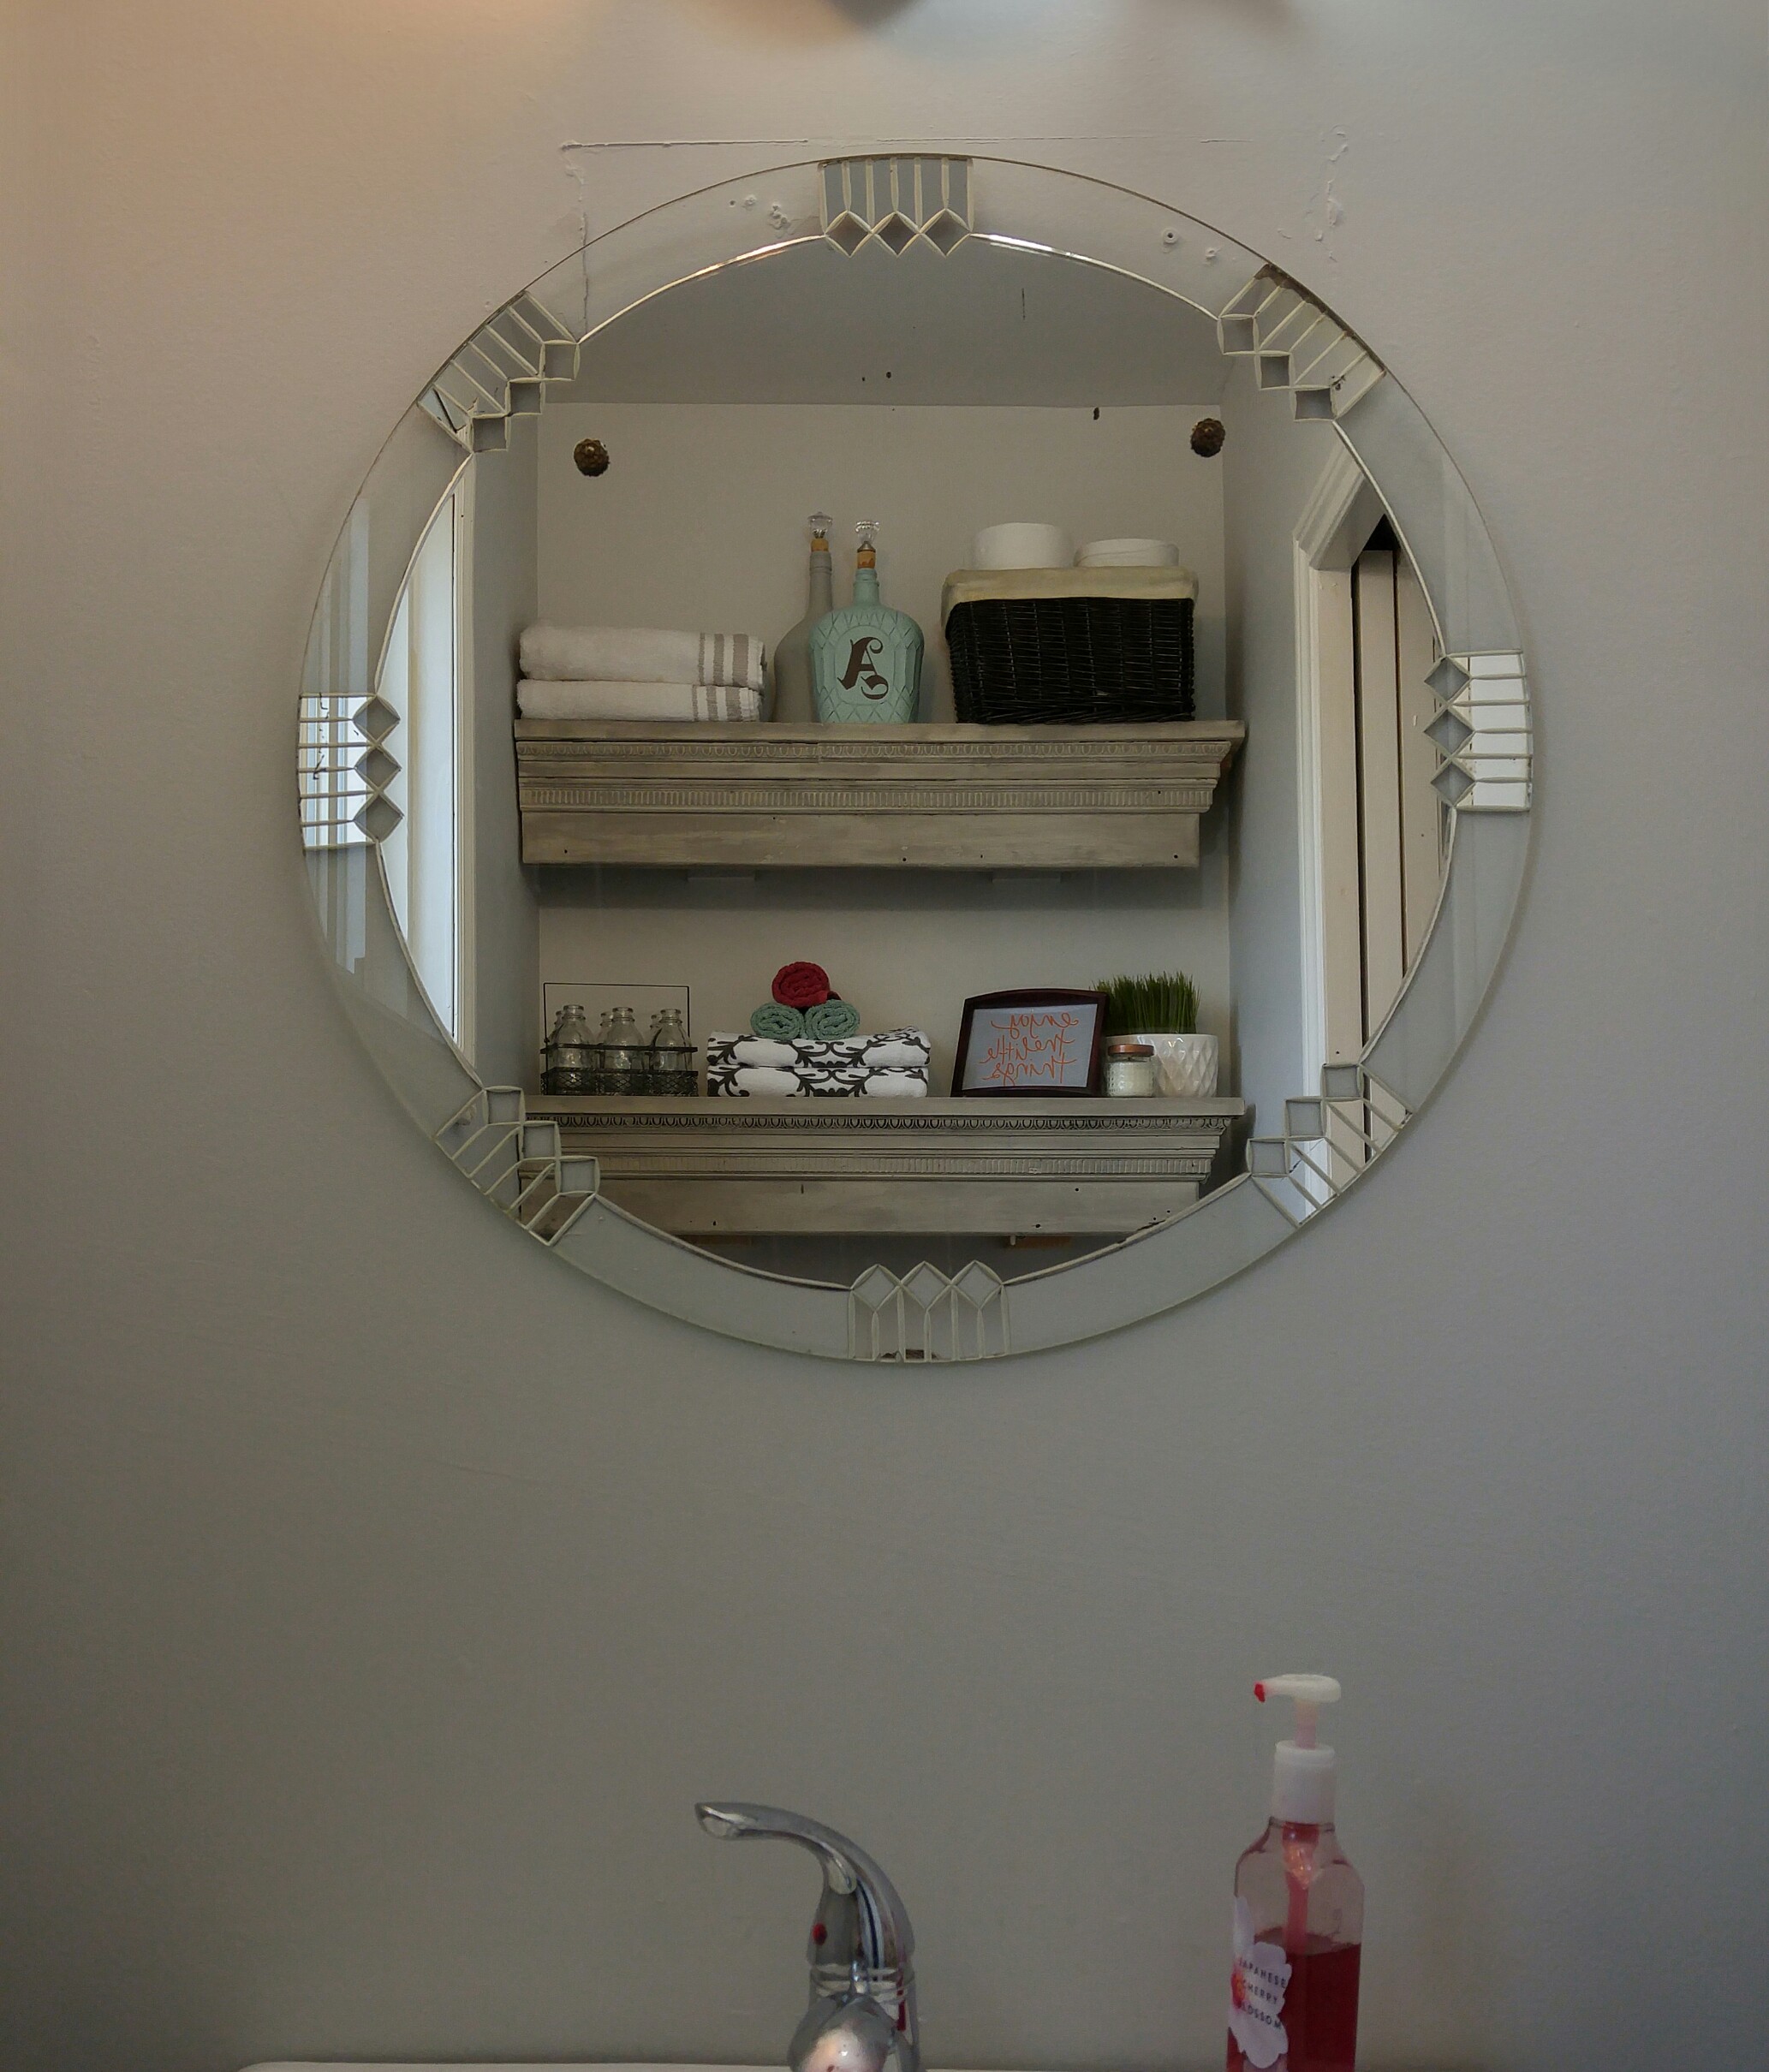
9 years agoThose selves are gorgeous, love the soft color and they fit really well in the corners too, I found Liz’s blog very touching and interesting, how talented she is. By the way, the mirror you put in the bathroom wasn’t from B house was it. I can’t remember what it looked like cause there were three of them. Keep my in touch, and continue having fun.
Yvonne
hollygrace13
9 years ago AUTHORThank you so much, Yvonne! Yes! That is the mirror from B’s house! Good eye!! 😀
yvonne
9 years agoWow looks marvelous, Barry likes it too & thanks you!
hollygrace13
9 years ago AUTHORAwesome! So glad to hear it!! 😀
Ivory
9 years agoI love this idea. Very beautiful
hollygrace13
9 years ago AUTHORThank you, Ivory! 😀
liane linner
9 years agoBeautiful, functional, and re-purposed!
Bathrooms are soo much easier to clean when the shelves are on the wall, with no legs on the floor! Thank you for sharing this creation 🙂
hollygrace13
9 years ago AUTHORYou are most welcome and thank you for your kind comment! 😀