So if you have been following me for a while now, you know that Fall is my jam. It’s my time to shine. There is absolutely nothing that I don’t love about fall. The leaves, the breeze, the sweaters, scarves… oh, man. I could go on and on.

One of my favourite things about fall, though — the DIYs and decorating.
I thought that I would switch things up a bit with this DIY. Normally, I go for the more traditional fall colours when it comes to my fall decor and crafting but when I saw the new Matte Metallics from DecoArt, I knew that I just had to test them out and incorporate them into my fall lineup.
I picked up these old candle holders from the thrift store and I thought they would be perfect for a mantle. I also had a stash of inexpensive foam and plastic fall decor that was just begging for a makeover.

For the candle holders, I started by painting them in a layer of Americana Decor Chalky Finish in the colour, Cameo.

I used a giant sponge brush because I didn’t want brush strokes and I find it’s way easier to paint things like glass, ceramic or shiny surfaces with a sponge.

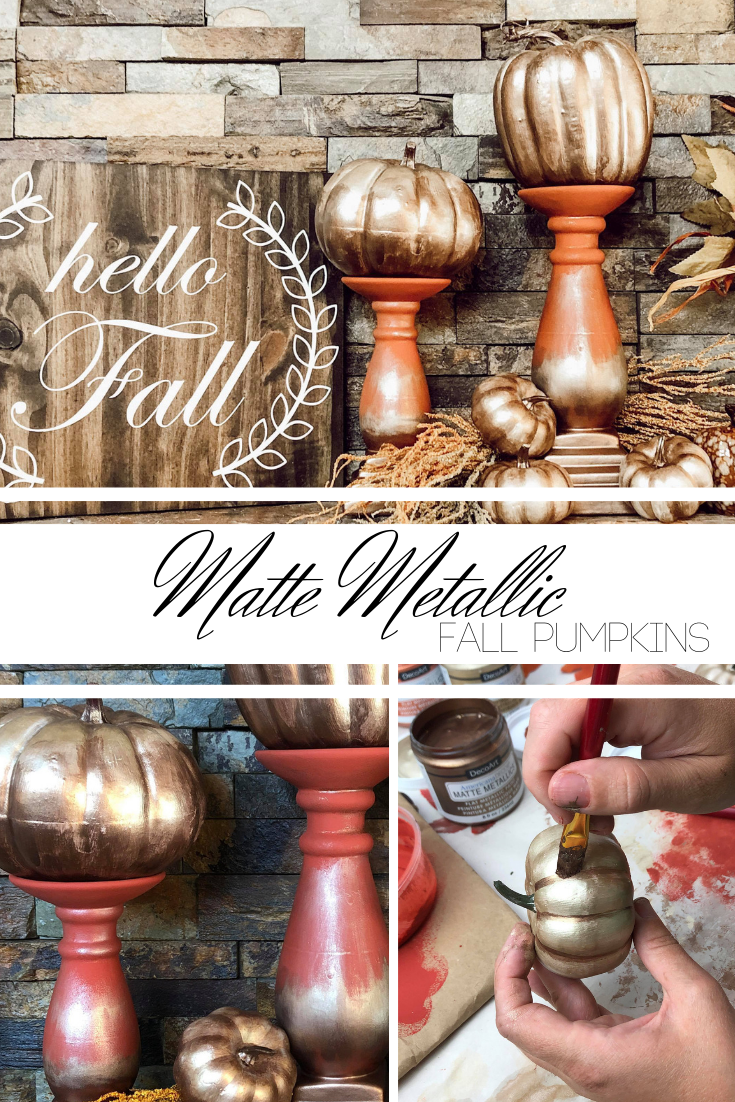
I let the coat of Cameo dry and then painted the bottom portion with Americana Decor Matte Metallics in the colour Aged Bronze.
These new Matte Metallics from DecoArt are perfect for those projects where you want low sheen. They are perfect for just a little subtle accenting without going full metallic shine.

Next, I painted above the Aged Bronze with another Matte Mettalic in the colour, Champagne.

When the Champagne colour was just a little bit tacky and almost dry, I used a lint-free cloth to run the paint, smear and pull it up.

For my cheap pumpkins, I primed them first by painting them with a cream coloured Acrylic paint.
After the priming layer had dried, I used the Champagne Matte Metallic to paint the entire pumpkin.

To provide the pumpkins with some definition, I painted in the vertical indent lines on the pumpkin with Aged Bronze.

I also layered in the Aged Bronze at the top of the pumpkins.

I continued going back and forth between the Aged Bronze and the Champagne until the pumpkins had the look that I was after.
There really was no rhyme or reason as to where I painted the two colours. I just kept painting until I thought they looked good.
This is the great thing about painting and doing these DIY pumpkins, you can let your creativity soar.
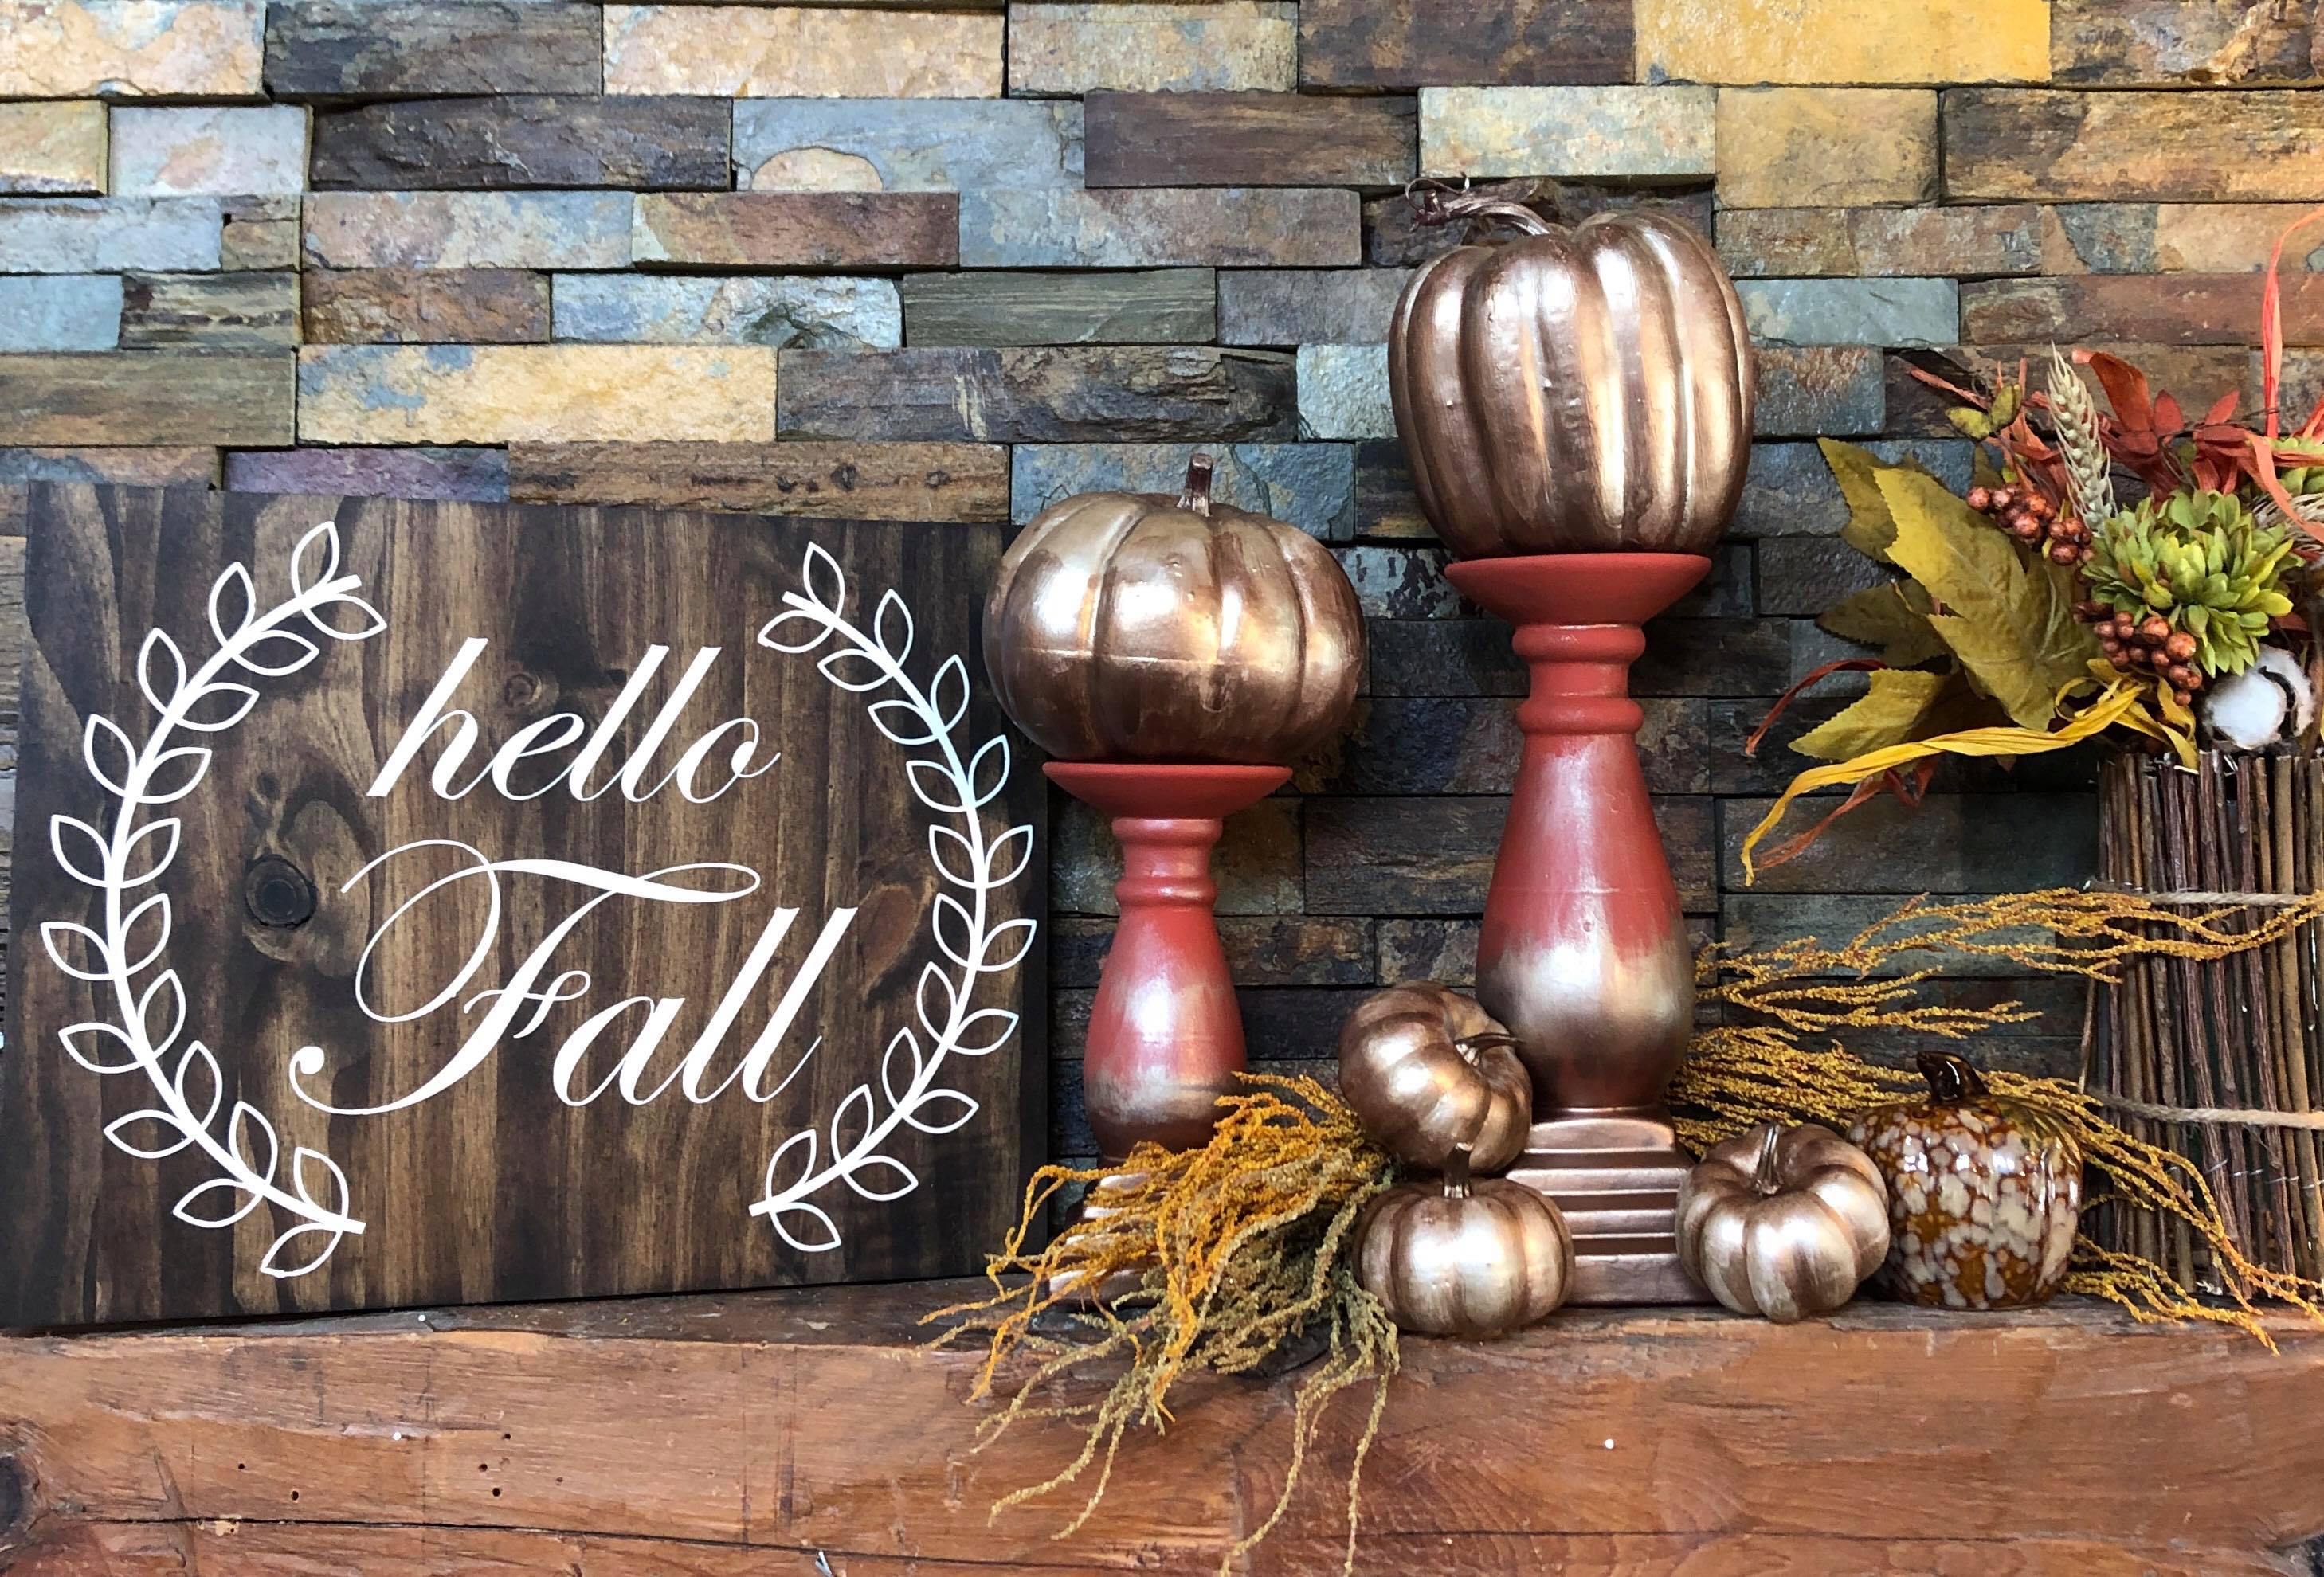
I like the idea of displaying the pumpkins on the candle holders.

This is a creative way to incorporate a little bit of metallic shine into your fall decor without going overboard.

It’s also a clever way to take inexpensive plastic or foam pumpkins and make them look like you got them from a high-end decor store.

What do you think about these Matte Metallics from DecoArt? Leave a comment below! If you love this project, don’t forget to PIN IT!


Leave a Reply