Hey guys! So we are halfway through June and Canada Day will be here before we know it — this project is one that you are definitely going to want to Pin.
I am going to walk you through how I built a wood Canada Flag out of some wood scraps and an old table leg.
I can’t wait to show you the end result, so let’s just jump right into it!
Being that the odds of you getting an old table leg the same size as mine are very slim, I am not going to be including measurements in this project.
Materials
- Old table leg
- Four pieces of scrap wood
- Chain
- 2 Eye hooks
- Black paint
- Red paint
- White paint
- Maple leaf stencil

There were a bunch of old screws in the table leg so I began by removing them all and then I gave the leg a good sanding with my Ryobi sander.


After sanding the leg, I wiped it down to clean off any debris/dirt and then I painted the entire leg in Licorice from Country Chic Paint

As well, I also painted a scrap piece of wood, that I will be using to help attach the table leg to my fence (we’ll get into that later, though)


While my leg and piece of wood were drying, I started on the Canada flag portion. I had these three pieces of wood sitting in my scrap pile and knew they would be perfect for this project.

I cut the wood using my sliding miter saw from Ryobi to 14″ in length.


Have I mentioned before just how much I love this saw!? The laser is my BFF. 😉
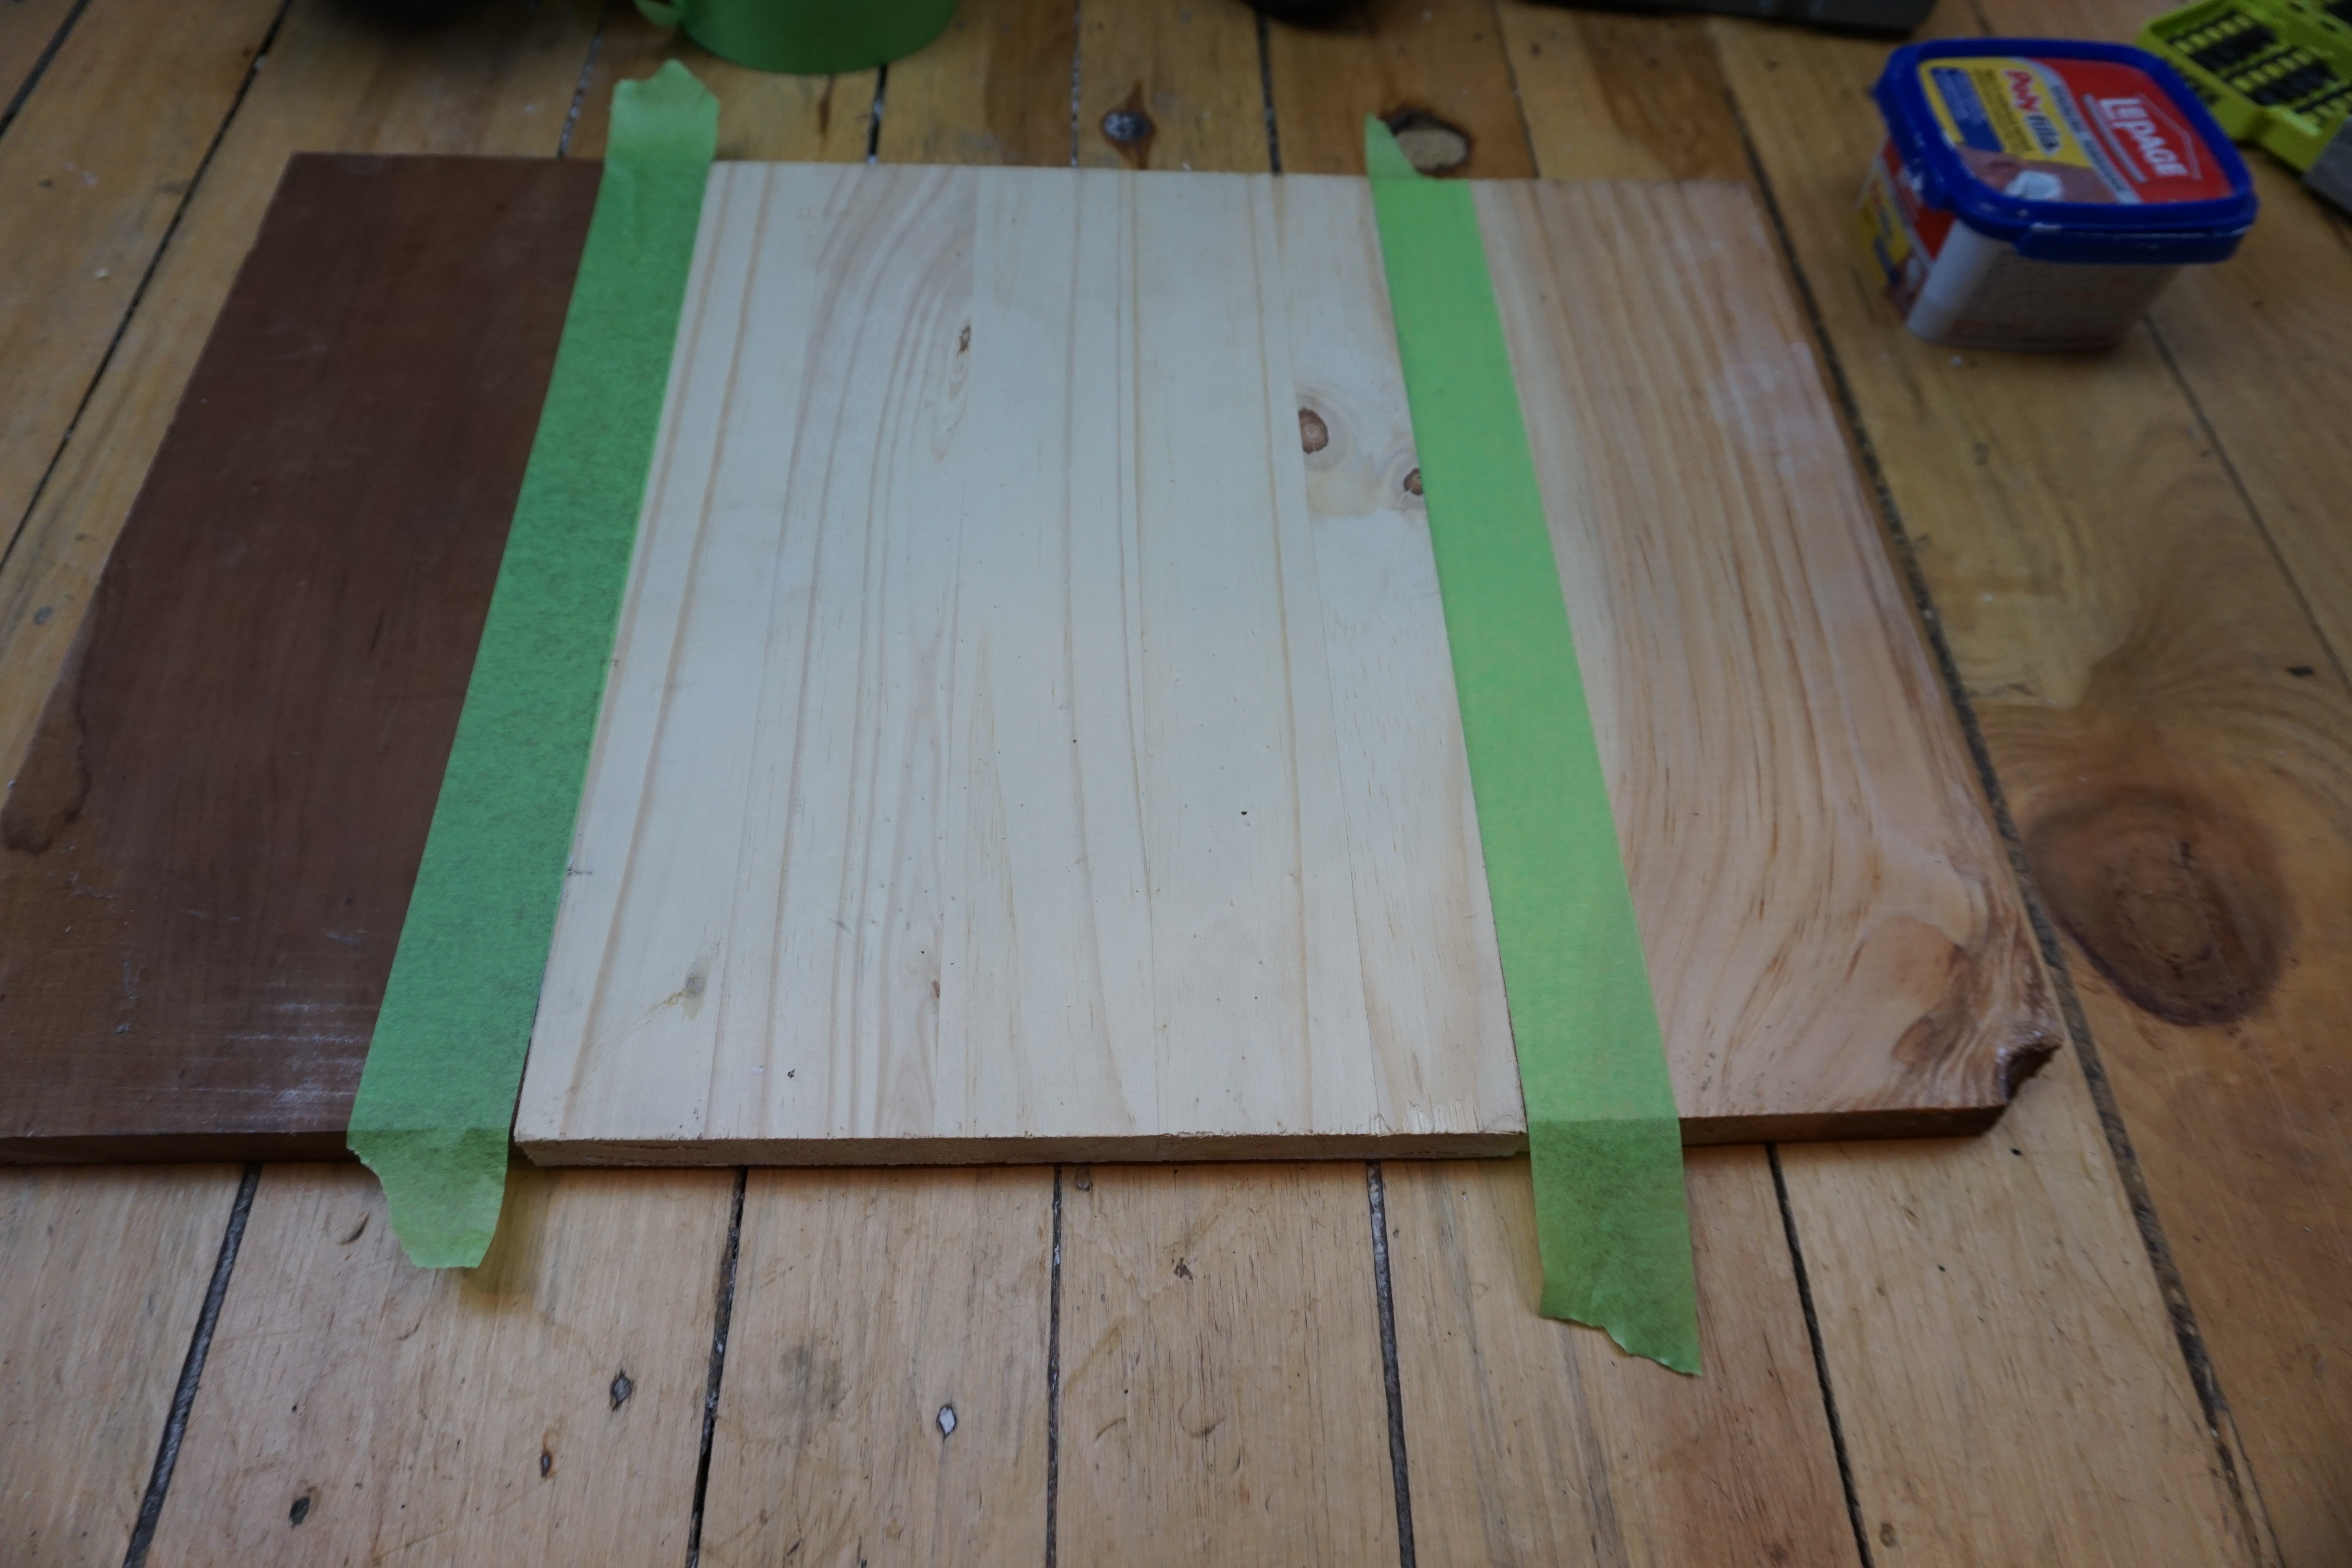
Here is the wood all cut and lined up. I had to swap out one piece of wood for a different scrap piece. It wasn’t lining up straight cause there was a curve in the wood. The only piece of scrap I had left was this darker wood, but I am painting it all anyway so it doesn’t matter.

Since this is a hanging flag, both sides have to be visually appealing so I couldn’t tack it together with the way I normally do with 1x2s.
I did some pocket holes, let me tell you this was my first time doing pocket holes and I definitely have some practicing to do, but that’s how we learn, right?
And on that note, I am not going to go in depth on how to do pocket holes, since I feel I still have a lot of learning to do lol

Once my three pieces of wood were attached, it was time to paint!
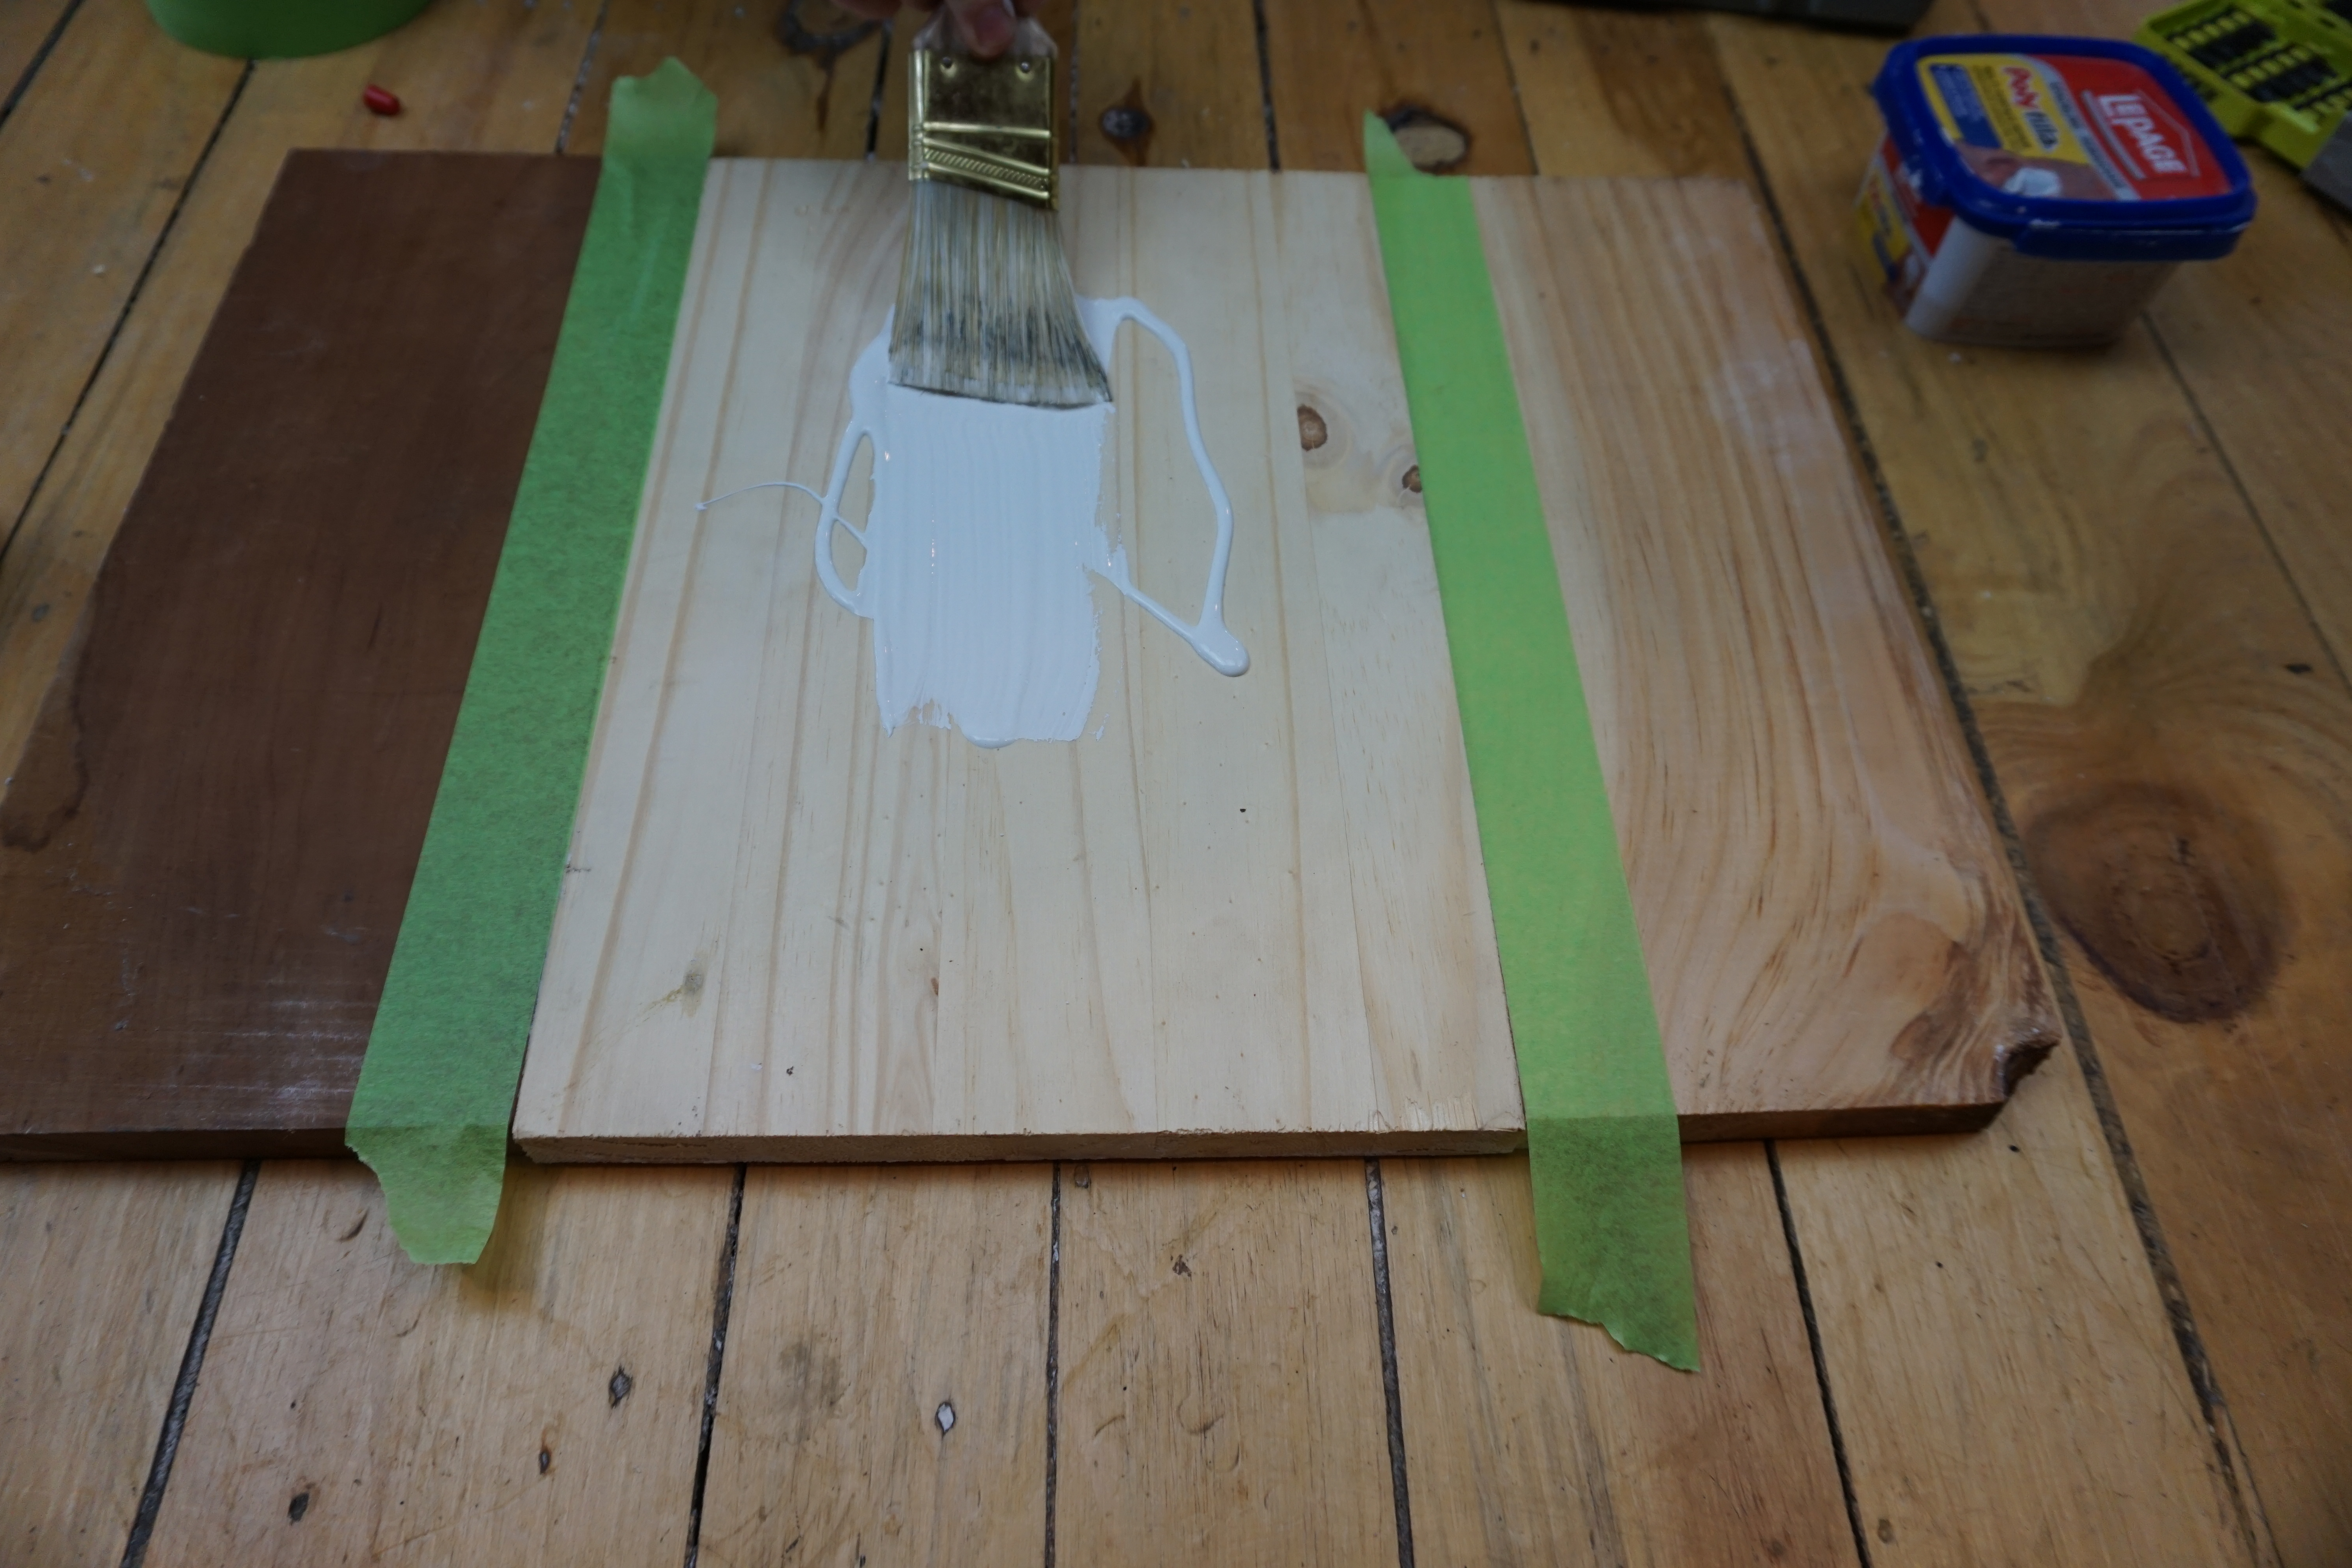
I used painters tape to mark off the middle white area.
For the white, I used Simplicity from Country Chic Paint
Once the white was a little tacky, not dry, I removed the tape. I thought about placing the tape over to do the red, but I really don’t like putting painters tape on top of paint that isn’t fully dry, so I just free handed the red sides.
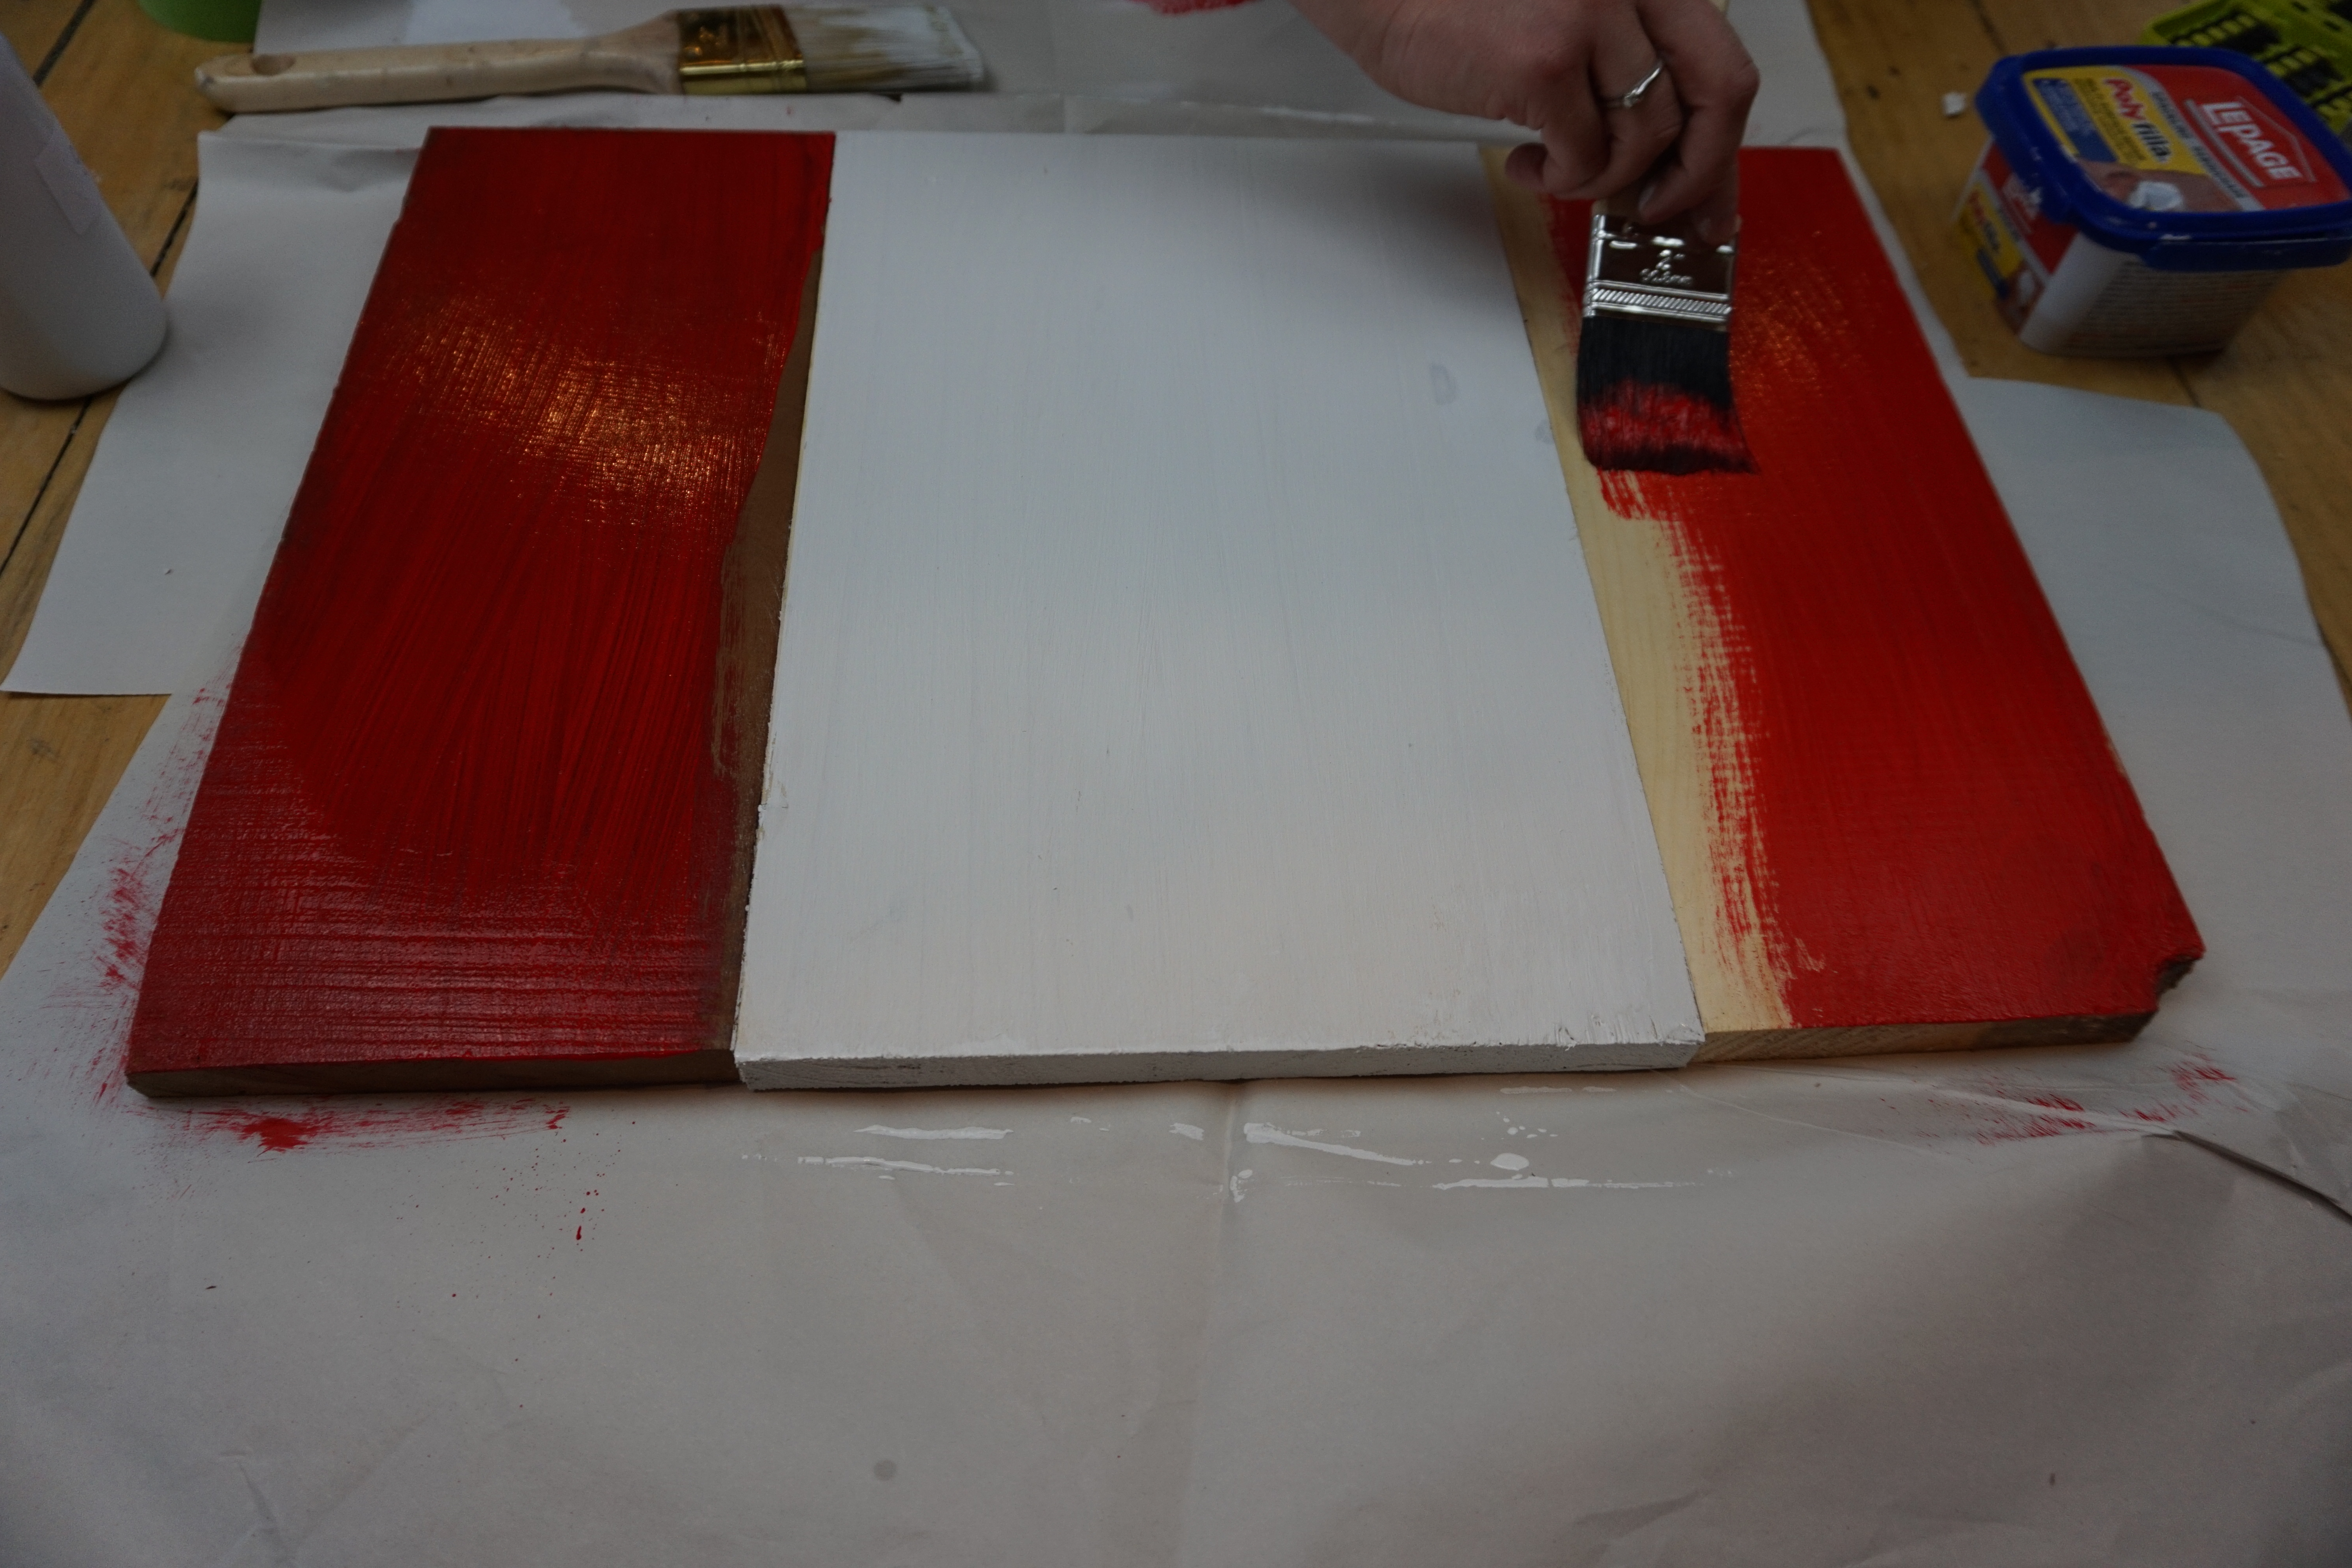
When working close to the edge of the white, I found that a foam brush gave me the most control and made it very easy not to go over onto the white.
The red paint is Devotion from Country Chic Paint

Don’t forget the sides!!! 🙂

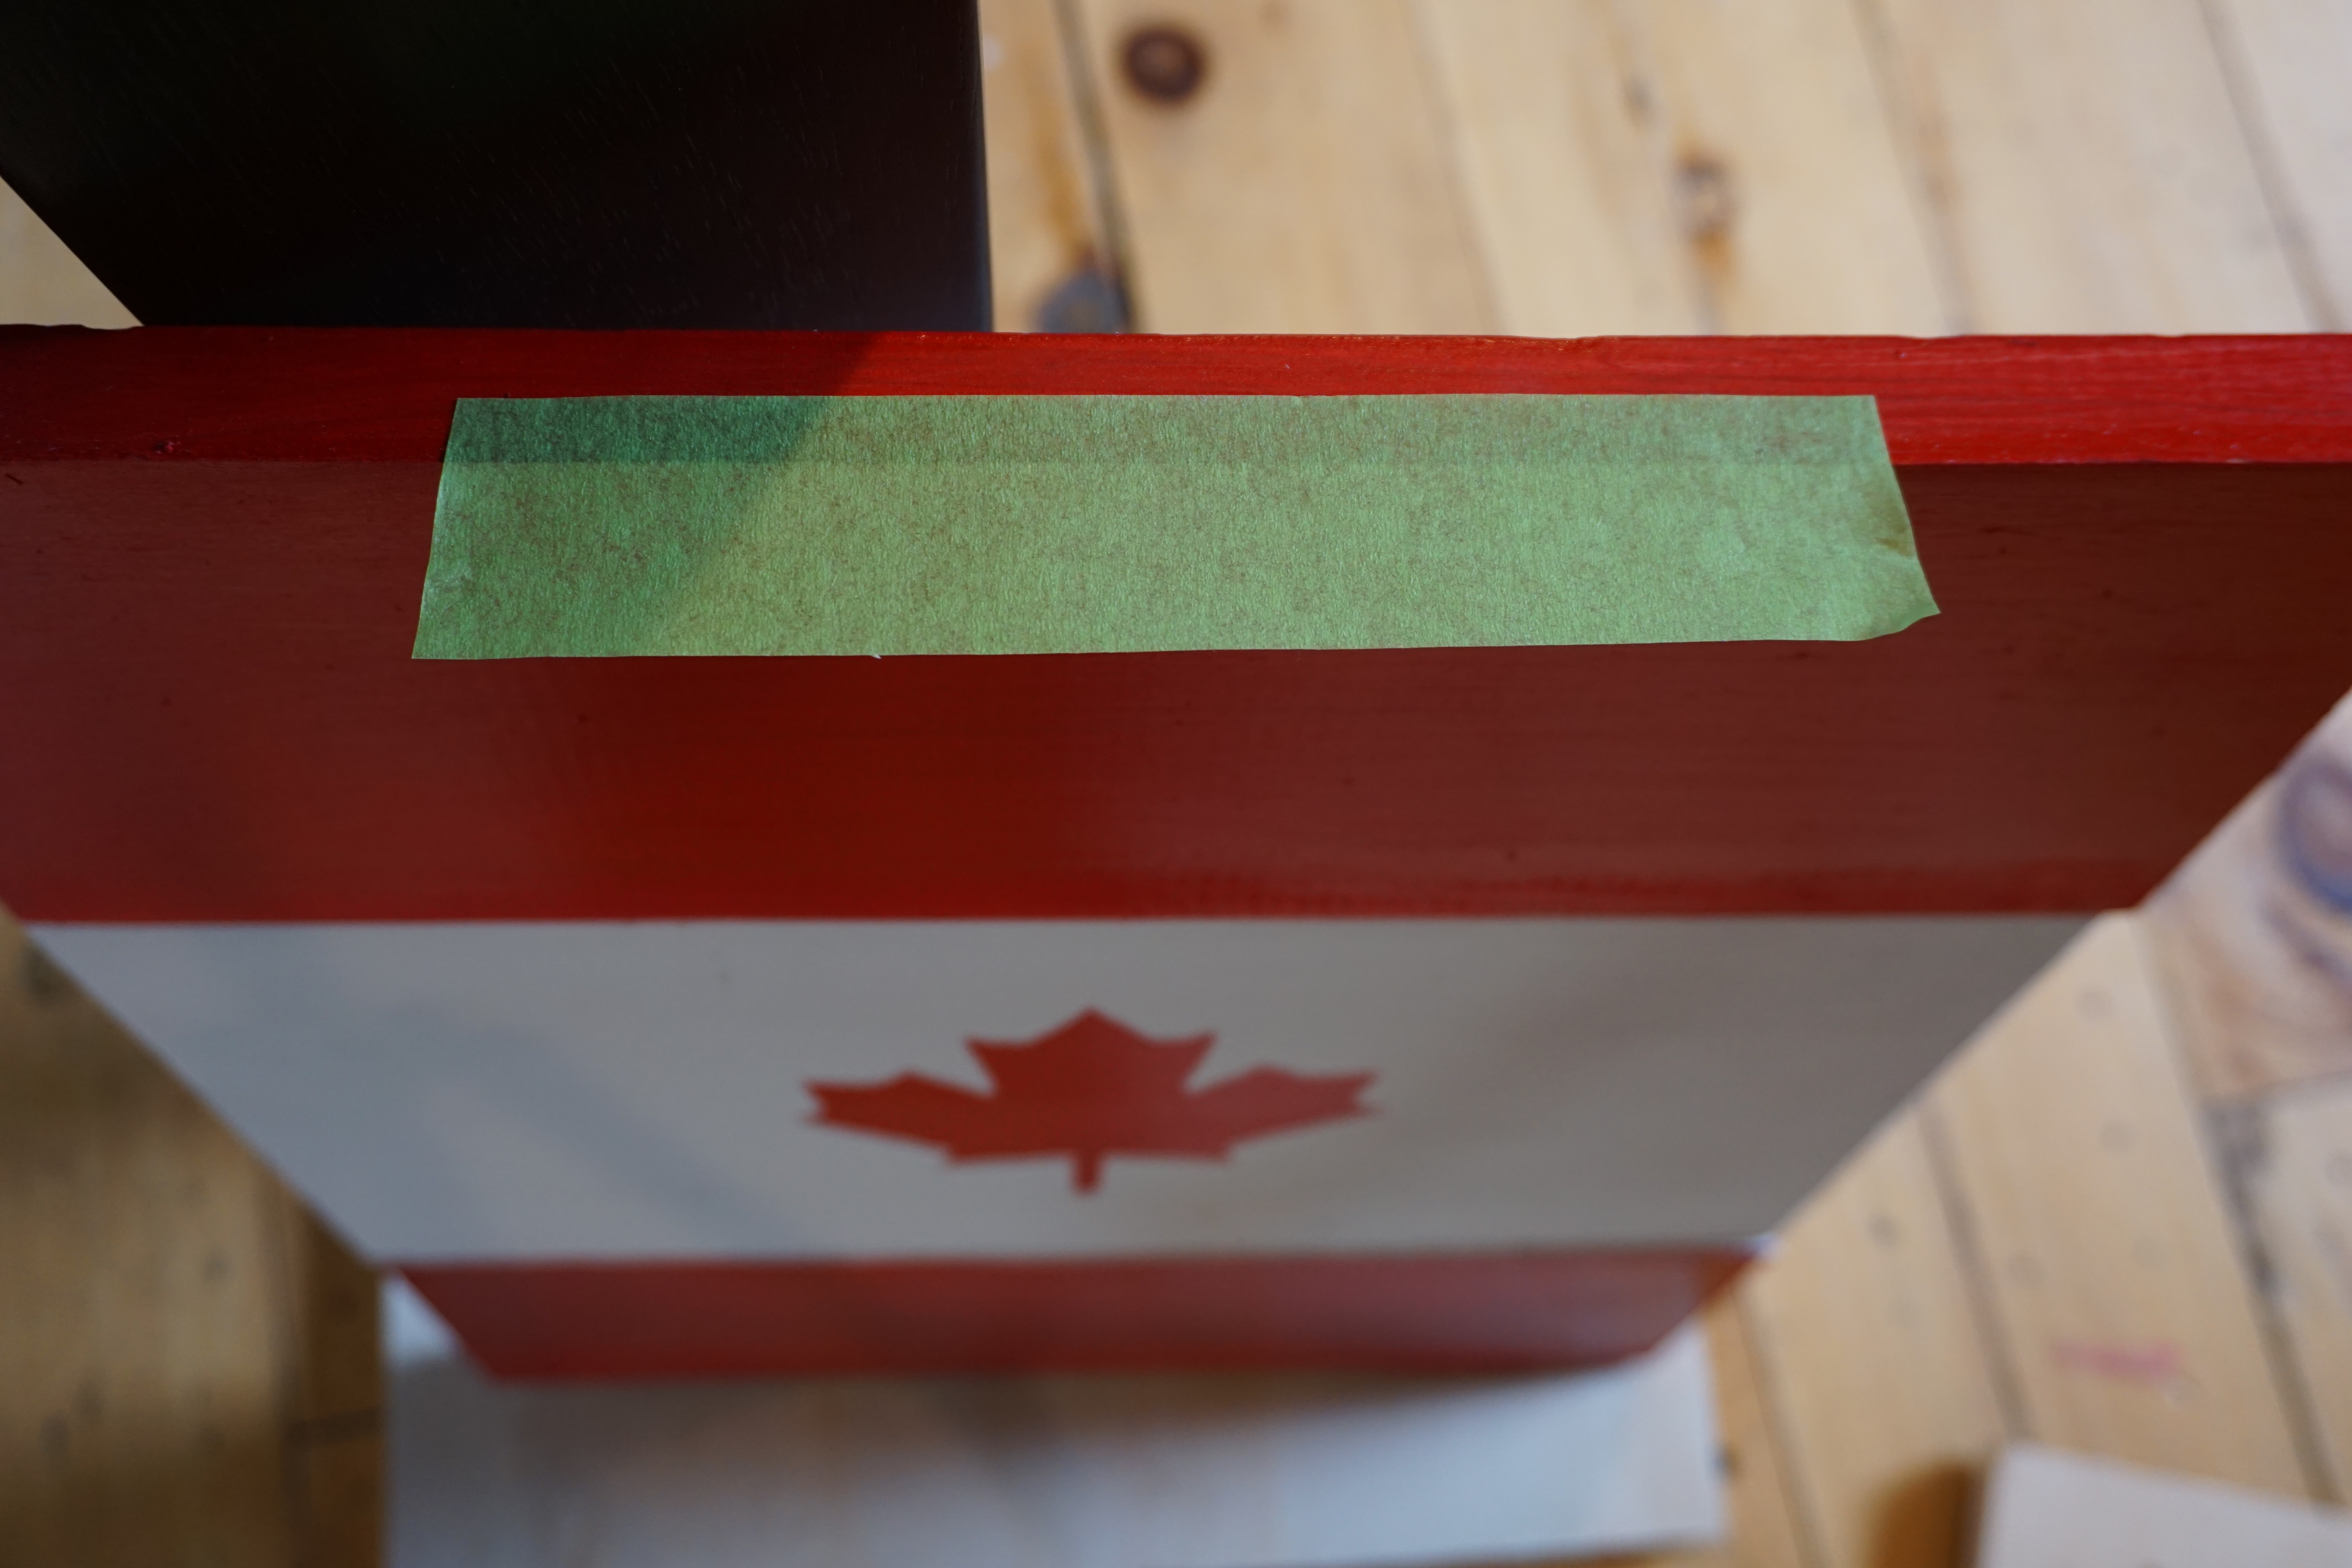
After the white and red were dry, I applied my maple leaf stencil that I cut with my Cricut. If you don’t have a Cricut you could very easily print one out on a piece of paper and cut given that a maple leaf is an easy design.
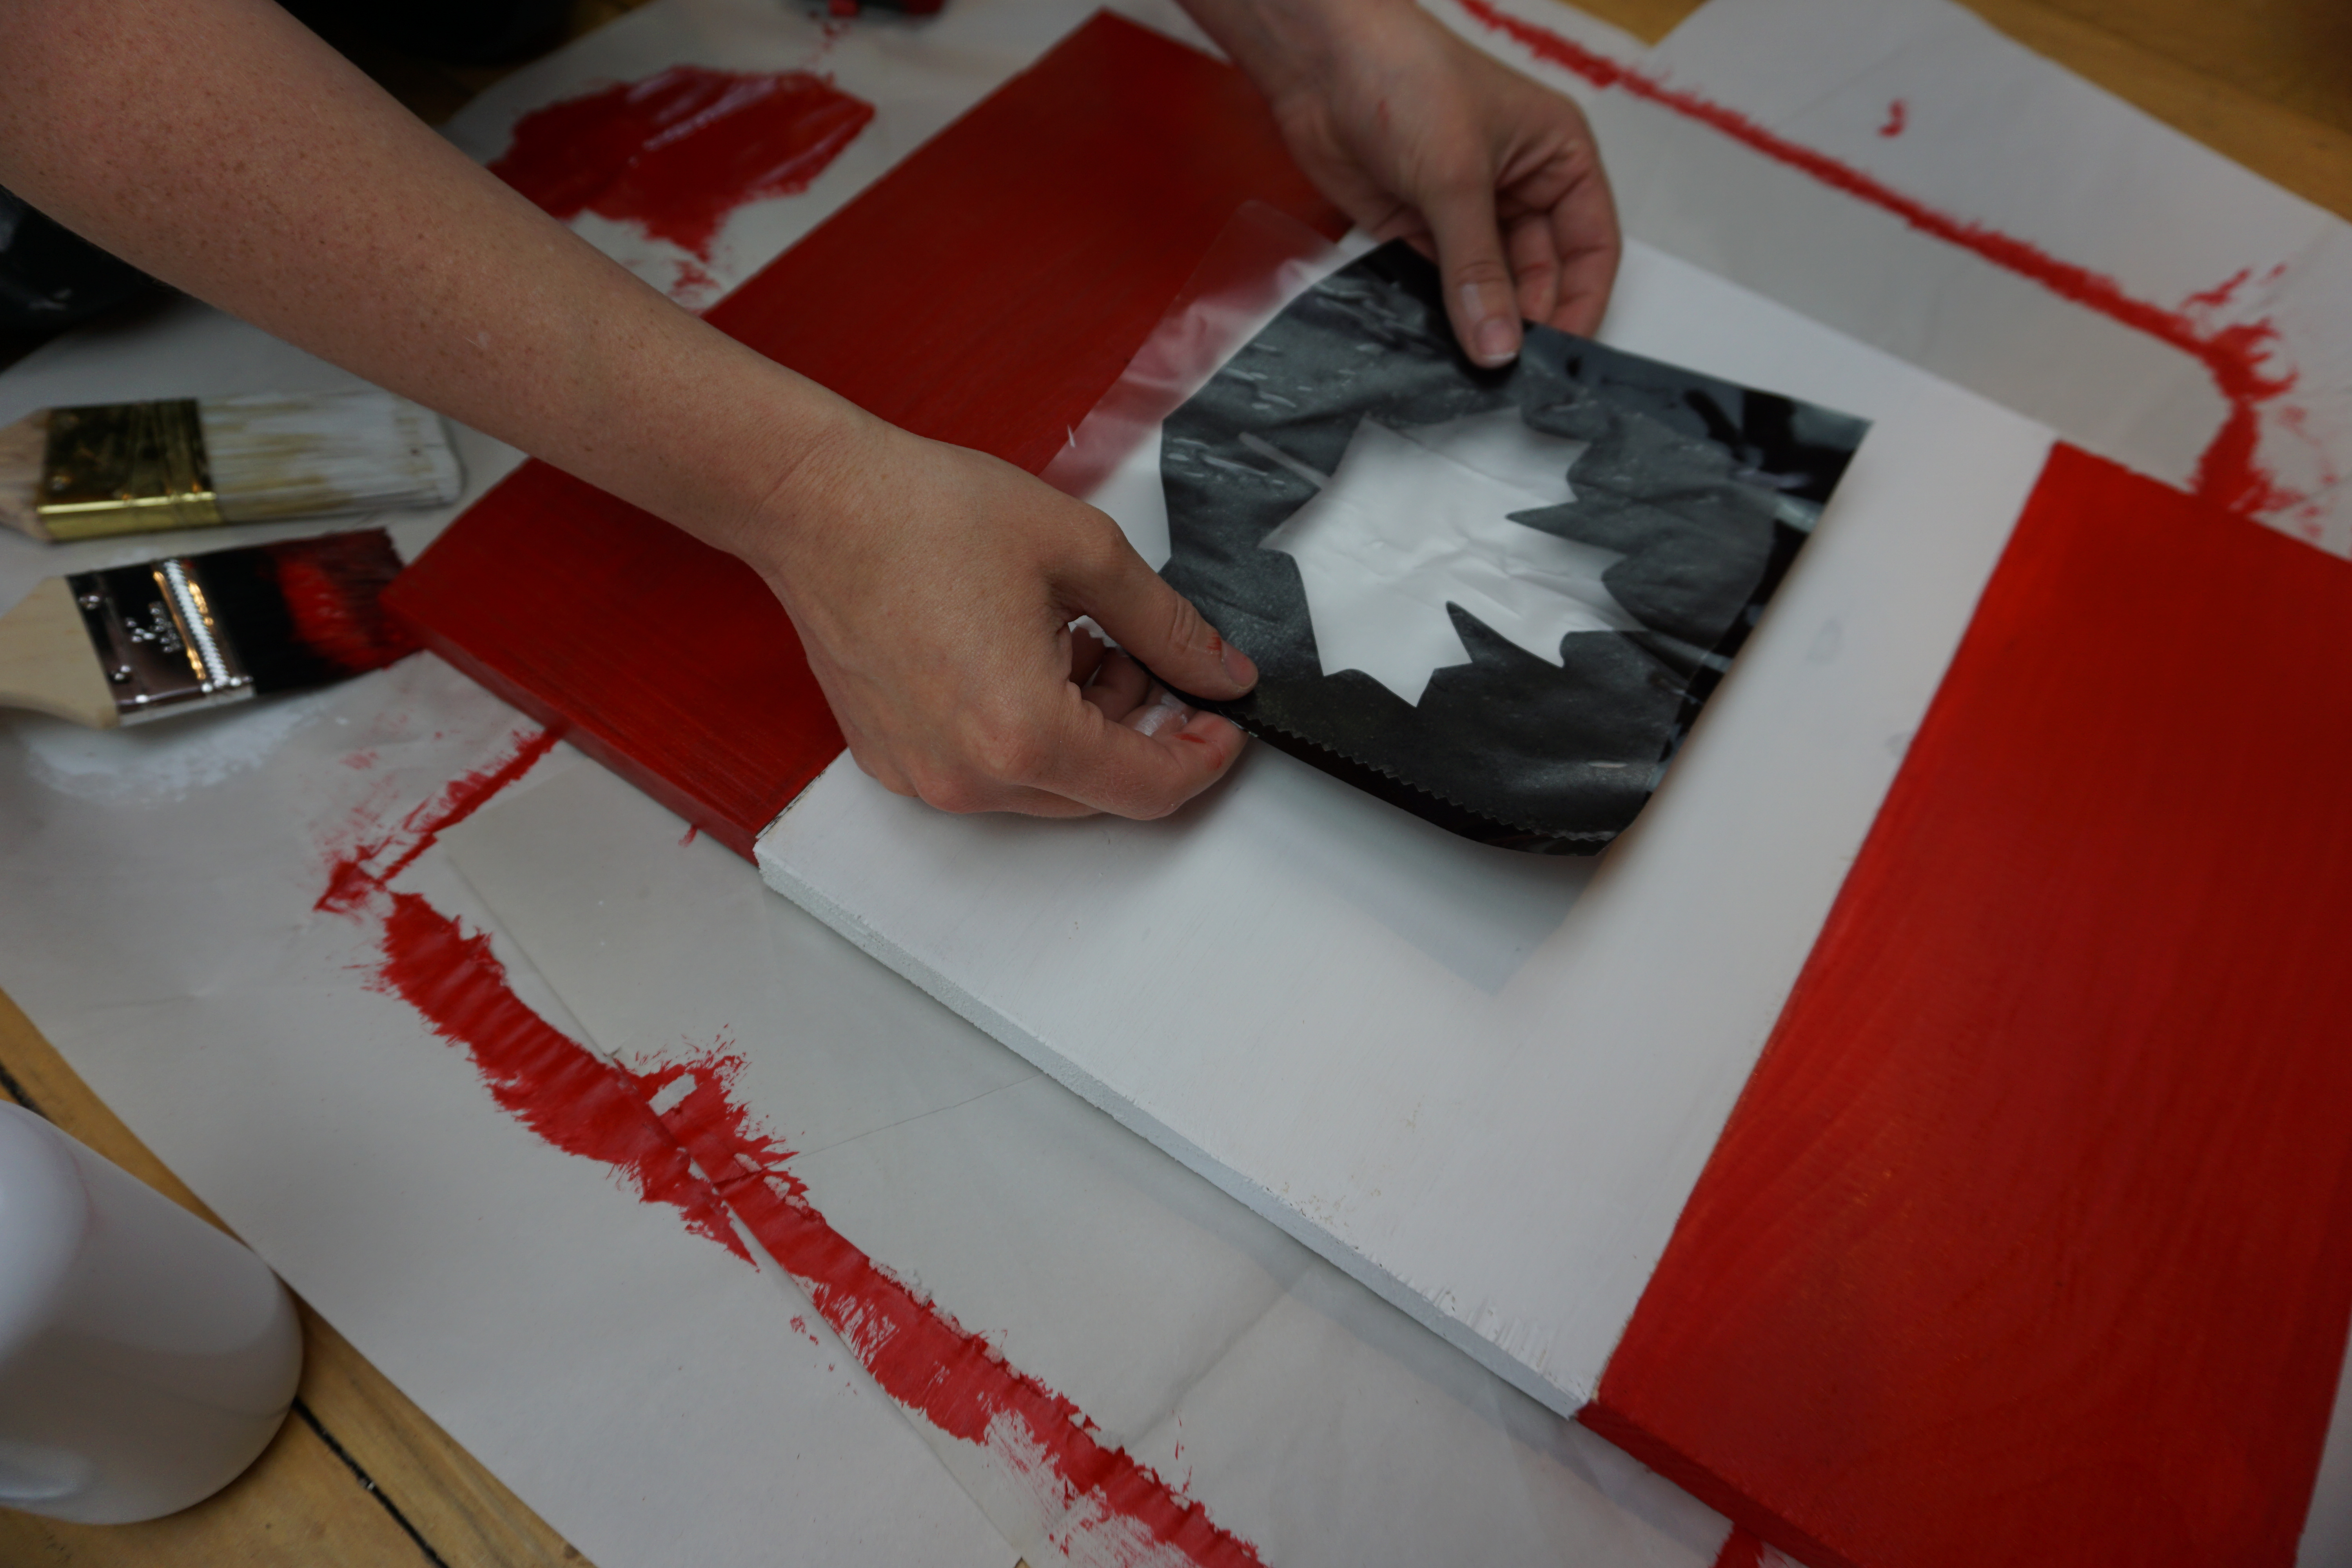
When working with stencils, always remember to use a foam brush and pat, do not stroke! This will help eliminate bleeding.

While my flag was drying, I prepped the old table leg for the chain to hang my flag. This was a lot easier than I thought it was going to be.
I haven’t really worked with chain before and let me tell you, I was a little overwhelmed when I went to Home Depot. I got to the chain section and there were all these attachments and pieces and I was standing there like, “um, ok. I just want some chain”.
I was able to track down someone to cut some chain for me and I should have grabbed a pic of what I bought but again, I was so overwhelmed, I didn’t even think of it.
Like I said, being that I have never worked with chain, I needed to figure out a way to attach the chain to my table leg.
After I got home I realized, I should have bought 4 eye hooks, but alas here we are and I didn’t want to go back lol So I came up with my own way.
I took my Ryobi drill and a 1/2″ spade bit and drilled two holes through the table leg.


Once I had the two holes drilled, I slide the chain pieces through and then fixed them to the other side with screws.


Not too shabby! lol
Next, I attached the table leg to the supporting piece of wood that I will be using to hang the post on my fence.
This was easy peasy and I just did it by screwing through the back of the wood and into the bottom of the leg.

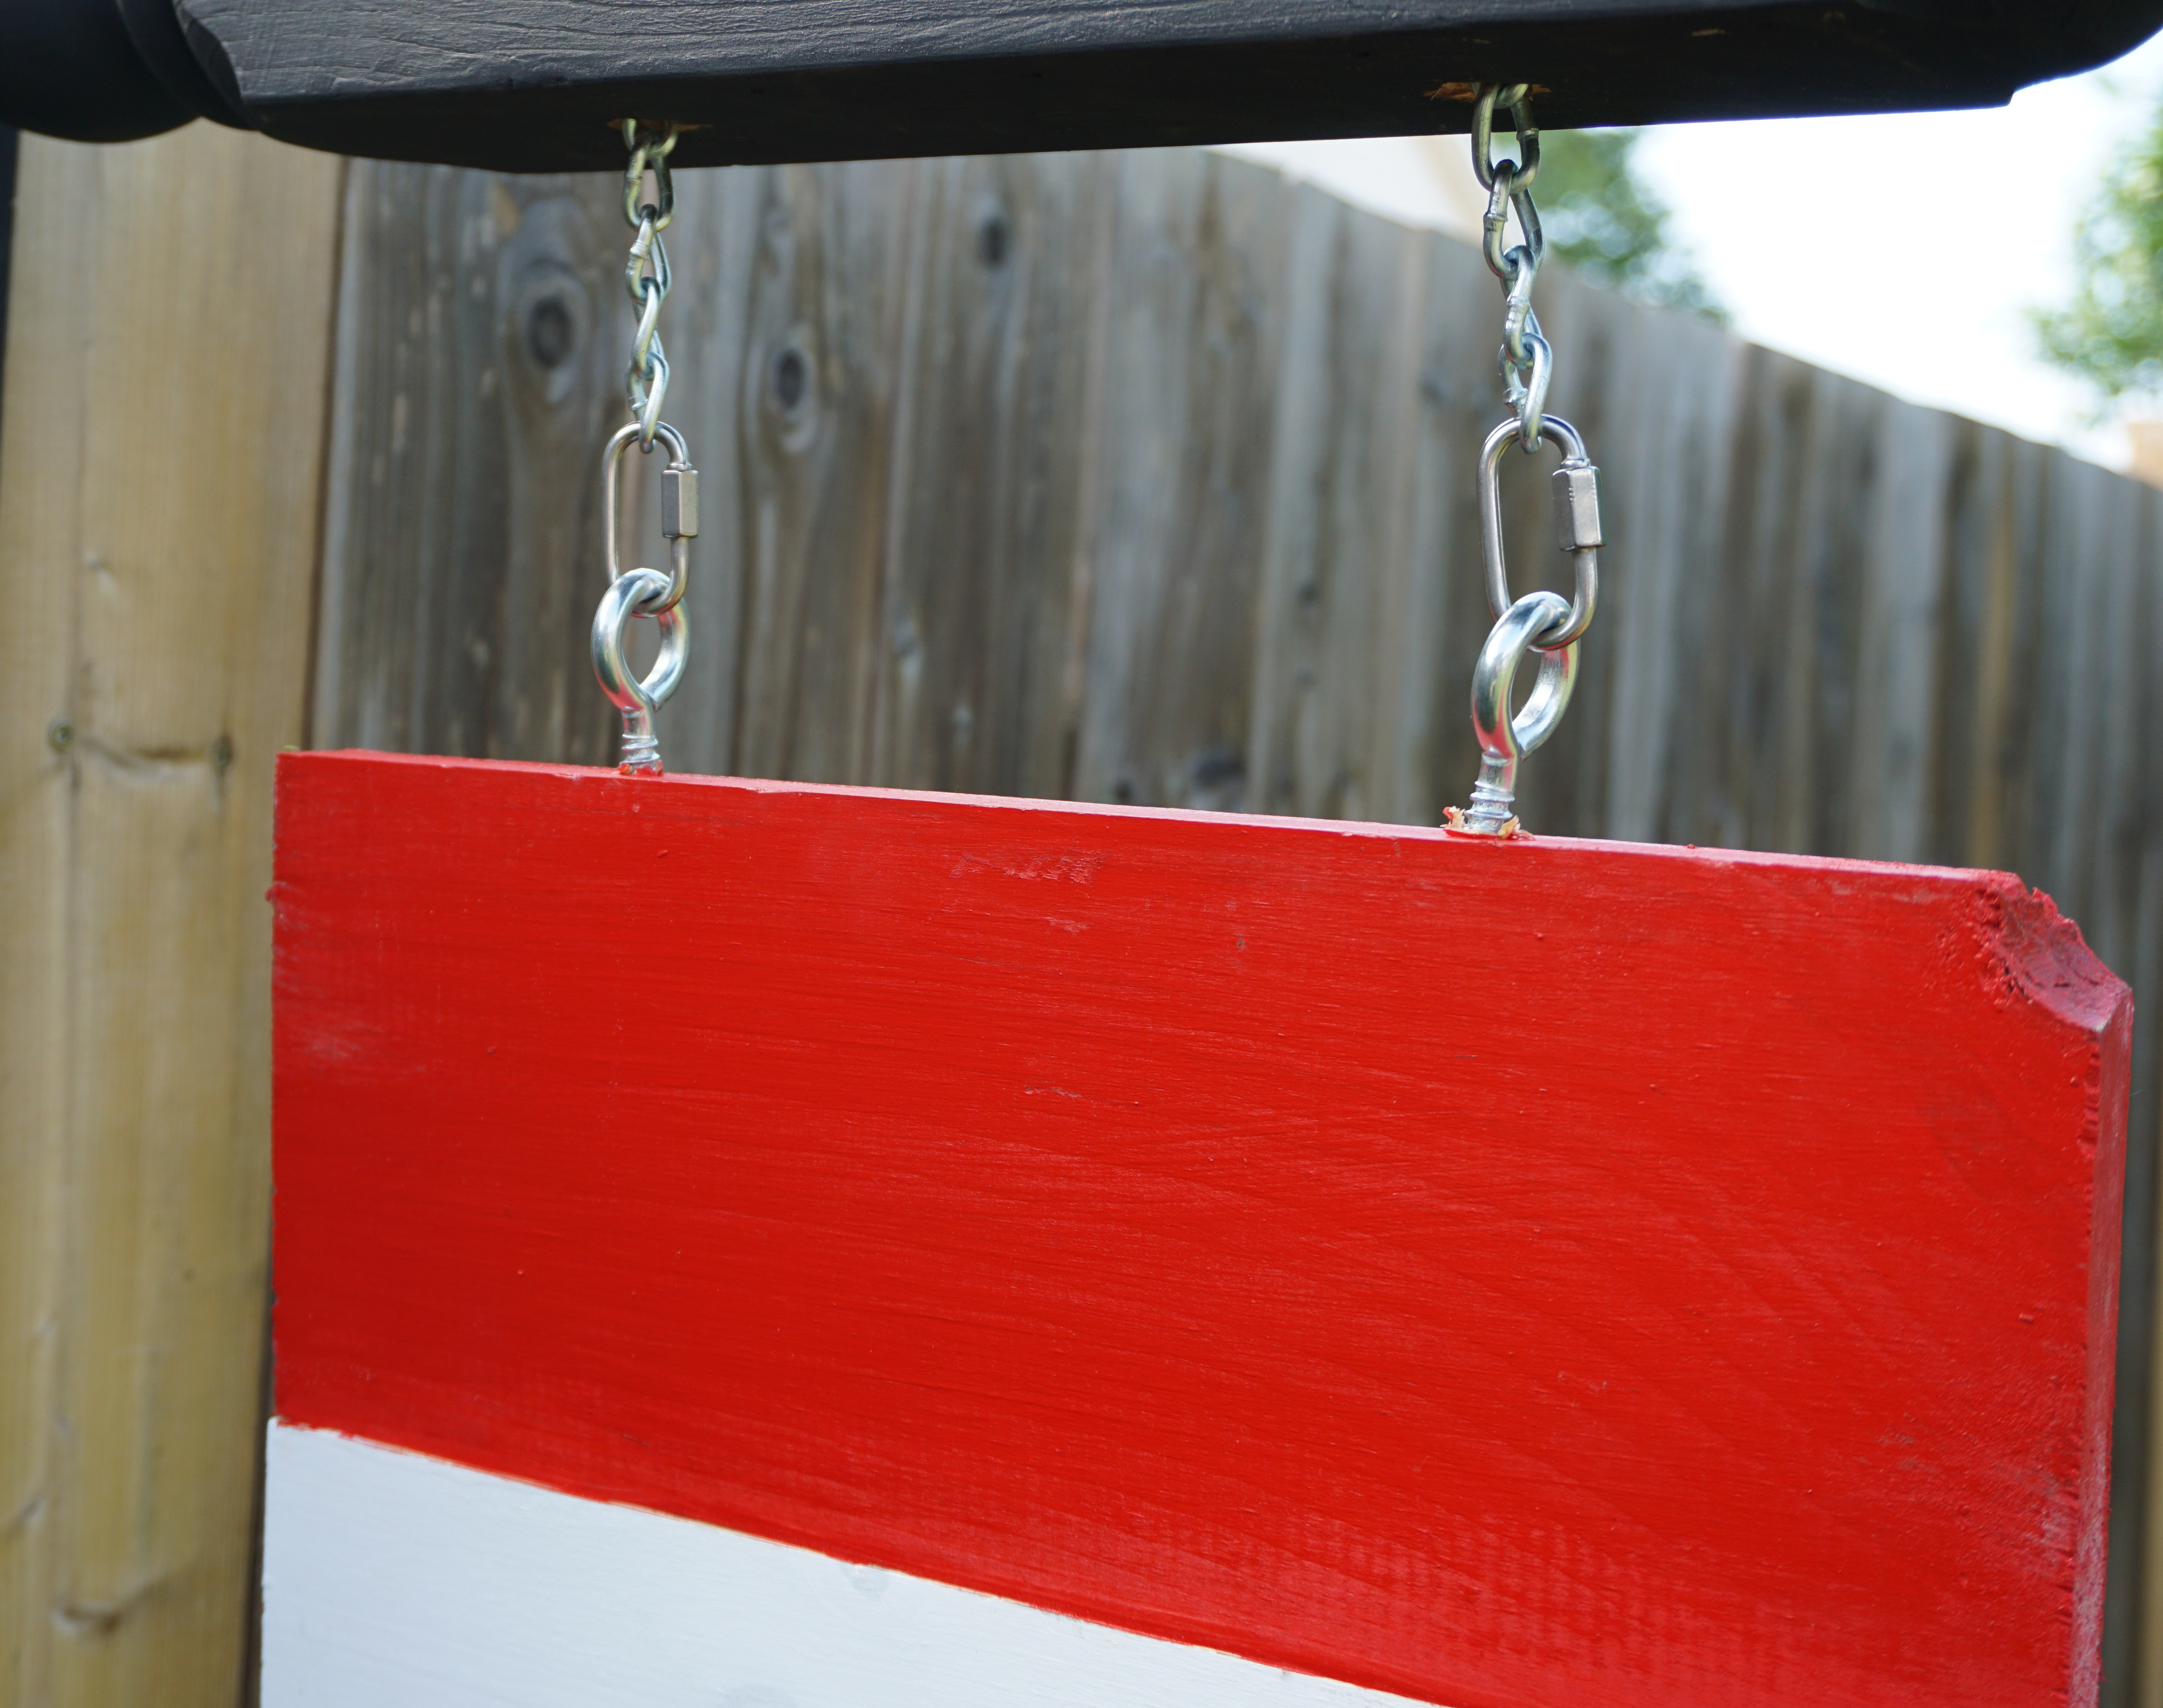
Now to attach the flag to the wooden table leg, I screwed two eye hooks into the top of the flag.
I used painters tip as a guide so that I knew how much space to place in between each eye hook.


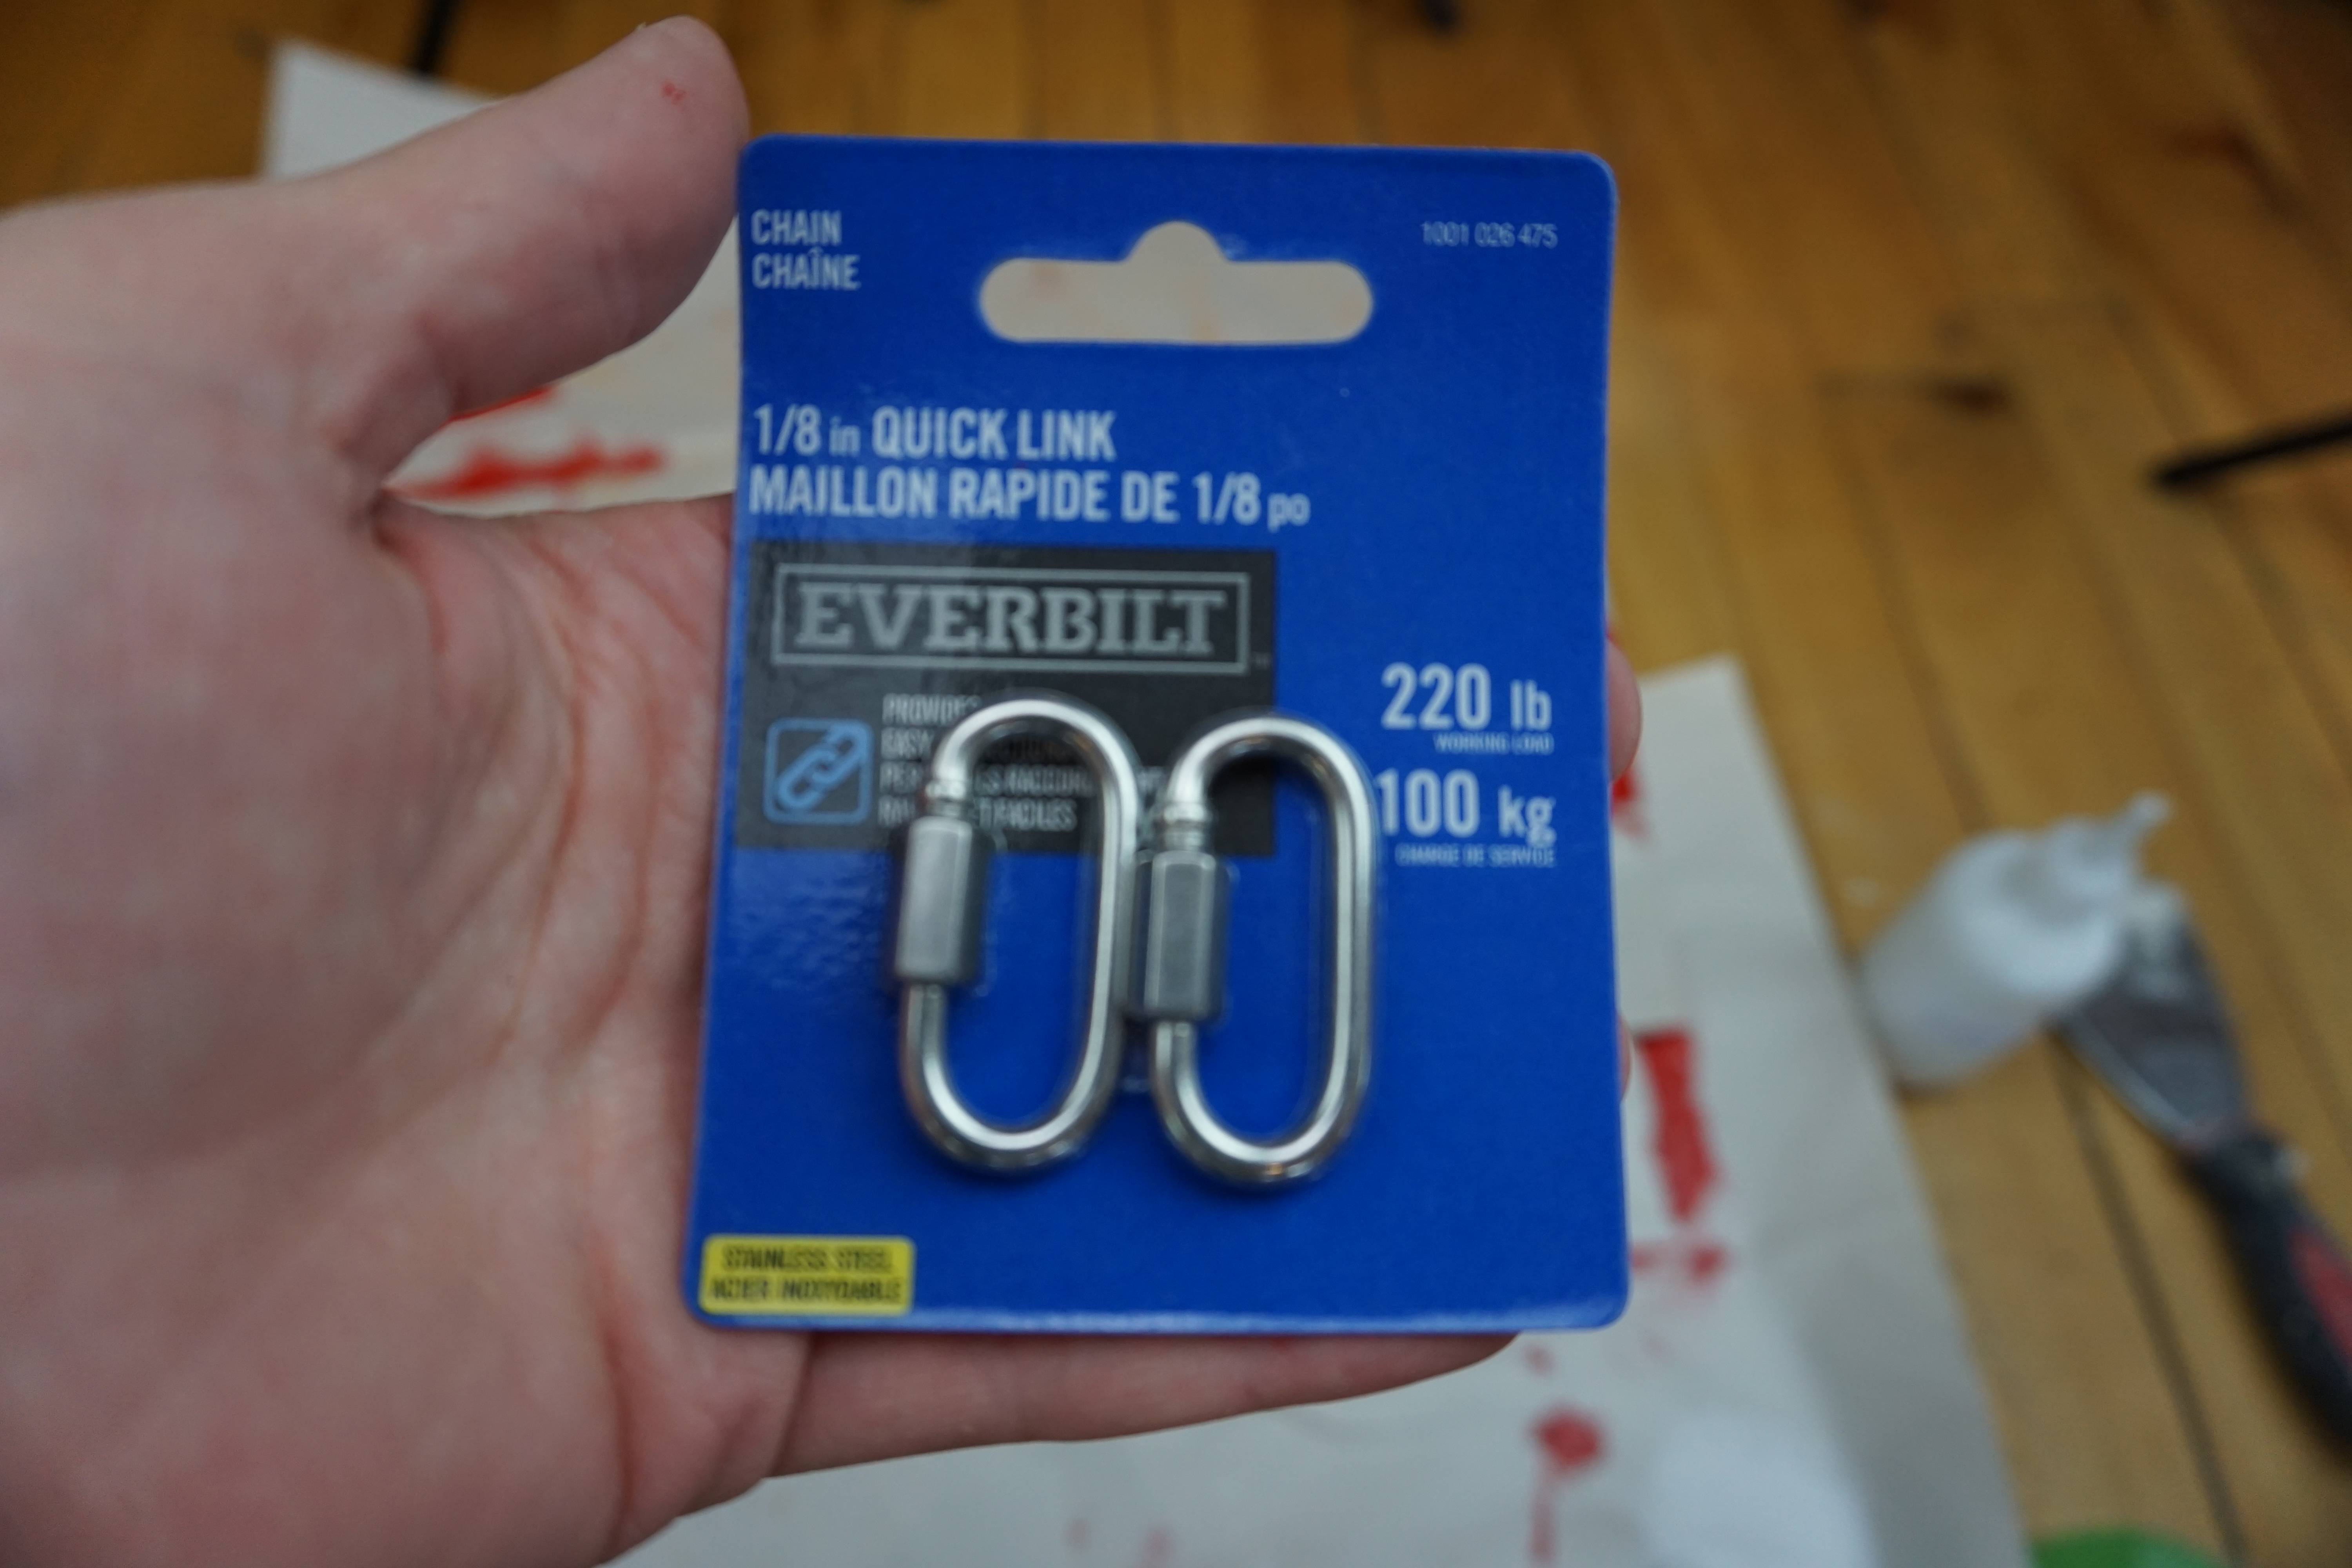
To attach the chain to the eye hooks, I used 1/8in quick links. These are super easy to work with.
I screwed the supporting post right to my fence.

And tada!!
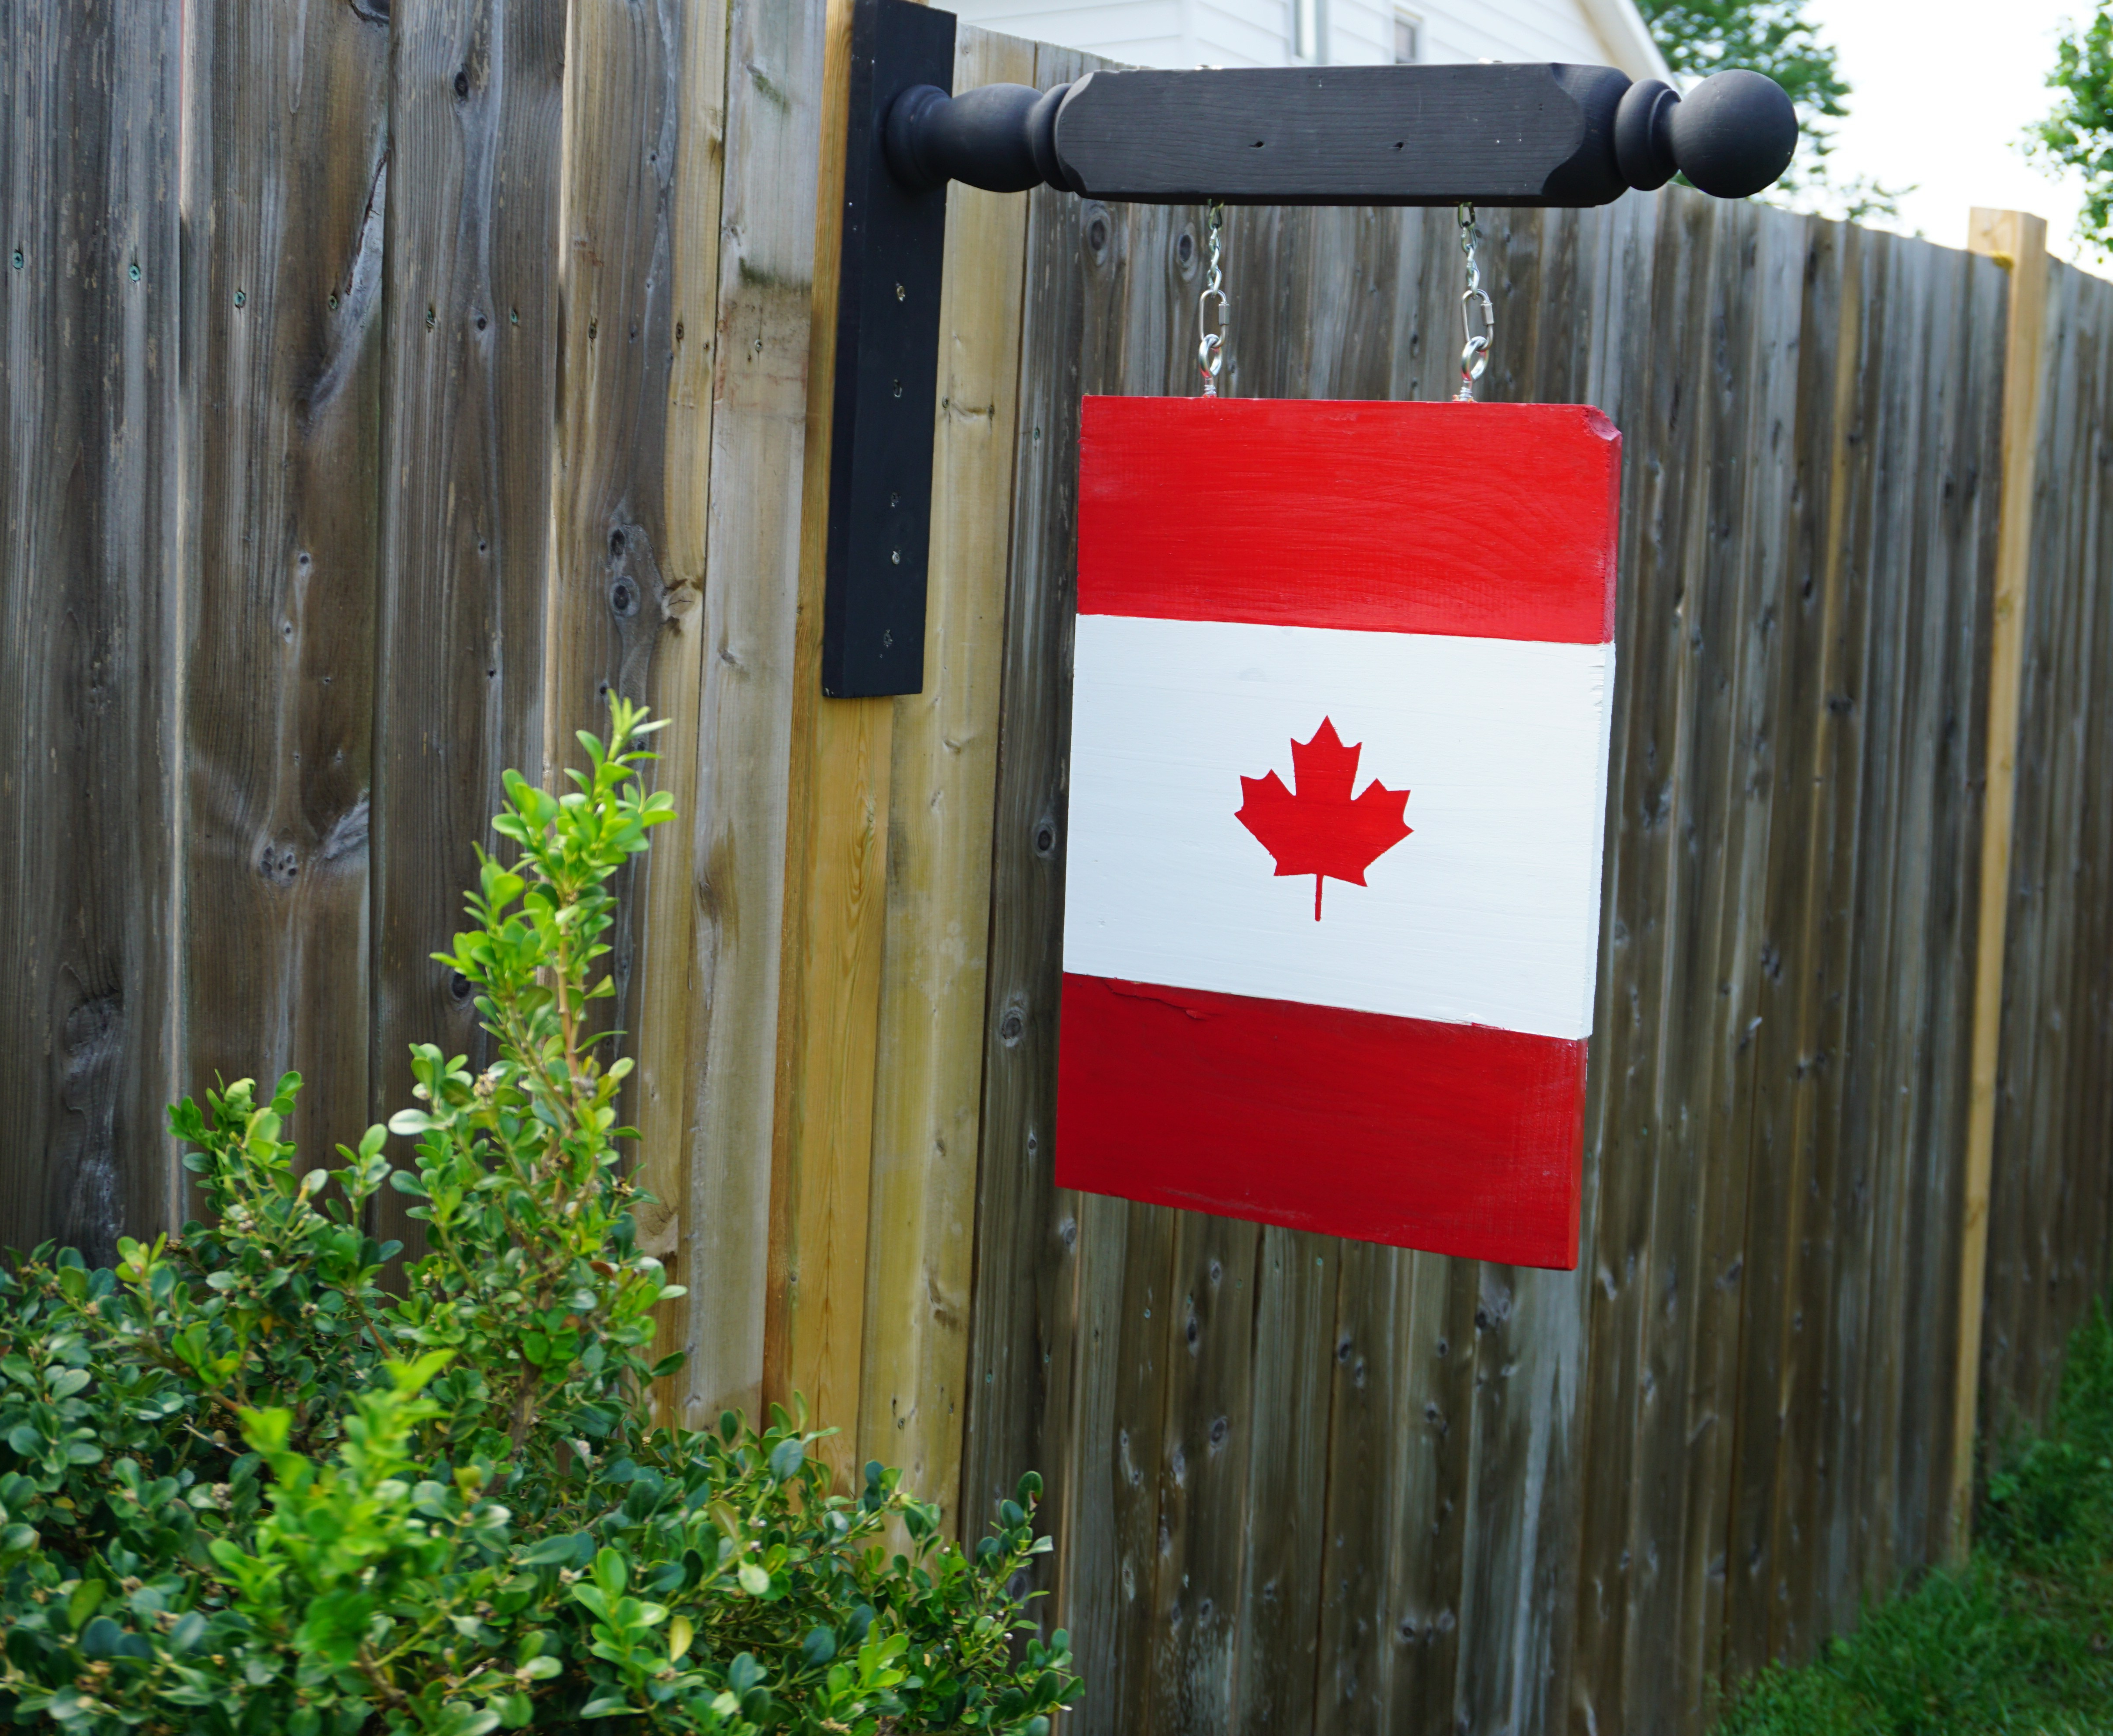
Since this is going outside, I also coated everything in Tough Coat from Country Chic Paint.

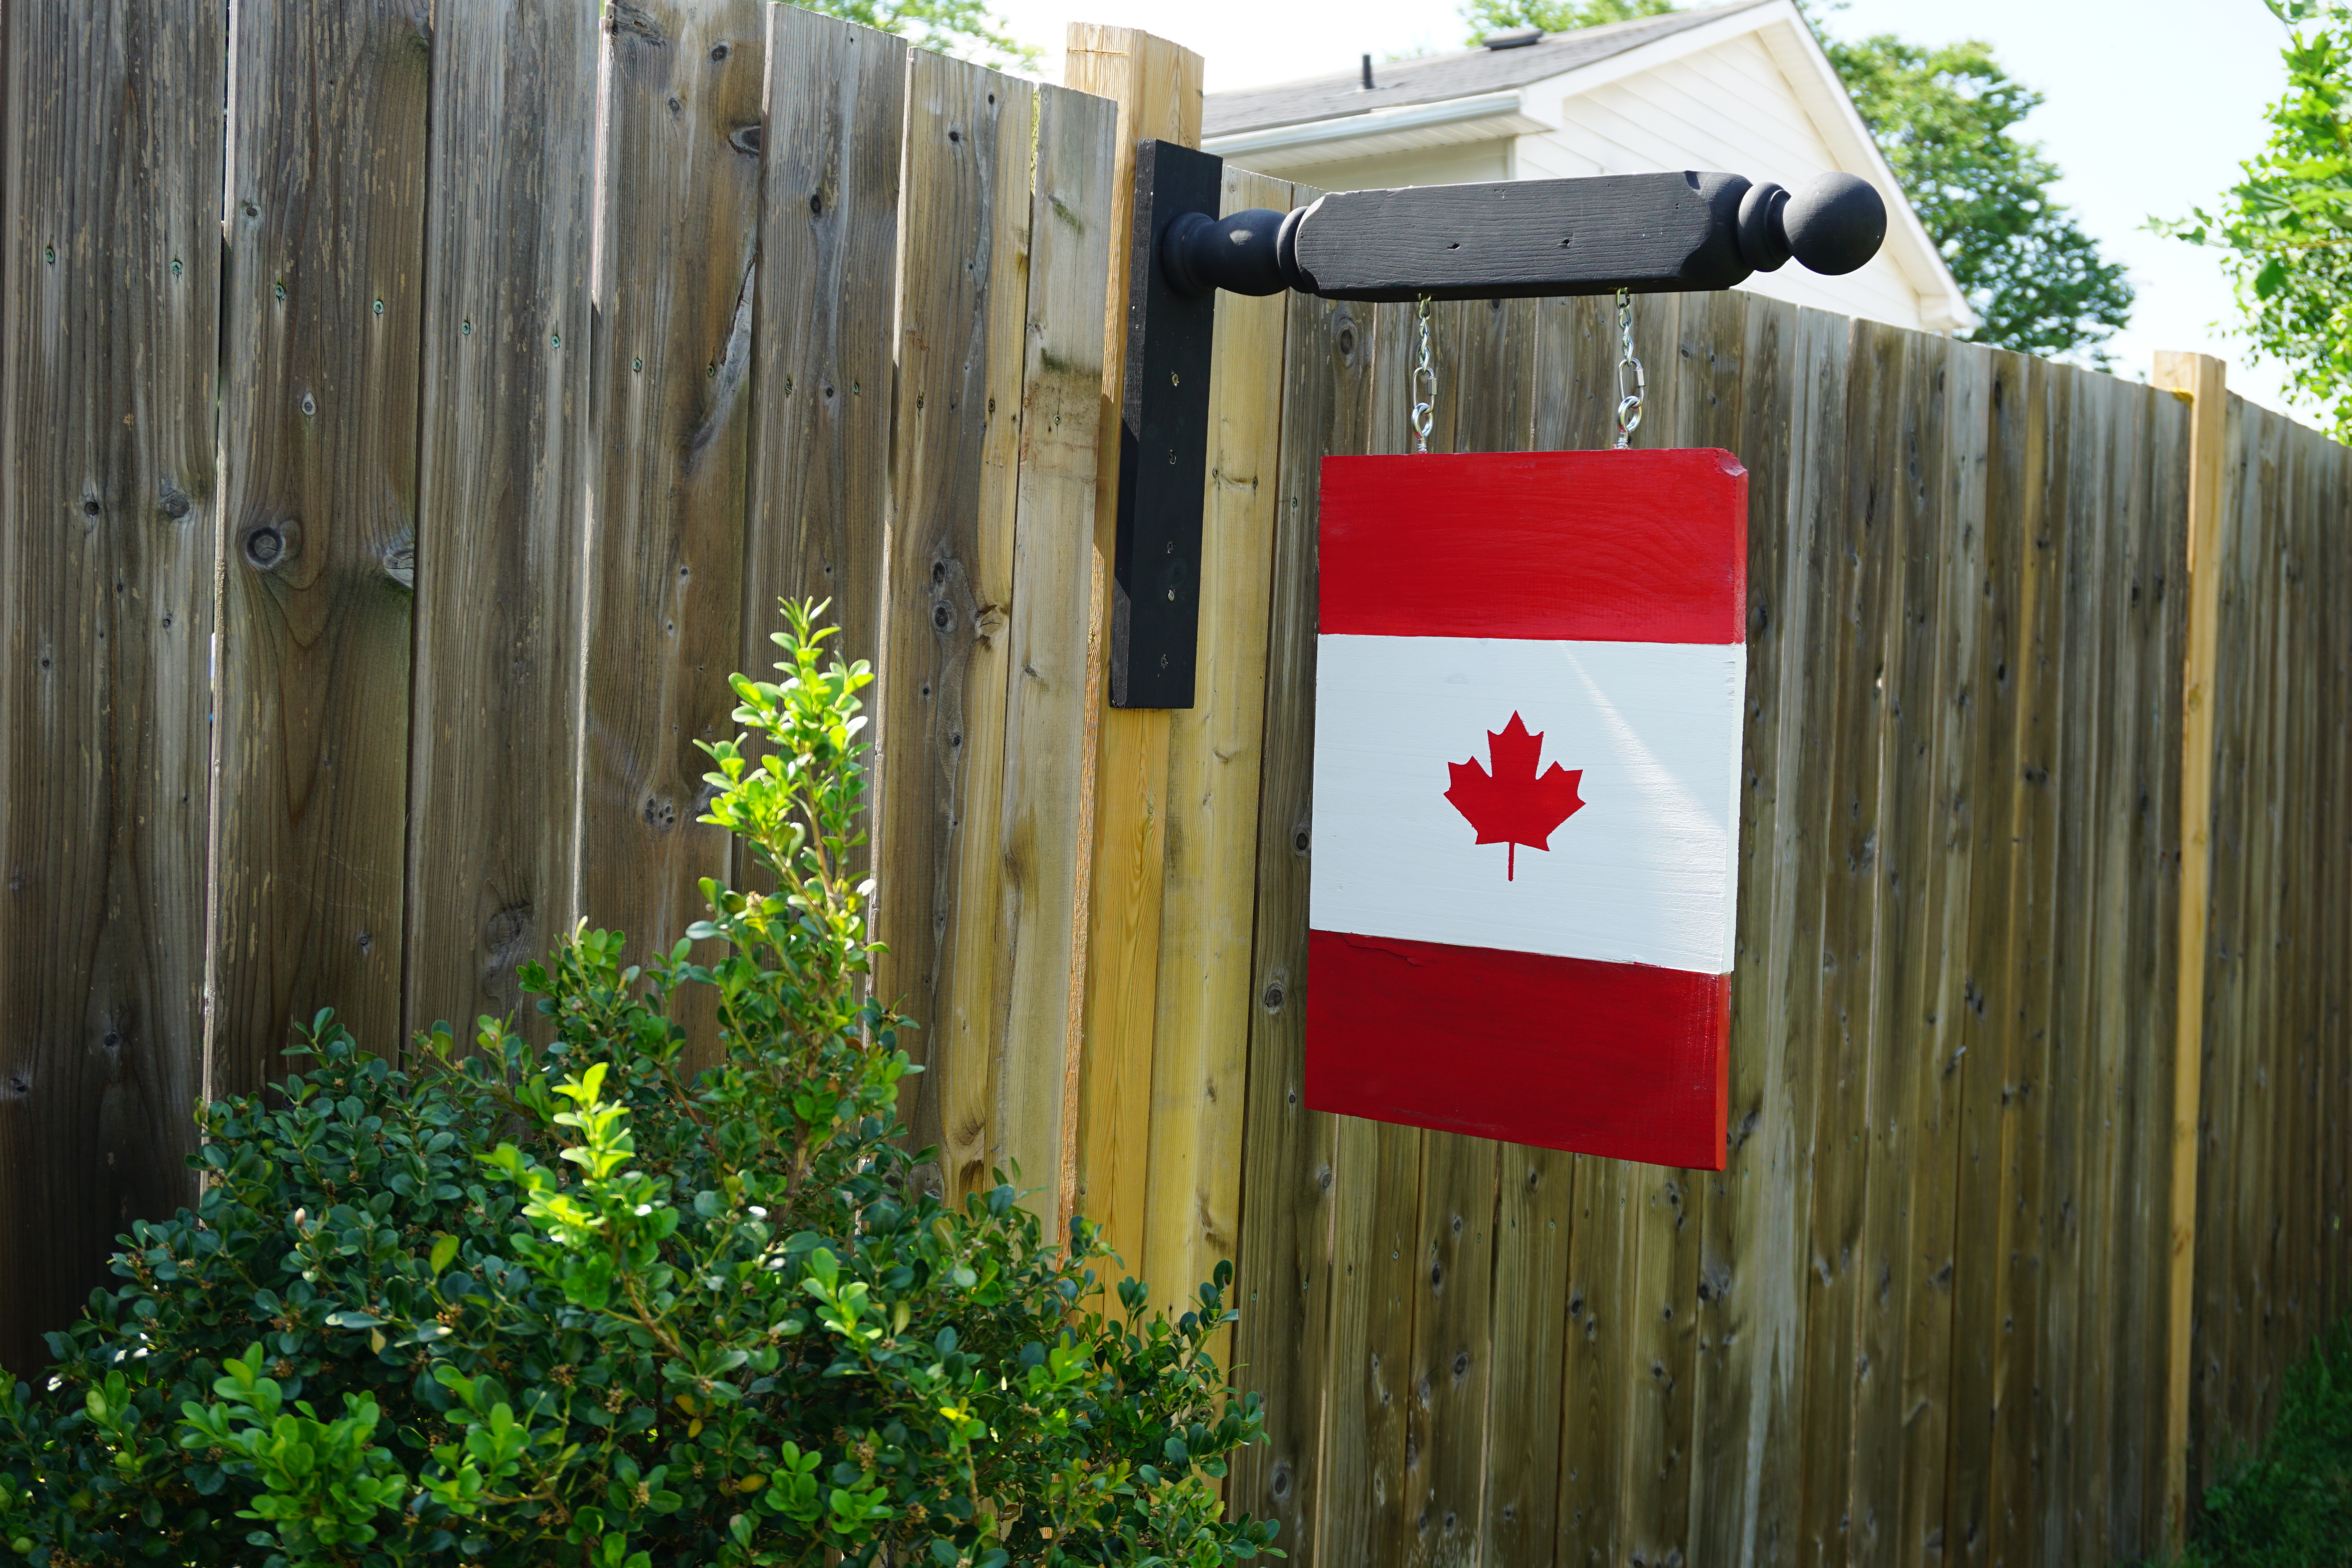
What do you think!? I love the bright pop of Canadian pride that this DIY flag adds to my backyard.
If you try this project, please share your pics with me! I would love to see them.
Make sure you pin this image to your DIY boards so that you can reference these instructions later.


Leave a Reply