A big thanks to Wetwall by Wilsonart for sponsoring this project.
When I looked at my master en suite, it was clear that the space was outdated and in need of a serious refresh. The old, stained shower and run-down walls were far from the relaxing retreat I wanted in my home.

That’s when I discovered Wetwall by Wilsonart—a game-changer in bathroom renovations. With their innovative waterproof panel system, I decided to tackle this project myself, transforming my bathroom into a luxurious and modern space.
Here’s how I gave my master en suite the much-needed makeover it deserved:
Steps
- 1. Remove the Old Shower
- Wetwall Waterproof Panel System
- 2. Mark Out the Shower Niche
- 3. Cut Out the Shower Niche
- 4. Install the Shower Pan & Replace the Drywall
- 5. Cut the Panels
- 6. Apply the Adhesive
- 7. Install the Doors
- 8. Add a Corner Shelf
- 9. Seal
- The Reveal
Tools and Materials
- Utility Knife
- Scraper
- Wetwall by Wilsonart in Tuscany Marble
- Level
- Multi-tool
- Shower niche
- Drill
- Shower Pan
- Jigsaw
- Hole Saw Bit
- Caulking Gun
- Shower Shelf
- Color-Match Panel Sealant
- Shower Fixtures
- Glass Shower Doors
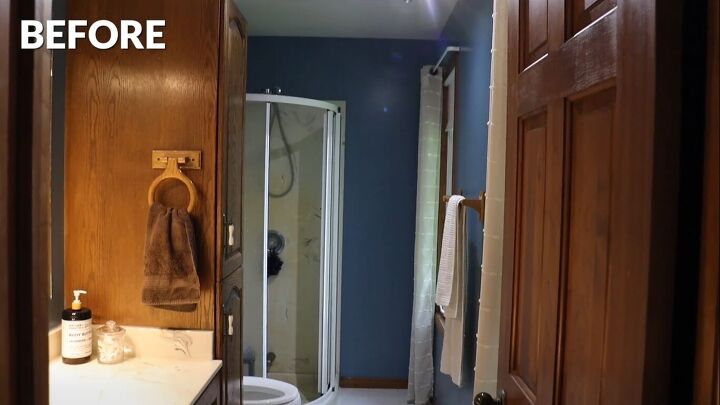
This is my master en suite, and it was in desperate need of a makeover. The space was dated and run down, but thanks to Wetwall by Wilsonart, it’s about to get the upgrade it deserves.
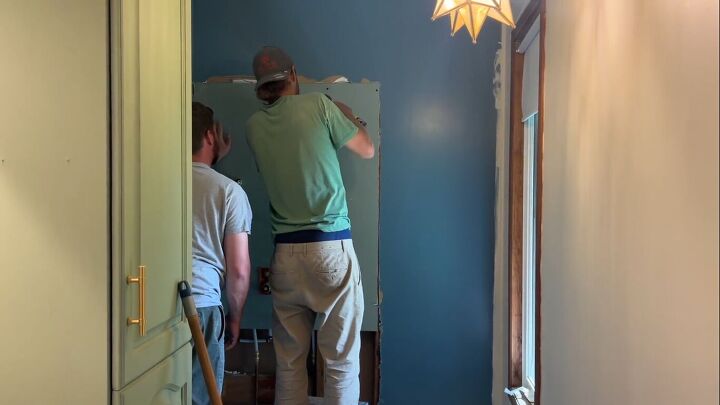
1. Remove the Old Shower
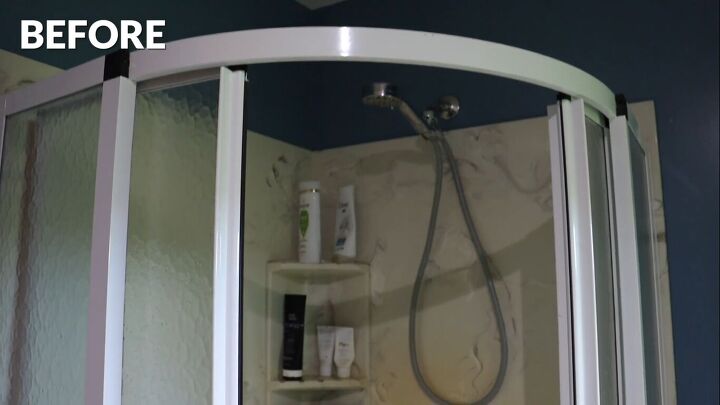
I started the renovation by removing the old corner shower, which was stained and outdated. It just had to go.
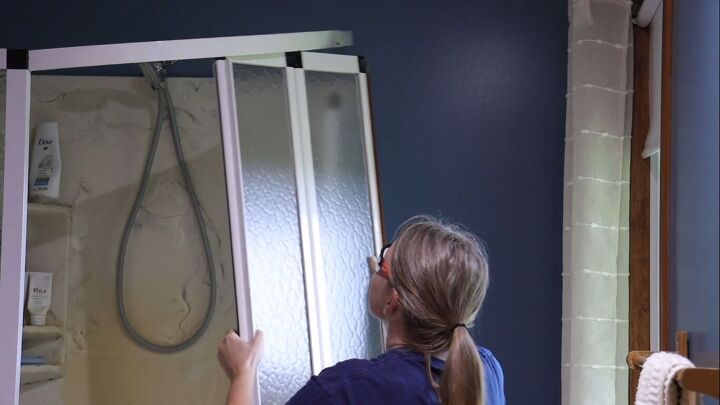
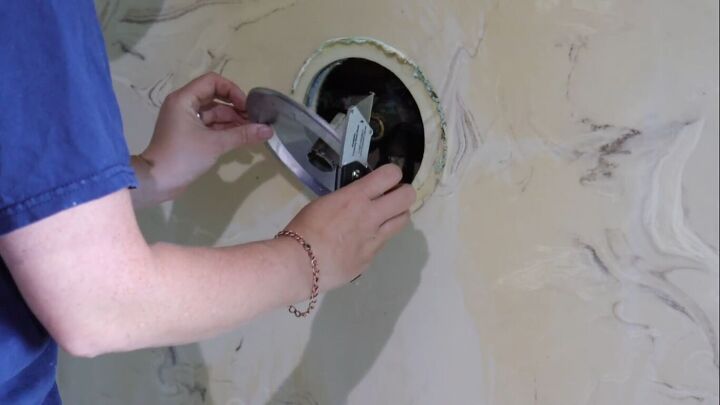
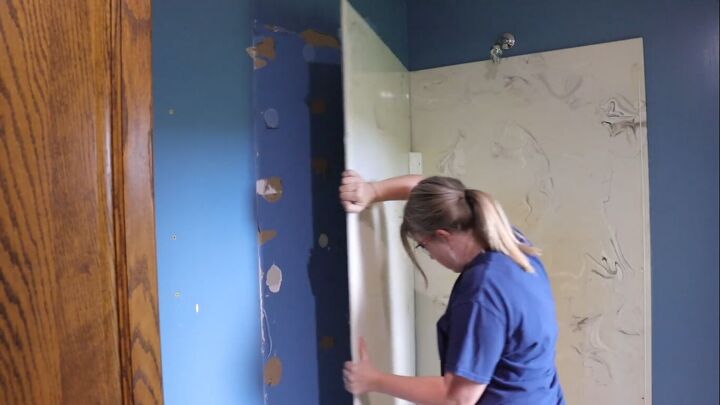
I stripped everything down to the bare wall, and because water had been trapped between the old shower and the wall, I also had to remove the drywall around the shower plumbing.
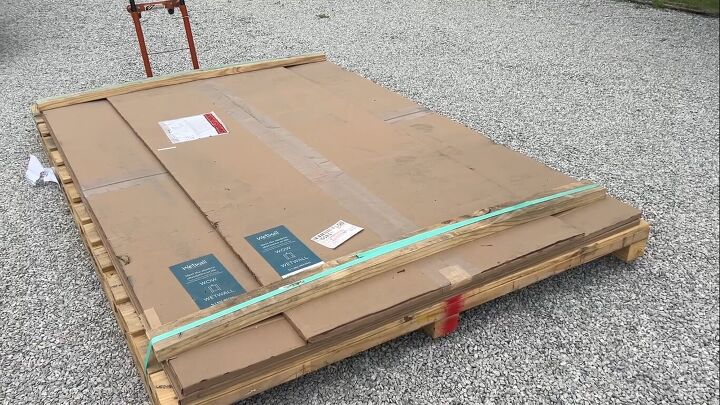
Wetwall Waterproof Panel System
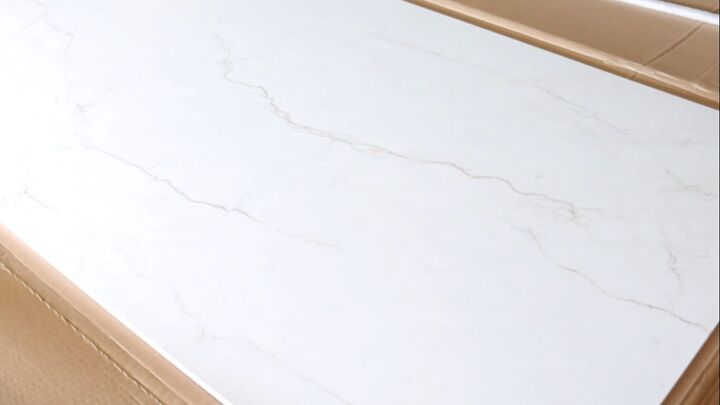
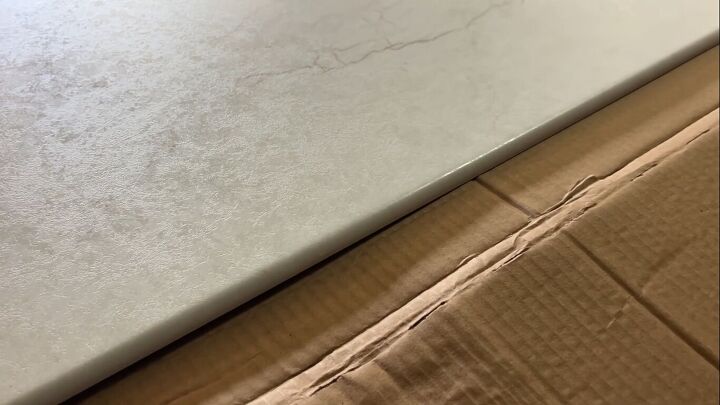
For the new look, I chose Wetwall’s patent waterproof panel system, specifically the Tuscany Marble from their Pro collection.
Wetwall – Pro Designs Shower Wall Panels
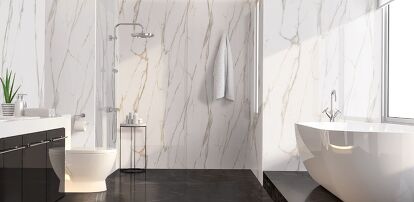
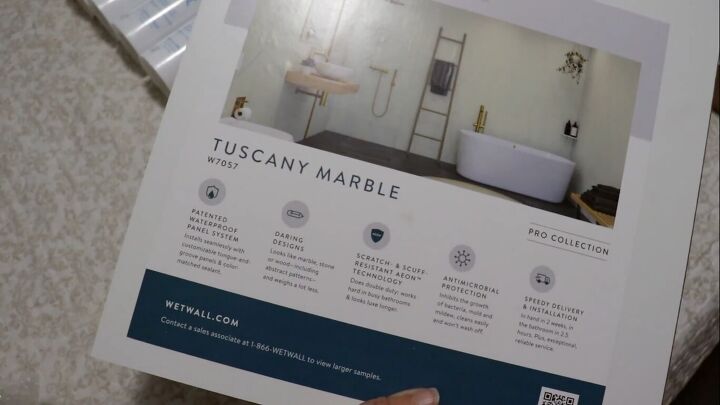
These panels are made with scratch- and scuff-resistant Aeon technology, so I knew I was making a smart switch.
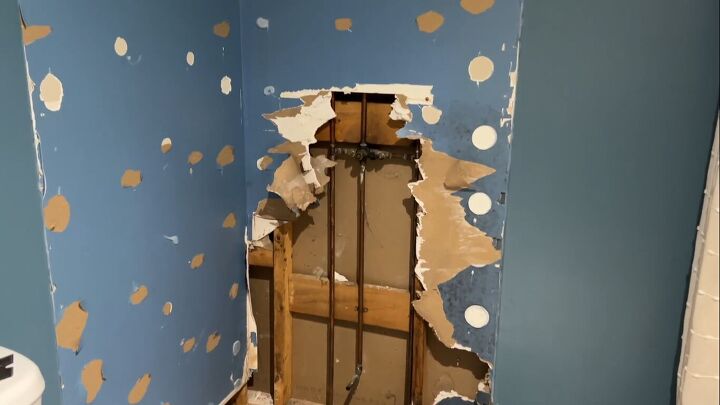
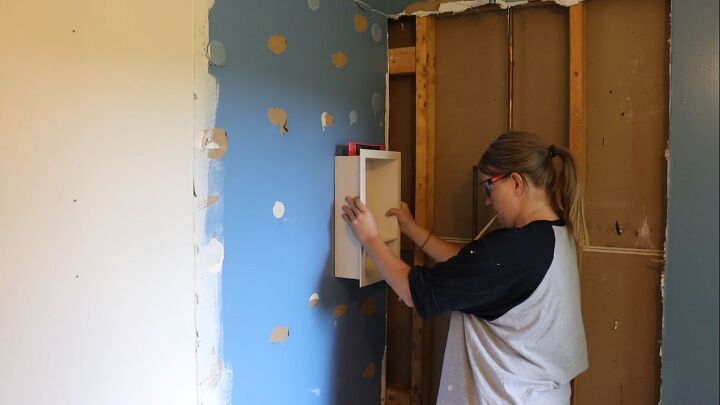
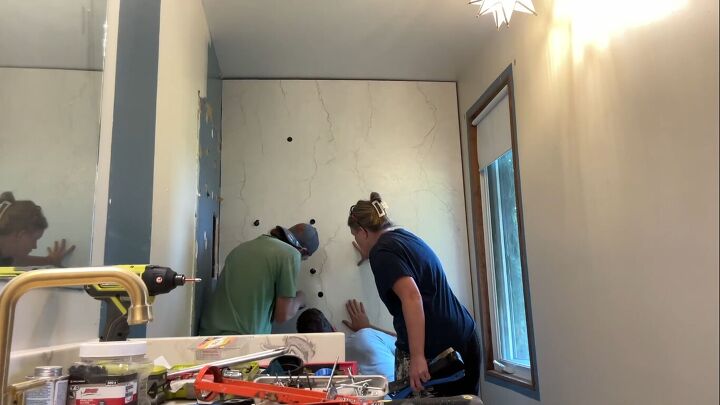
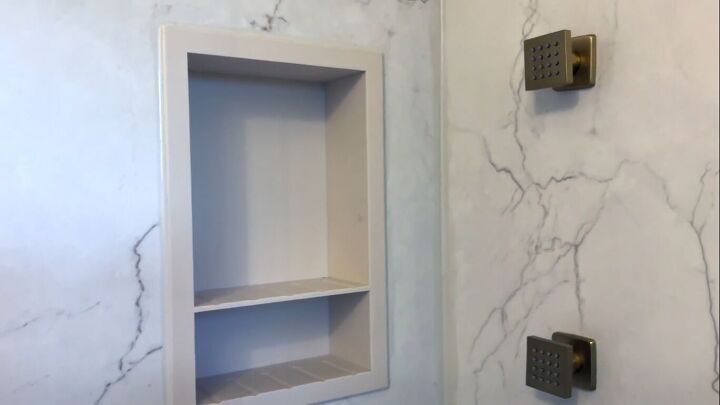
2. Mark Out the Shower Niche
Before installing the panels, I used a level to mark out where the shower niche would go on the drywall.
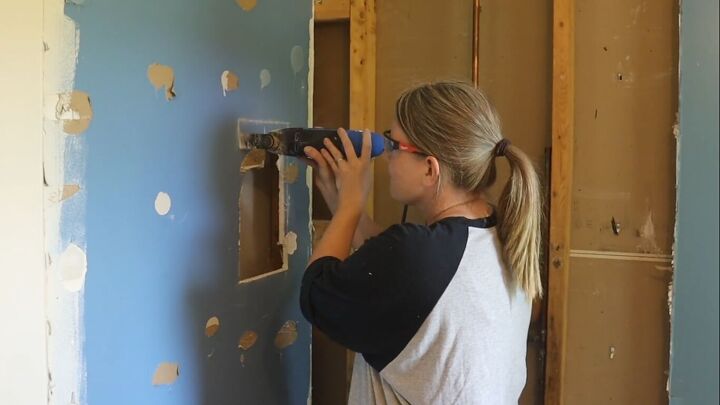
3. Cut Out the Shower Niche
Then, I used a multi-tool to cut out the drywall for the niche, which is also available from Wilsonart.
4. Install the Shower Pan & Replace the Drywall
Next, we installed a new, larger shower pan and replaced the drywall where there had been water damage.
The Wetwall panels were delivered right to my door within two weeks, and I was impressed by their exceptional and reliable service.
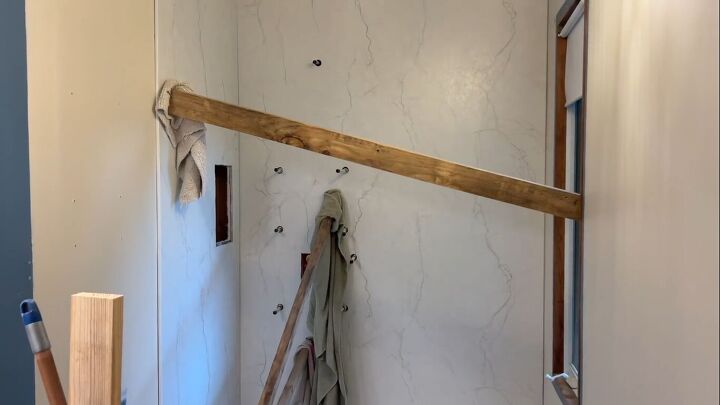
The panels have a tongue-and-groove design and are also available with a bullnose edge.
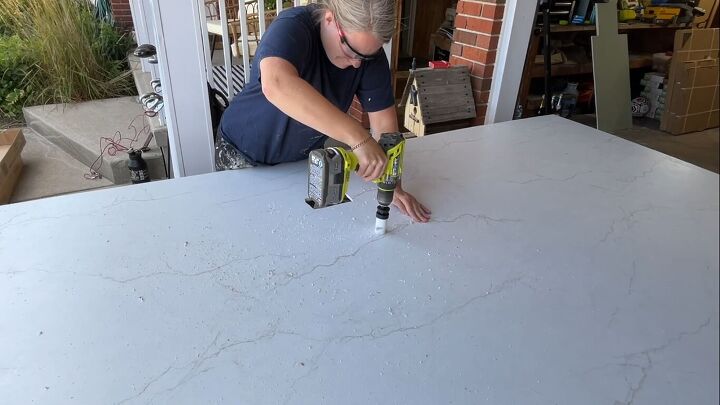
5. Cut the Panels
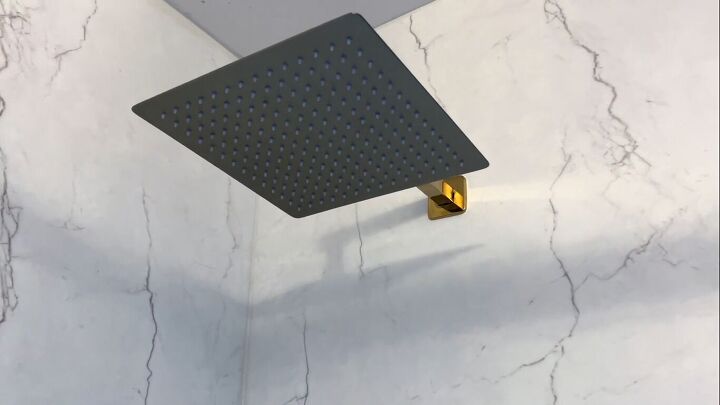
After measuring my space, I made the necessary cuts for height and shower fixtures. It was easy to cut through the Wetwall panels with a jigsaw.
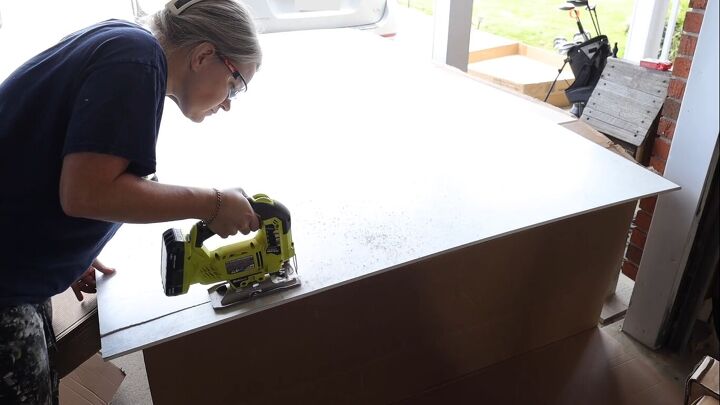
For the shower head, I used a drill with a hole saw bit, and since I have multiple shower heads in my fixture, cutting through the Wetwall was a breeze. This process was so much easier than working with tile.
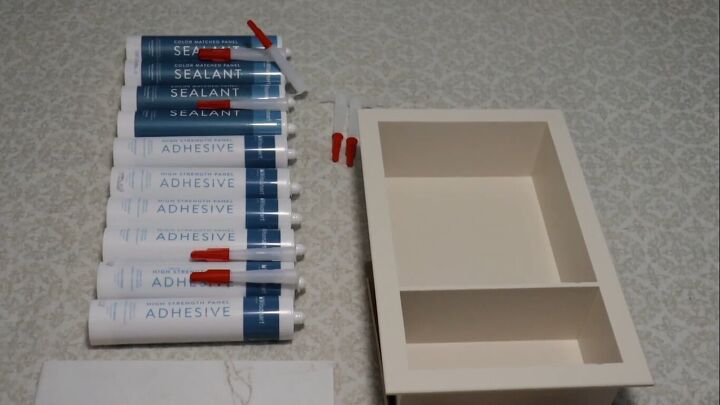
6. Apply the Adhesive
To apply the color-match adhesive, I used a caulking gun and ran a line of adhesive about two inches from the top and bottom of the panels, with vertical lines in between.
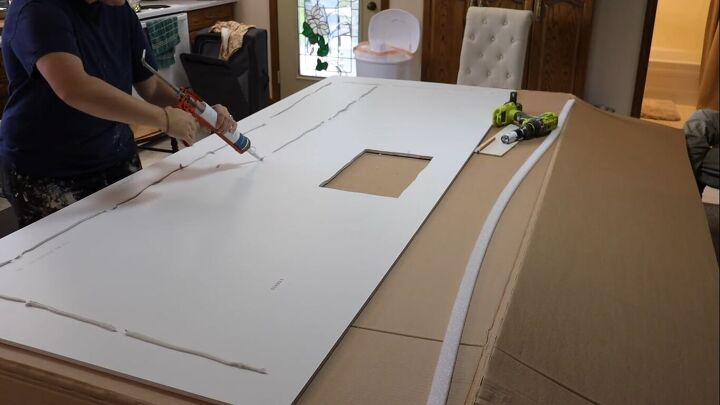
Once the adhesive was applied, I placed the panels directly onto the wall. Wetwall can be applied over green board, fiberboard, or even existing tile.
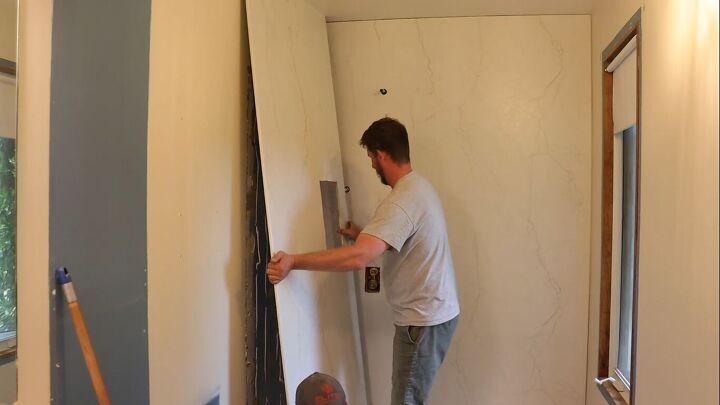
I love that the panels come in 60-inch widths, making it easy to cover one wall in one shot. They’re also available in other standard widths like 36 and 48 inches.
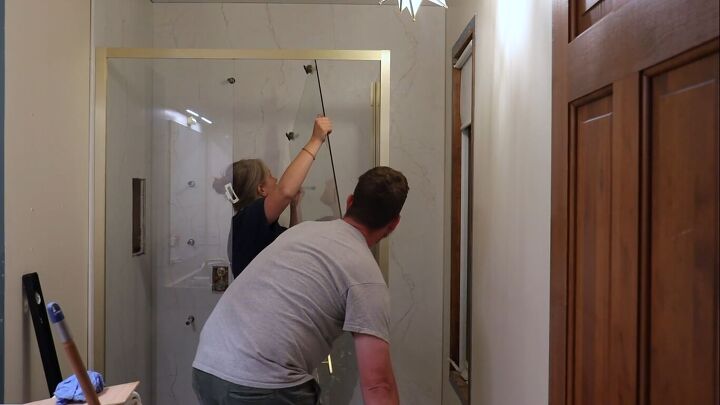
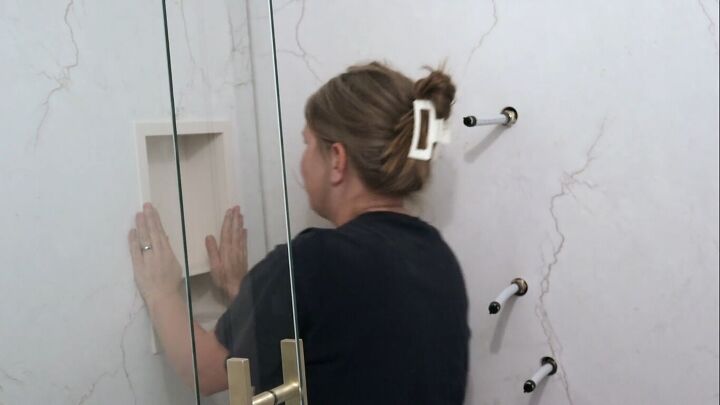
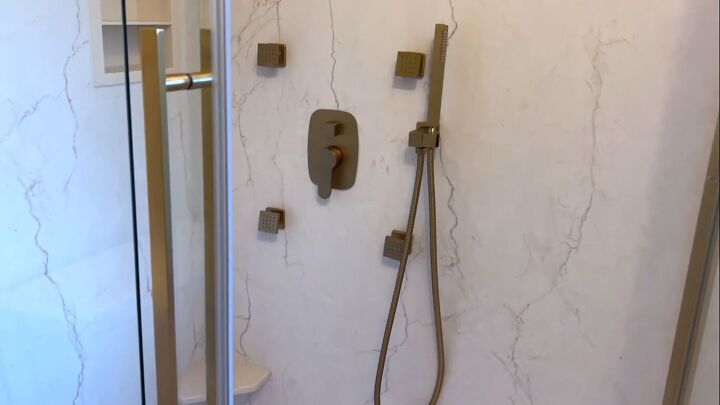
7. Install the Doors
After the Wetwall was installed, we added a new shower door with glass surrounds, put in our new shower fixtures, and completed the installation of the shower niche.
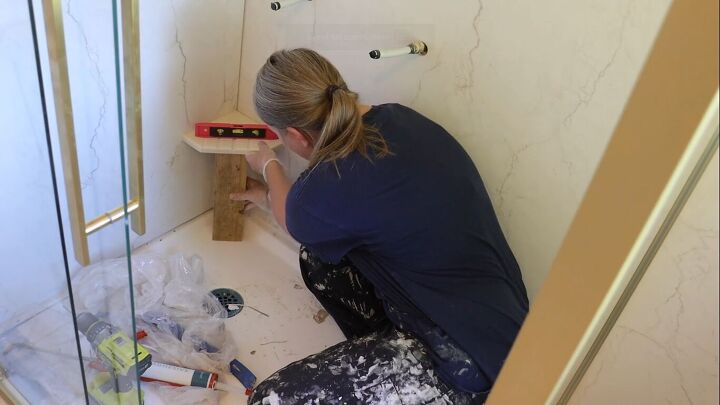
8. Add a Corner Shelf
I also included a corner shelf from Wetwall, which can be secured directly onto the panels using their sealant.
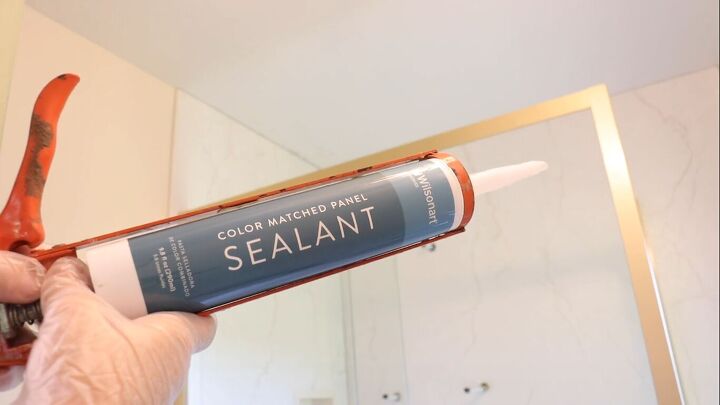
9. Seal
Finally, I sealed all corners, cracks, and edges with the color match panel sealant.

The Reveal
Now, this is my bathroom:
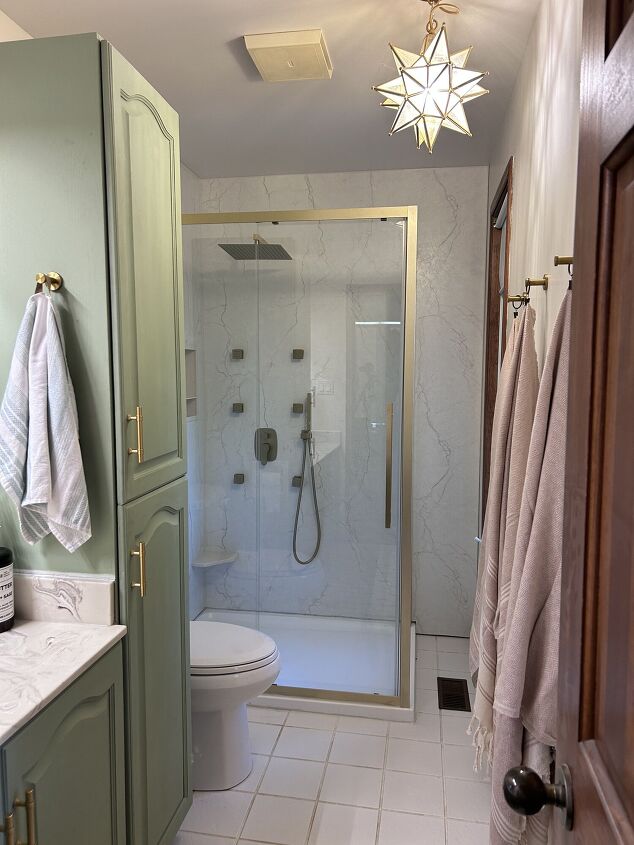
I can’t believe the transformation.

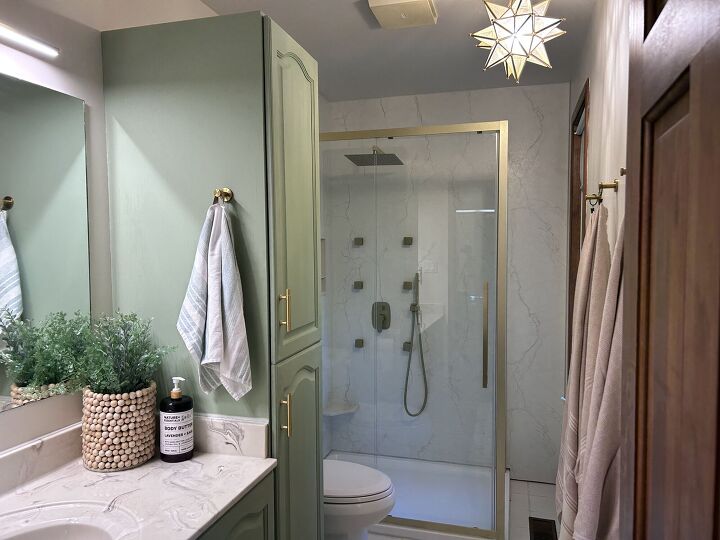
The daring designs of the Wetwall panels, inspired by the luxurious look of marble, have completely elevated the space. This installation was easy and perfect for DIYers.
Wetwall is sold through major home centers like Lowe’s and Menards, as well as specialty kitchen and bath retailers nationwide. To find a retailer near you or to order product samples, visit wetwall.com.
A big thanks to Wetwall by Wilsonart for sponsoring this post.
If you want to see a video of this project, please check out my Hometalk profile

Leave a Reply