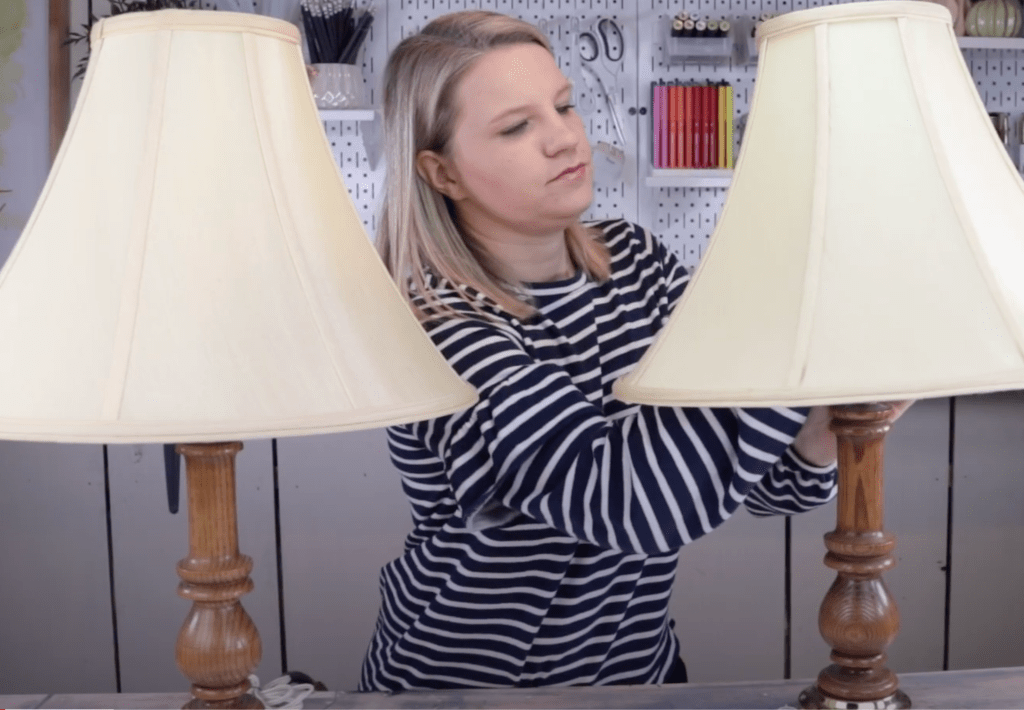
Hey guys! I am back with another thrifted makeover and this time, I am sharing a set of lamps that I made over to look like a set I saw on Wayfair. In this post, I will share the process with you and I will show you exactly how to paint a lamp so that it looks like it came right from Wayfair.
I love browsing on Wayfair but some of their items are just a wee bit out of my price range. When I saw these lamps in the Kelly Clarkson Home collection, I knew they would be the perfect fit for my living room.

Unfortunately, the $449 price tag didn’t really agree with. me.

$449 for lamps!? I mean, no judgement but I just cannot justify spending that on a lamp but I knew if I could find a cheap set of lamps on Kijiji, I could totally dupe these lamps and that I did.
So off to Kijiji I went and that’s where I scored these lil babies for a whopping $15 for the set!
I knew that with a little bit of paint and some new shades, I could totally make these look like the lamps from Wayfair. Now without further ado, I will show you how to paint a lamp so that it looks high end.
To makeover these lamps, I used Country Chic Paint. I know you have probably read this here before but I LOVE Country Chic Paint. I have been using this paint for years and I love the coverage, quality and colours.
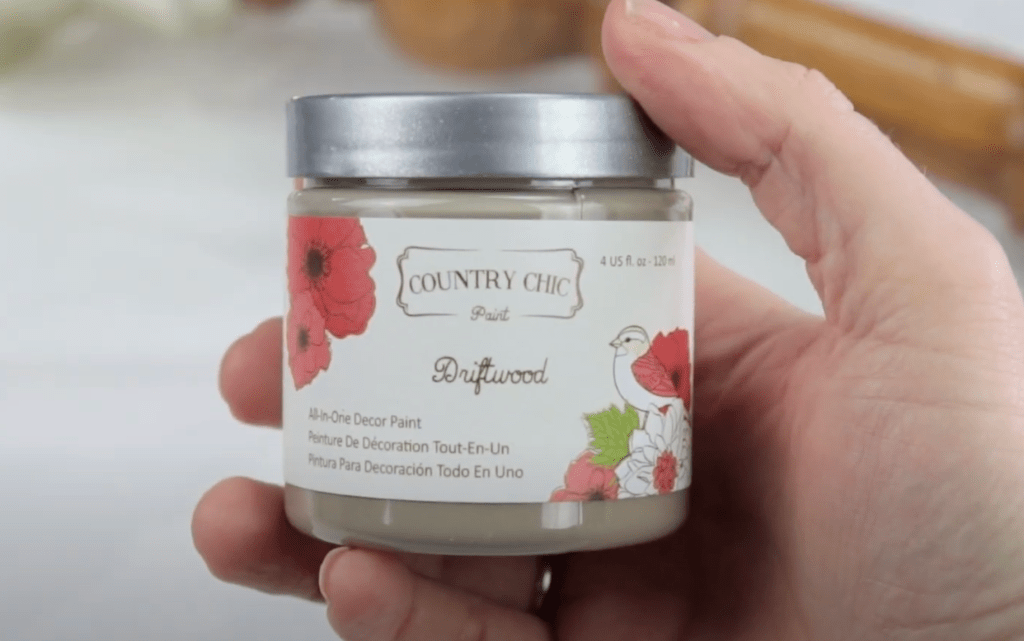
To begin, I painted the entire lamp bases with Driftwood. I did 2 full coats allowing for ample dry time in between.
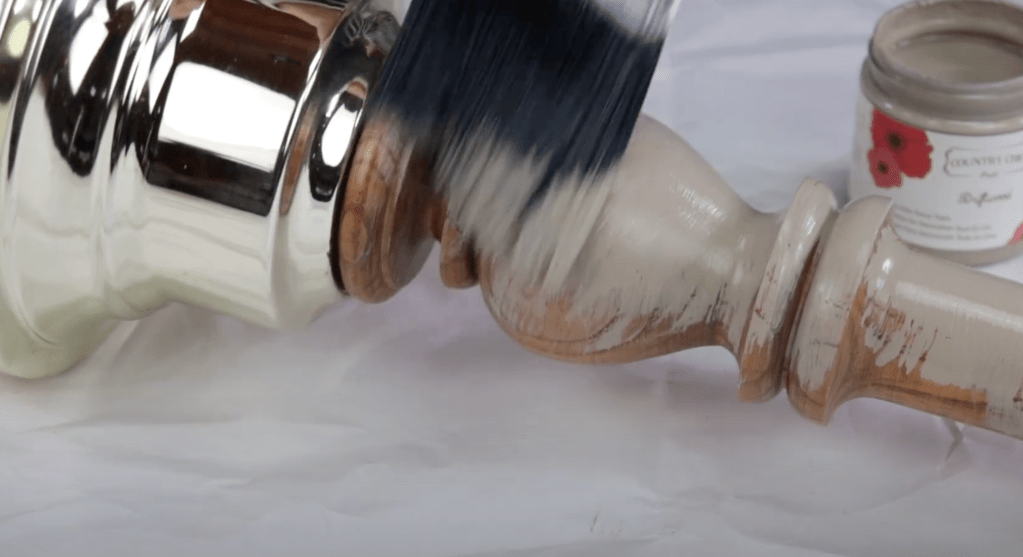
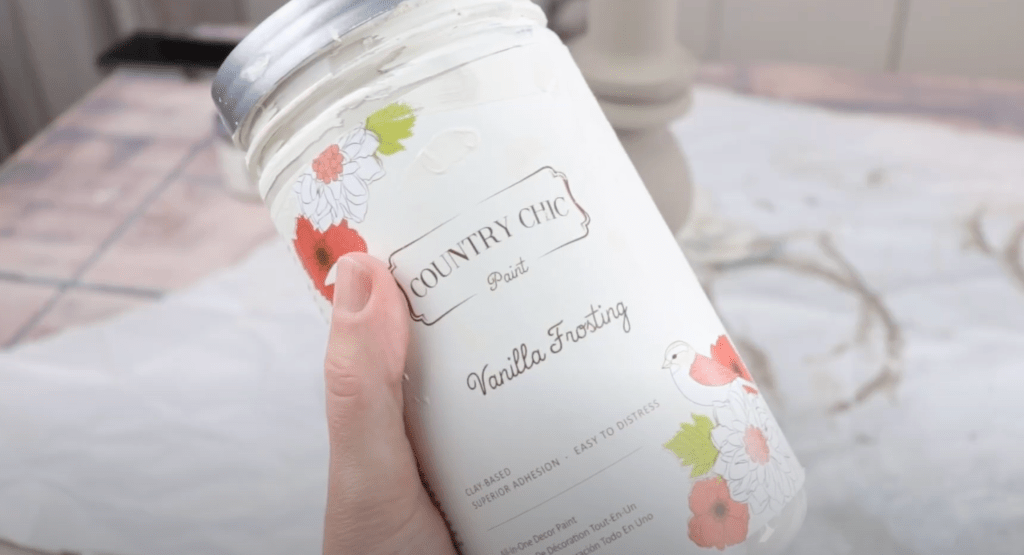
For the best coverage, it’s better to do light even coats rather than one heavy drippy coat. Once the 2 coats of Driftwood were dry, I came in with some Vanilla Frosting and I dry brushed over the whole lamp base.
I used nice light brush strokes, just barely brushing on the Vanilla Frosting.

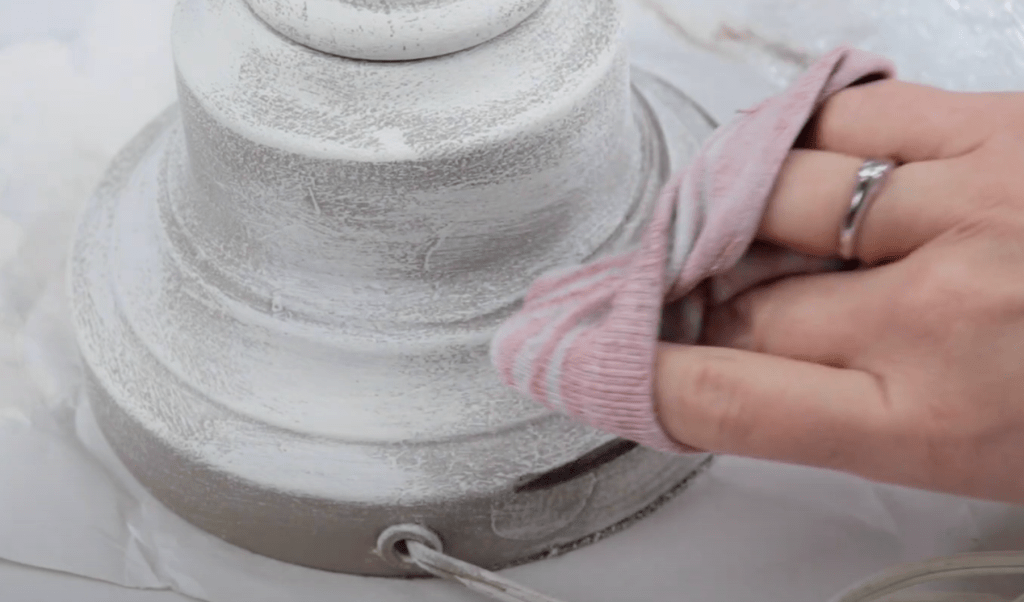
I gave this a couple hours to dry and then I came in with some Antiquing Wax and using an old sock, I rubbed some wax on the just the rims of the lamp base to give some definition.
I replaced the lamp shades with some modern looking ones that I picked up at Wal-Mart. These weren’t very expensive. I believe they were like $15/shade.

The paint I already had in my stash from a previous project but all in all I would say this project cost me under $50! That’s a far cry from $449, don’t you think!?
What do you think of my “new” lamps!? Did I nail this one? Let me know in the comments below and if you want to see this DIY in action, be sure to check out the video.
I hope this video and post will help you out on how to paint lamps. You can take any thrift store lamp and with the magic of paint turn it into something spectacular!
If you like this DIY, I am sure you will love how I took an old chest and made it over into a chic bench! Check it out here.


Leave a Reply