Hey everybody! So I was checking my email the other day, and I received an email from the wonderful people at Hometalk! Turns out that they are looking for people to create new and interesting DIYs for their headquarters! So, I thought I would whip up a little something for the fabulous people that make this DIY community such an amazing place!
If you haven’t heard of Hometalk, you should definitely check it out! It is a great place for DIYers and crafters.
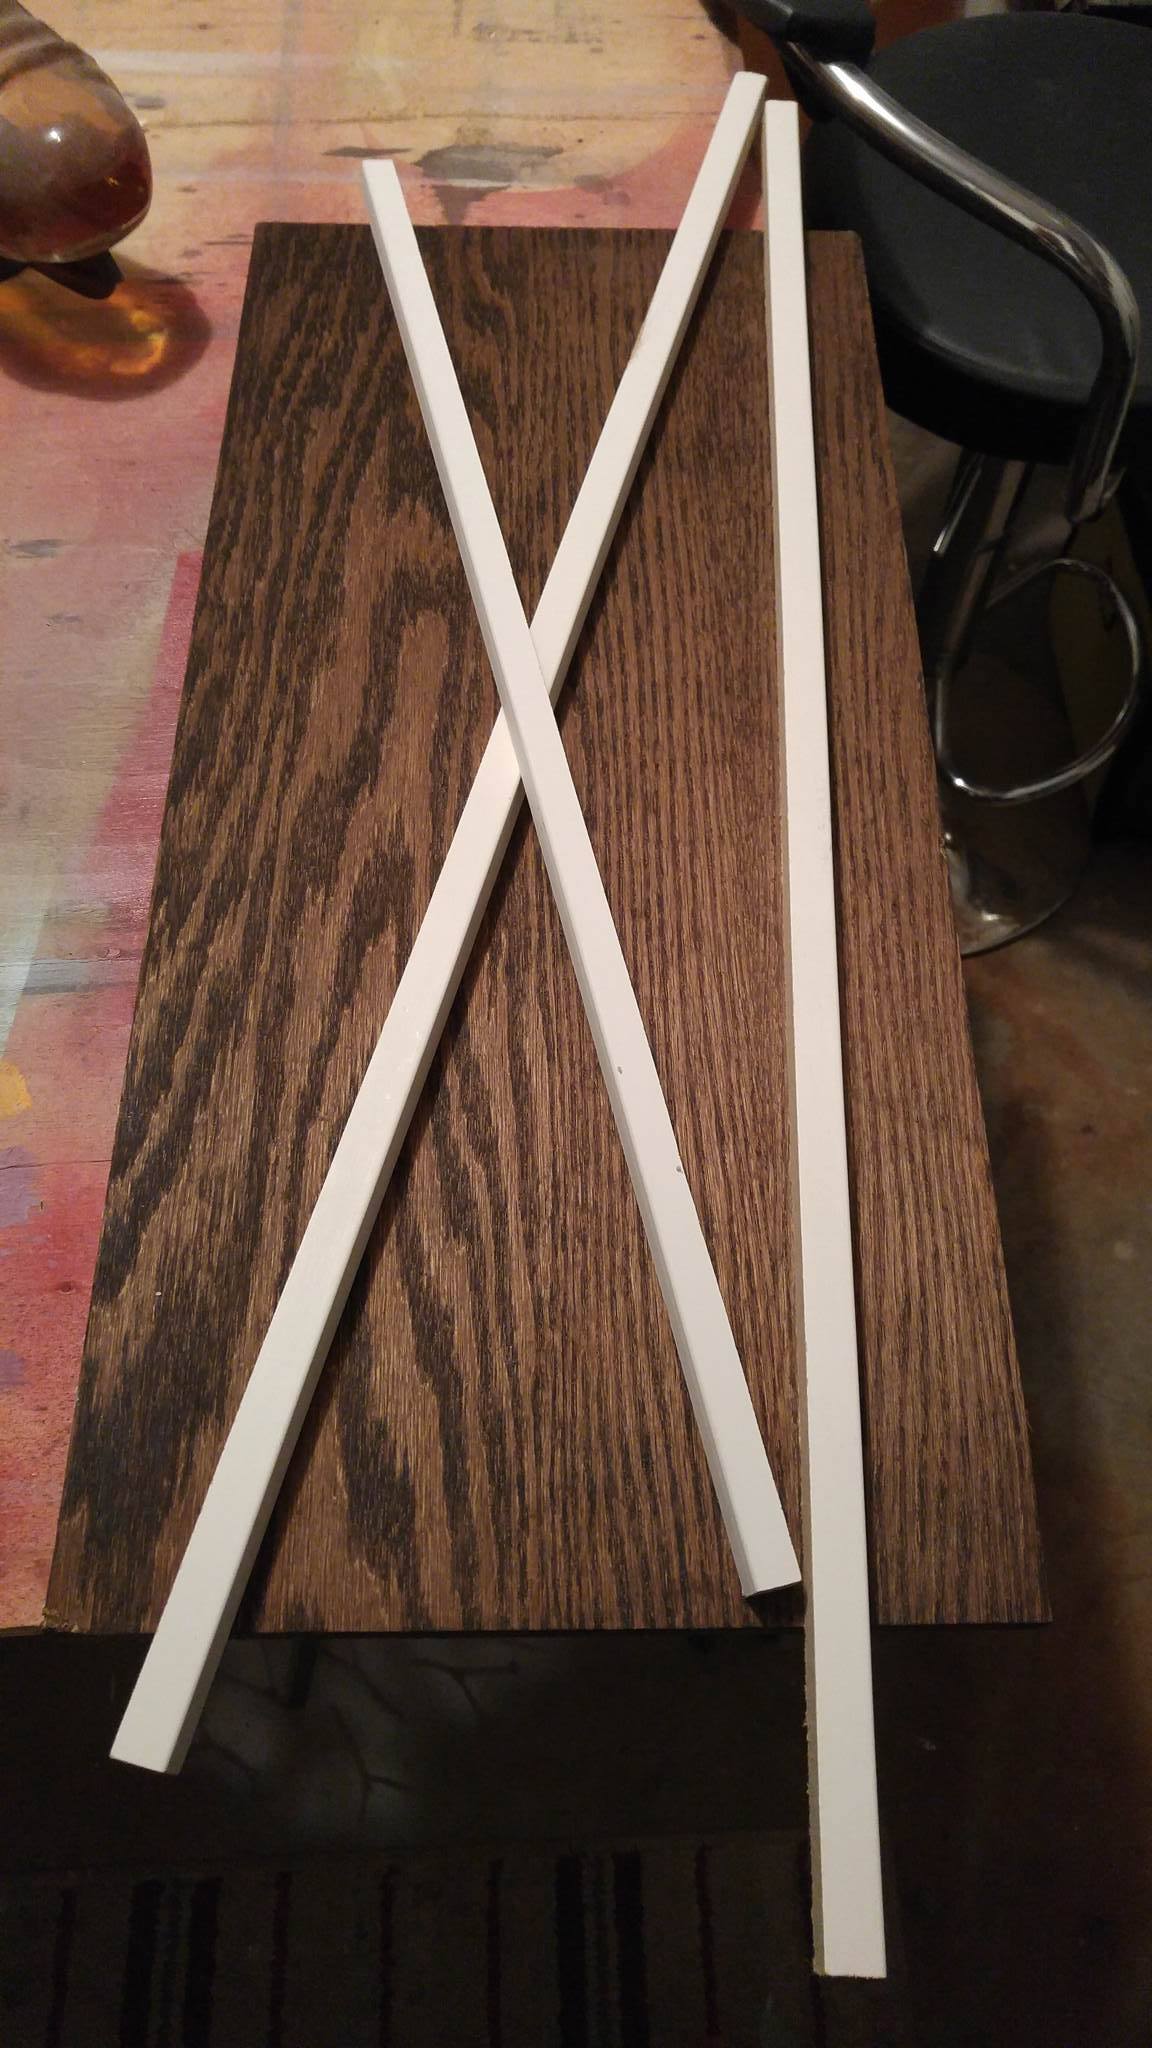
I headed out to my garage, with no idea in mind. I started rooting around and I found this stuff.
 When I saw the white pieces of wood trim I knew exactly what I wanted to do.
I started by painting the piece of brown wood with Americana Chalk Finish paint is Relic shade. This is a piece of wood I picked up off the side of the road, btw 🙂

I did one coat of the Relic, and then after it dried I lightly brushed it with Americana Chalky Finish in Refreshing shade. This is just to give the wood more dimension and more of a weathered look.

Here is a picture of the paint that I used.

Time for the Hometalk logo! I don’t have measurements for this, as I pretty much just winged it, and it totally turned out… well, after SEVERAL cuts lol
I started with two pieces and arranged them like pictured below to make the roof. You can see the pencil markings (I cut the bottom marks) to mark where I made the cut. I used a jig saw to cut this wood.

Then I fiddled around until I got the house shape … not gonna lie the little “speech bubble” part was harder than I thought it would be. I am clearly not a carpenter!

Then I painted the white wood trim in the Hometalk color, and of course I couldn’t do this without wearing my Hometalk t-shirt! I won this shirt from a Hometalk Facebook Live segment… Thanks again, guys! 😀

For”hometalk” I used my Cricut cutting machine and I cut it out in vinyl. If you don’t have a cutting machine you could use stencils, or there are plenty of online tutorials that will show you how to print from a computer and transfer, then hand paint.

I thought the sign needed a little bit more than just the “hometalk”, so I went to the Hometalk Facebook page, and I saw that the cover photo said “The world’s largest DIY community”… perfect!

For this phrase I didn’t want to use the vinyl. I thought it would be a little too much, and I wanted the phrase to be different from “hometalk”. So I still cut it with the Cricut, but I used the negative cut as a stencil.
I used the Refreshing shade again, the same paint that I used to go over the grey paint to achieve the weathered look.

I also went over the stencil with Silver Bullet Metallic Accent Cream from Country Chic. This stuff is amazing and it gave a little sheen to the painted words.

I used E6000 (the best glue in the world!!) to glue the house to my wood sign.

Ta-da!!! Talk about Happy Hometalking!!!

This project was so fun to make! Sometimes the best DIYs are the ones where you fly by the seat of your pants! 😀

What do you think? If you have the time, head over and check out Hometalk! You won’t be sorry you did!!


I am a big fan of Home Talk, but I find their site awefully slow when I watch. I dont know if it’s my computer, but it’s the only one I have trouble with. But it is awesome, as well as yours too.
Thank you so much Yvonne! 😀
I love how you find boards on the side of the road and make such beautiful things out of them! Bravo! 🙂
Thank you Jessica!! 😀