 Hi, friends! So we spend so much time sharing our gorgeous, fun and creative projects, but what about the rooms we create them in?? Shouldn’t our craft rooms share in the spotlight?
I am going to share a little secret with you — my craft room is not one that should be shared. It is not much to look at, but the good news is (and if you follow me on Facebook, you will already know this) my husband and I bought our first home!! EEEK!!! We are so excited and most important there is a nice little room that I will be converting into a craft room. That’s right!!! An entire room all for me!! Right now, my “craft room” sits in a corner of the basement of our townhouse and it is very tight for space so I can’t wait to stretch out all my supplies and equipment into my very own room, but until we take possession and remodel, I am going to take this time to share some gorgeous craft rooms from all of you!
***If you would like to have your craft room featured on the blog, you can fill out the contact form at the end of this post.***
But let’s get into this week’s feature! This craft room comes from the very talented Maria Maniaci. I came across Maria’s pictures of her craft room in a Cricut group that I am a part of on Facebook. Take a look at her gorgeous space where she creates.
How could you not come up with some creative projects in this space!?  Maria refinished this gorgeous hutch. She got this hutch at a steal of $40. The knobs are her favorite!
  The sewing machine fits perfectly!
 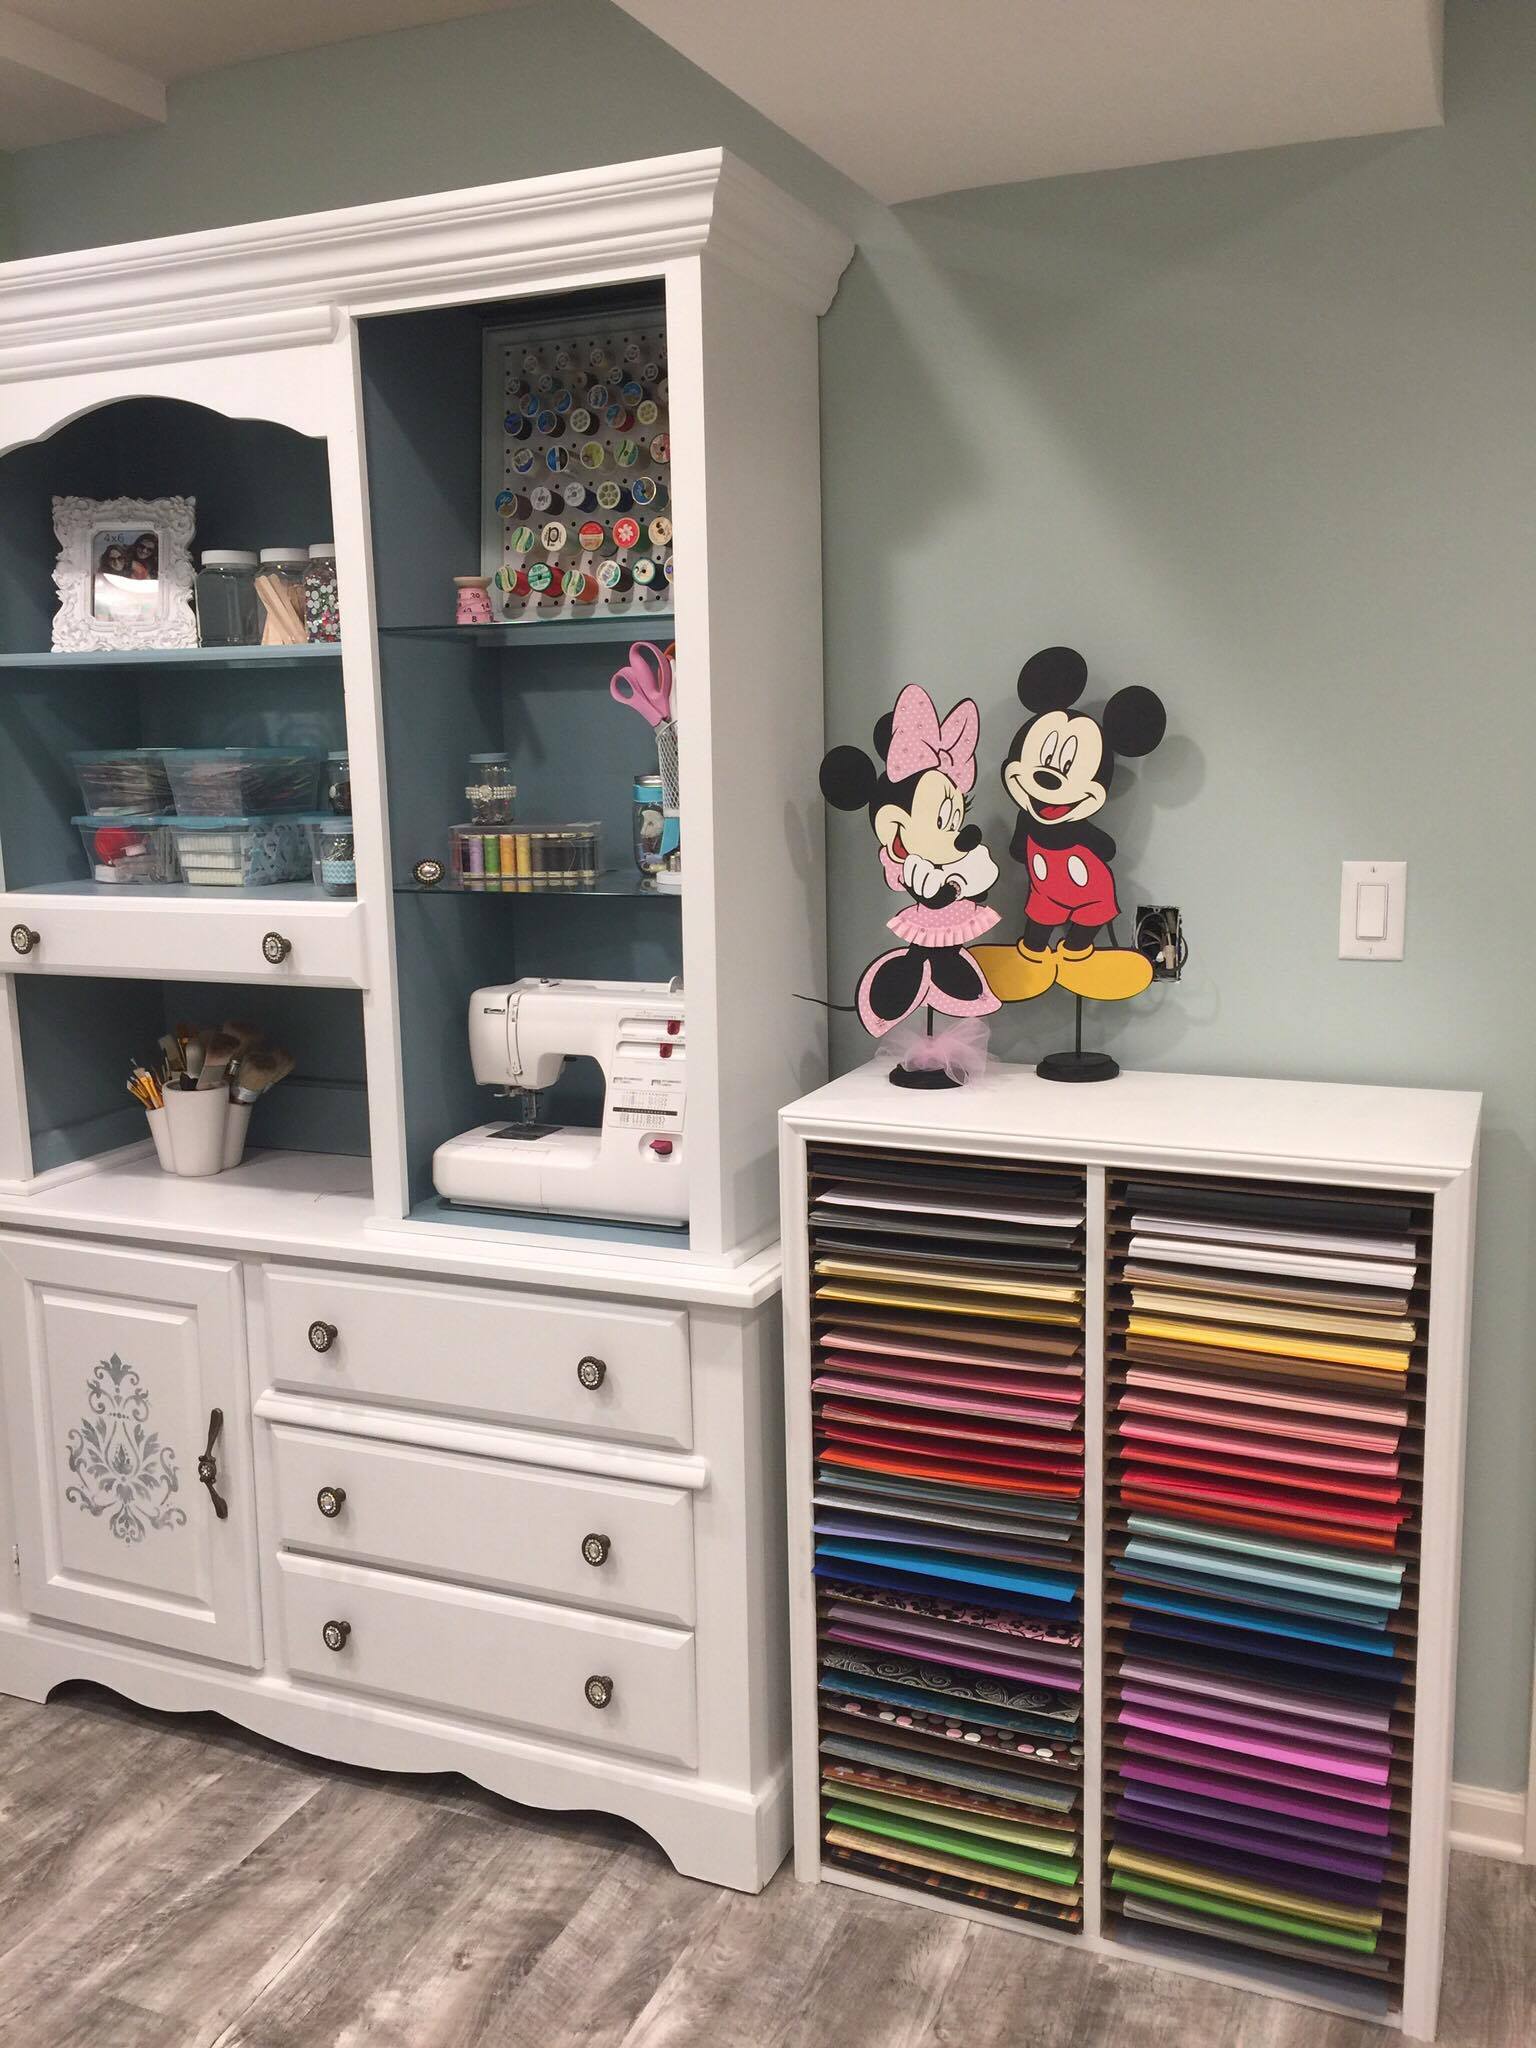 A shelf with 62 slots for cardstock! Wow!!
I think I am going to have to make a vinyl holder just like this one! Amazing!
“We used left over cabinet underlayment (from my kitchen) put 2 pieces together, used clamps to hold it made a pattern n used a big circle drill n cut both pieces at same time. That way they lined up perfectly. We built a nitch when we put walls up and slid it it. Added a lil trim molding to keep it from sliding out. The depth we used between the two pieces of underlayment (that is just thin wood) was 9in” – Maria And what a ribbon collection! Maria describes how she made this ribbon holder – “Left over scrap wood was used for my ribbon. Had no idea I had this much lol RIBBON HOLDER- 5’x2′ used left over laminate piece of shelving (Home Depot) for top,2 sides n middle cut 6 shelves n then drilled a hole in sides and ran a wooden dowel from hobby lobby through it n painted I white. Screwed it right in the wall. Height is 25″ n shelves are 7″ deep”
 Love that sign, too. “Grave changes everything.”
 The hidden chalkboard inside the cupboard door of the hutch is a great touch!
 Maria did an amazing job with her craft room and when it comes to designing my own I will definitely be referencing these pictures 🙂
If you want to have your craft room featured, feel free to fill out this contact form 🙂


10 COMMENTS
Yvonne
9 years agoThat’s really awesome, only wish I had the space to do this too. Good luck, Holly in designing your room and be sure to share with us.
hollygrace13
9 years agoThanks Yvonne! I will for sure 😀
Fran
9 years agoWhat a gorgeous space! Congratulations on your new home – I’ll look forward to seeing your craft room one day 🙂
hollygrace13
9 years agoThank you Fran! I will be sharing lots of pics! Mar 31 can’t come fast enough!! 😀
Jill Lucero
6 years agoWhat is your paint color?
Monica
5 years agoWhat color & brand did you use on the walls
Layla
5 years agoThat table is amazing, I so need the details on where to get that?
Niki Griffin
5 years agoI would love to know where she got the 62 slot paper tray
Tina Moore
5 years agoDo you recall the color of the paint? I’m in love with it . Thank you so much
hollygrace13
5 years ago AUTHORHello Tina! Sorry for the late reply. This actually isn’t my Craft Room, rather just a feature from someone. Sorry!