


Happy Sunday, everyone!! I am so excited to share this table makeover with you! This makeover has quite the little backstory.
So as you know, if you keep up with my blog, we recently bought our first home. In our rental, we had this little breakfast area where our pub height table fit perfectly.

I have wanted to makeover this table for awhile now, but didn’t want to until we bought a house and even knew if we were going to keep it.
When we bought our home, I was elated to find out that there was indeed a spot to put our pub height table! In preparation and anxiously waiting to move, I started making over the chairs.

I wanted a fresh new look for these old worn out chairs, so I painted them with Lazy Linen from Country Chic Paint.


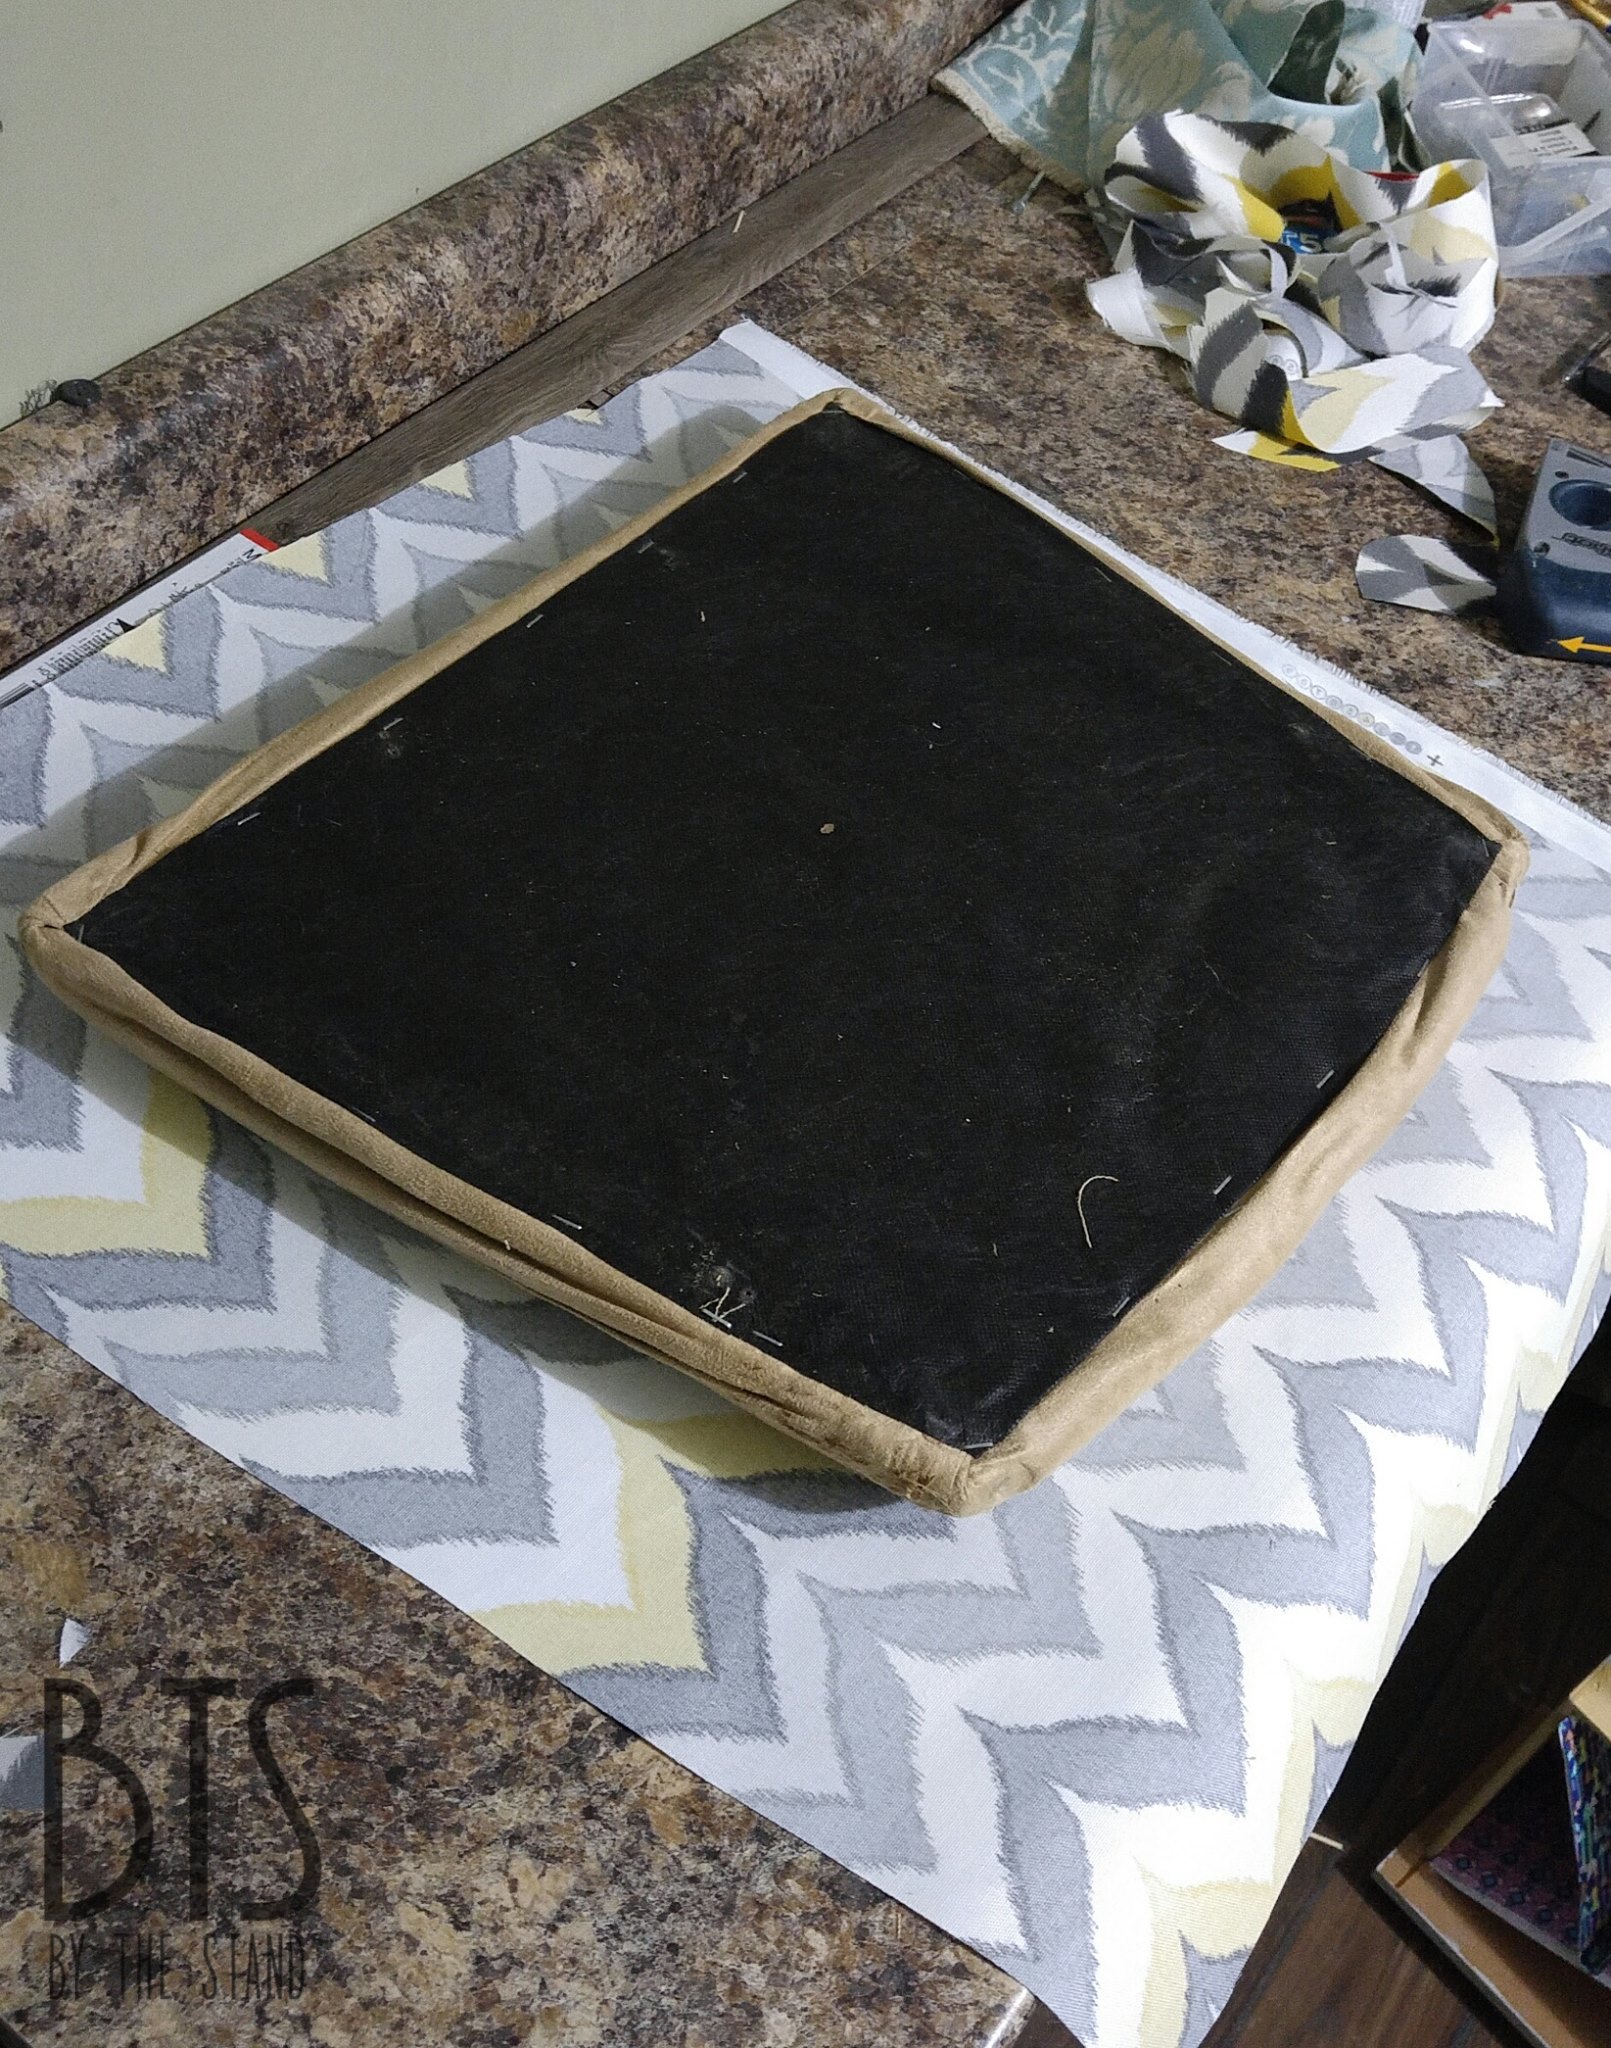
I dismantled the seats so that I could get to all angles of the chair.
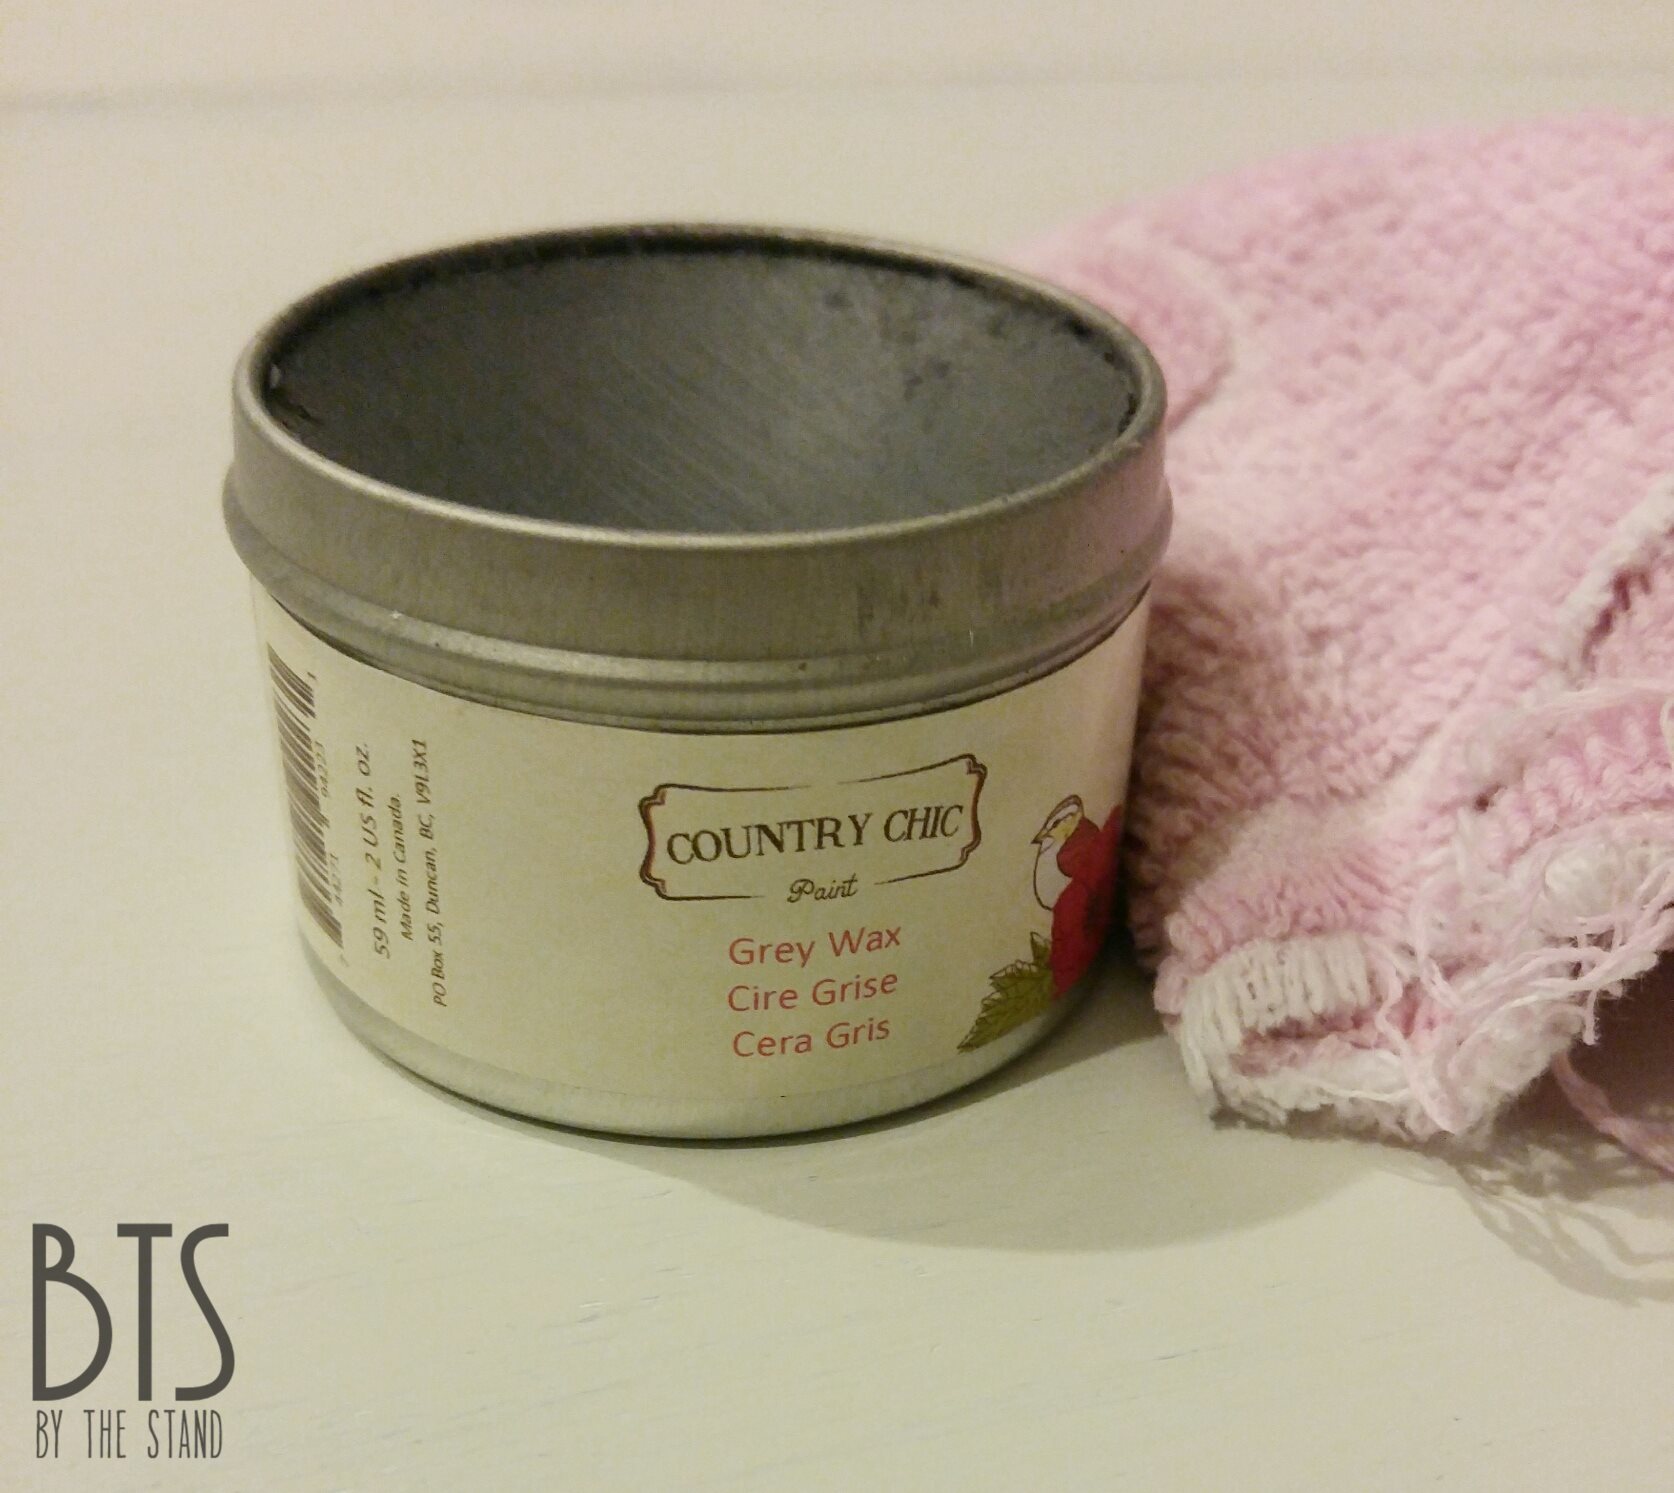
I know you have heard me talk about this stuff before, but I am going to show you again because I just love it so much!
I went over the edges of the chairs with Grey Wax — also from Country Chic Paint. This stuff is so easy to use! You might remember seeing me use it on my Makeup Vanity Makeover.
My mother helped me pick out the new fabric for my chairs and at first I was a little hesitant because I normally don’t like yellow, but there’s just something about this fabric that I love.


Take a look at the finished chairs!

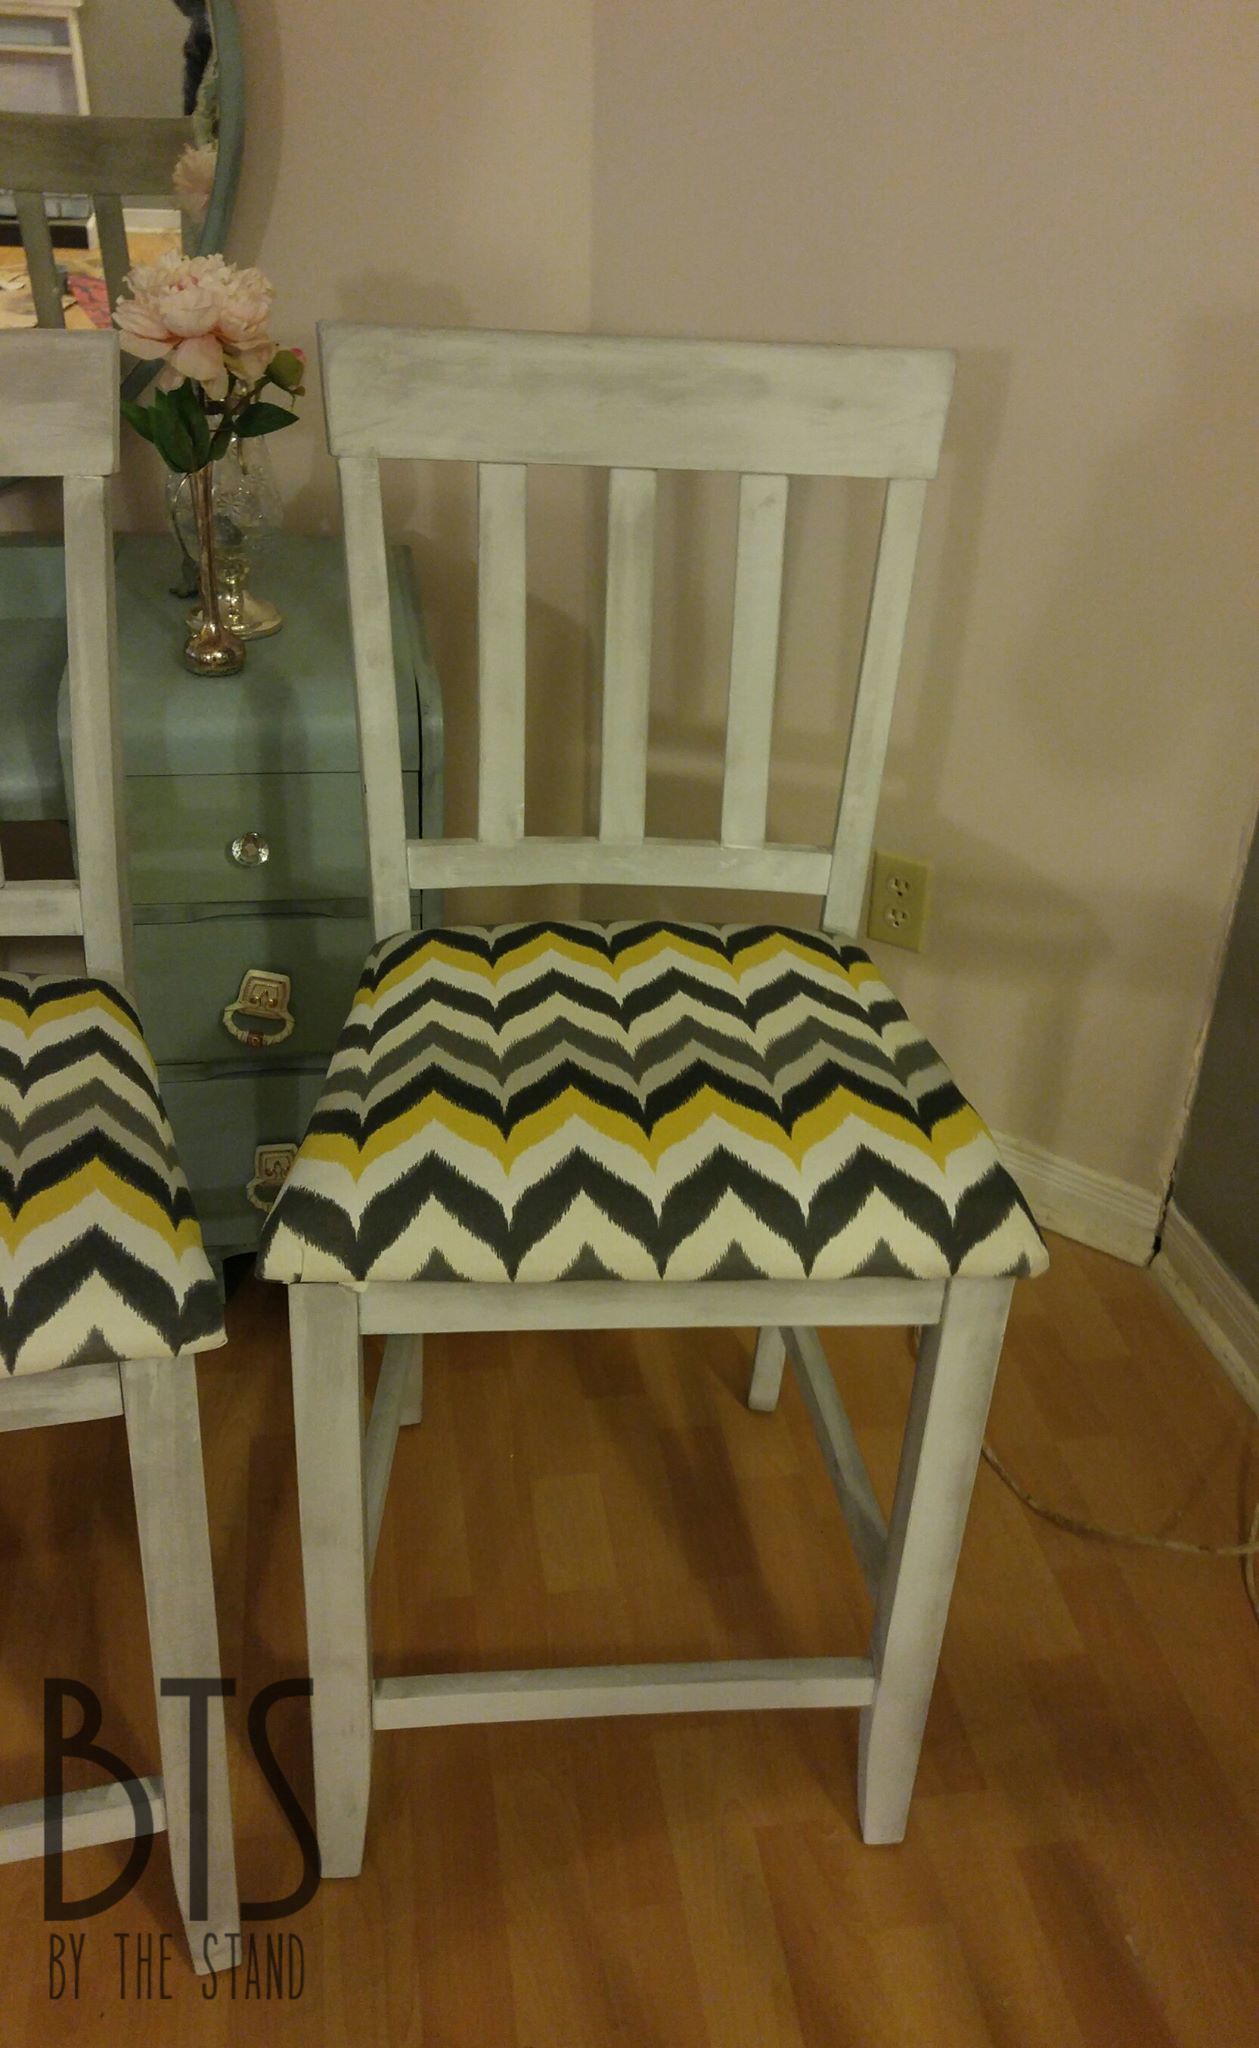
Lovely, right?
Now, I didn’t have time to make over the table before we moved and I am so glad that I didn’t!
Lo and behold, we moved in, I moved the table into the space and it was just way too big!
The table is 40″ x 40″ … just a bit to square and bulky for this slender space. So, I thought for a minute, “What are my options, here?”
Well, I thought I could get rid of the table, sell the chairs and start from scratch with a new table and chairs that fit the space. I could try and find a junky smaller table to makeover, or I could just live with it just being bulky… not a great option.
Then, genius struck. I love this table AND I LOVE MY NEW CHAIRS… all I need is for this table to be 10″ smaller!
And I was determined to make that happen!
With the help of my hubby and father in law, we took 10 inches right out of the middle. These seemed like a bit of a daunting task, but it was actually quite easy!

We found the middle of the table which was the 20″ mark, and then measure 5″ on each side and ran the table through the table saw at the 5″ marks we made.
Perfect! 10″ take right out of the middle!
The table edge was a little higher than the saw blade, but my father in law finished off the cut with a hand saw.


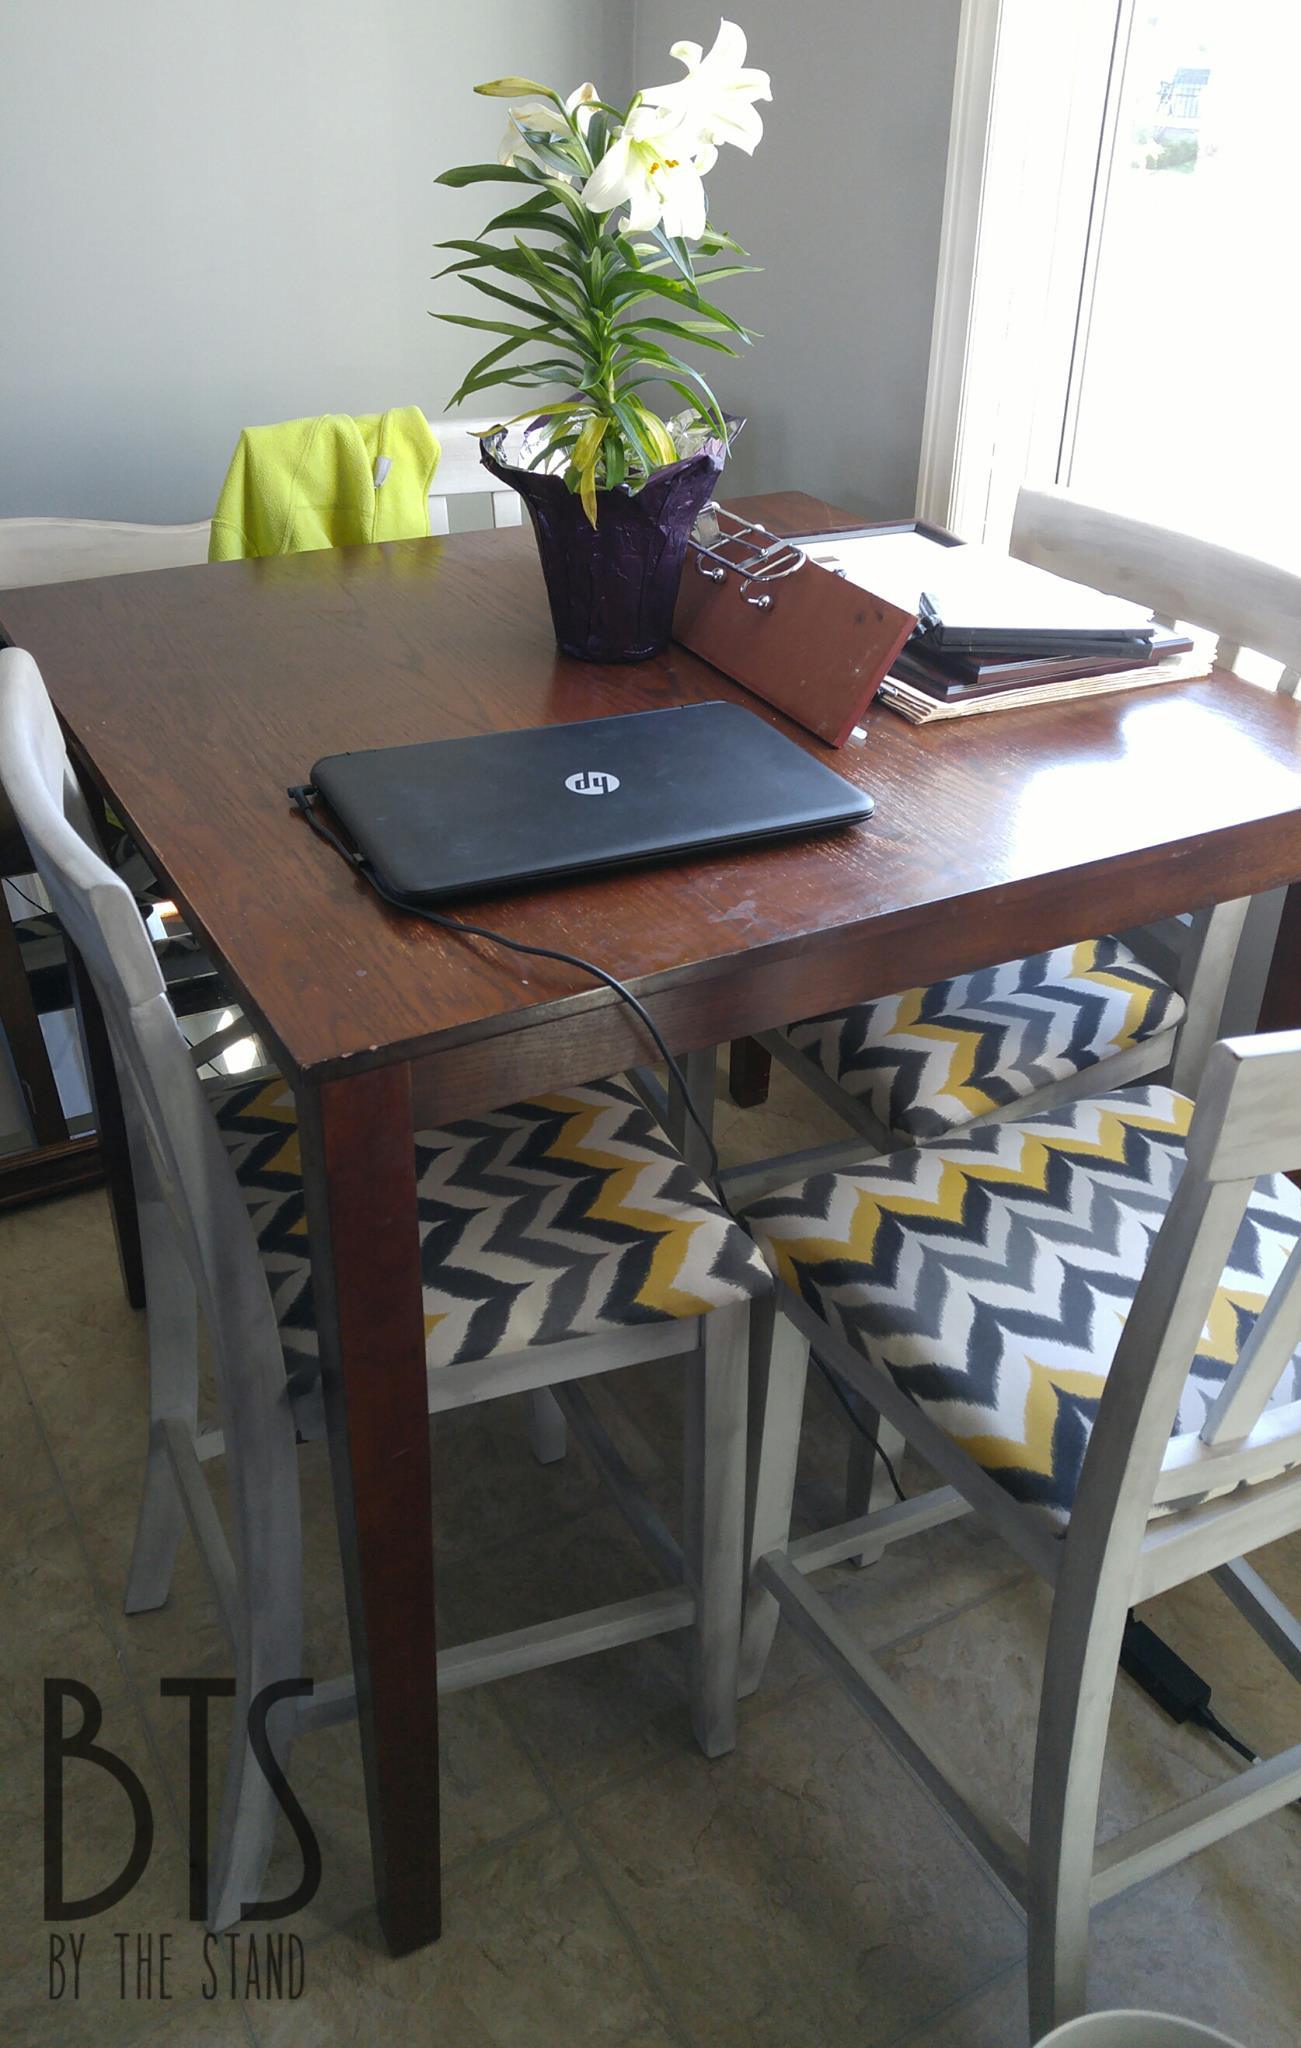
This is our “new” table sans 10″!

Now we just had to put it back together! I bought these four mending plates.
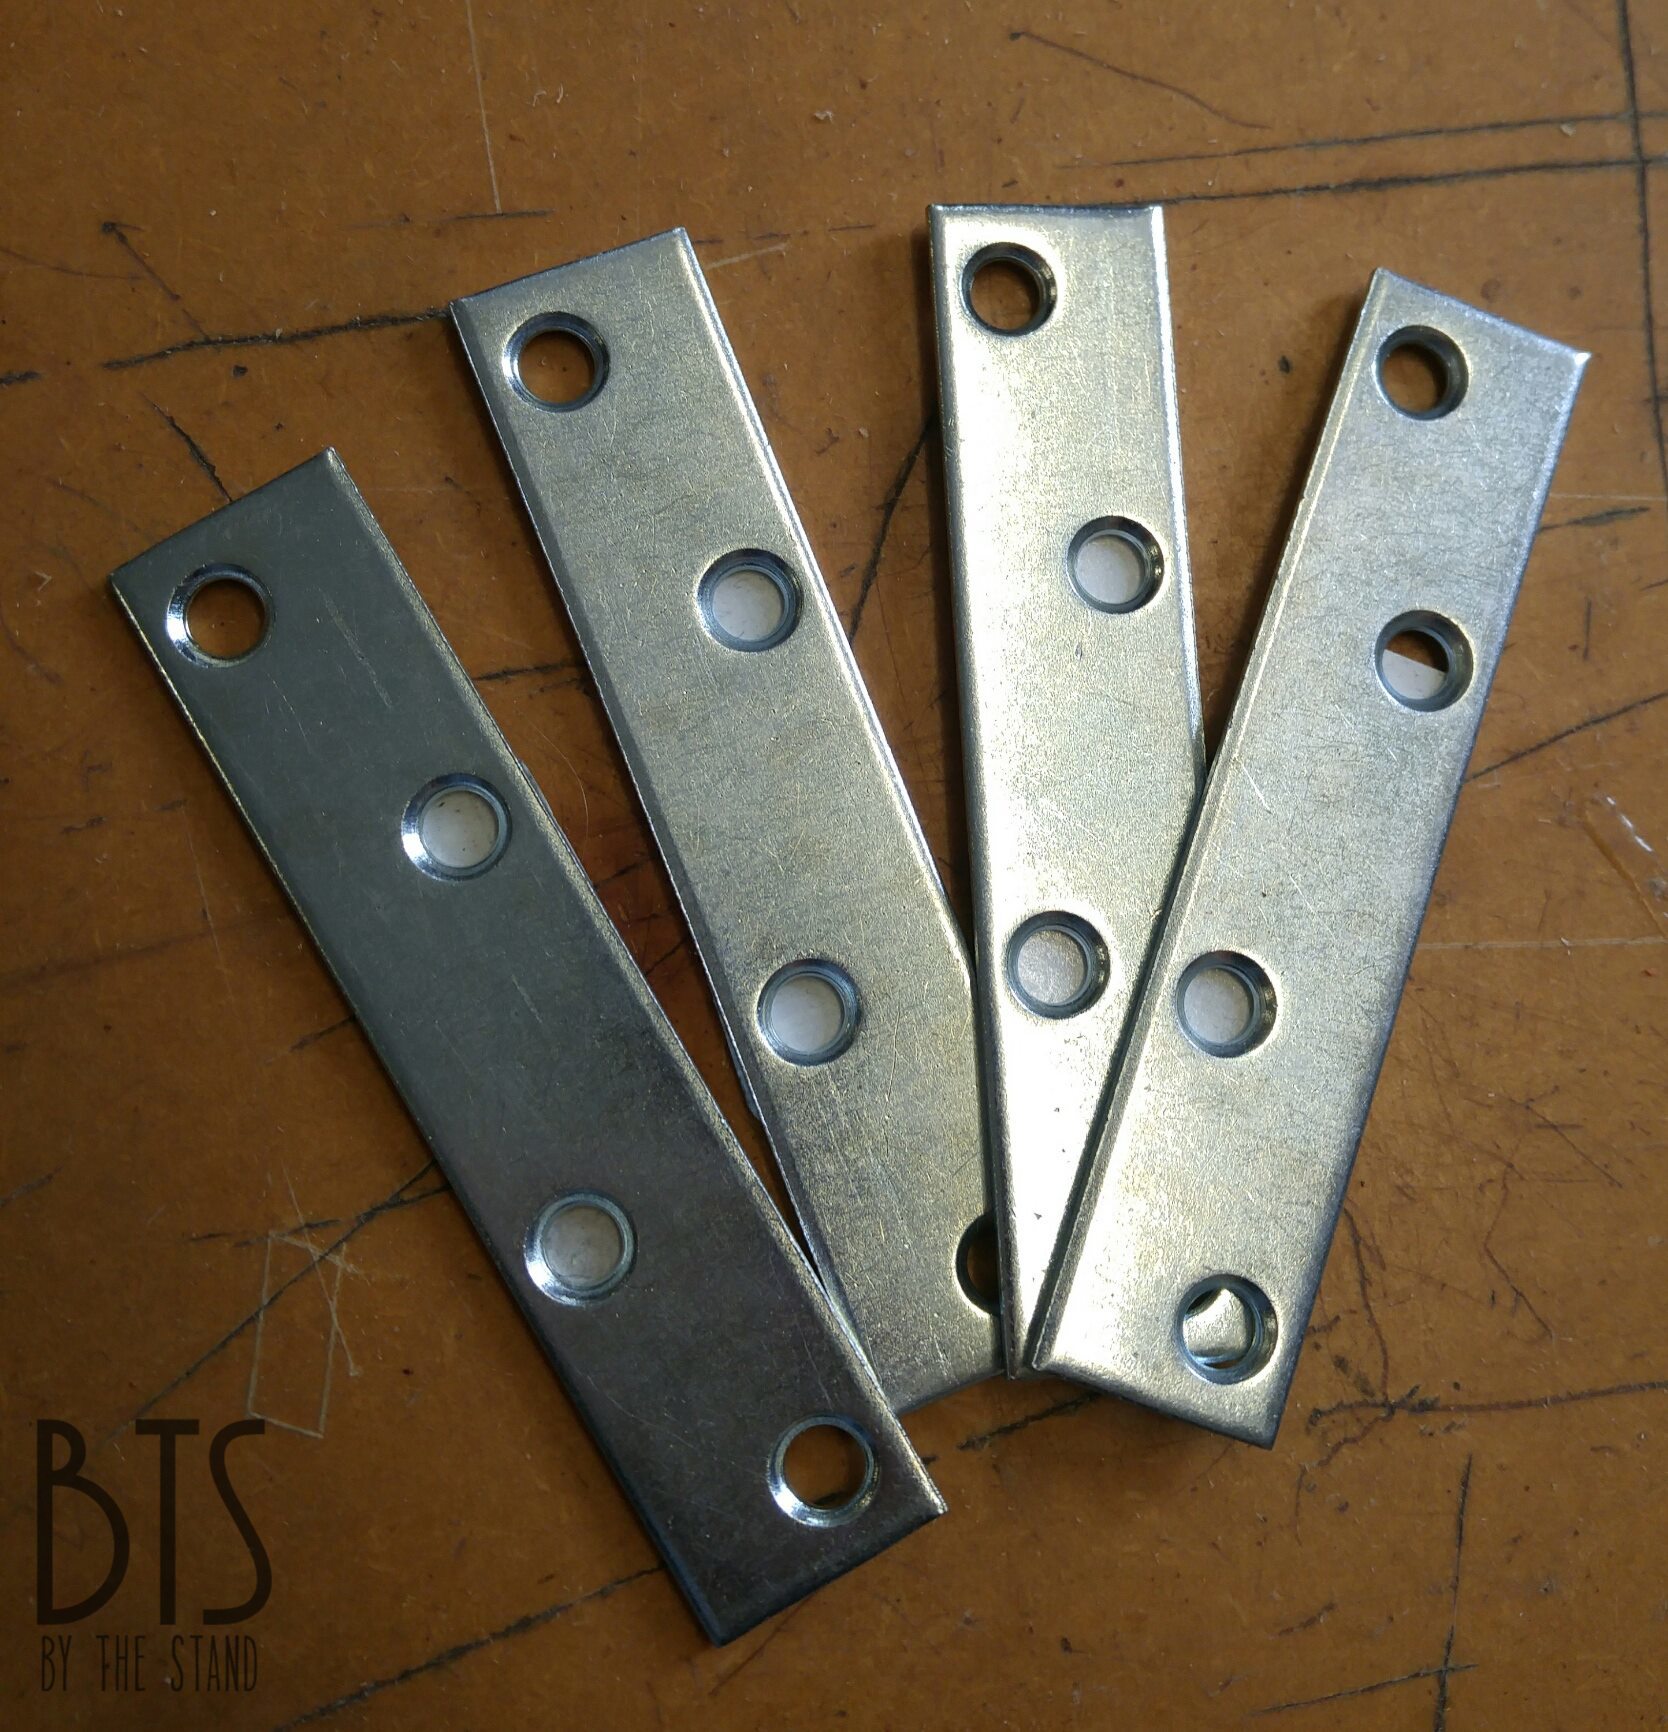
Pretty easy to do! Just screw them on down the middle of the table.
There’s one thing that’s always great when you work on something with my father in law. First off, I think he has every tool known to man kind, also, he always shares some great and handy tips!
Like this little tool for instance… I am sure for those that dabble in this kind of work, this is a pretty basic tool, but I had no idea something like this existed.

Basically, before you are going to screw in your screw, you mark your hole with this thing. My father in law had a name for it and for the life of me, I can’t remember what he said.
Anyway, you put the plate down, put this poker thing in the hole and give it a couple taps with a hammer.

It pretty much starts the hole for the screw and to ease the screw going in. It also helps to prevent slipping.
A great little tool and another handy tip from my father in law!
So we plated the table back together.
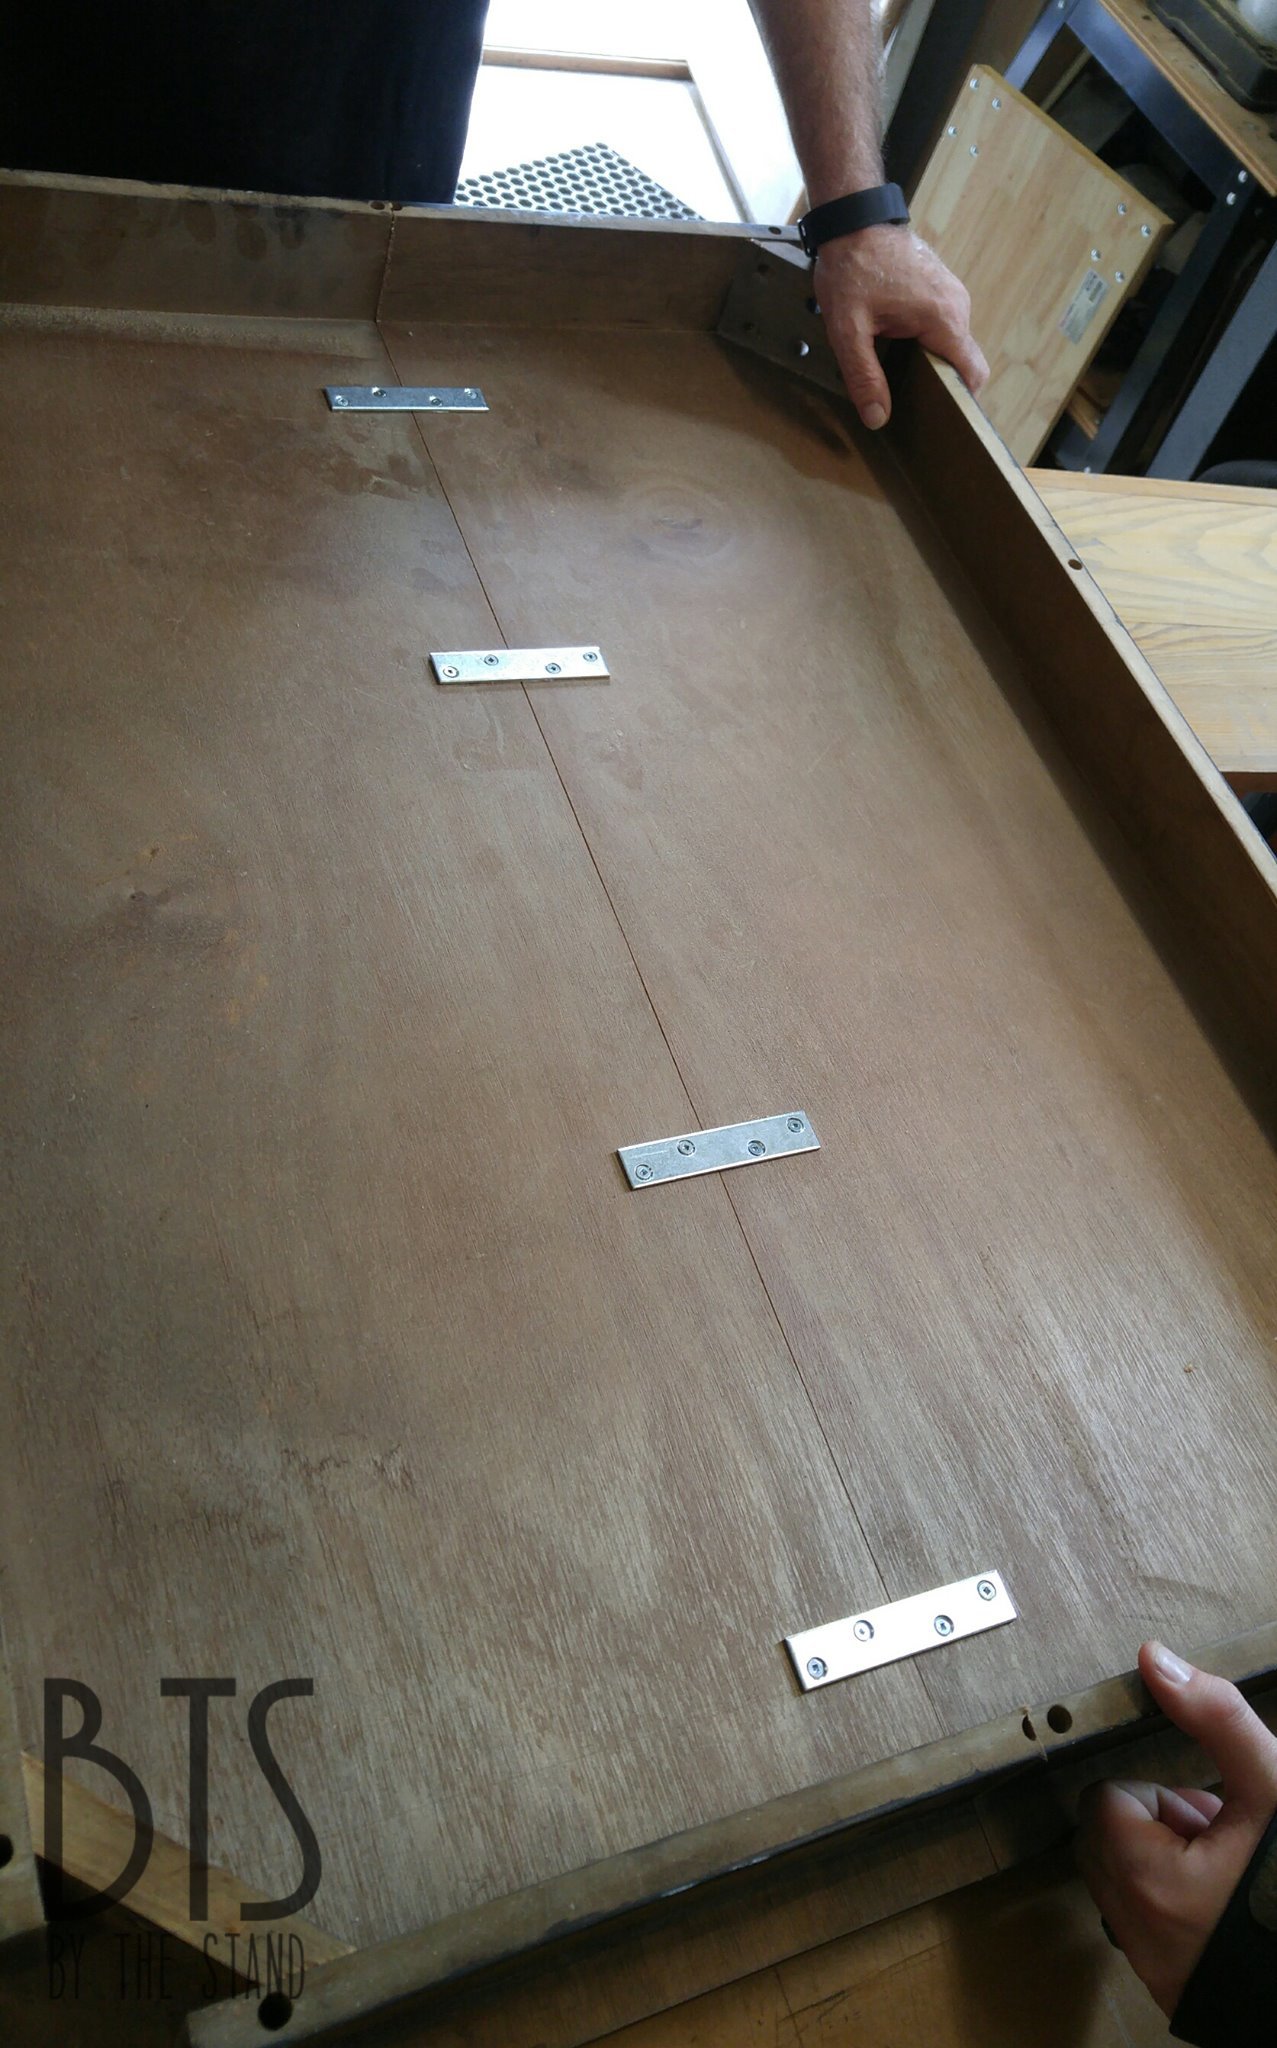
When we flipped it back over, the table was a little wobbly so we added two more plates to the sides.

This added more stability to where the cut is.
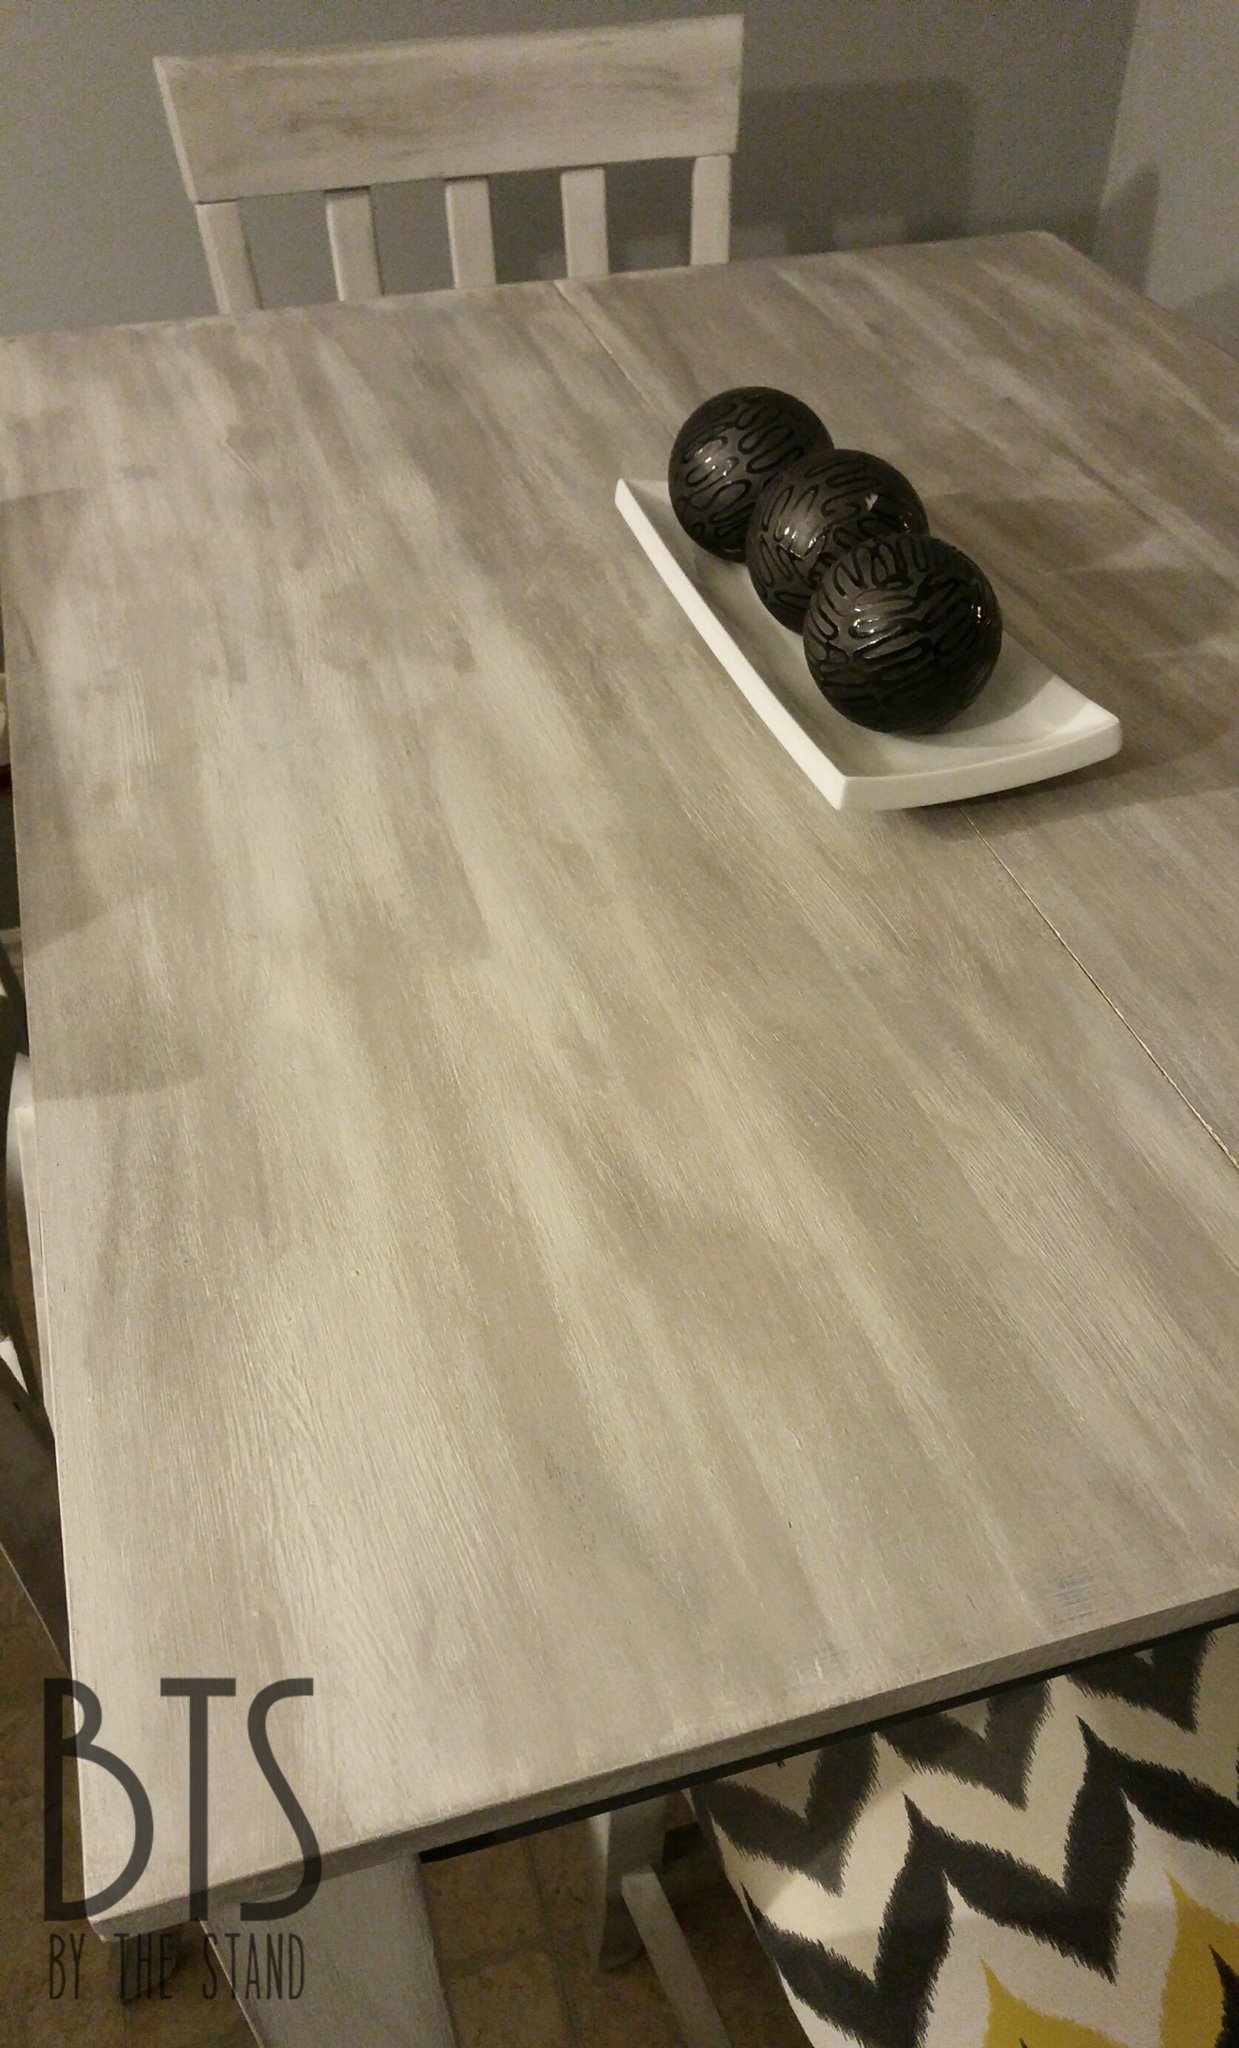
I did a bit of sanding on the top of the table, because we have had it for sometime and it needed a bit of a buff.

Painted the top of the table with the same Lazy Linen from Country Chic Paint.

I did something a little different here, though. Because I wanted the top to still look like wood, I didn’t do a “full” coat. I left a bit of the wood exposed underneath the paint.
Then I went completely over the paint with the grey wax.

Pretty cool, eh?
Want to see the finished product!?

Let’s take a close up look

I’m still not done putting my whole kitchen look together, but as soon as it is, you’ll all be the first to see!

Let me know what you think about this table makeover by commenting below!
If you love it and want to save it make sure you Pin it!
Here is a great image for you to add to you Pinterest board

Til’ next time!!

Awesome save! It looks fantastic!
Thank you Giselle 🙂
Really love it.
Thank you so much Nancy!
wow looks awesome
great job
Thank you Barb 🙂
10/10!
Thank you!! 😀
this is exactly what I want to do with my high top table & chairs. I am a newbie with the use of chalk paint and this ‘distressed’ style, any quick pointers? oh, and if it is a high traffic piece what do you use to protect it, polyurethane?
Hello Laura! Thanks for you comment and questions. Depending on what type of paint you are going to use, sanding and priming is most essential. Do you have any idea of the paint that you will be using. If it were me I would look into the Country Chic Paint products like I used in my post. They are super easy to use, plus you don’t have to do any sanding or priming. To seal my paint, I used their Grey wax. The wax acts as a sealer and you actually cannot put any type of sealer over top or you will wreck it. The wax finish provides an amazing seal as well as that distressed looking finish.
Let me know if you have any other questions! Always happy to help!
Holly
Turned out so so great! Thanks for sharing. I am hoping to find a table to redo myself for our first home!!!
Thank you! 🙂 Good luck with finding a table and congrats on your first home! 😀
The tool is a “Bradawl”.
Thanks Malcolm!! 🙂
OMG I just love this!! So beautiful.
Thank you so much Christina!! 😀
This project turned out great! I do have a question though, where did you find gray wax?
Thank you Rachel! You can find the grey wax through Country Chic Paint. Here is a link for you! https://www.countrychicpaint.ca/collections/shop/products/grey-wax?variant=25844648976 It is worth every penny!!
Good idea and execution…. I would have glued the seam and used the cutout piece (minus the ends, of course) to hold the halves in place. With glue, and maybe a touch of wood filler, the seam would disappear. By using the leftover piece for reinforcement, you don’t have to buy hardware. Just some thoughts…..
Thanks for the idea, Nancy! I don’t mind the seam so much, but you do have some really great suggestions! Thank you 🙂
Awesome project! First thought about the table size, was cut it down! Glad you were brave enough to have the guys do that for you. I’m always reupholstering & refinishing because it gives such satisfaction seeing something old with new life! My pub table soon to get a makeover also. Thanks for sharing.
Thank you so much Sandy!