


Hi everyone!! I have been a busy little bee lately, so I am absolutely exhausted. As the warmer weather approaches, I feel like I am always at a loss for time… but… I did manage to sneak in an adorable DIY tonight!
I would like to share this DIY flower fabric pillow tutorial with you! This project is sooooo easy!
Want to make one? Just follow these instructions and you will be well on your way!
You will need:
- Plain pillow cover
- Fabric or thick canvas ribbon (I got mine on sale at Micheal’s)
- Hot glue gun
- Plate (for tracing)
- Circle template (for tracing)
- Button (optional)
Let’s dig right in!

I used to be really big into scrapbooking, so I have this amazing mat and circle template. If you don’t have something like this you could trace a small bowl or cut your own template from cardboard.
I got this thick canvas ribbon on sale at Micheal’s. I’ve had it for a while now so I can’t remember exactly how much I paid for it, but I think with the coupon, maybe $3? Either way it was a steal!
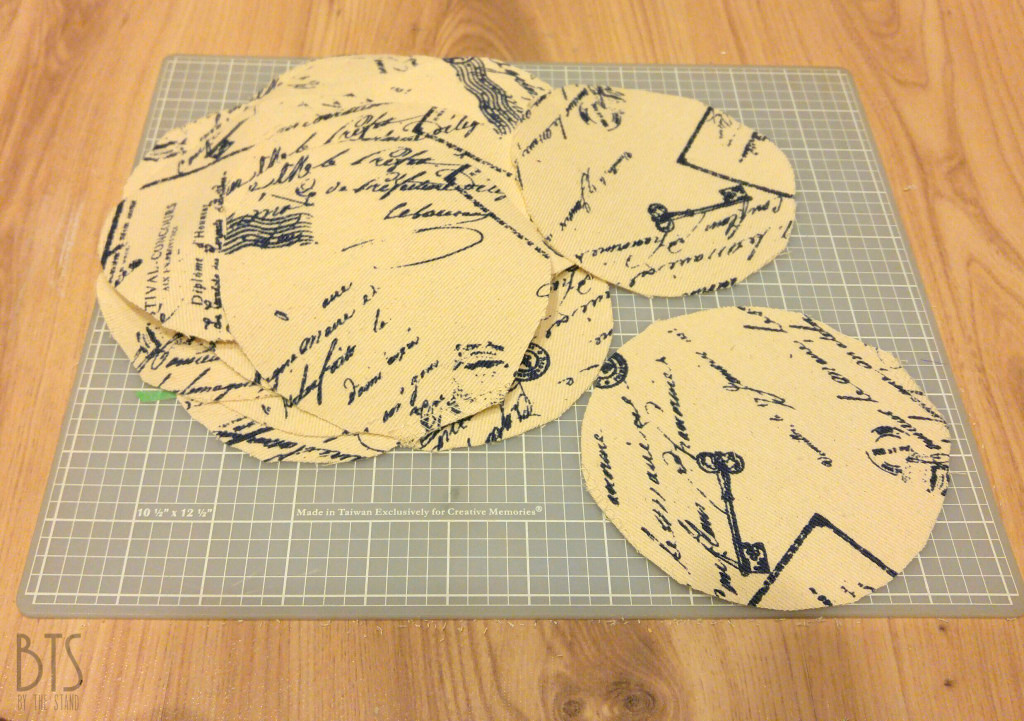
Start by tracing around your circle onto the backside of your fabric

Remove your template and then fold your fabric in half and then cut out your circle. You fold the fabric in half so that you can cut two circles at once. This will save you some time.

I cut the entire canvas ribbon and ended up with 27 circles. I didn’t know how much I would need so I thought why not cut it all.
Once you have all the circles cut, you’re now going to cut them in half.

Time to get your pillow cover ready! The one I used, I just made from some old white fabric I had laying around. If you aren’t the best at sewing you can buy just a plain pillow cover. I know Ikea has some nice ones and they are super cheap, too!
You will want to put something in between the two layers of your pillow cover. I just slipped in my cutting mat.

Next, using a plate, trace a circle onto your pillow cover.

Don’t worry about the pencil lines — you’re going to be covering that up!

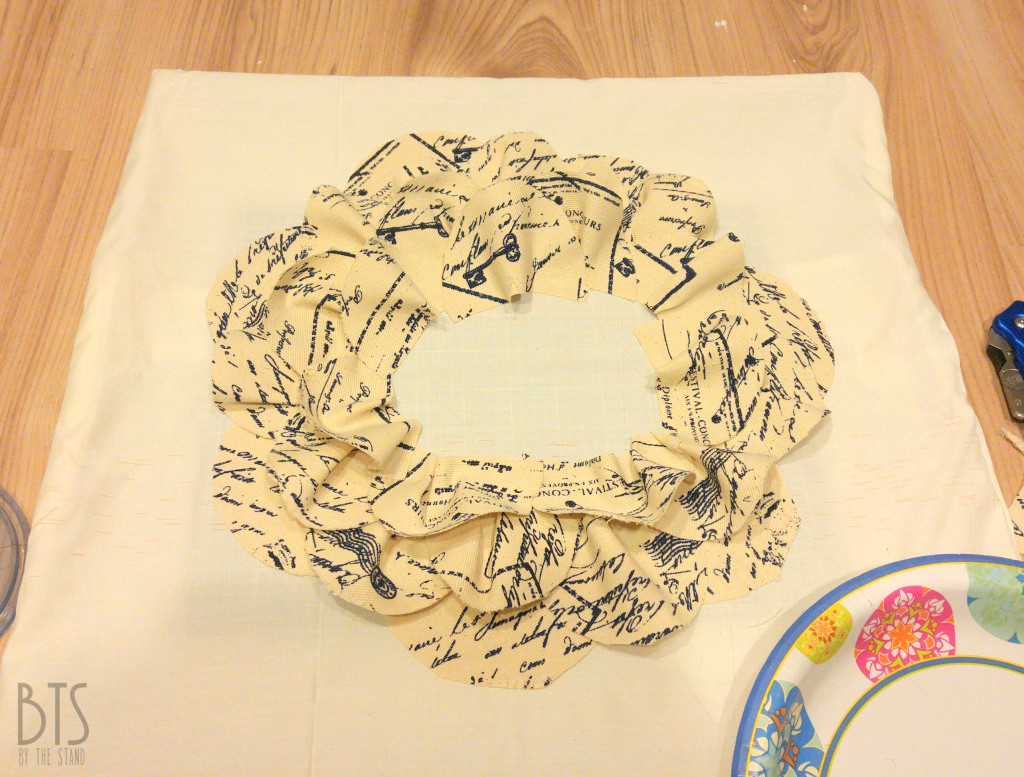
Grab a hot glue gun and start gluing around the first layer of semi-circles. Only put the glue on the straight edge of the semi circle.

OK, now full disclosure… I’m well aware that hot glue may not be the best thing for long term security for fabric, but this makes this project super easy and I LOVE hot glue. If you’re worried about it holding up, you could always use fabric glue.
Next, you’re going to put down the second row of petals. You basically go around again, but with one small change — when you put the hot glue on the straight edge of the semi-circle leave a space in the middle.

This is so you can pinch up the fabric and give the pillow a true 3-D look.

Keep on going around and around until you have filled the entire circle.


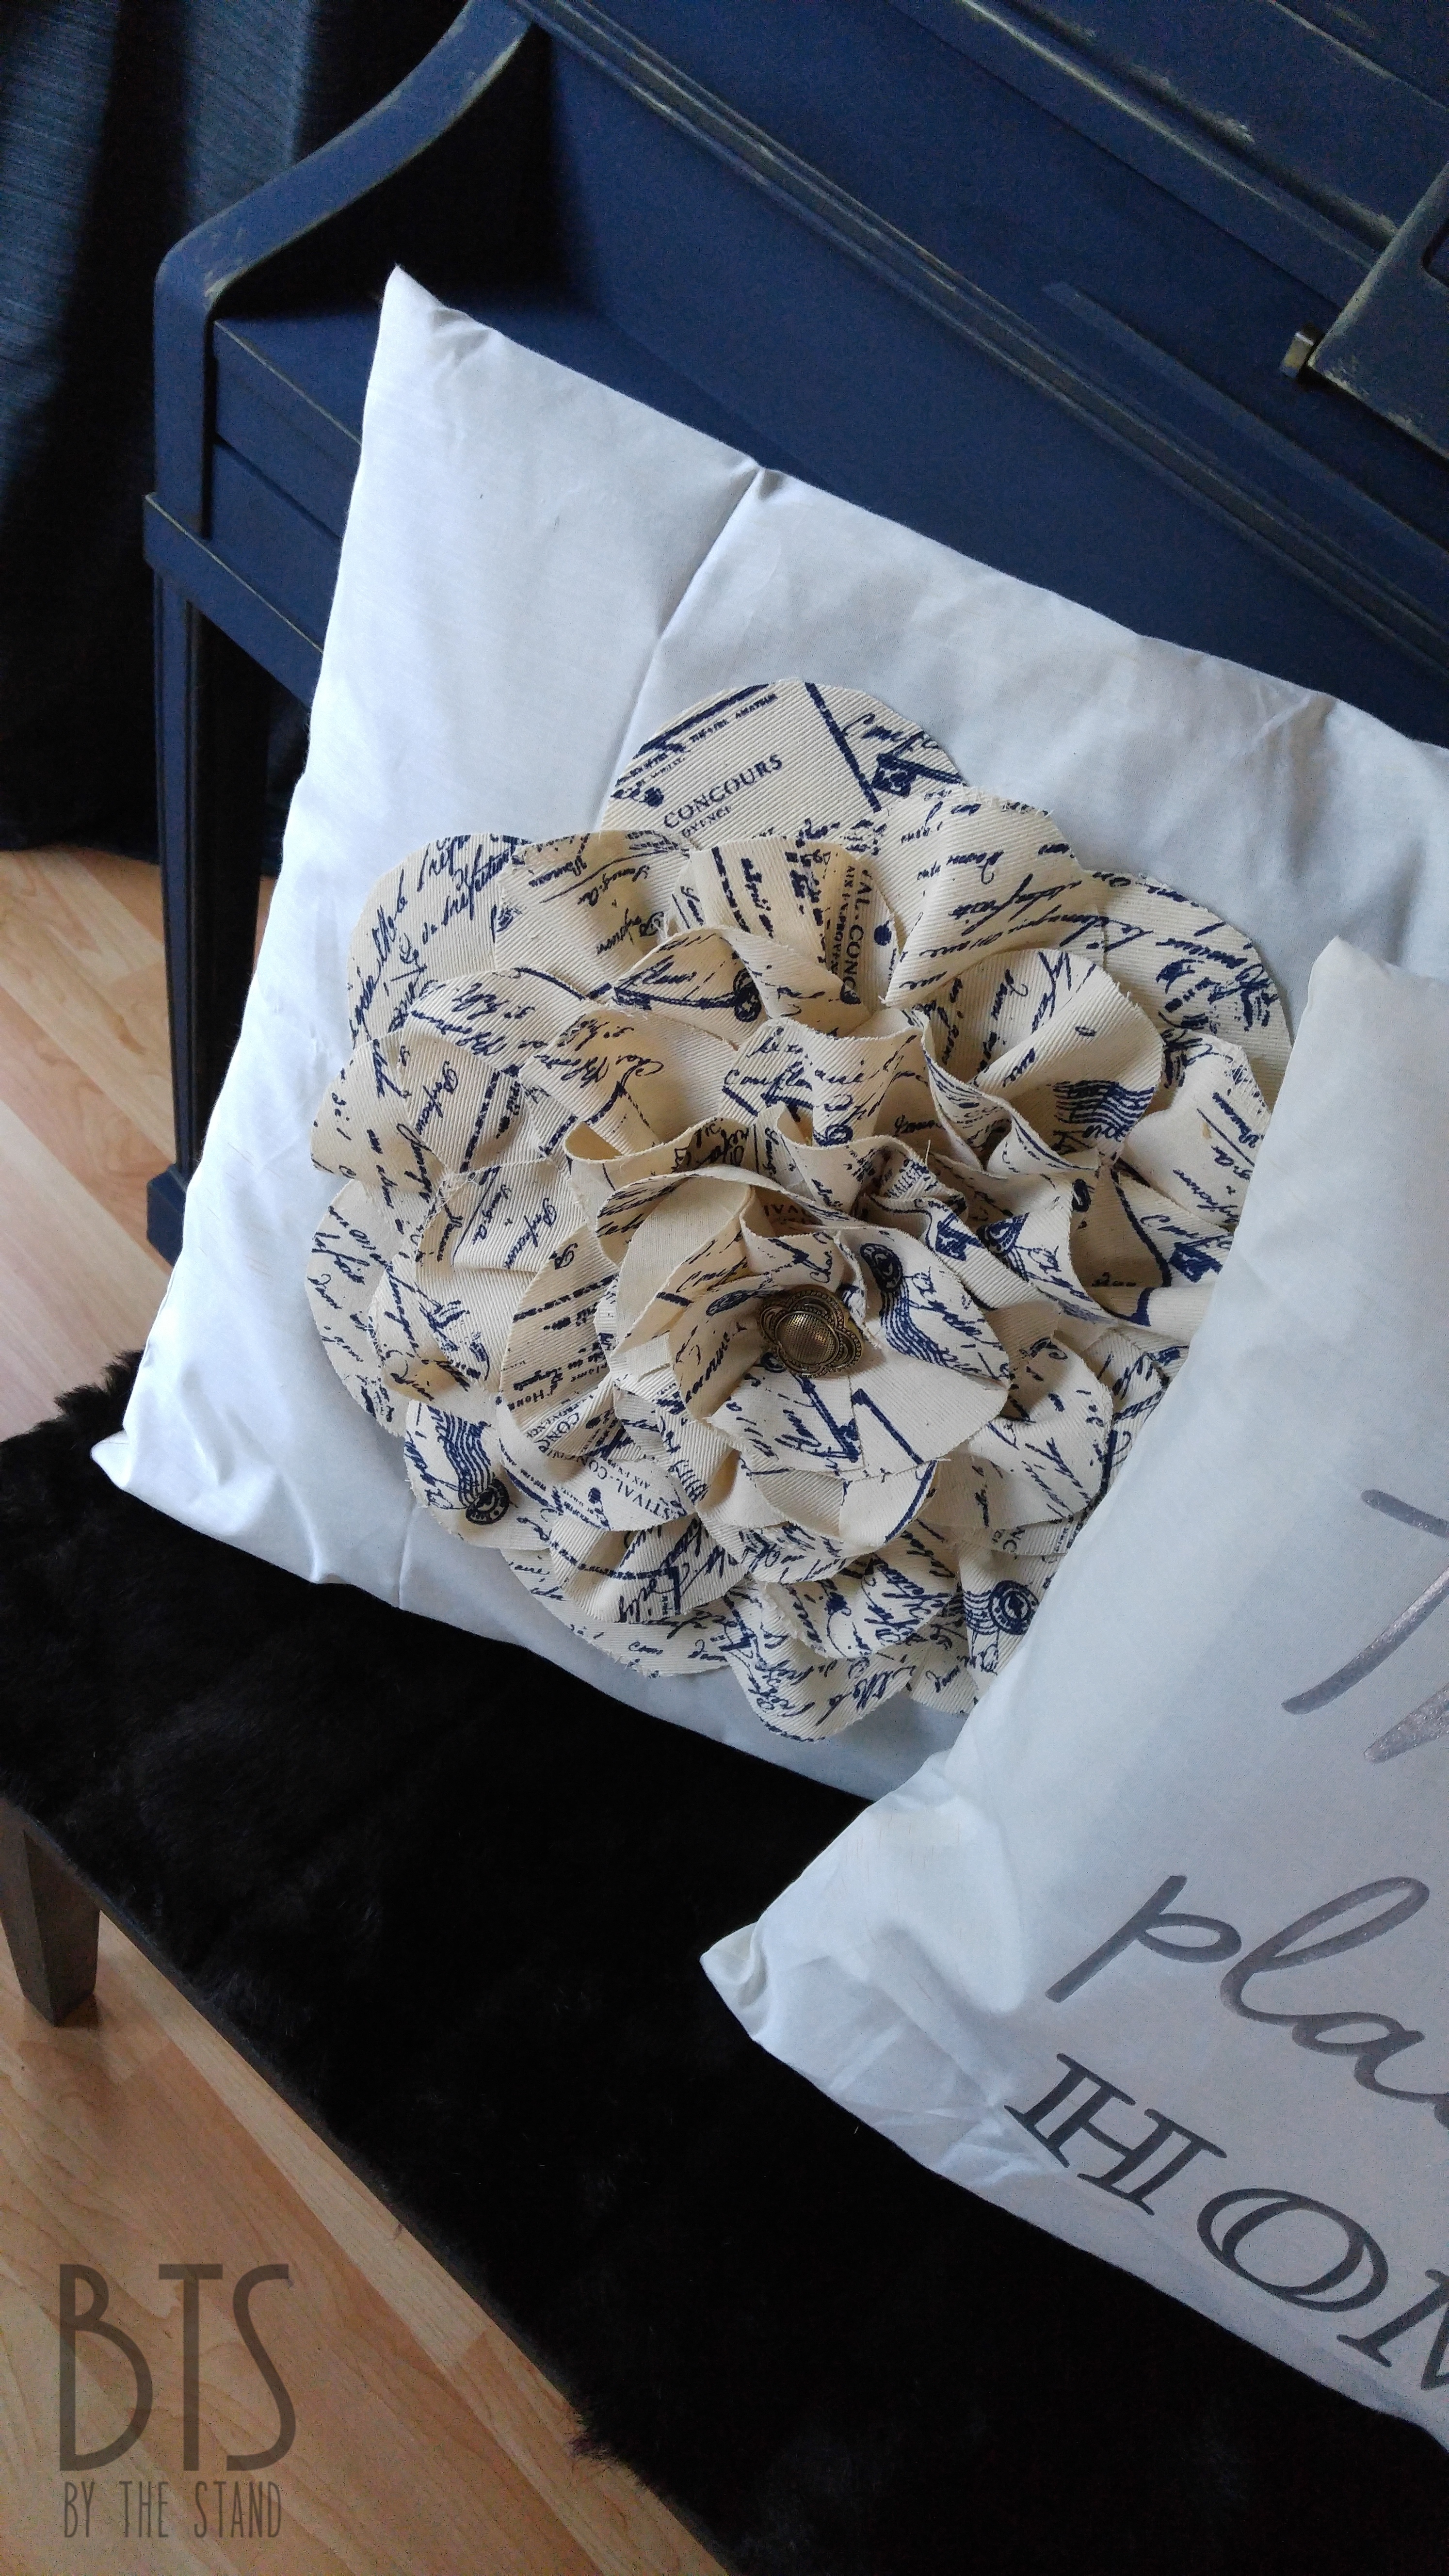
Once I got closer to the middle, I cut my semi-circles in half. I just thought it would look better and less bulky in the centre.

The middle looked a little unfinished, so I found this cool button and glued it in the middle.


Just slip your pillow back in and that’s it!!

What do you think? Is this a project you would try?

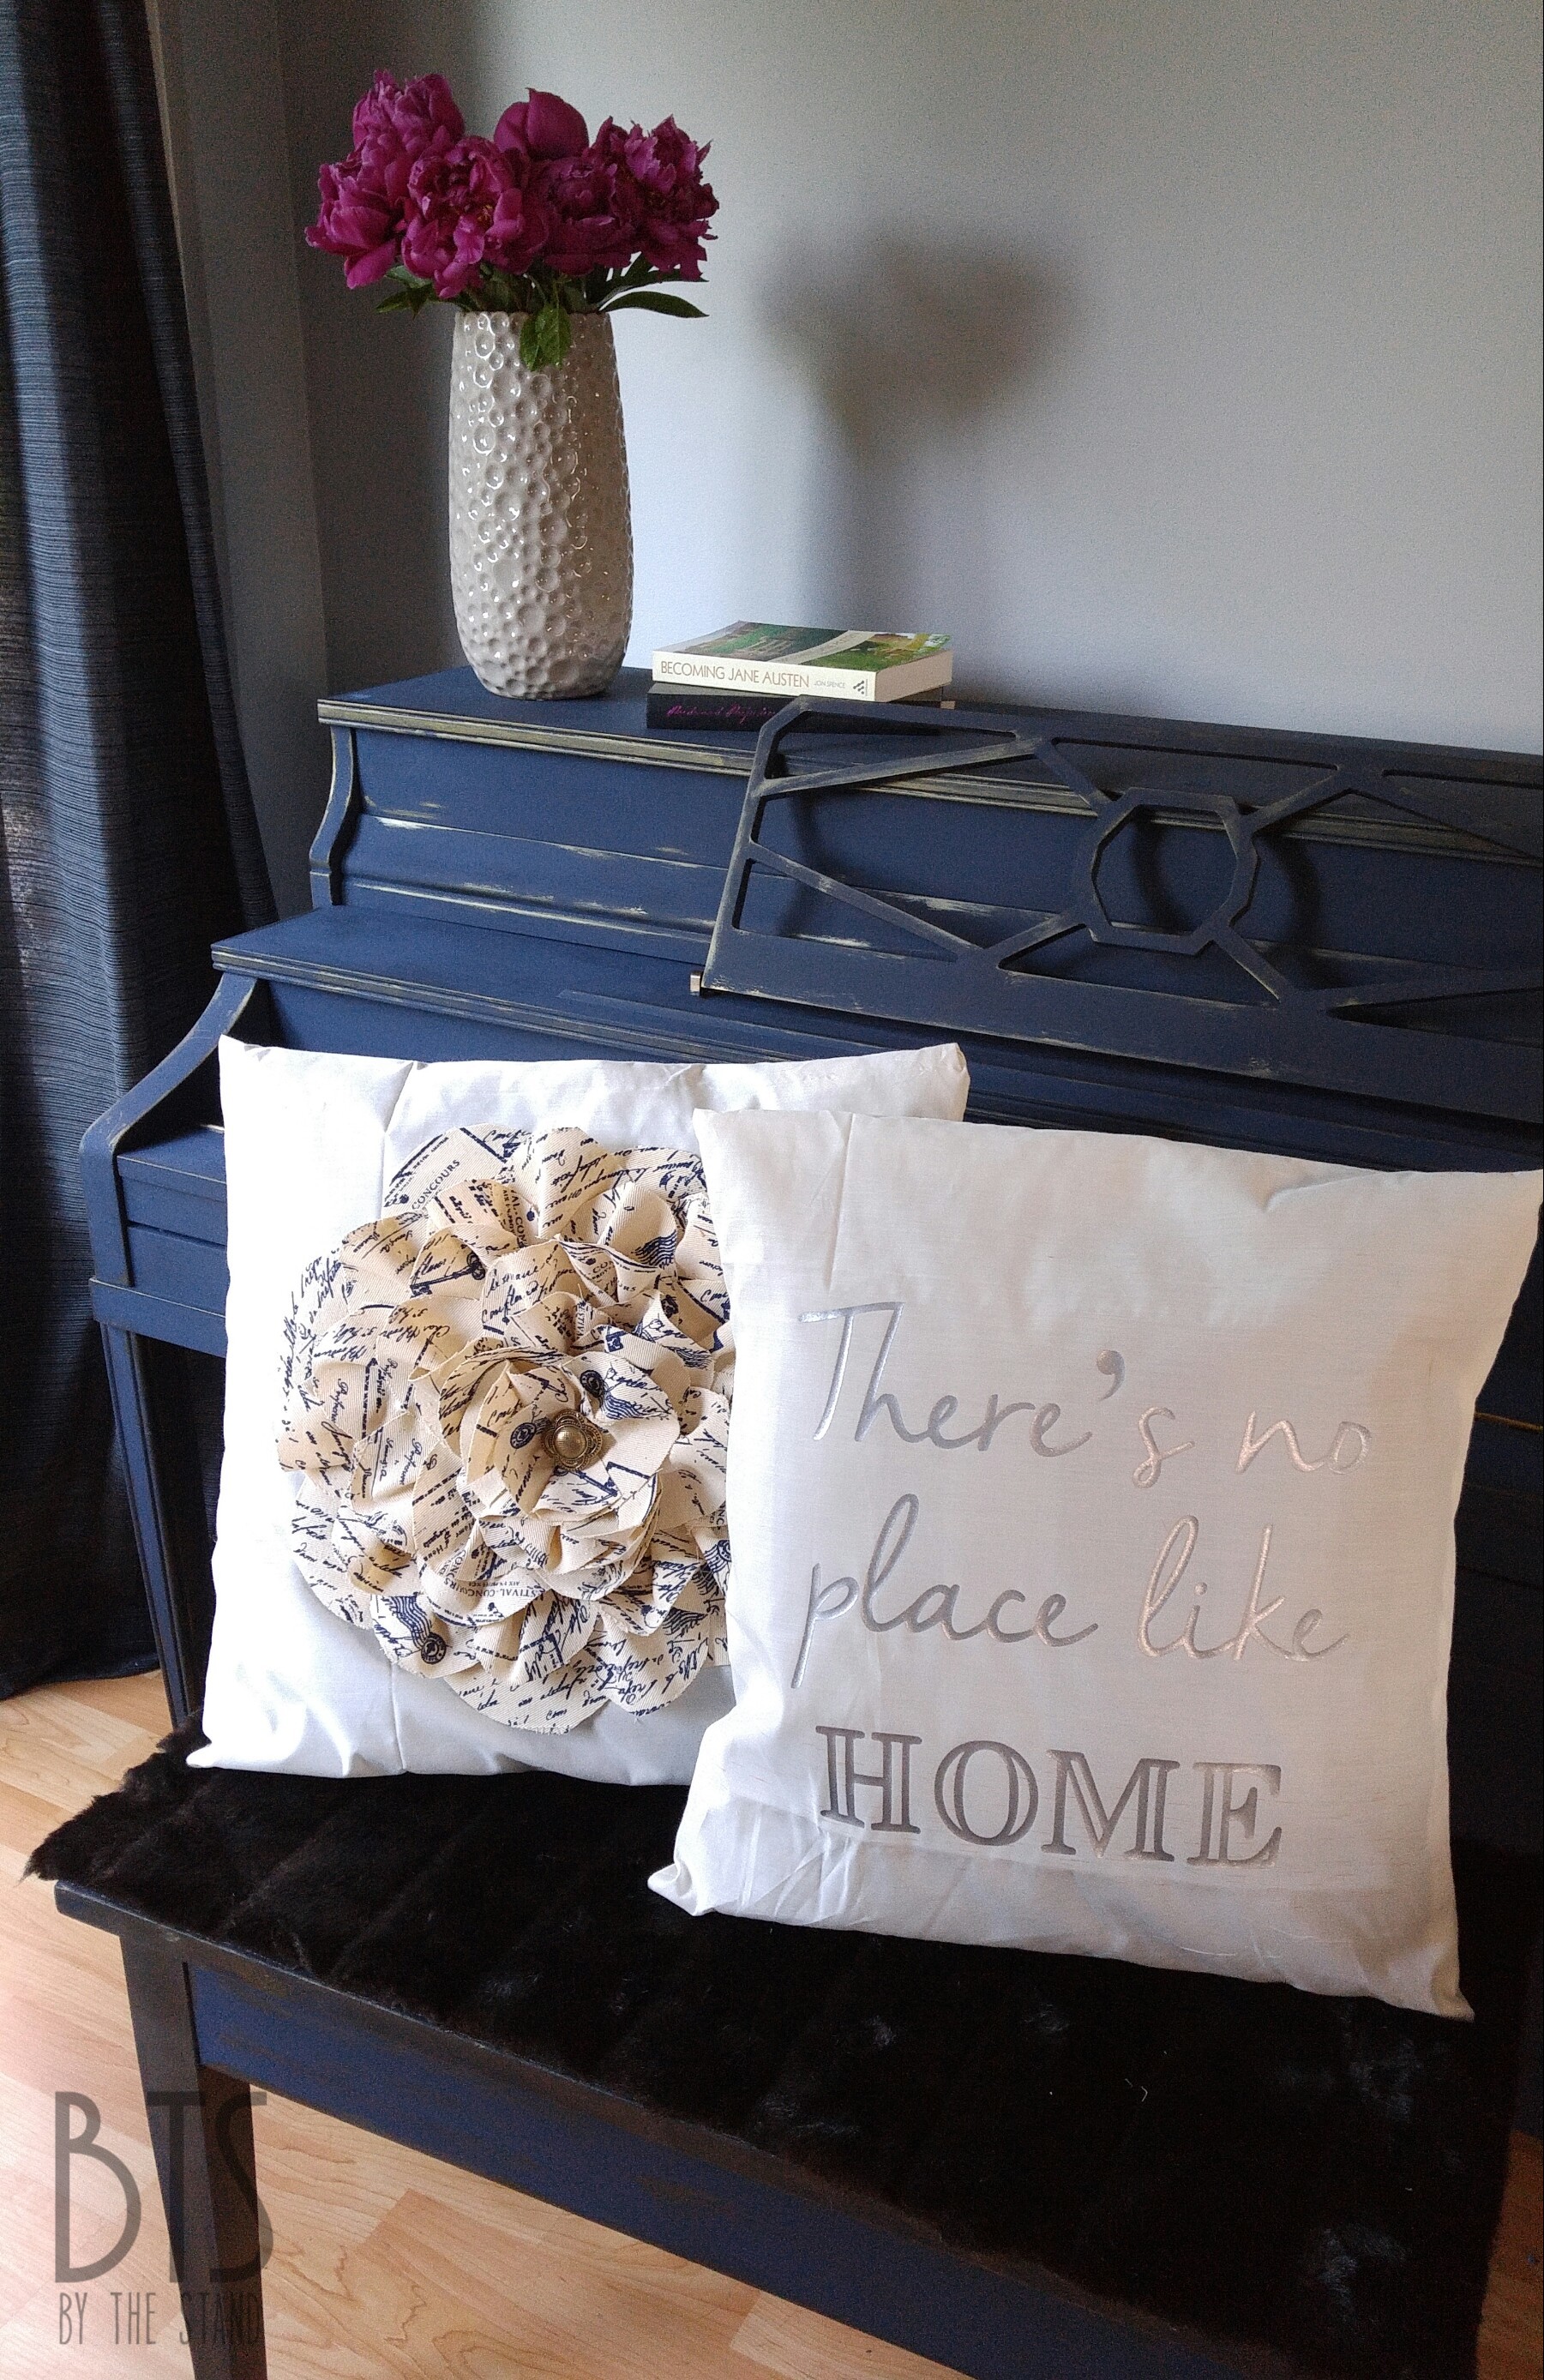
I thought this gorgeous pillow needed a friend so I whipped the other one up using my Cricut.


Let me know what you think by commenting below and you love this project, share it with a friend!
This would be a fun and easy project for girl’s craft night!
Pin it so you have it for later!


Absolutely BEAUTIFUL!!!
Reblogged this on Site Title.
Those look amazing Holly and easy too. Another project to try. Thanks for sharing.
Thanks Yvonne!!
I will definitely be doing this — probably this weekend lol! 😉
Awesome!! 😀
Fabulous, creative, and very beautiful. I love both pillows. Tans for sharing.
Thank you Ivory! 😀