Hey, friends! So I wanted to post this a while ago but this summer has been just flying by!! It always does thought doesn’t it?
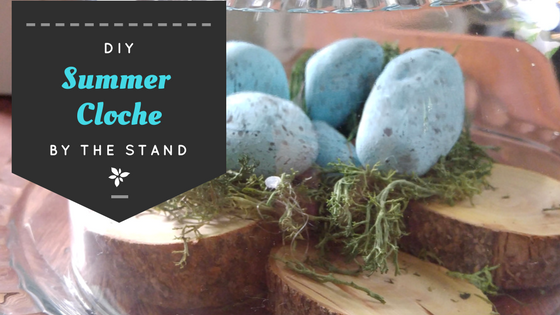
I have had a thing for cloches for a while now and I have always wanted to incorporate one into my decor. I was at my favorite antique market the other day (you know the one that I always get all my best treasures from and I just so happen to score this adorable little glass cloche.
After taking it home, I had to decide what I wanted to put inside of it.
If you aren’t familiar with a cloche it is a small translucent cover for protecting your stuff.
I just love the idea of decorating with bird eggs so I headed out to the craft store to get some. Imagine my dismay when I found out that decorative bird eggs were going to cost me a small fortune… OK, so they weren’t overly expensive but they were a little more pricey than I thought a Styrofoam egg should be.
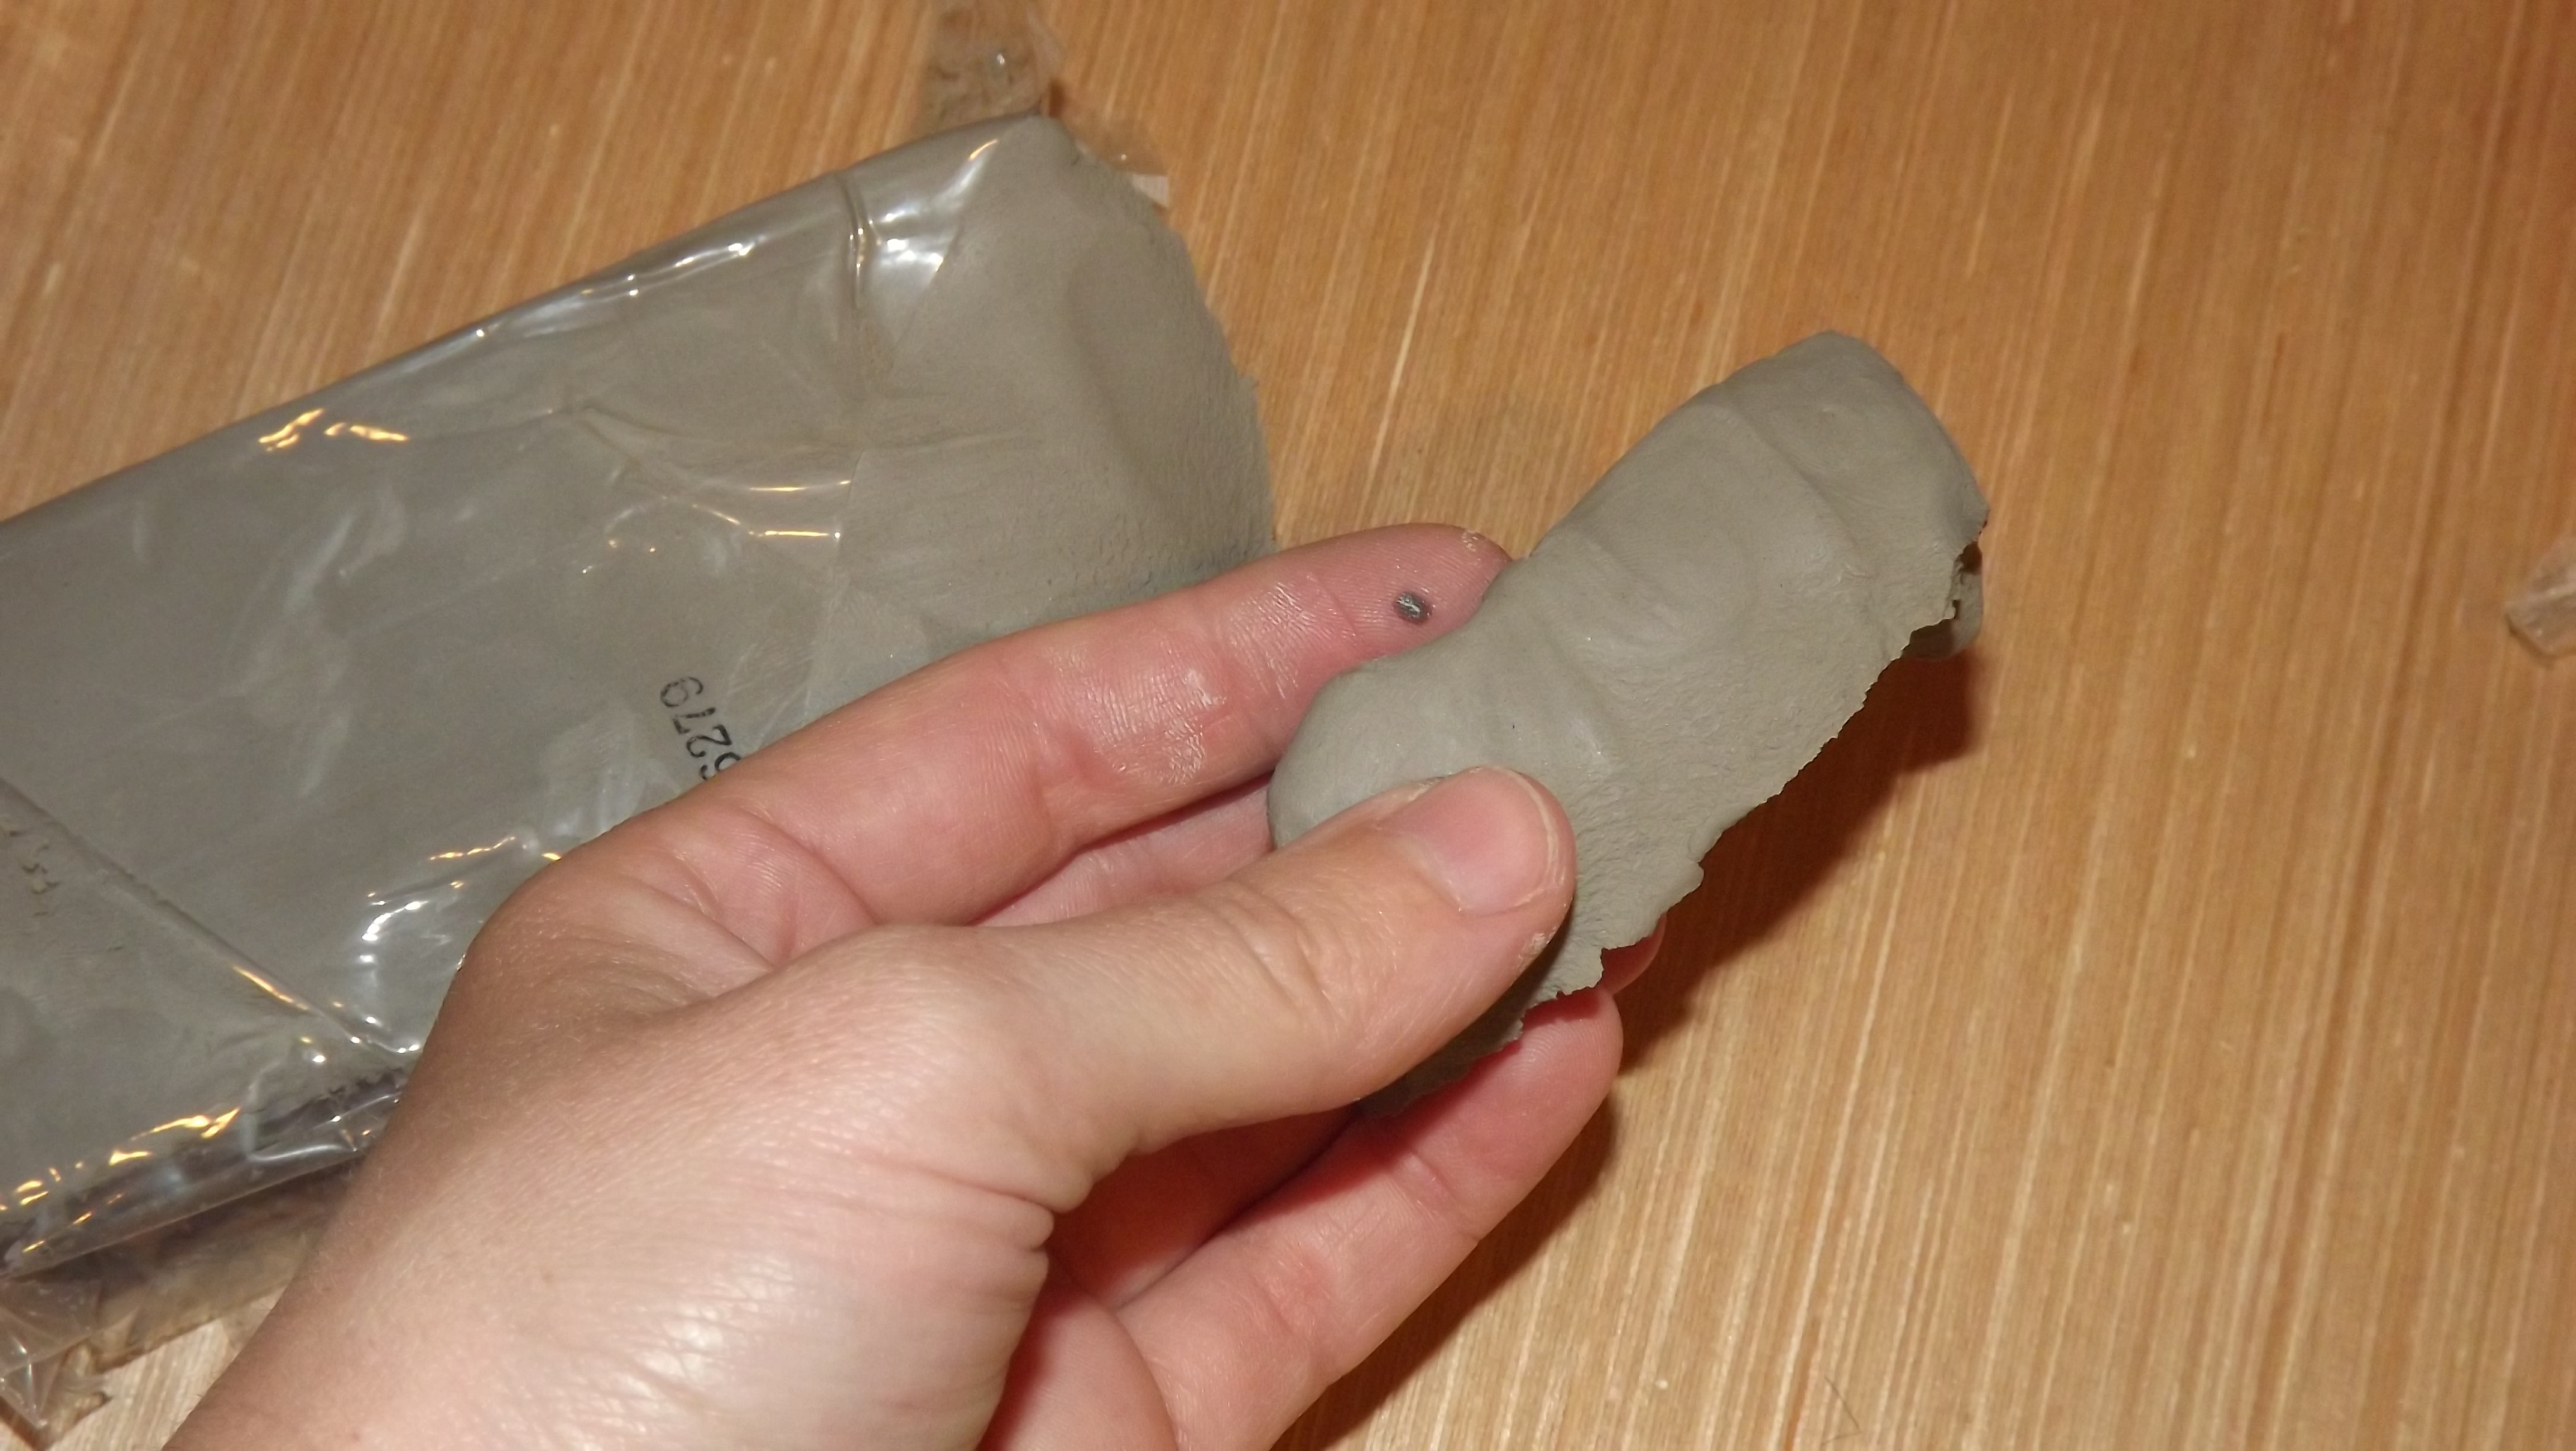
I had this bag of clay that I had bought a while ago at the dollar store and I thought, why not just make my own eggs.

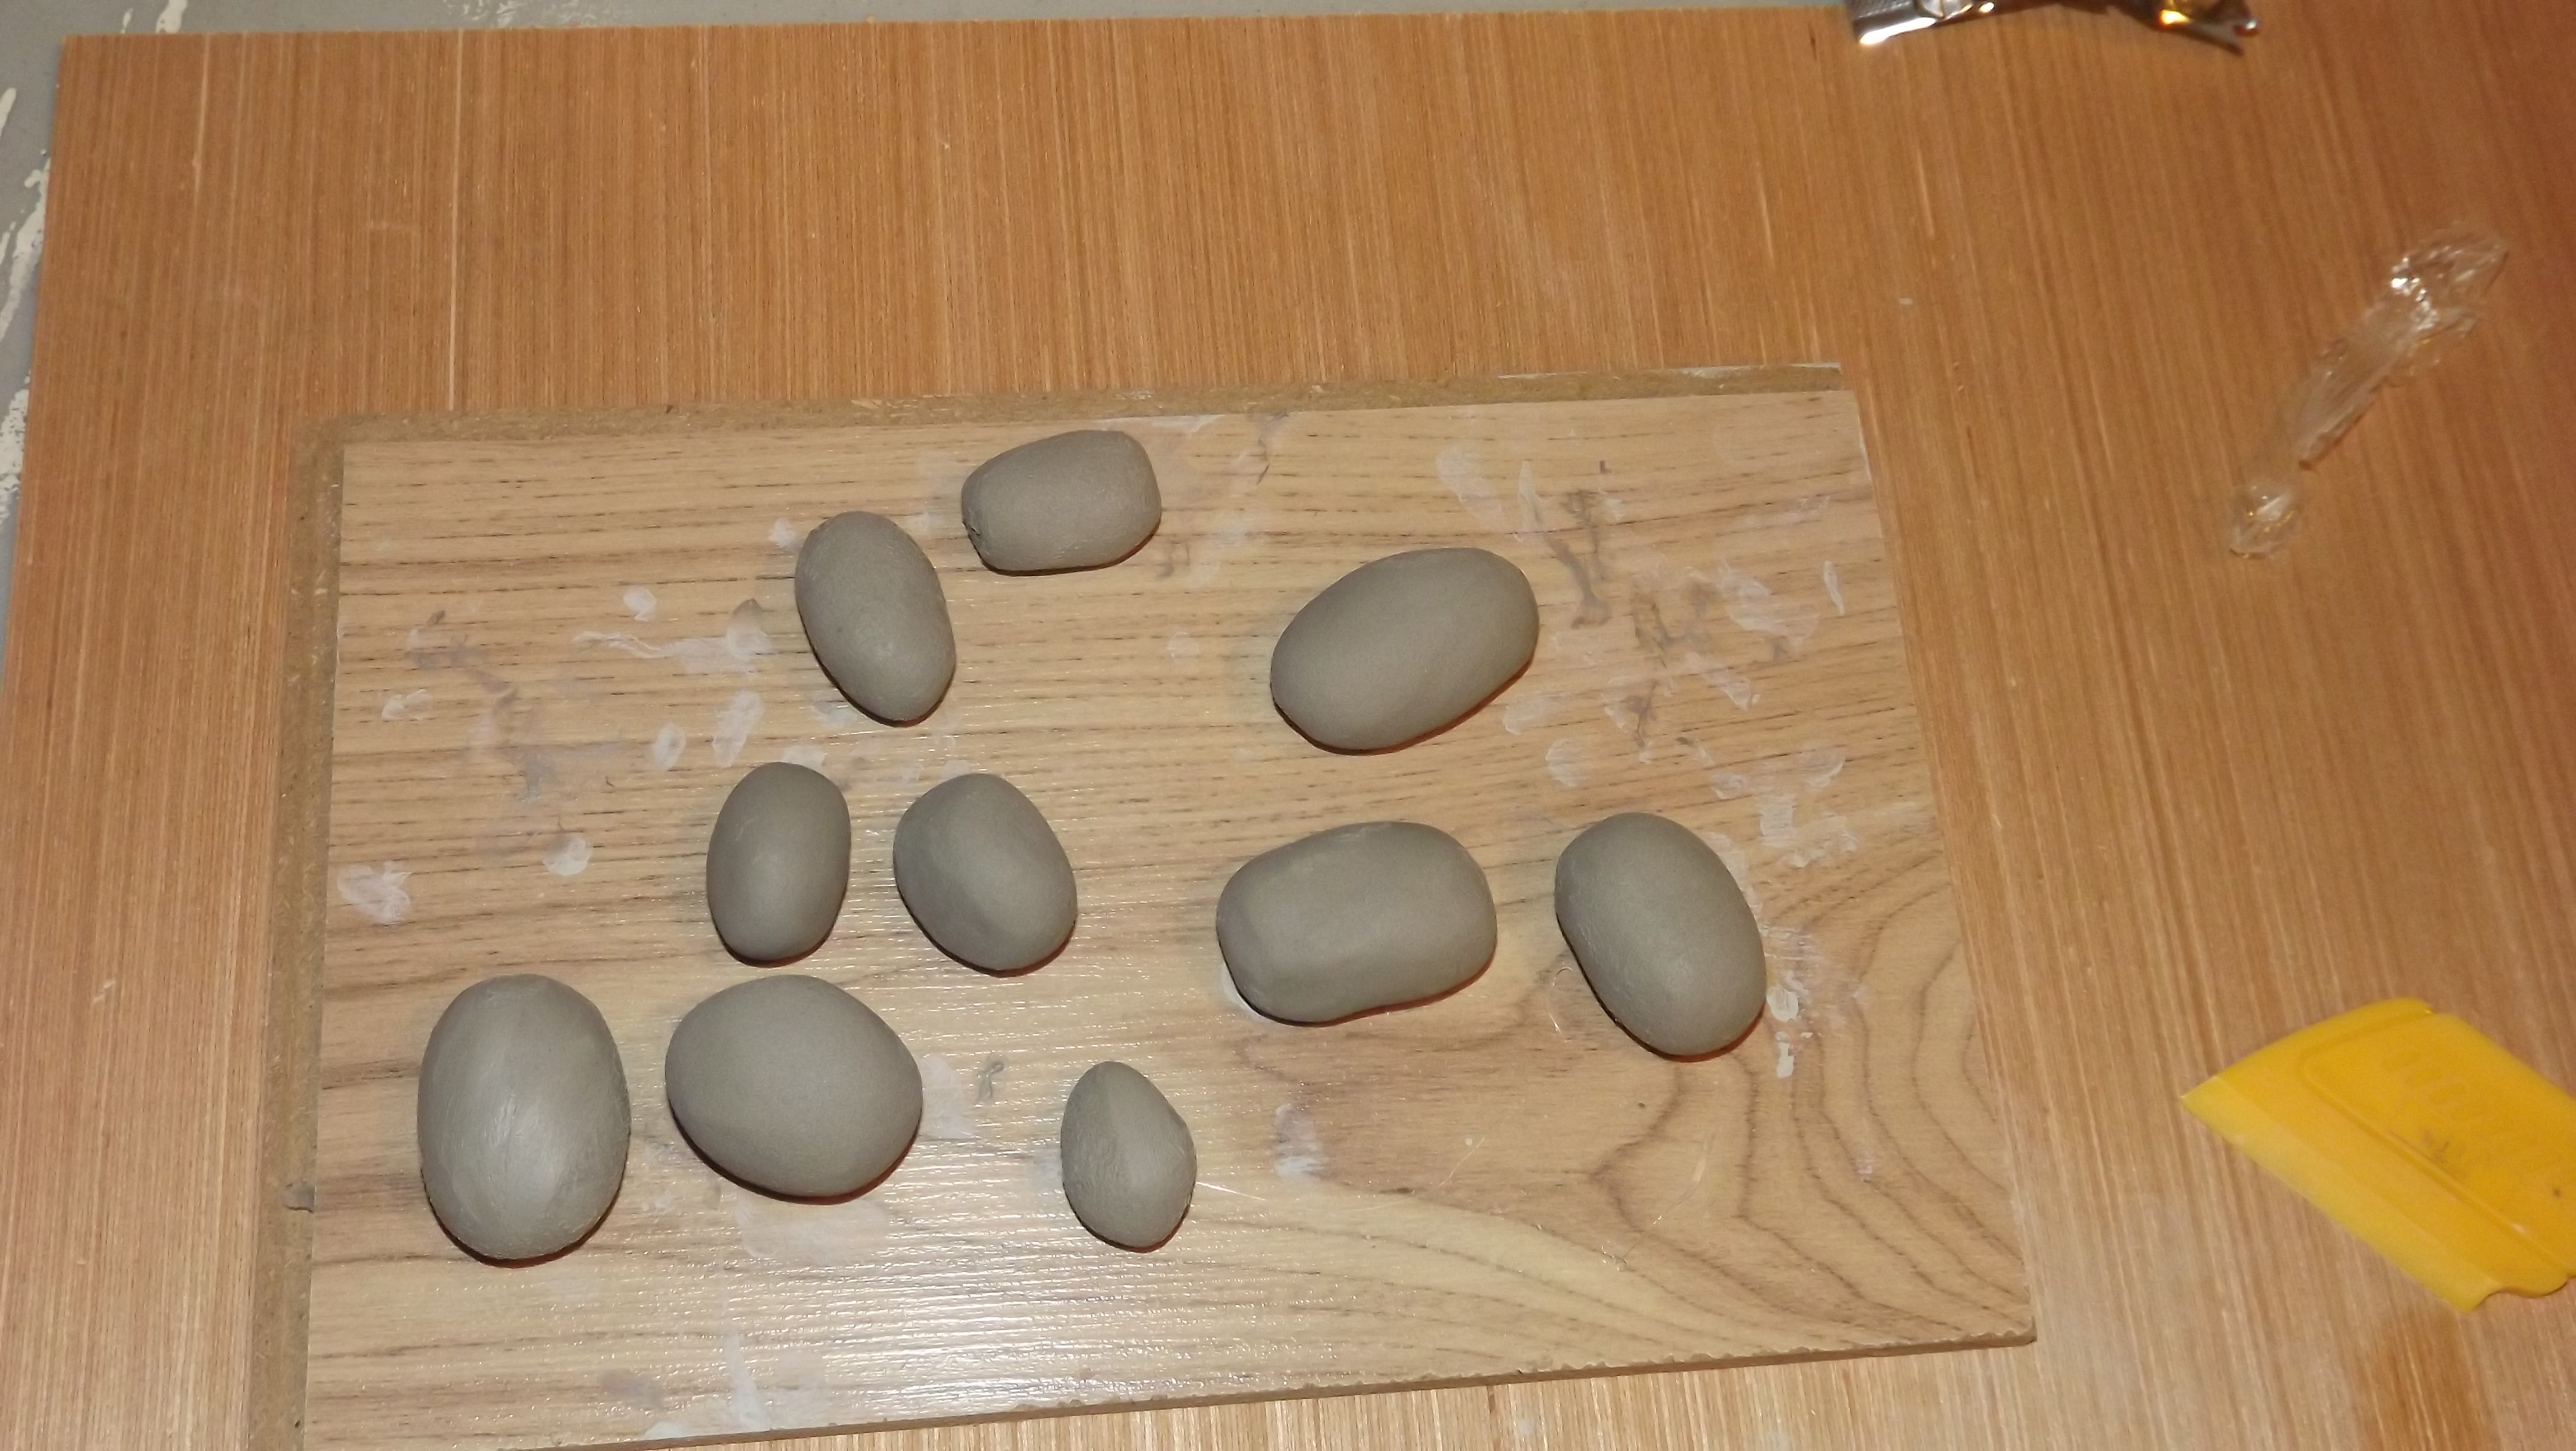
Here’s how I made my eggs.
All I did was take my clay and roll it using my fingers into an egg like shape. I didn’t care if all the eggs were exactly the same shape and size because I thought it would look a little more natural if they were all different.
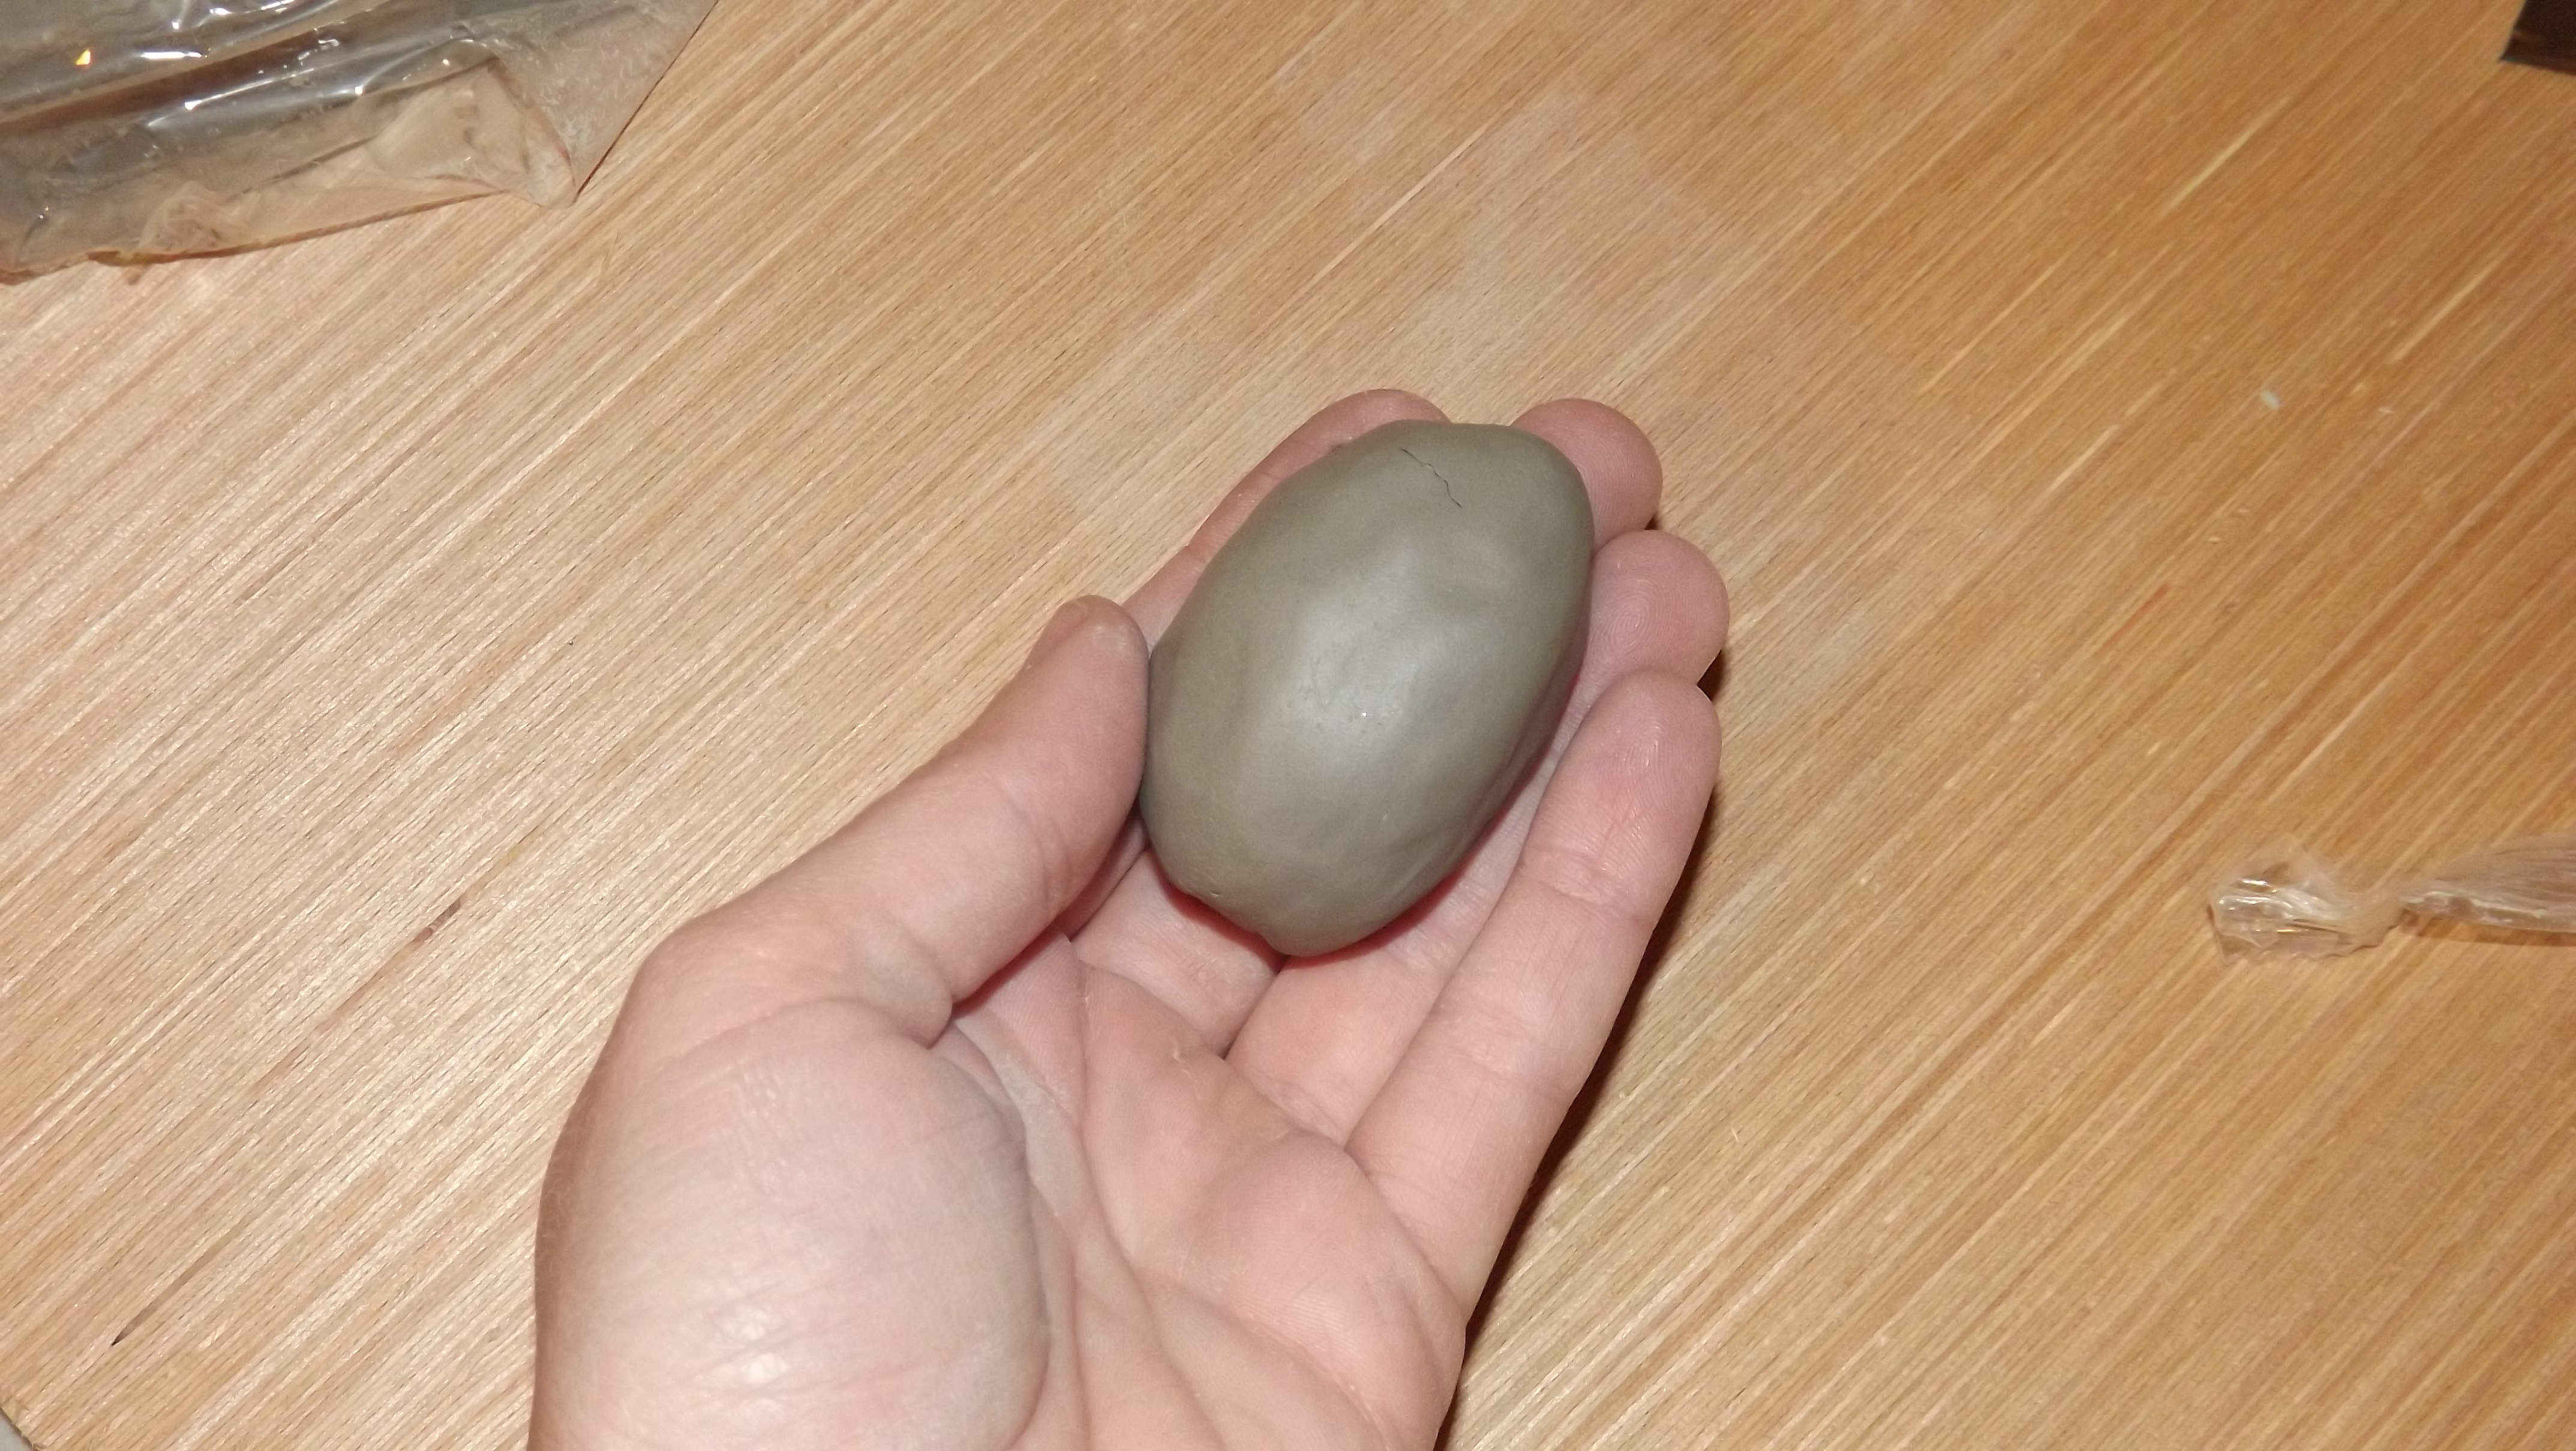
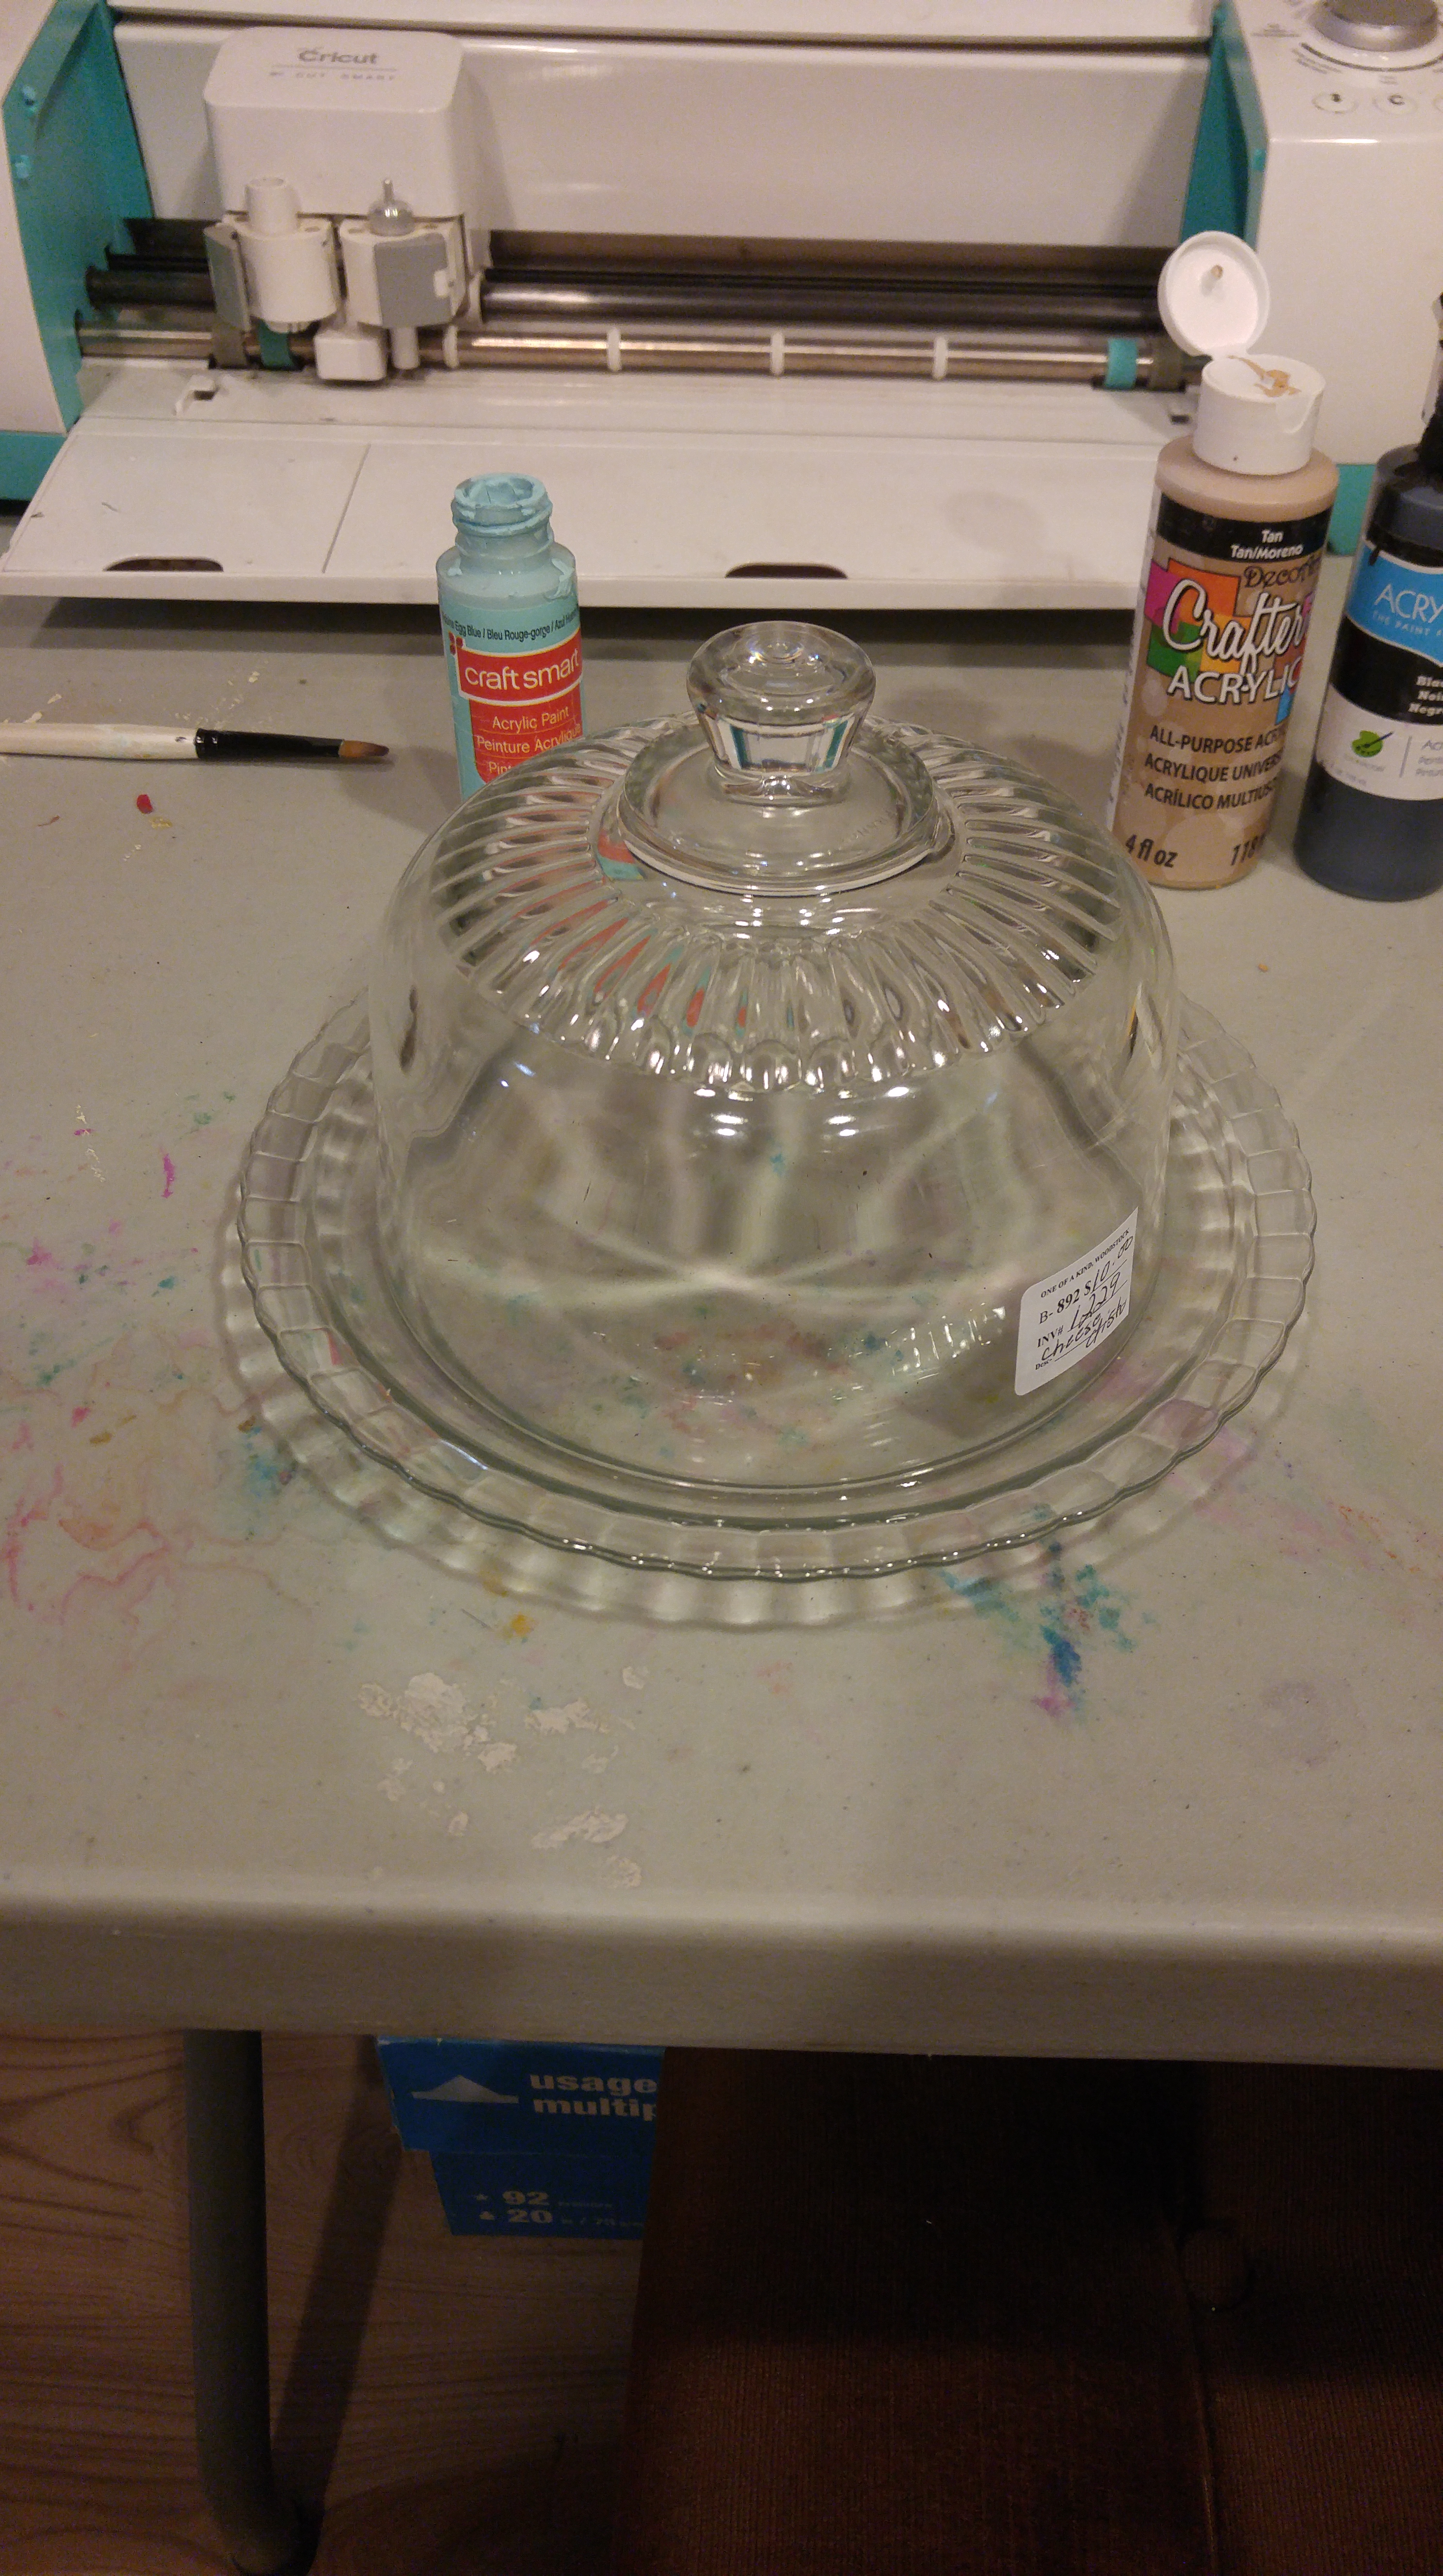
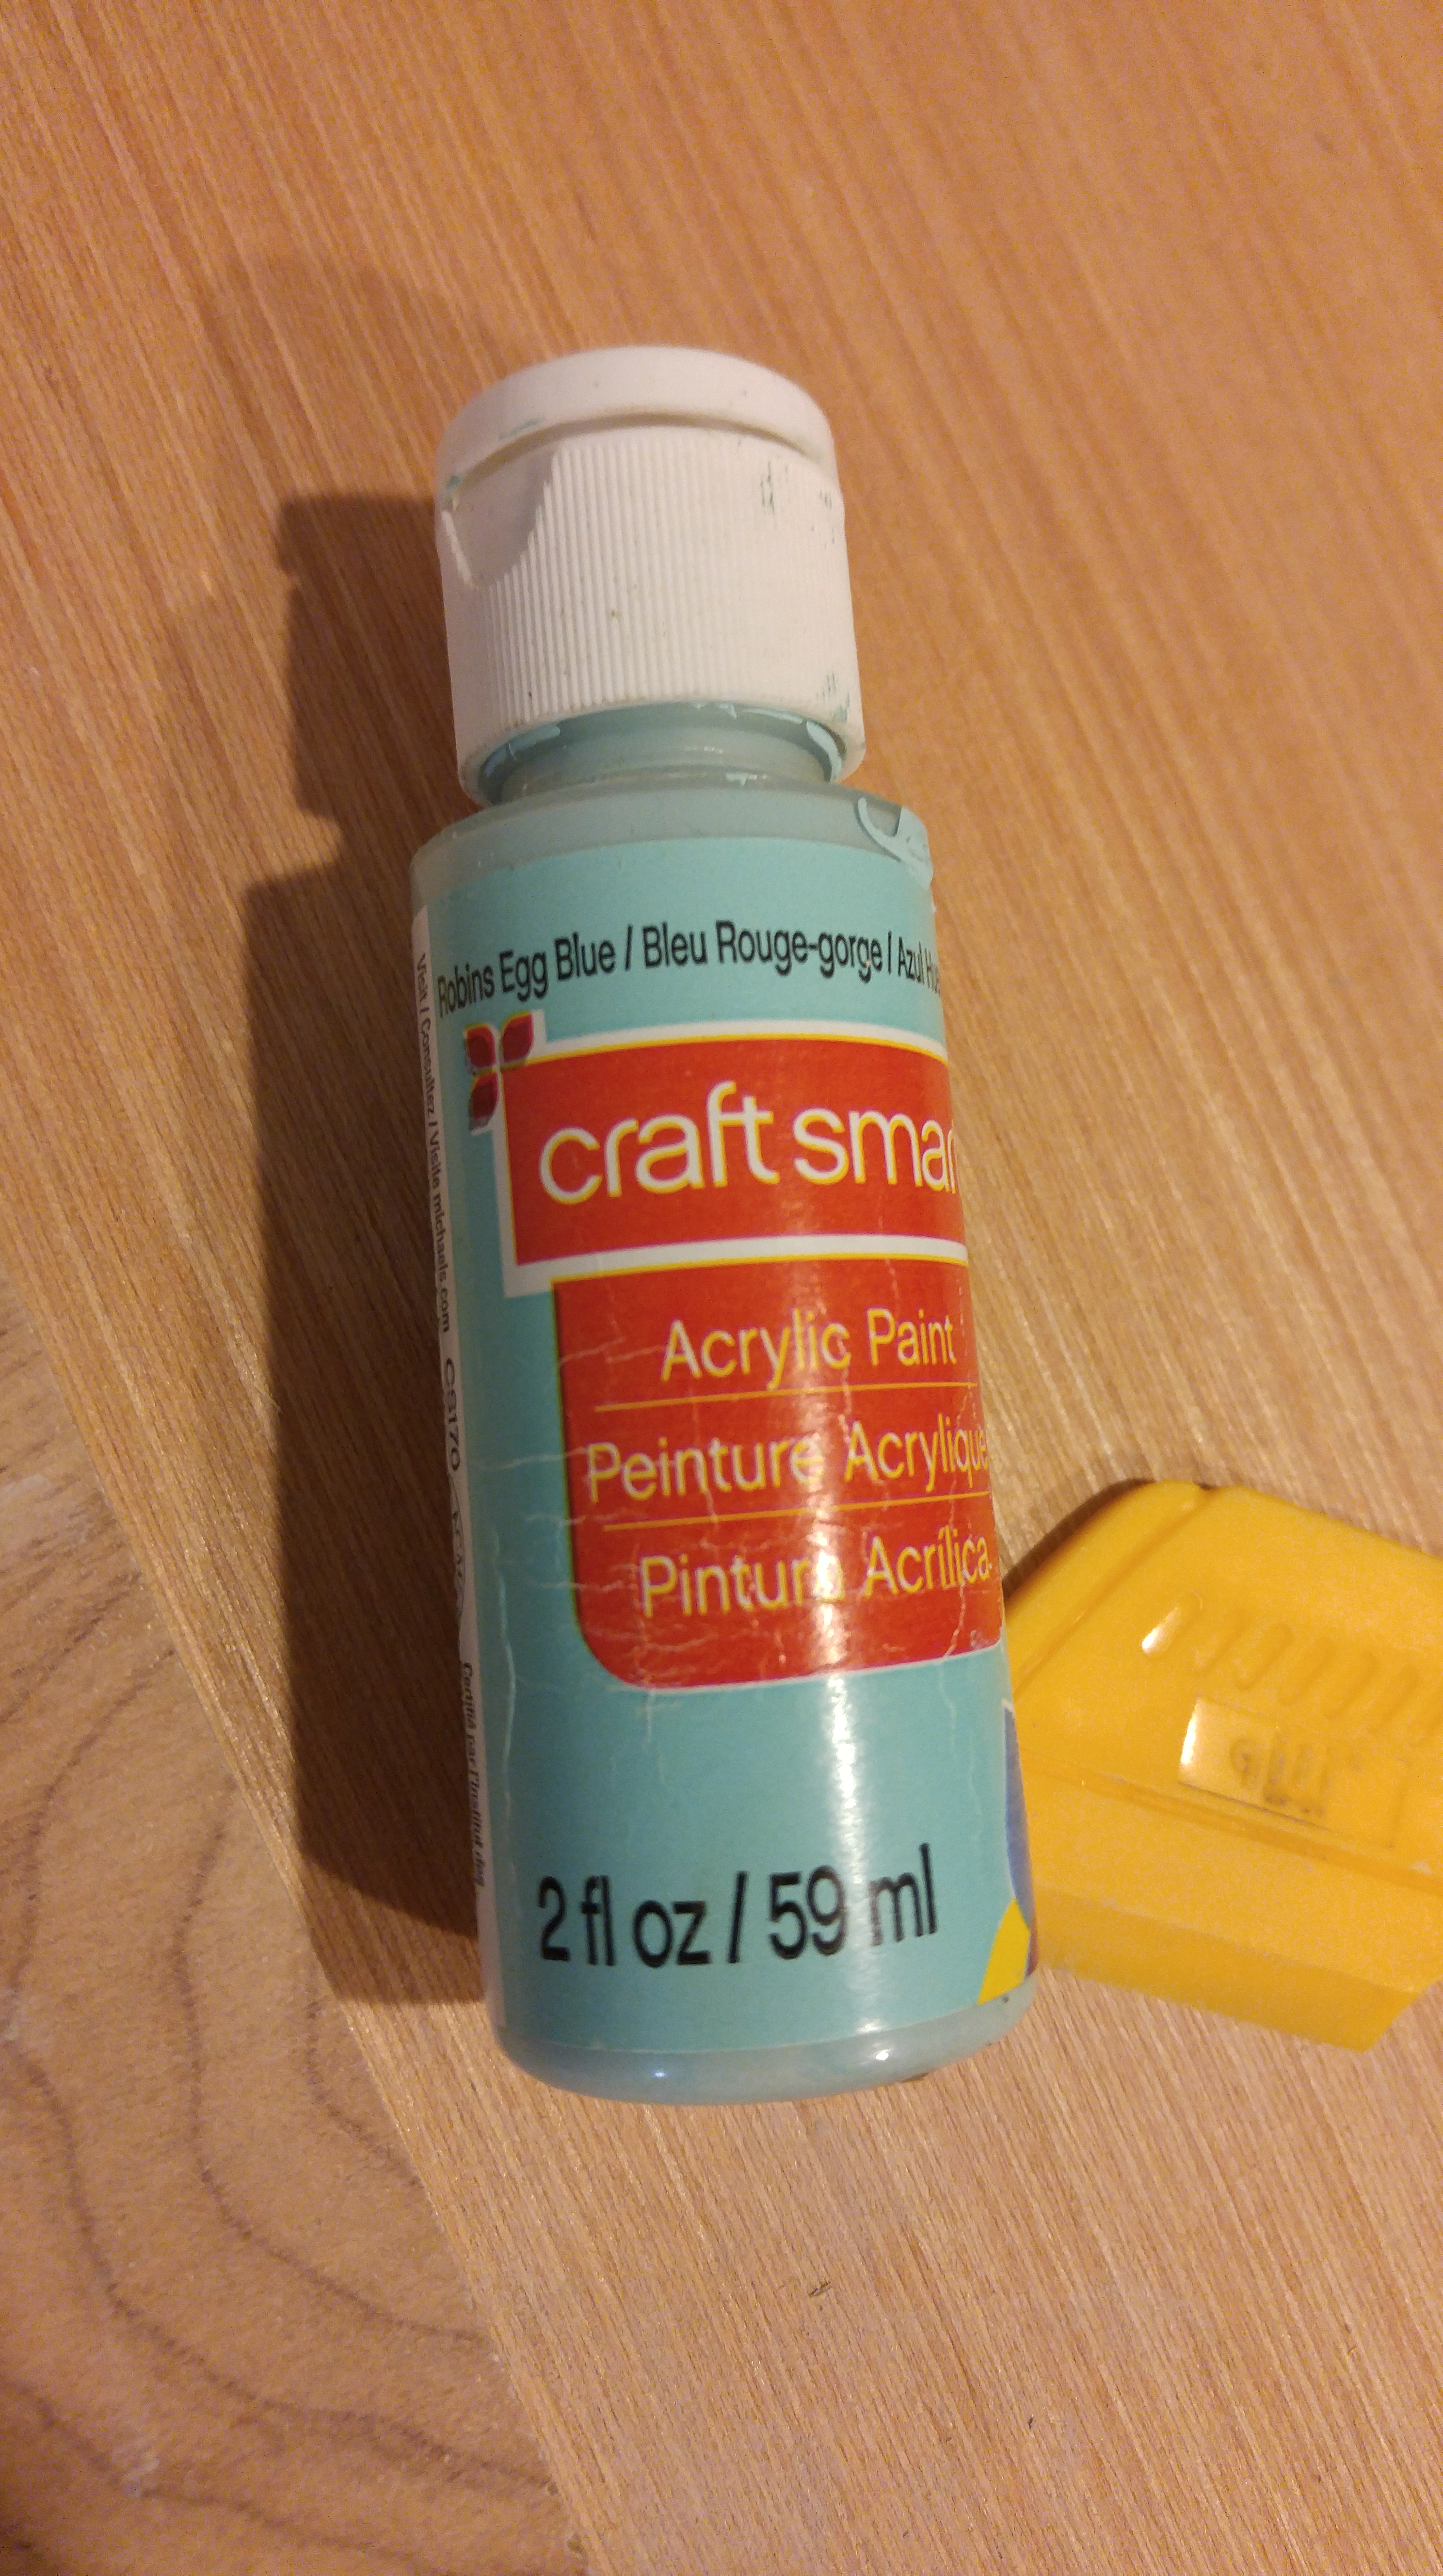
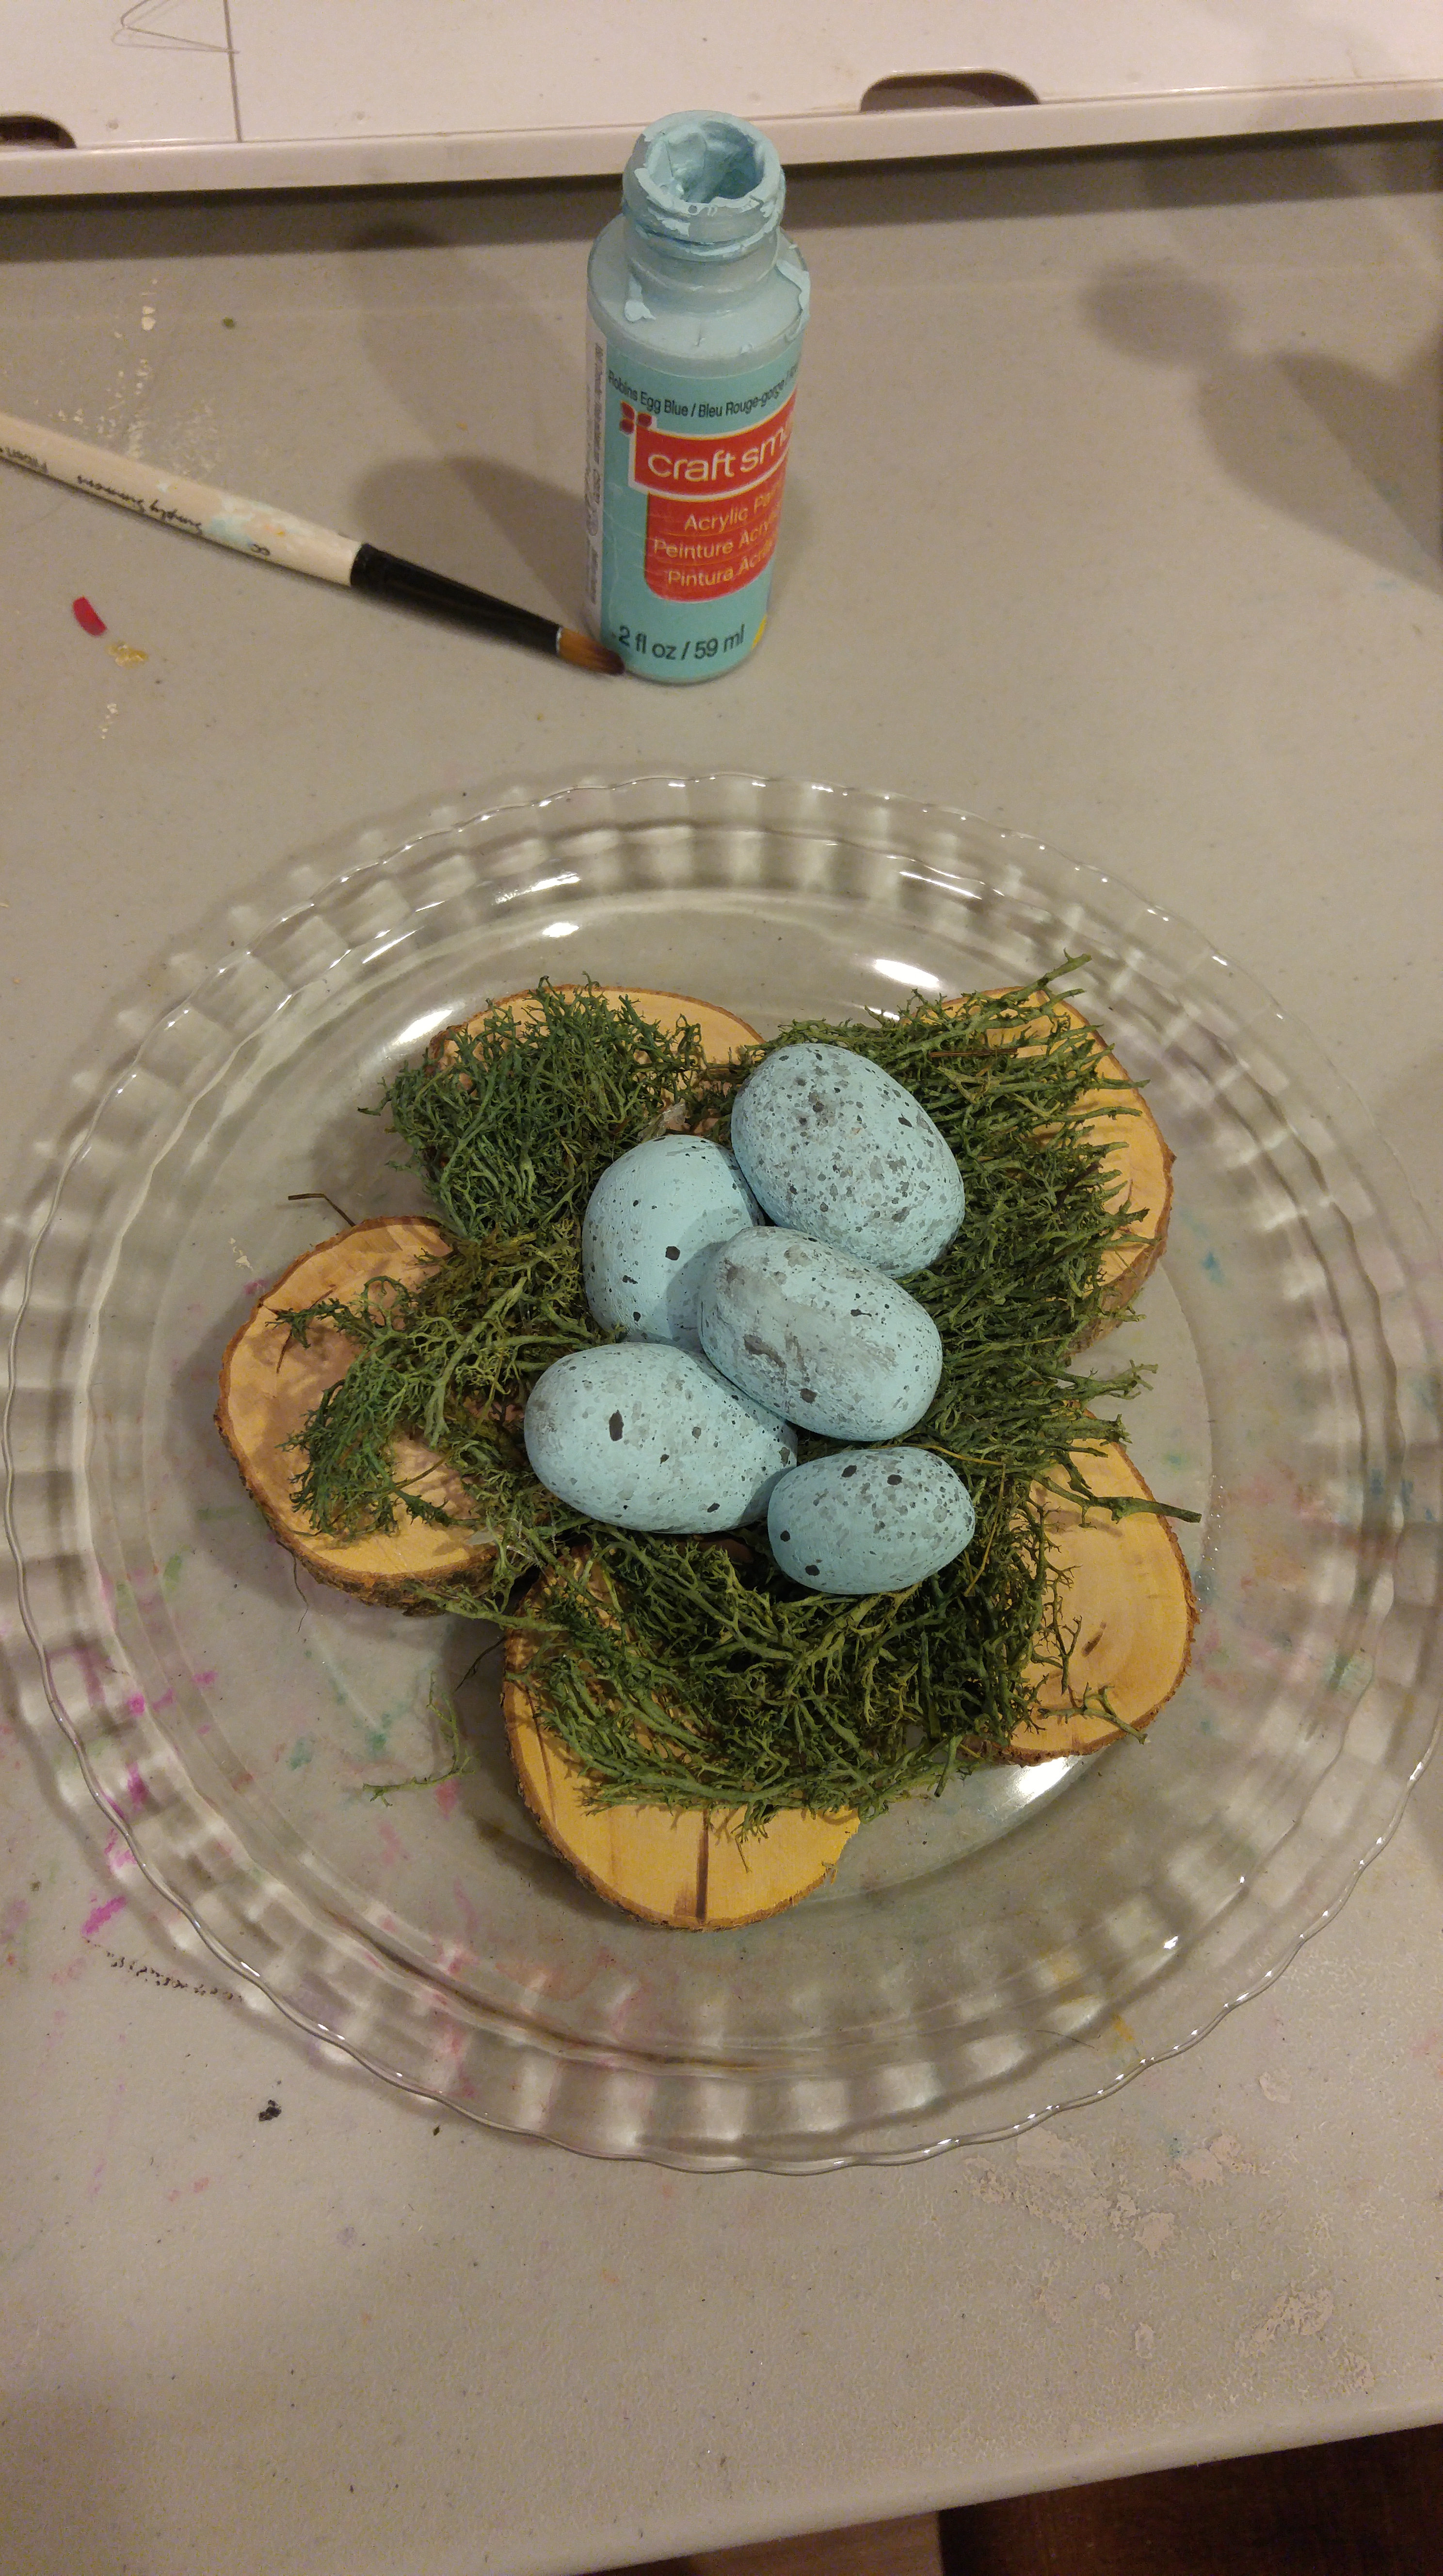
I left the clay to harden over night and then they next day, I grabbed some Robin’s Egg Blue acrylic craft paint.

I painted all of my eggs and then let them dry.
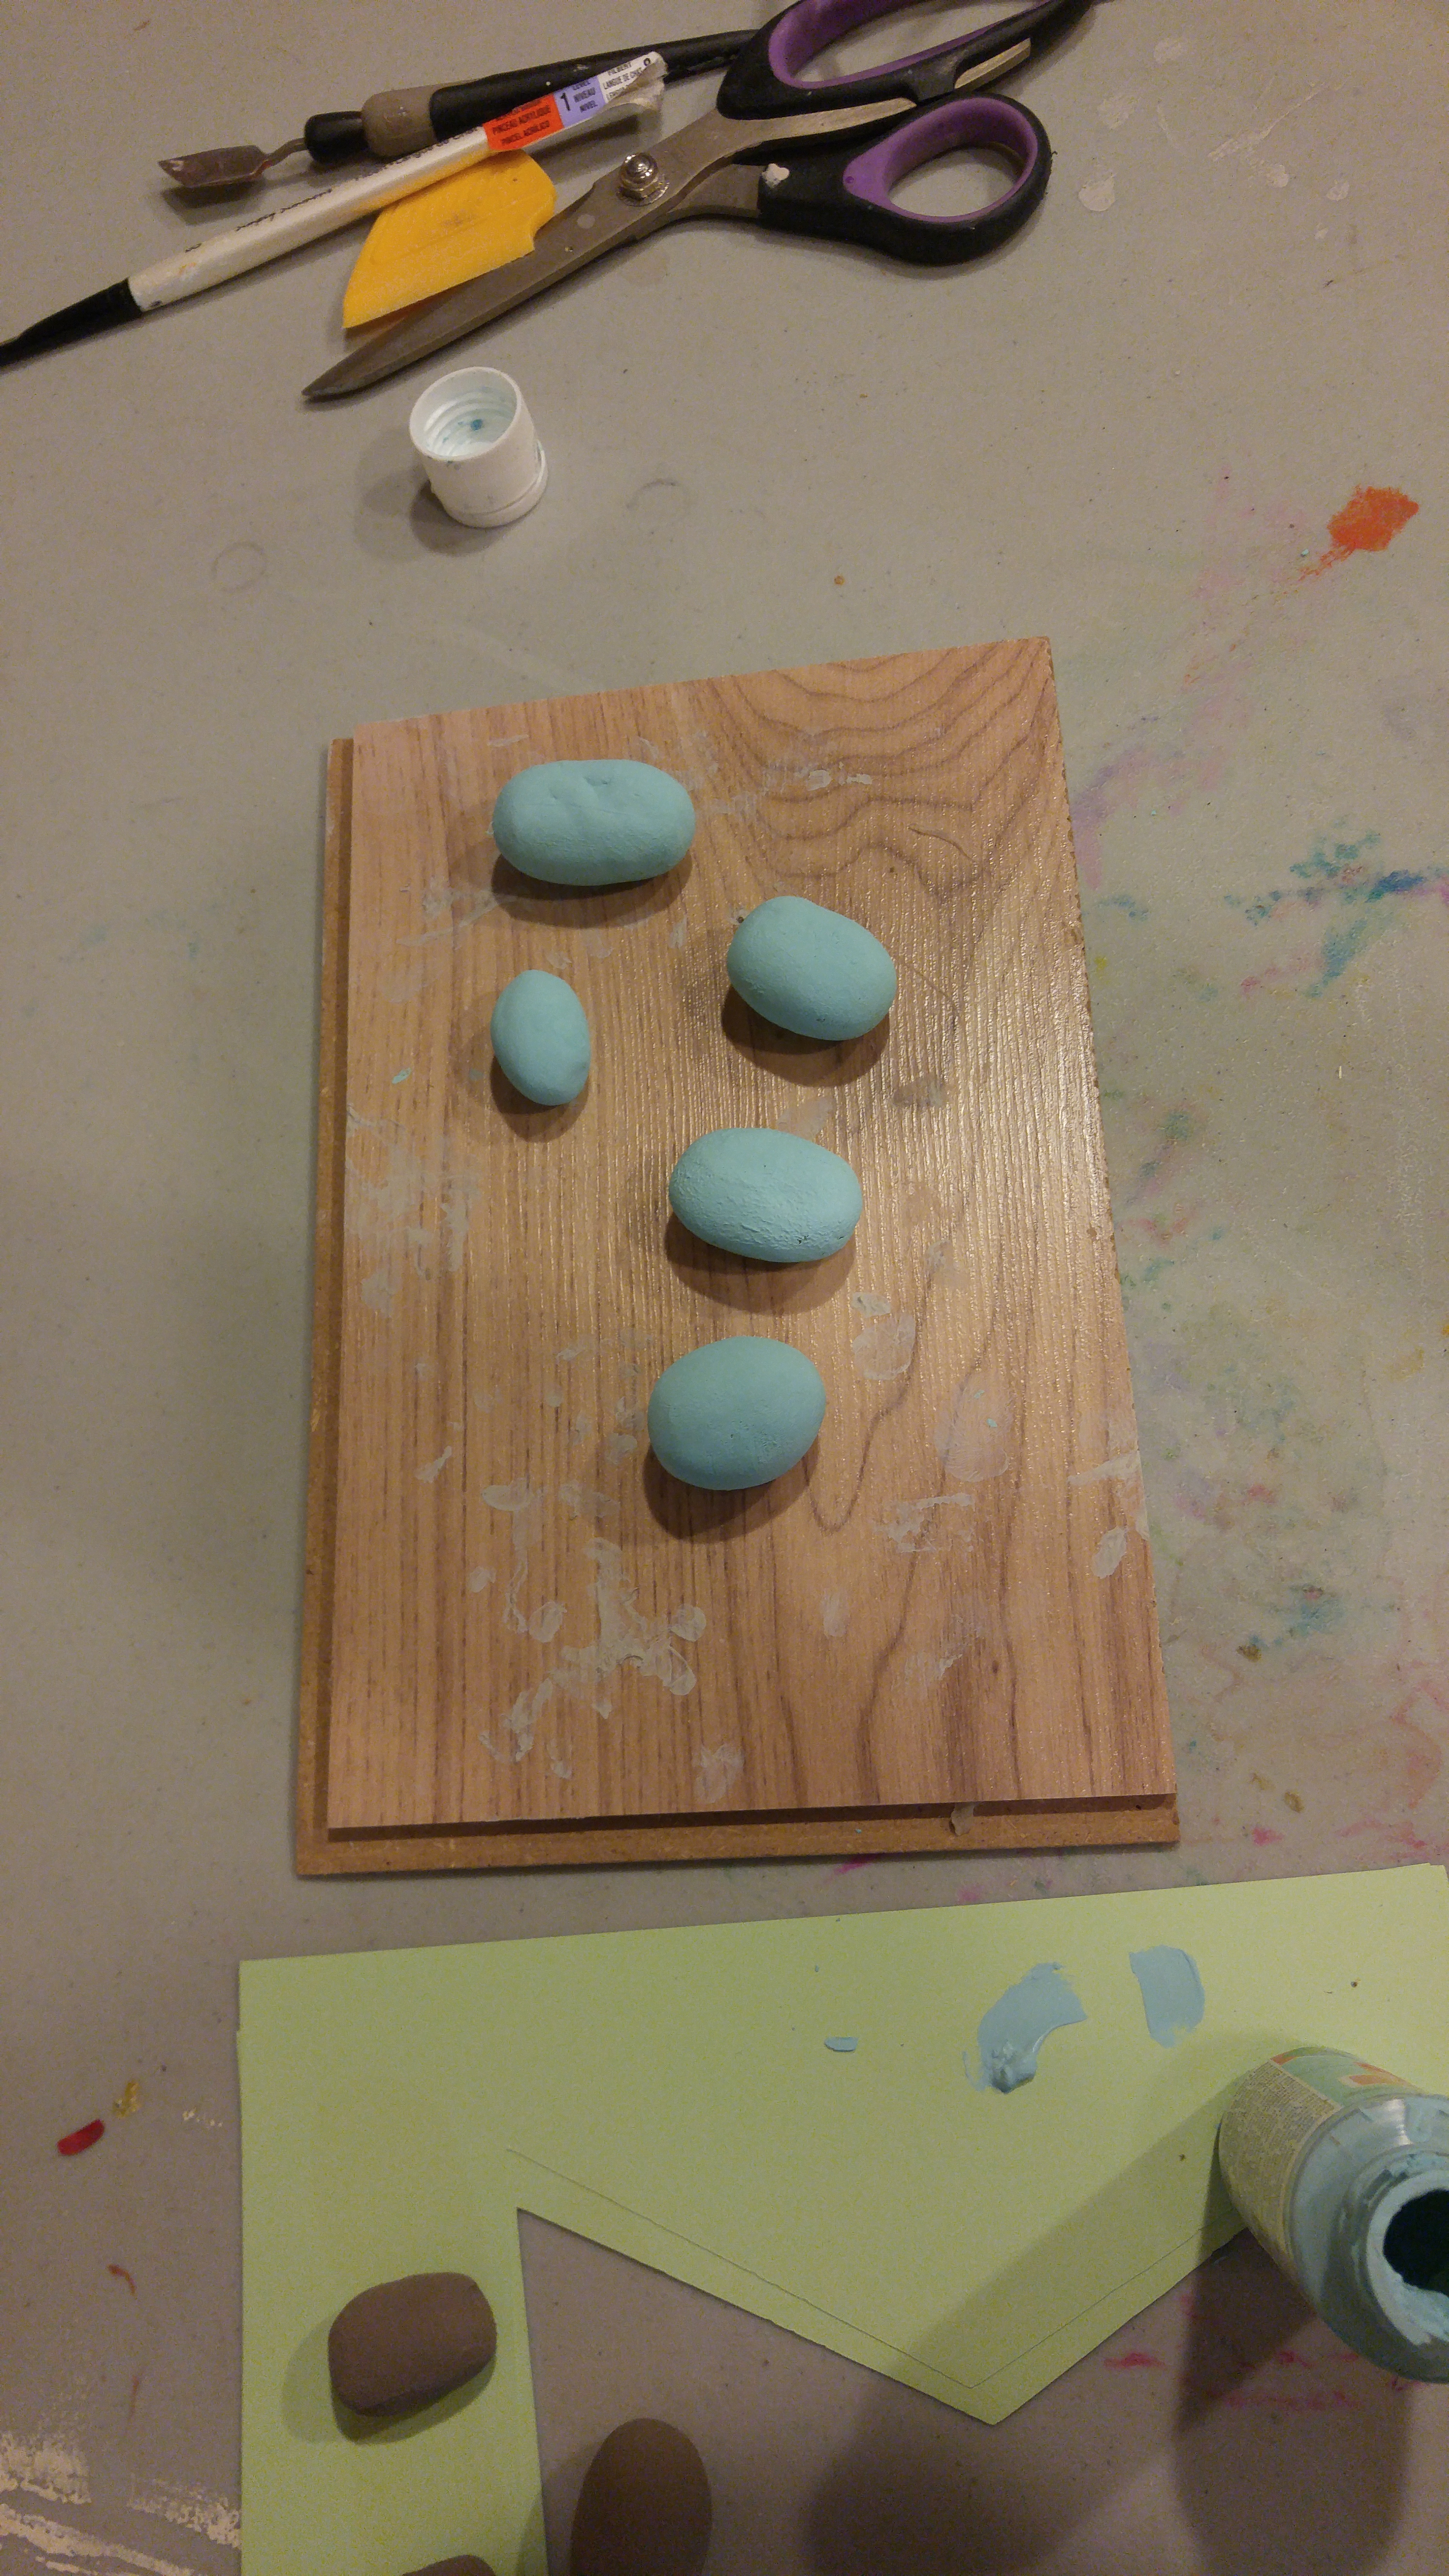
Once the eggs had dried it was time to speckle them! This is the fun part.
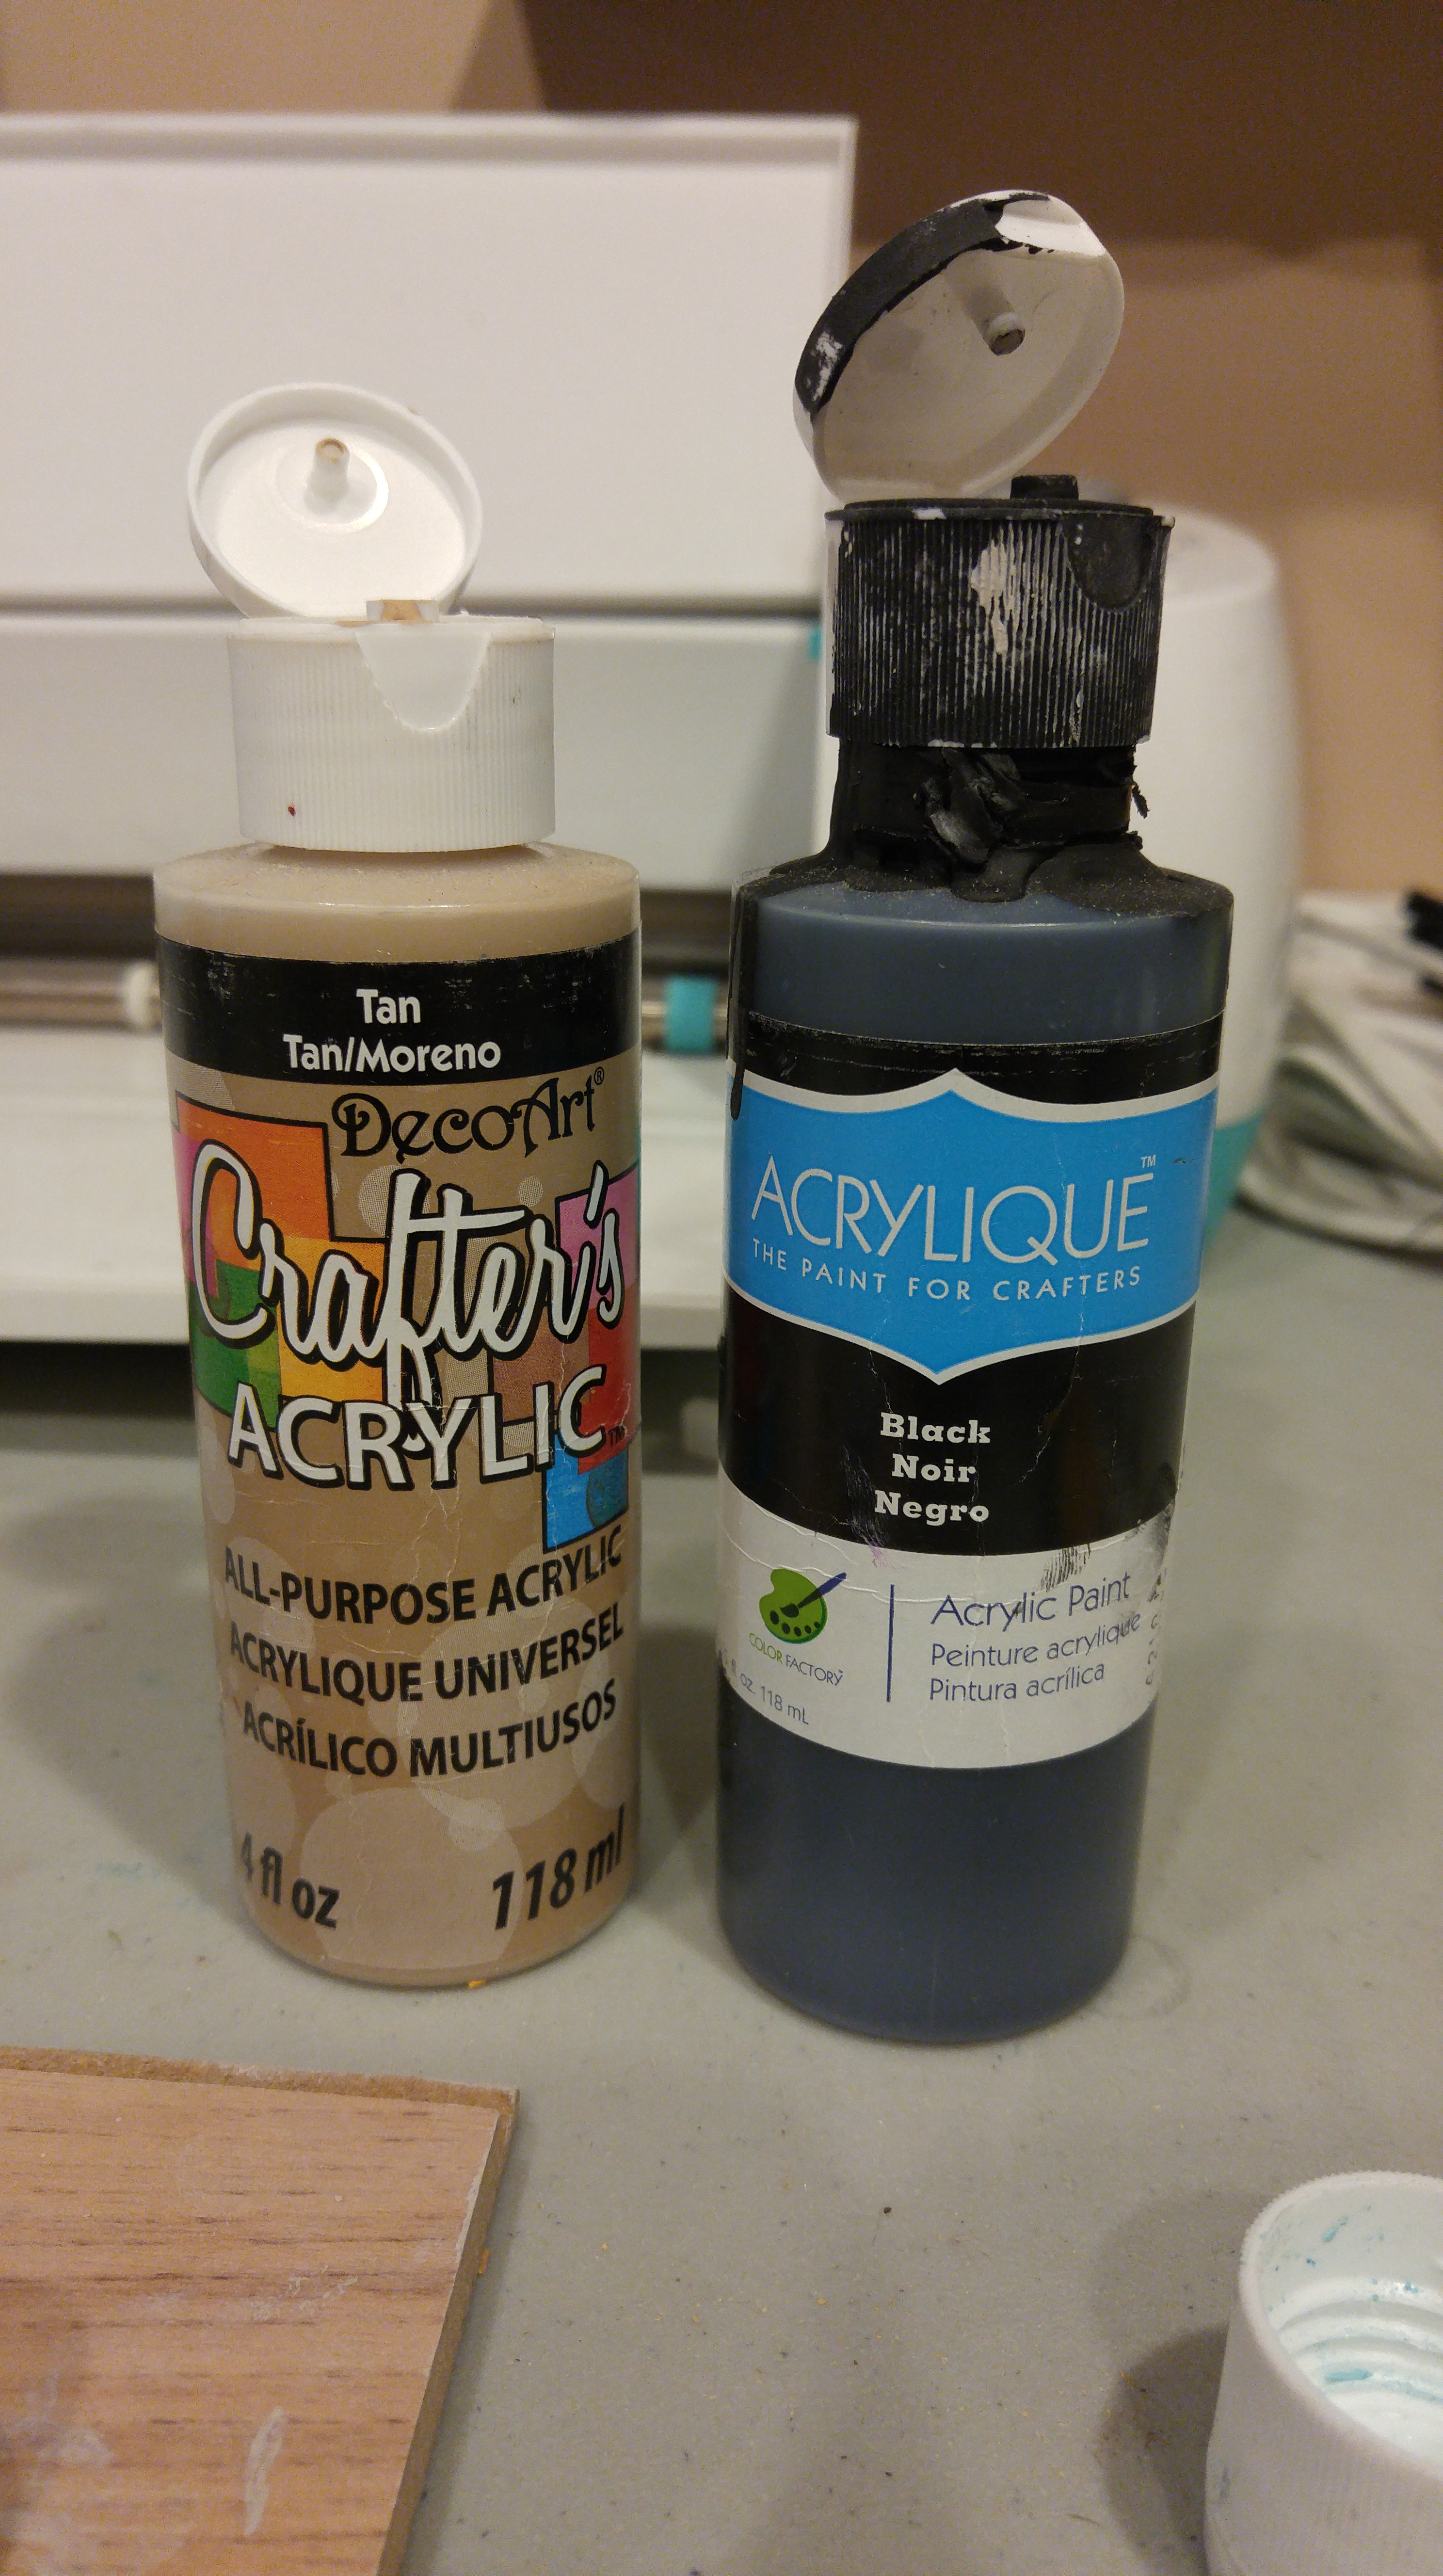
I mixed together some black and tan acrylic paint. This was just to get a more natural looking color. I didn’t want a stark black for my speckles.

The most fun and easiest way to do the speckles so that they look really natural is to do this flicking technique. I actually learnt this from one of those paint night things that I did with some ladies from work.
Except we were making stars not speckles, but it worked really well for this, too!
You just simply dip your paint brush in a bit of water. You don’t want it soaking just a little damp, then dip your brush in your paint and then using your hand, flick the bristles towards your clay eggs.

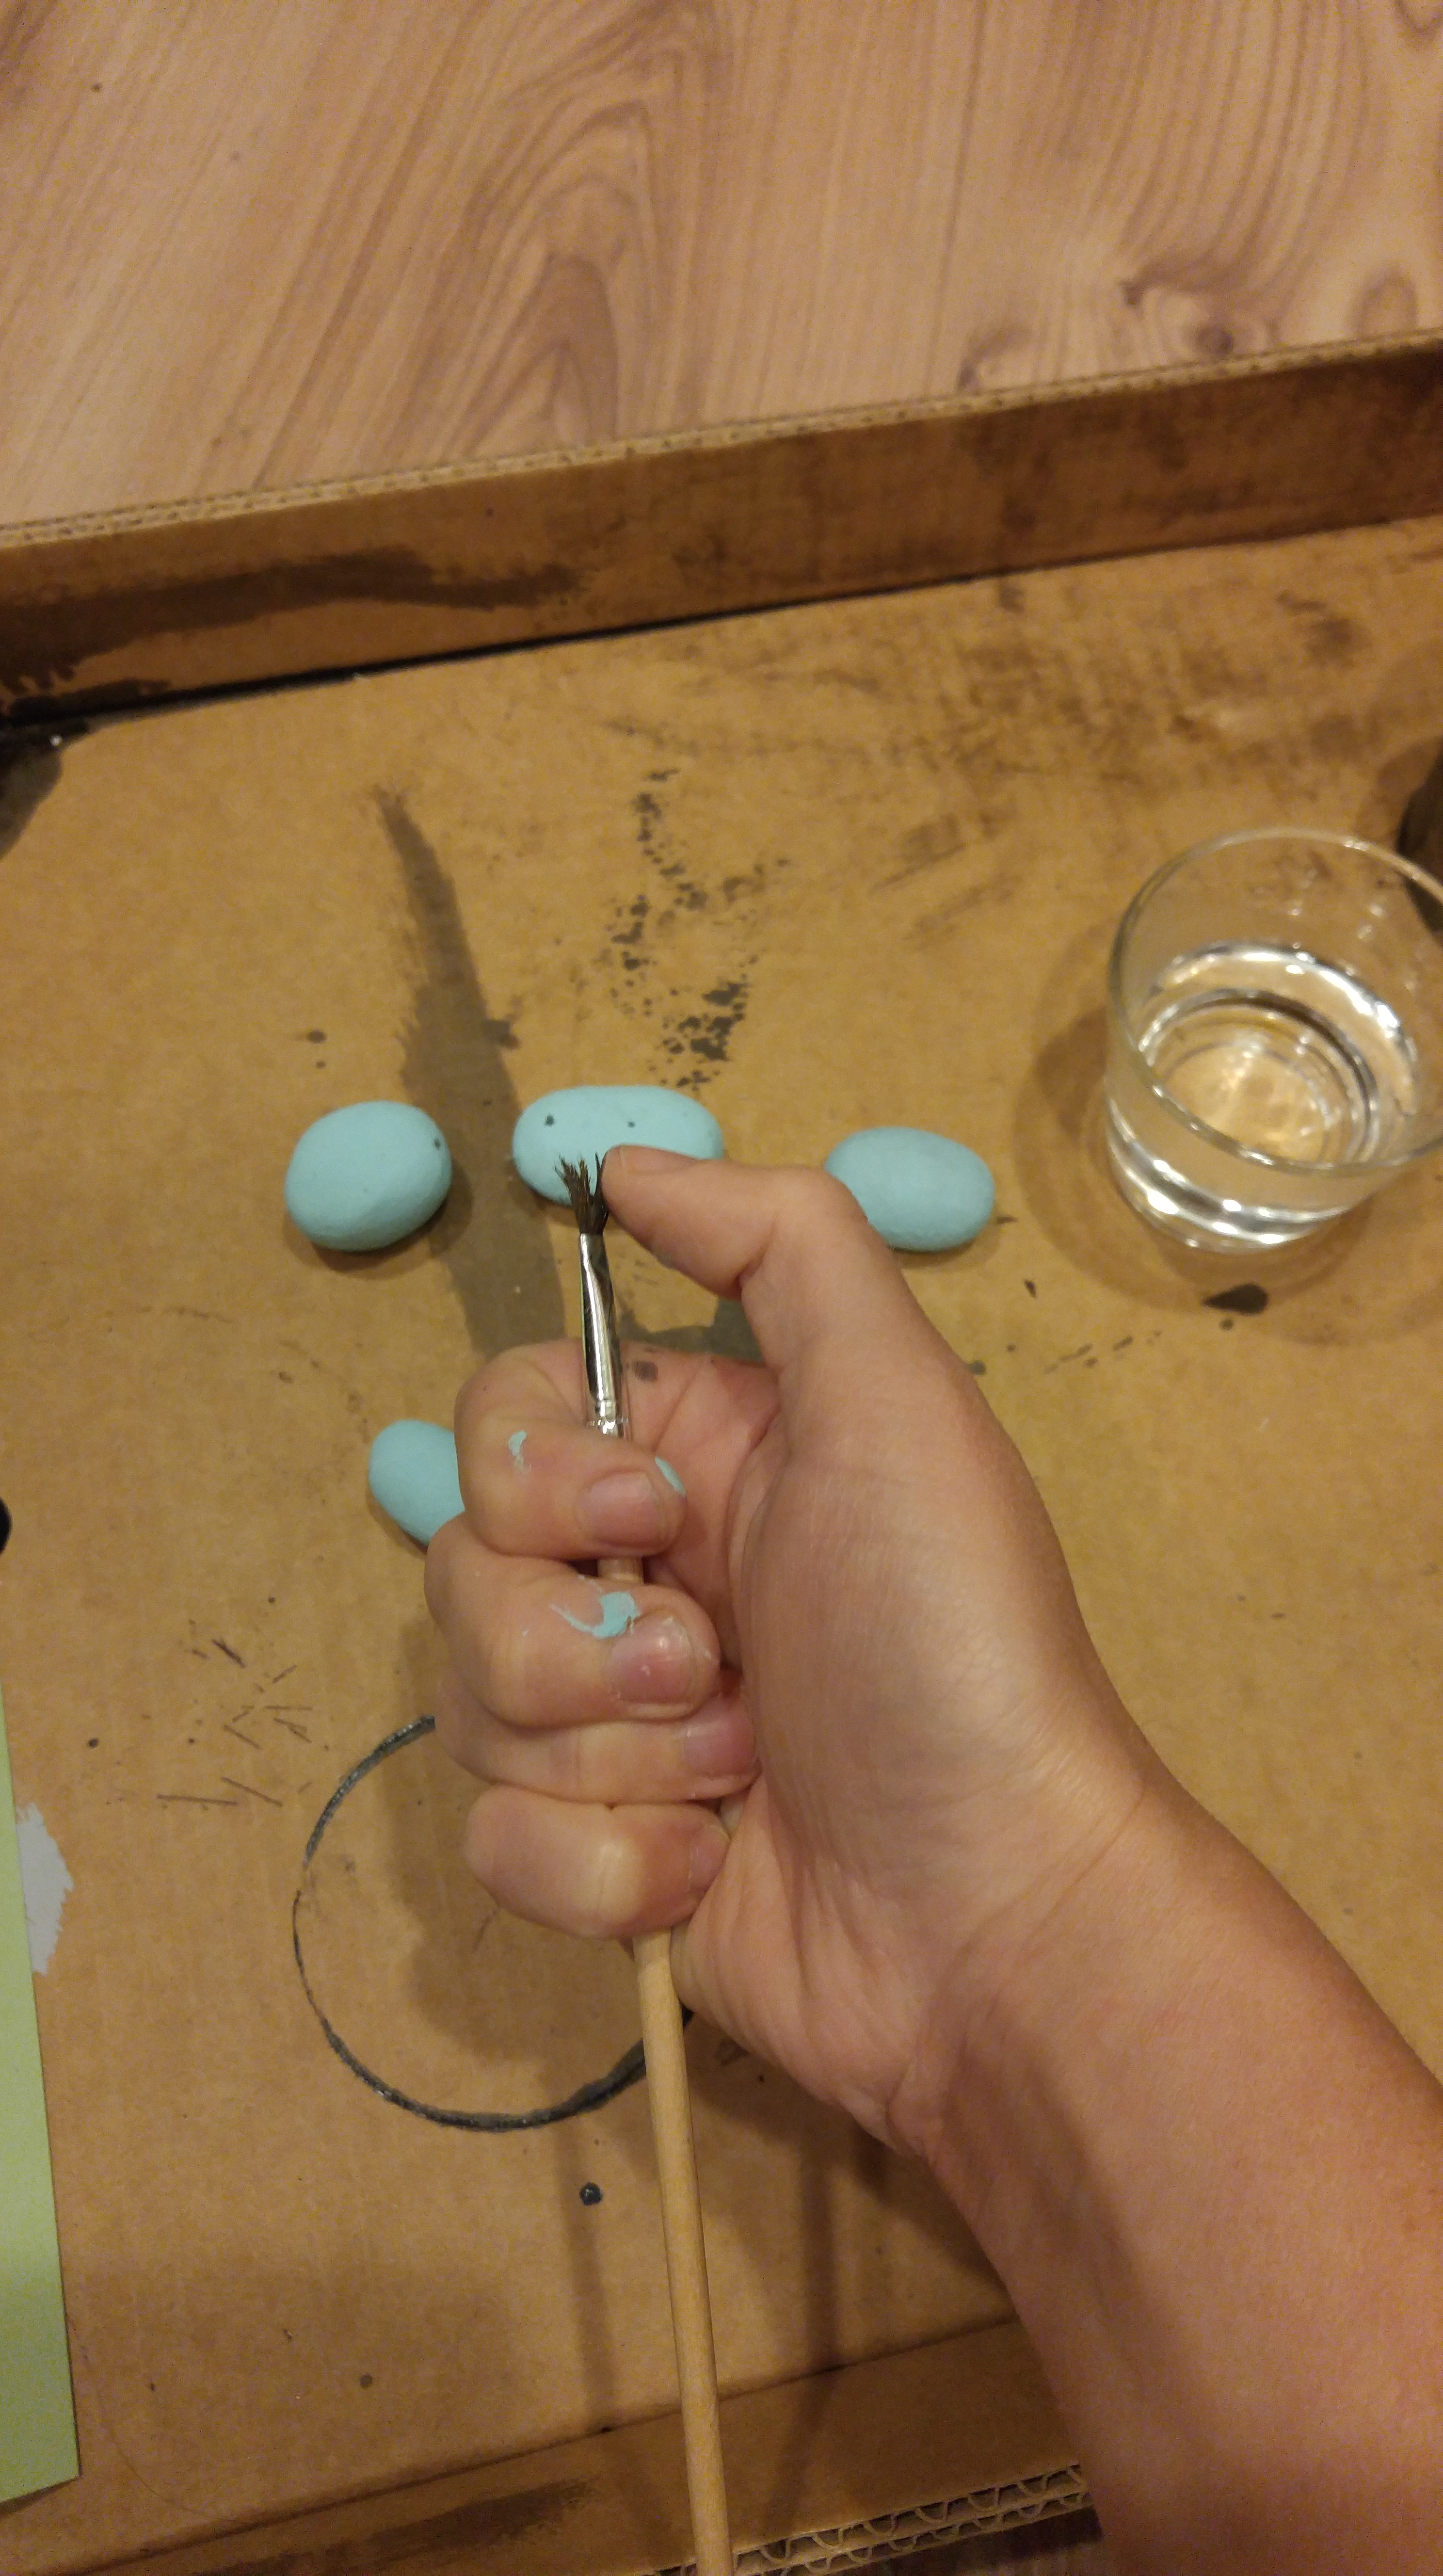
Make sure that you do this is in a clear area. The paint flicks everywhere.
I started out with a small brush and then ended up switching to a larger one cause I was getting better flicks — if that makes any sense.

I did a couple of larger speckles by hand as well.

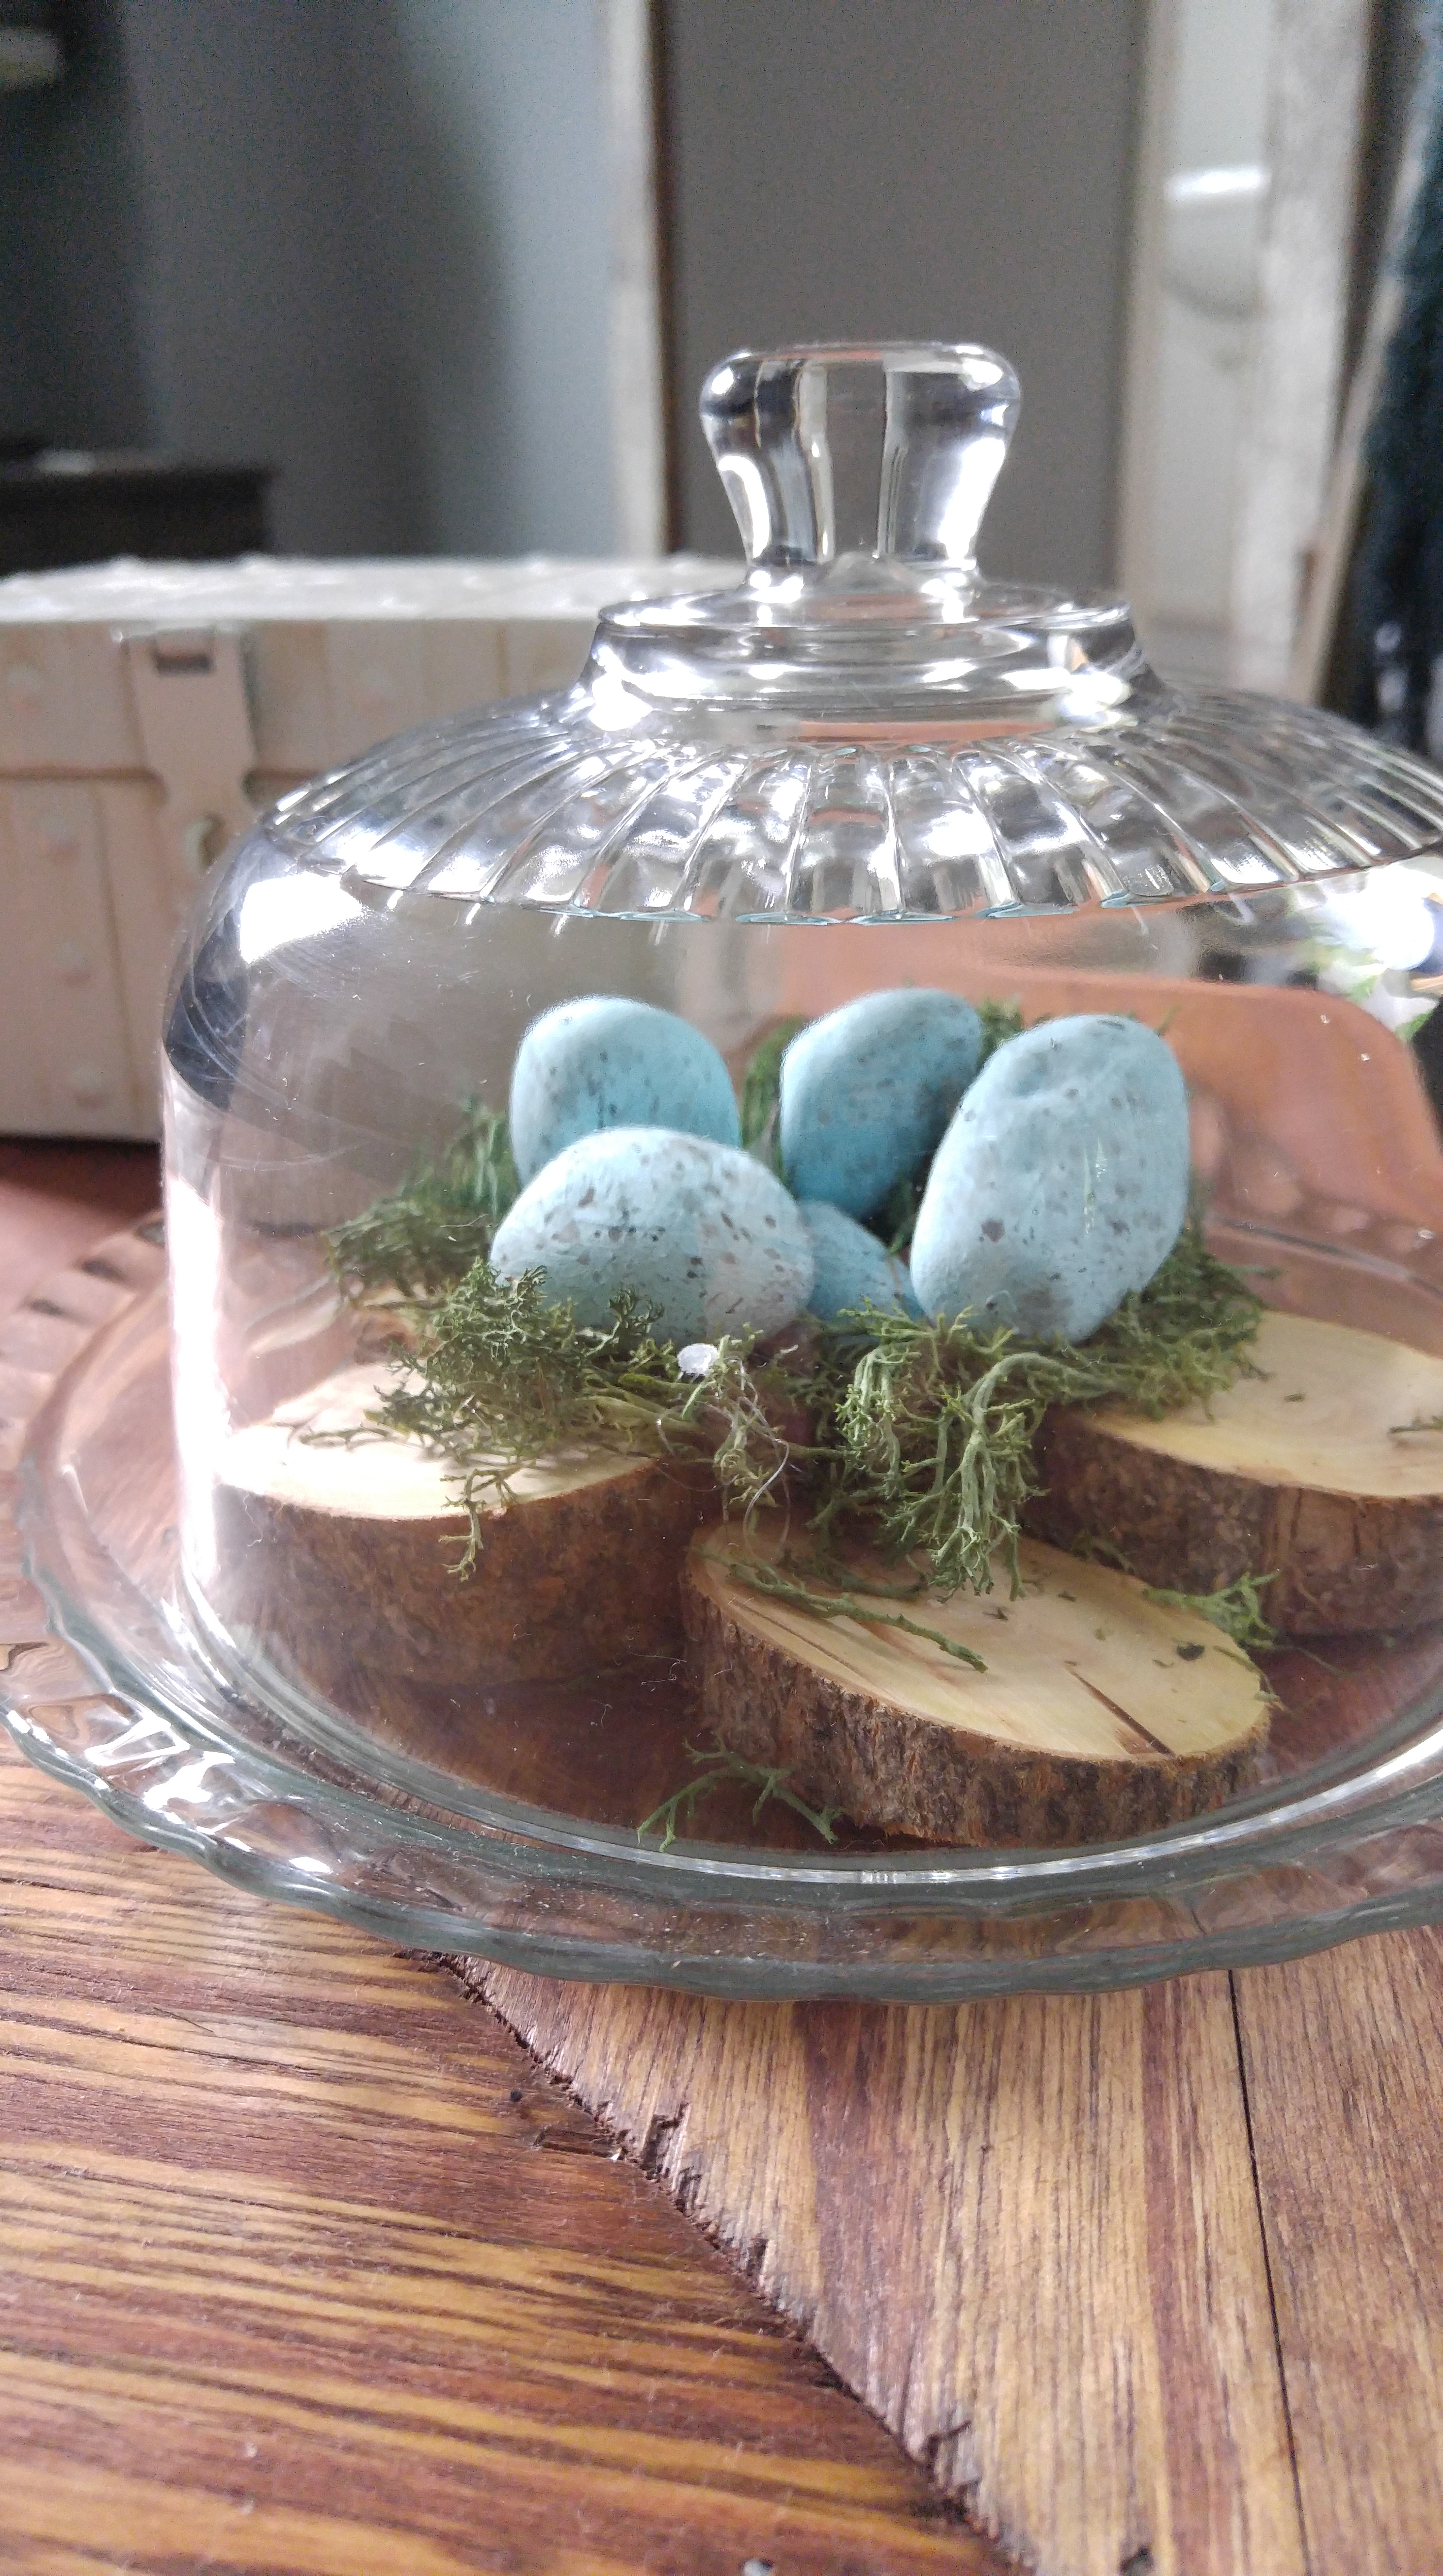
Doesn’t it look sooo real!!??
After my eggs had dried it was time to arrange them under my cloche.
I set some log slices on a glass plate, some faux moss and arranged my eggs on top.


Now I have an adorable piece of decor for my table!
What do you think?

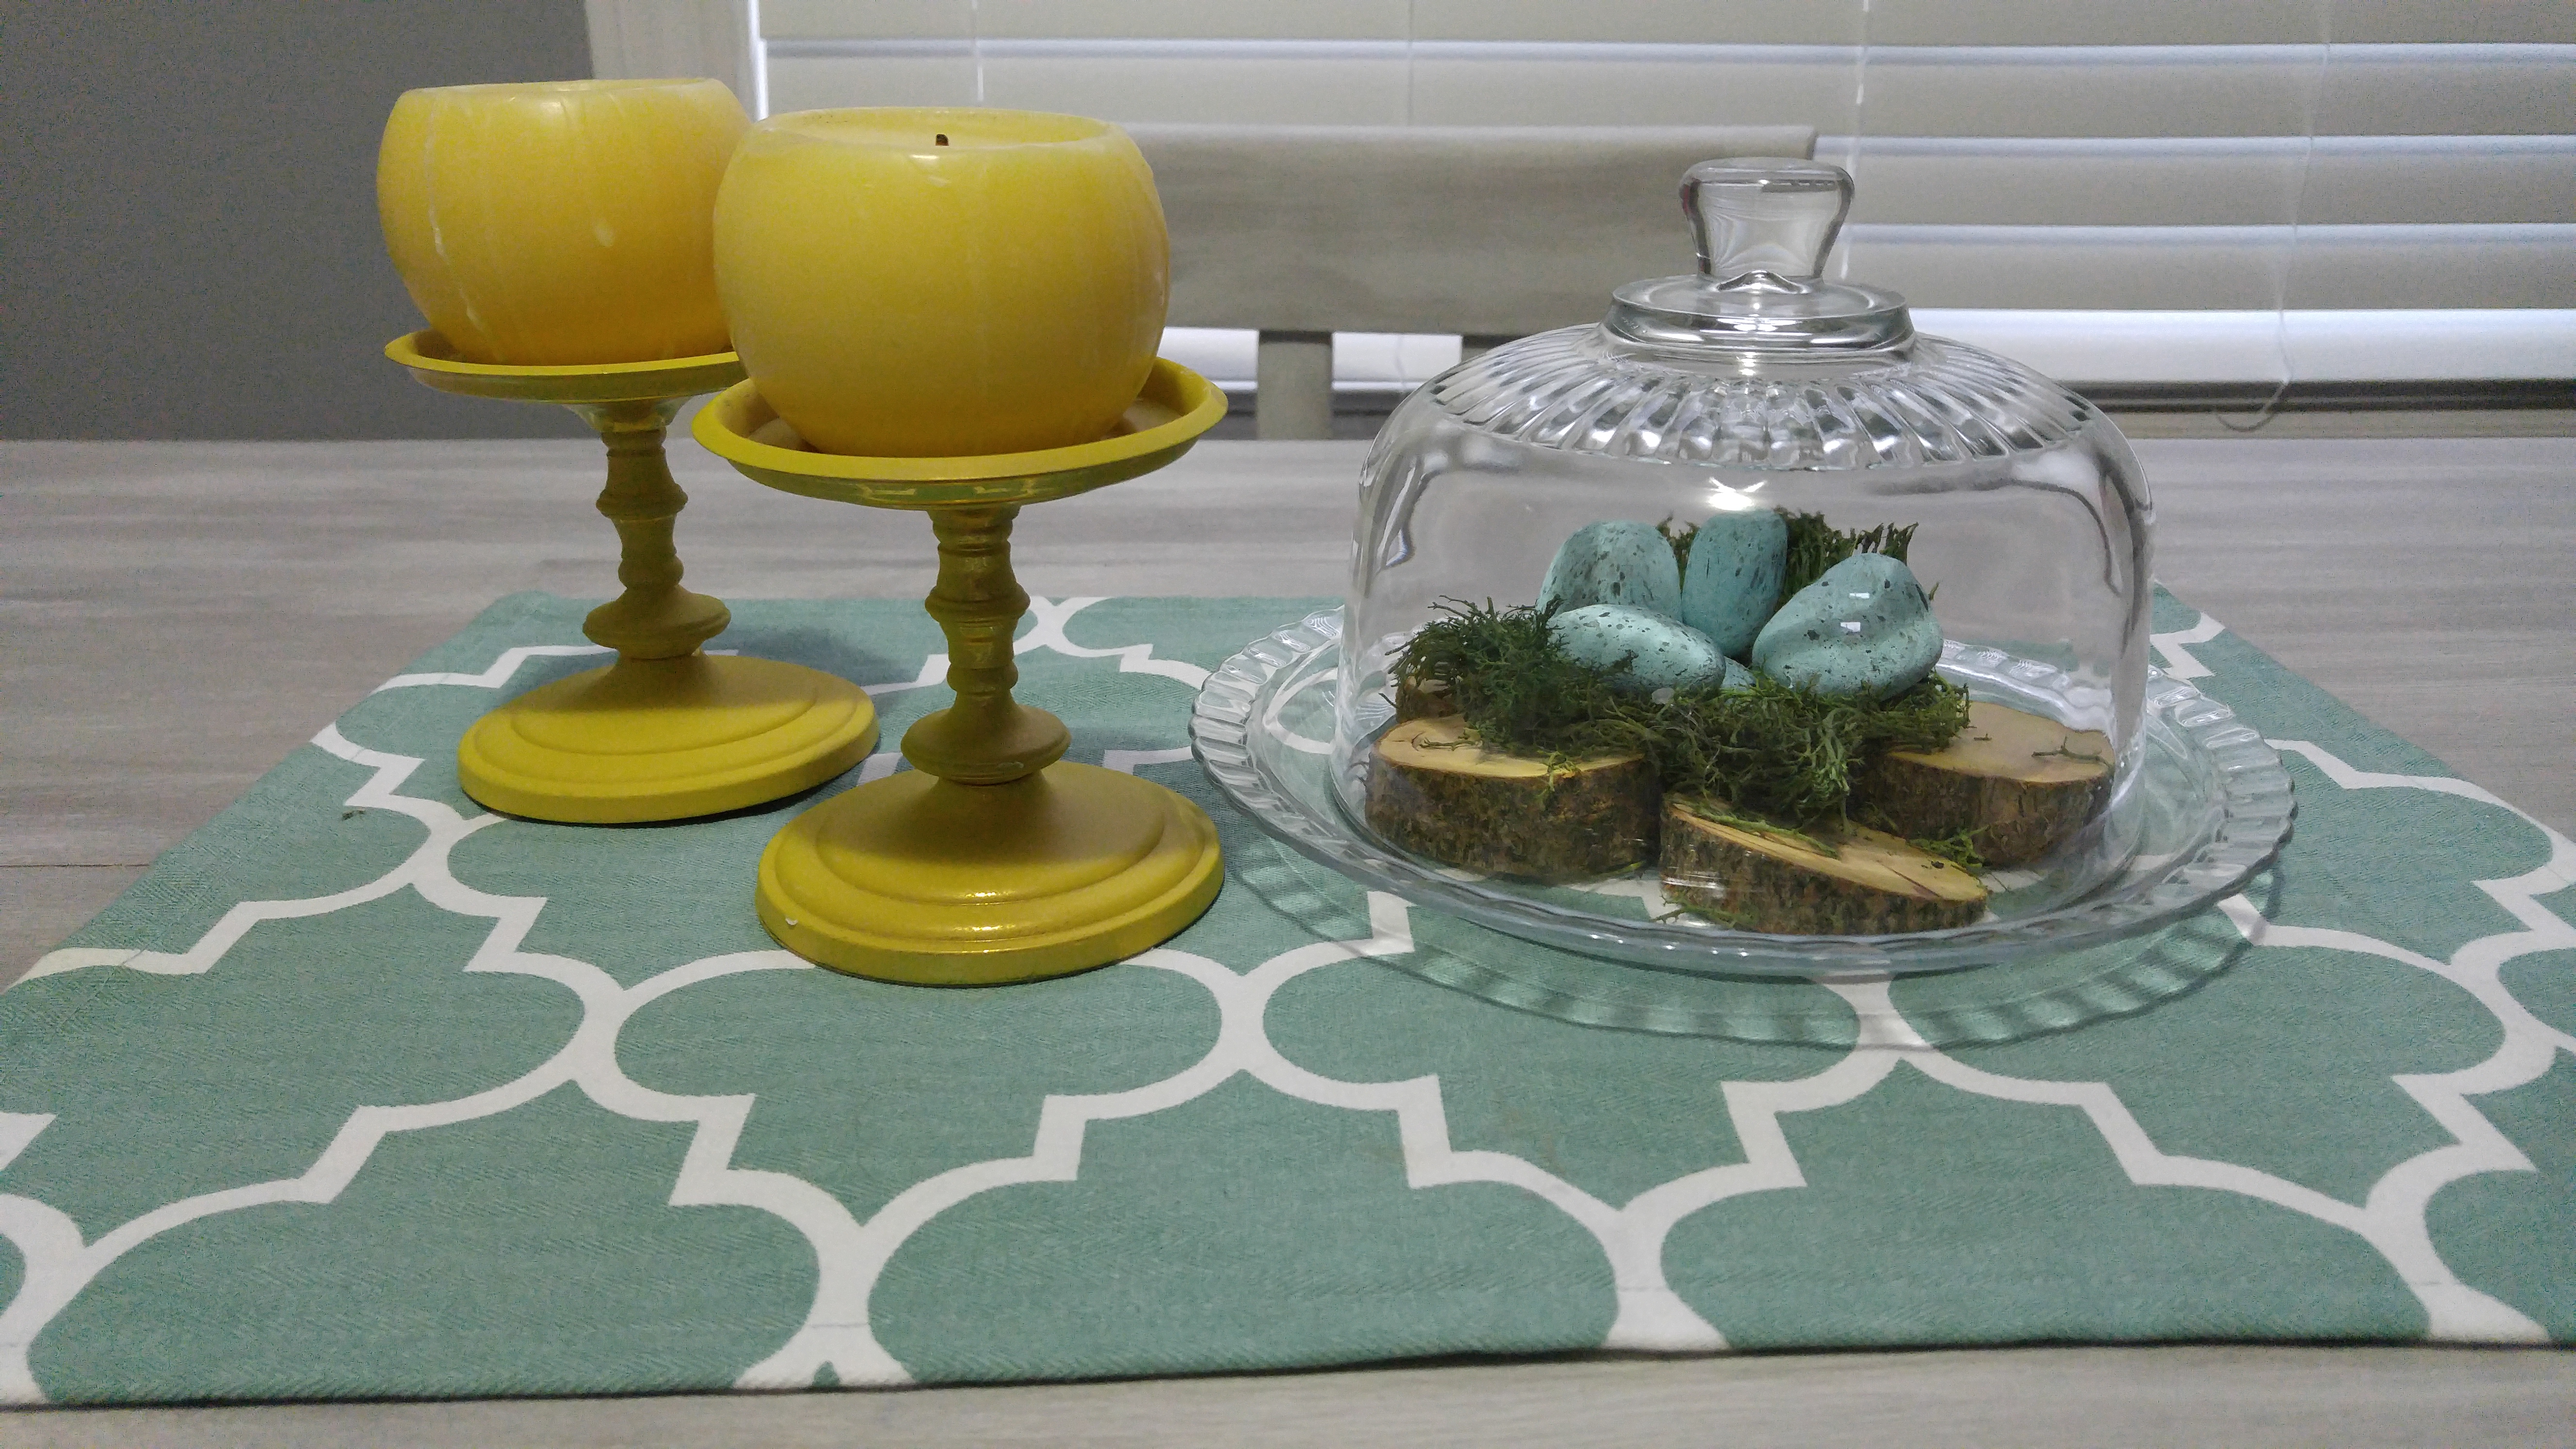
Best part is I can switch out what’s inside of my cloche based on the season! I am already thinking about what I am going to do for Fall!


4 COMMENTS
Yvonne
9 years agoThese look like fun to do. Would be cute for a spring project.
Maggie
9 years agoYou did an awesome job with this! I love the finished project(: xx
hollygrace13
9 years agoThank you so much!!! 😄😄
Maggie
9 years agoYou’re welcome!