
Hey everyone, you might have noticed that I have been a little MIA recently! Well I have some big news!!
We added a new member to our crazy little family!! 😀
That’s right — we now have a four legged fur baby!
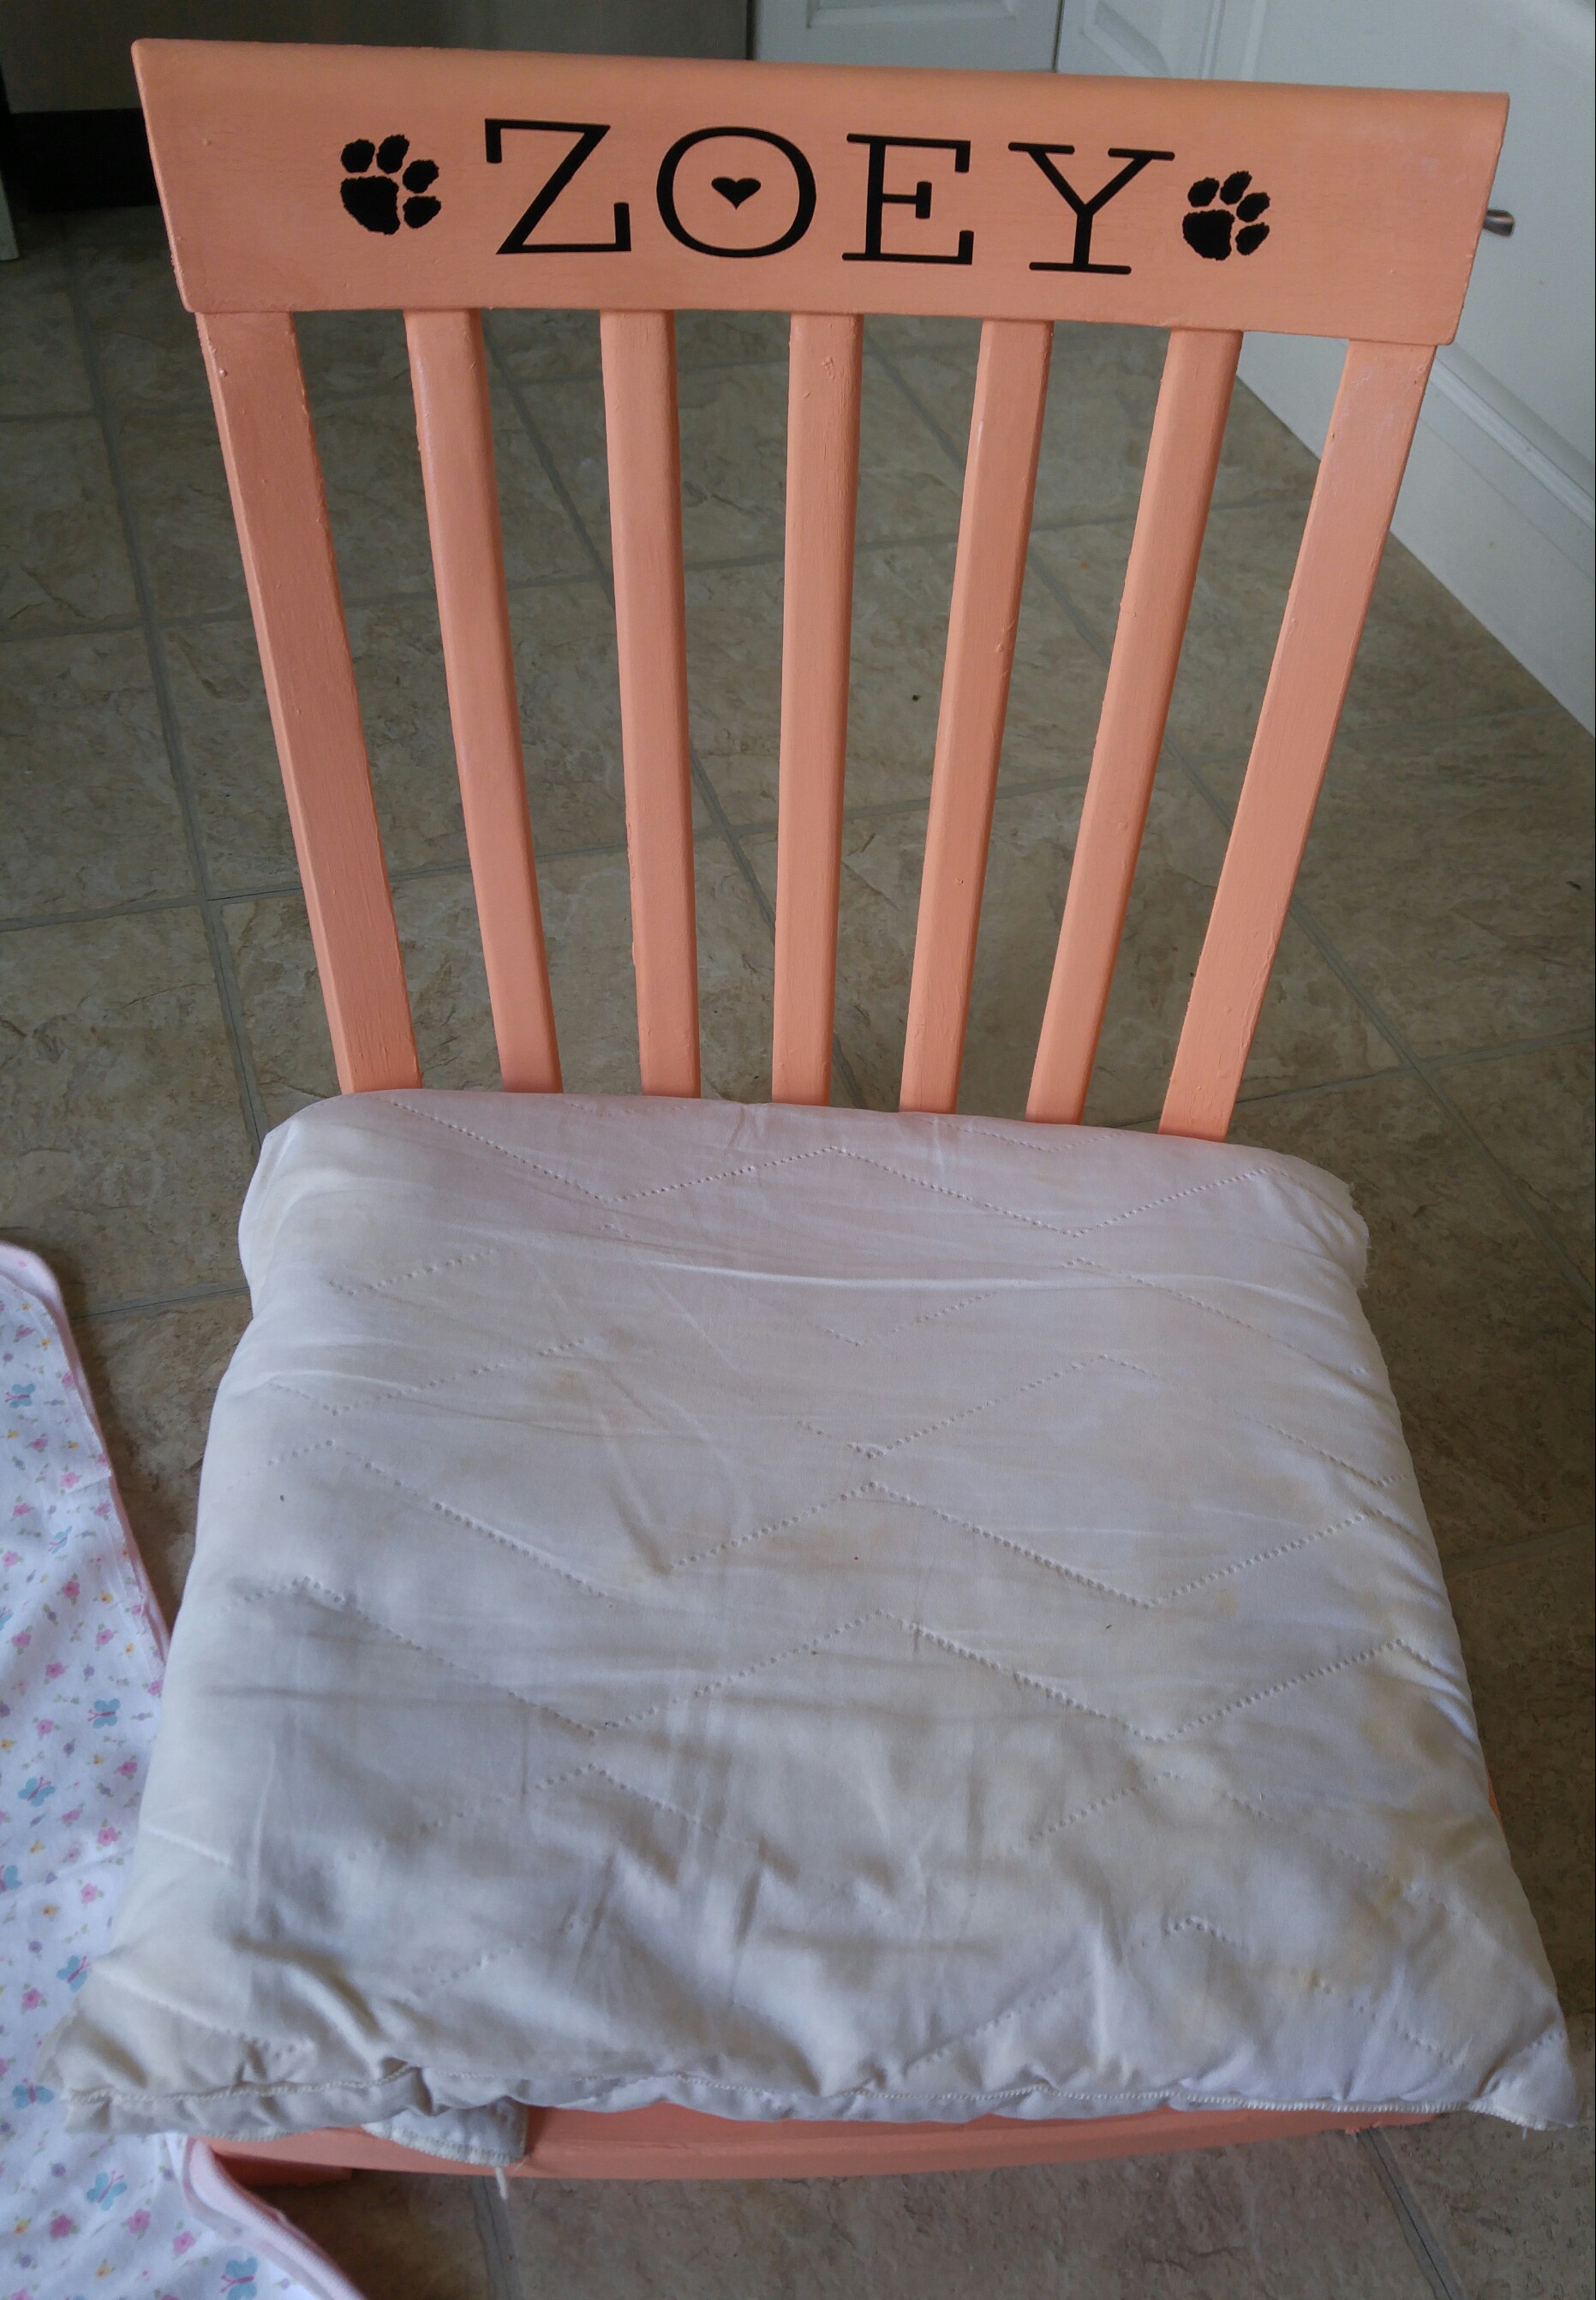
Meet Zoey.

Zoey is a sweet little pup that we picked up just this past weekend. It’s been a little crazy in our house as we are adjusting to life with a puppy.
I am surprised at how good she is, though. We have a had a few accidents but not as many as I thought!
Zoey is 1/4 bulldog and 3/4 pug. She is fun and playful and has totally fallen head over heels for my daughter Ava.
Seeing the two of them playing and having fun just makes your heart melt.


Before picking up Zoey on Saturday, I knew I couldn’t welcome her into the family without making her something — that’s what I do! I just love to DIY gifts.
So I made her her own little bed from an old chair that I picked up at the side of the road.

I only needed two tools to do this, too.
My Ryobi Jigsaw and my Ryobi Palm Sander

I began by using my jigsaw to cut of the legs of the chair. This was so easy to do and this handy little (but mighty) jigsaw cut right through without hesitation.


Once I had the legs gone it looked like this

Next, I used my palm sander to sand down the edges where I cut.

This sander is the best! It’s quick and easy , plus it operates off the RYOBI ONE+ batteries. Getting these batteries was the best thing I ever did! I am slowly building my tool collection so that I have all the RYOBI ONE+. No power cords required!
Makes me think it’s time to upgrade my jigsaw! 😉
Time to paint!!!
I used Americana Decor Chalky Finish paint in Smitten mixed with just a tiny bit of Timeless.
I added the Timeless shade just to dull the smitten just a bit. I didn’t want it to be too bright.


After the paint dried, I used my Cricut to put Zoey’s name on her gift!

Kind of looks like a hard bed, though right? Don’t worry, I can fix that!
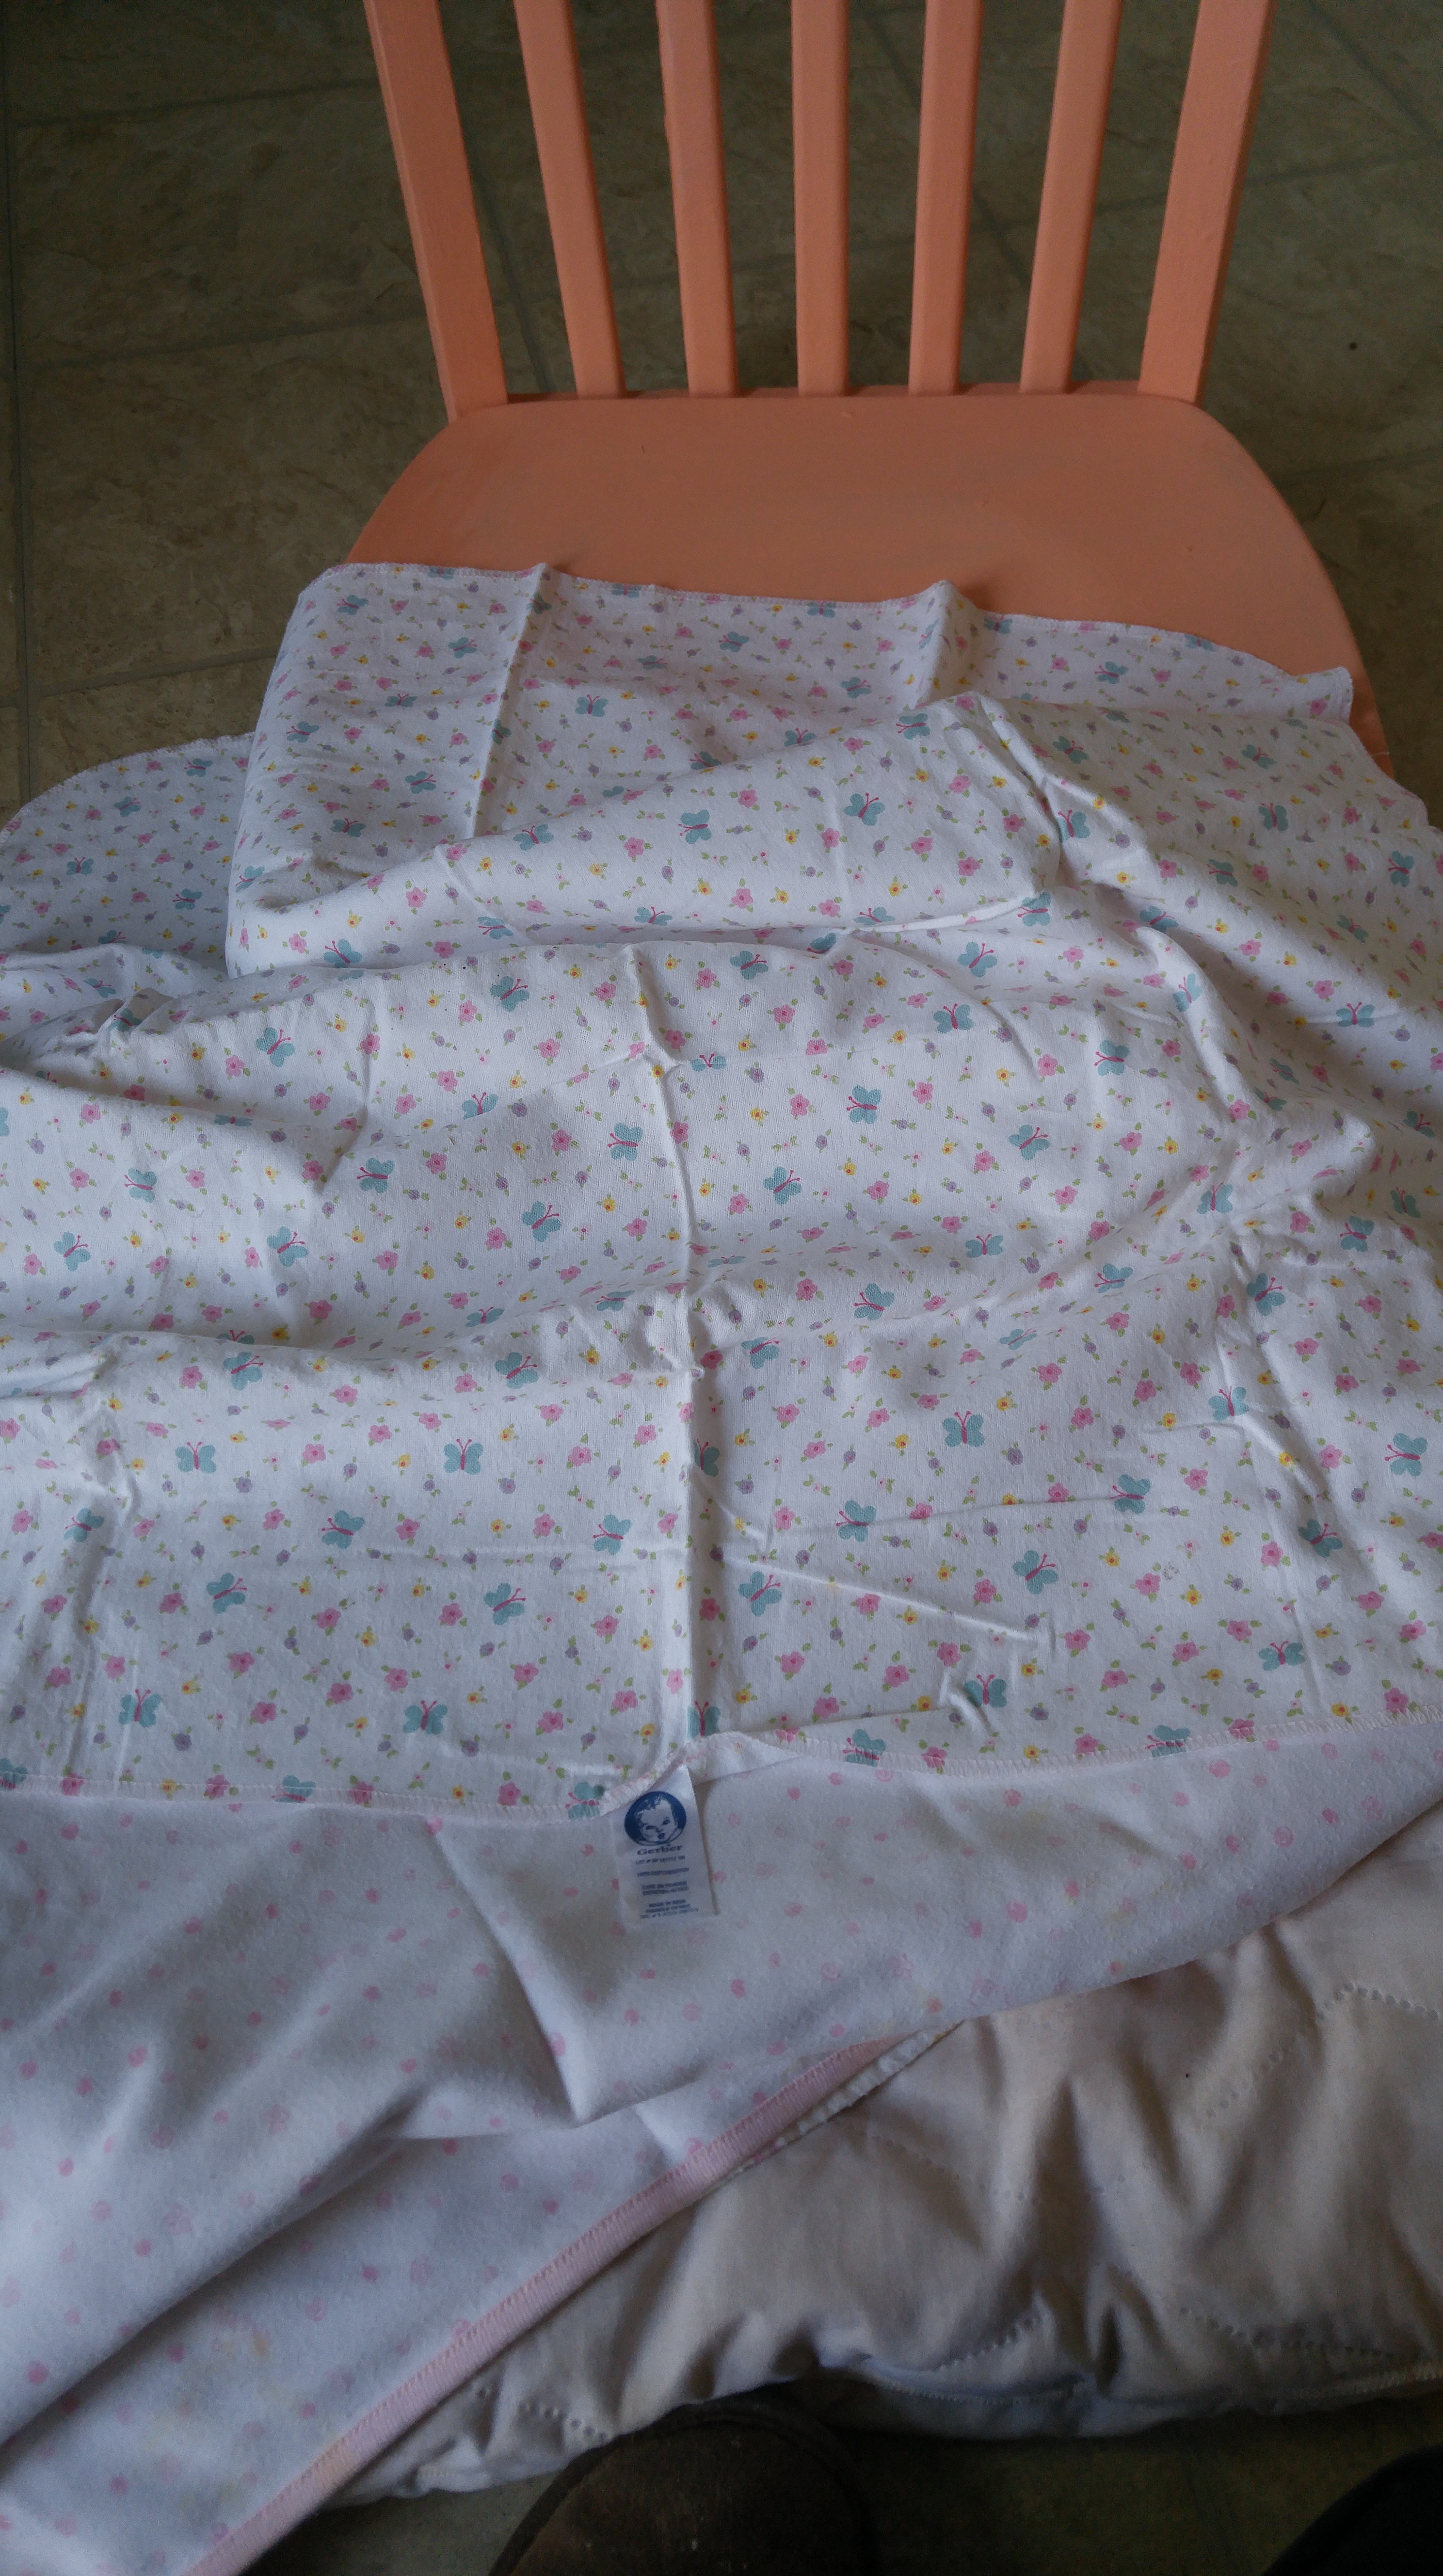
Here is the no-sew pillow bed that I made to sit on top of the chair — I mean, bed.
I started with an old pillow and two old receiving blankets that used to be my daughter’s.
The pillow was just a little bit too long for the chair seat.

I used a pair of scissors and I cut the pillow to fit the size of the seat.
I laid the pillow on top of the two receiving blankets. It doesn’t matter at this point if they are right side up or down.

Next, I cut off the corners, like pictured below.

Then I cut little slits in both receiving blankets, making my way all around.
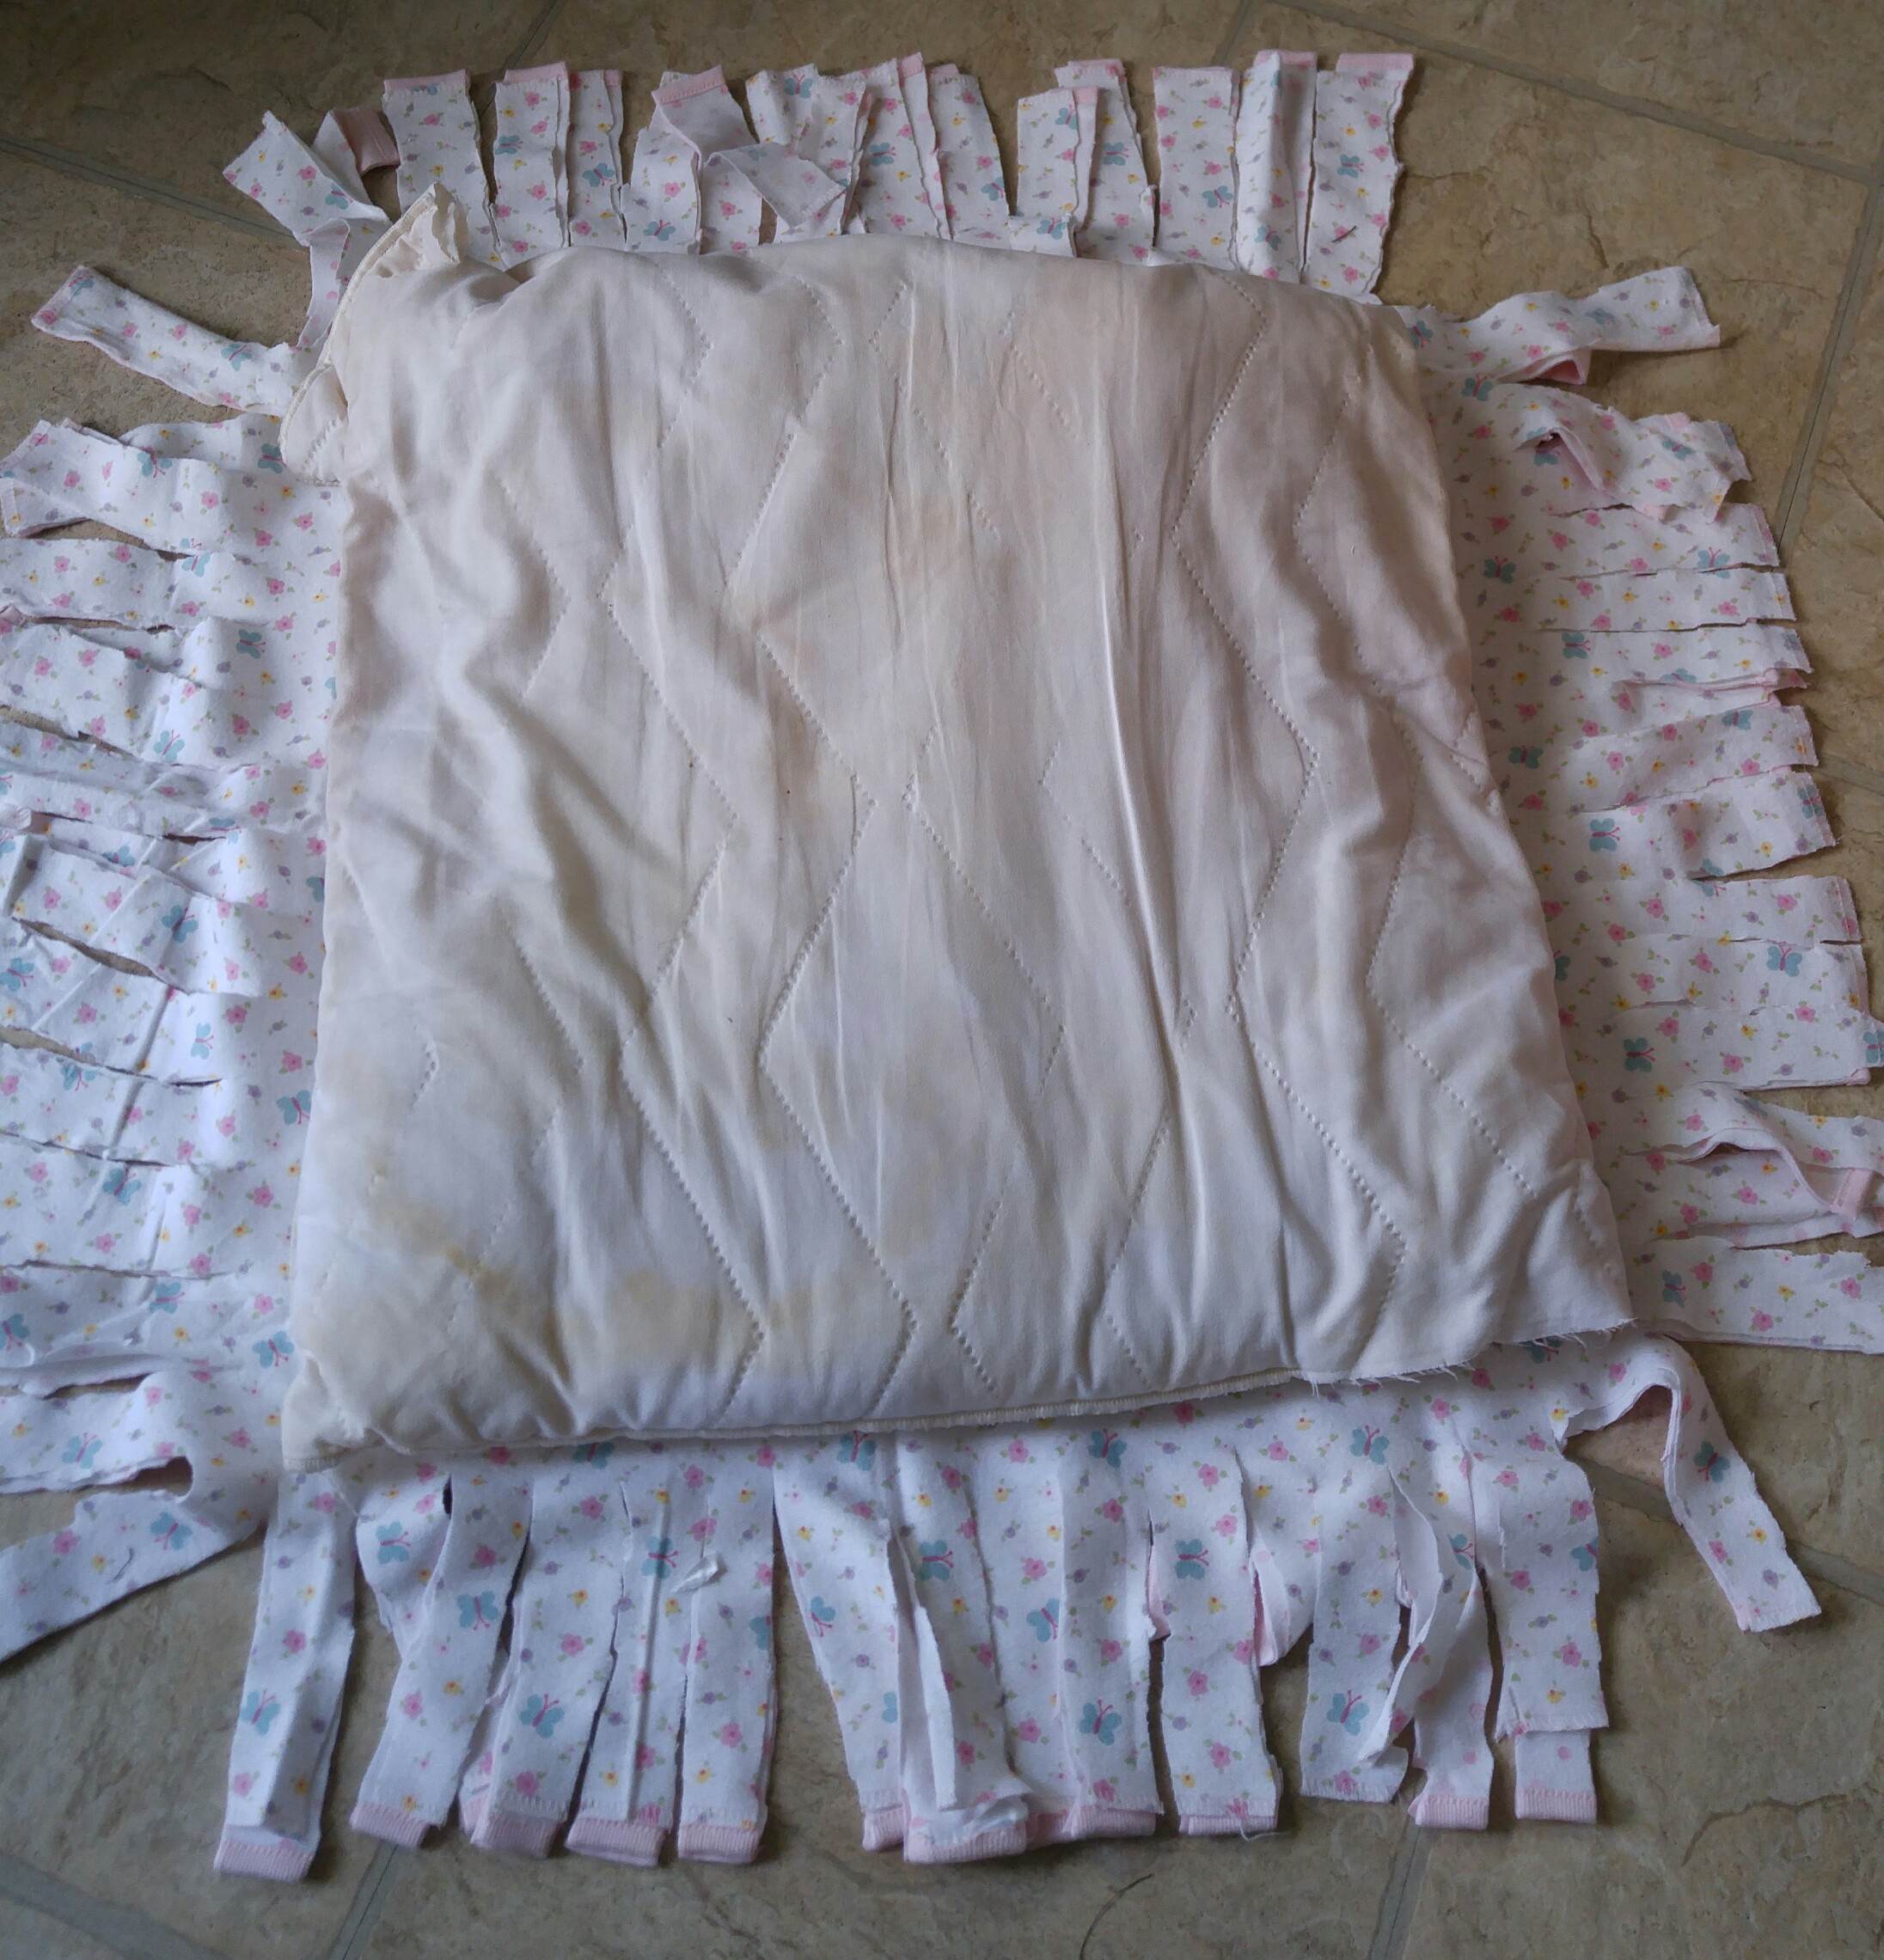
Separating the two receiving blankets, I then laid one down, then the pillow and then the other receiving blanket on top.

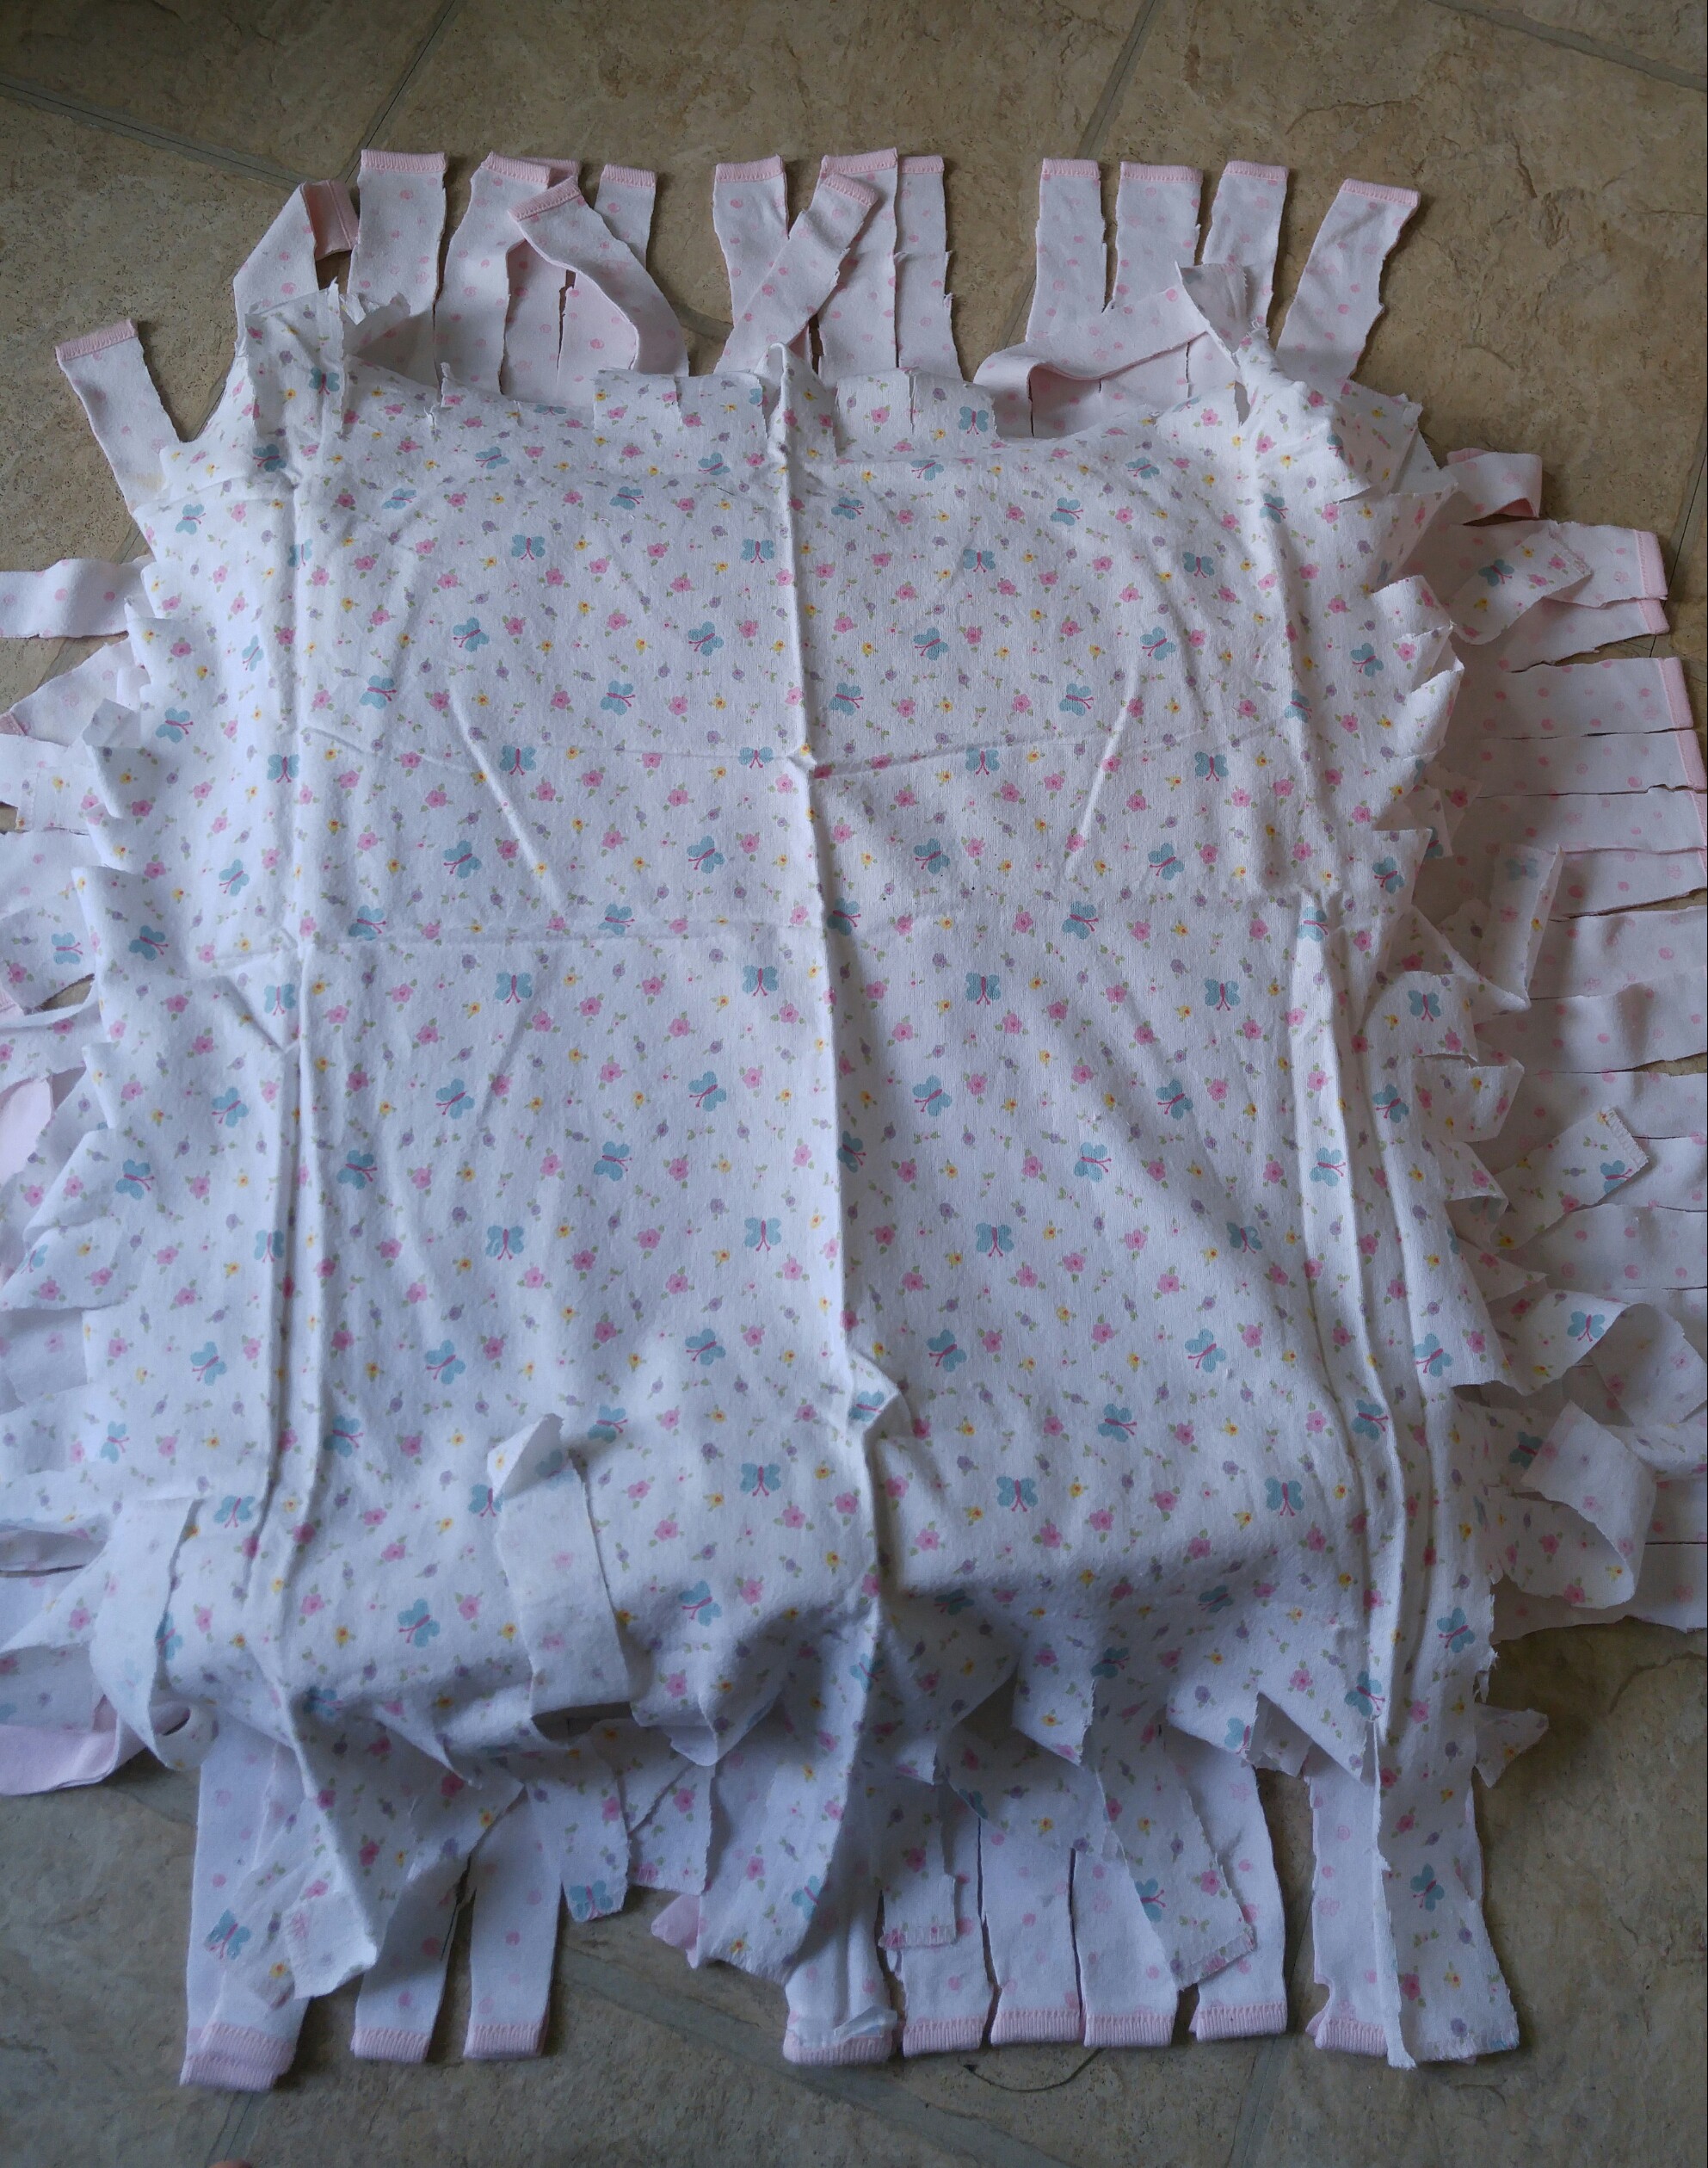
Now all that’s left to do is to tie the frayed pieces together. Just a simple knot will do.
For extra strength at the corners, I crossed the frays and tied them with the fray diagonal to it.

Once the frays were all tied, I had a cute little pillow for Zoey’s new bed.

Now all we need is a Zoey!
There she is!!

We love our new little pup! 🙂 She has become quite the loving addition to our family!!
If you have a pet that would love a little bed like this make sure you pin this idea to your DIY board!

If you know someone with a dog that would love this, make sure you share it with them, too!!


Leave a Reply
Pingback: Don't toss that old chair. Here are 9 ways to repurpose it - DIY on August 29, 2017
Pingback: Dad Finds Old Chair At Garage Sale, Transforms It Into A Gorgeous Piece For The Home on August 29, 2017
Pingback: 15 moduri în care puteți refolosi un scaun vechi on August 29, 2017
Pingback: 12 Idées Créatives pour Transformer des Chaises en Bois en Quelque Chose d'Unique - Deco DIY : Transformez votre Espace avec des Projets de Décoration Do-it-Yourself on August 29, 2017
13 COMMENTS
Yvonne
9 years agoHolly, Look how happy you made Zoey! What a sweet little pup, have to keep sending photos as she grows. Where did you find her?
hollygrace13
9 years agoThanks Yvonne! I found her through Kijiji and we picked her up just outside of Orangeville! It was a long drive but totally worth it 😀
gebbysmith
9 years agoOh my goodness!!!
Danielle Odin
9 years agoWhere is Orangeville?
hollygrace13
9 years agoOrangeville is just outside of Toronto, Ontario 😀
Carroll Leafe
9 years agoDoes she chew on the knotted pieces of fabric?
hollygrace13
9 years ago AUTHORSo far she hasn’t even bothered with them… keeping my fingers crossed lol
auntmaggieb
9 years agovery cleaver! Looking at his paws I’d say you may need to saw the legs off a love seat soon! Very cute idea and doggie! Hope you rescued him…he is very lucky to have such a loving family.
hollygrace13
9 years ago AUTHORThank you! That picture is very deceiving. She looks like she might be a boxer but she is actually 1/4 french bulldog and 3/4 pug so she won’t get too big 🙂 And yes, she is a rescue 😀