
OK, so we have all been to Michaels, I am sure, right? We have all seen their outrageous pricing on some of their items. Sure, they have the amazing coupons but I still think that some of their items are priced out of this world.
Take these little trees for example…

These trees are 19.99 each… 19.99!! And to say that these are tiny are an understatement. Check out this video.
I can’t imagine that there is anyone out there that would pay $20 for tiny topiary that would fit in the palm of their hand? Am I wrong about this?
Well, after I got over my shock, I felt a little challenge coming on so, I headed to the nearest dollar store, spent about $4 and decided I was going to make my own because there is no denying that those tiny trees from Micheals are adorable but I just can’t justify spending that type of money on something like that.
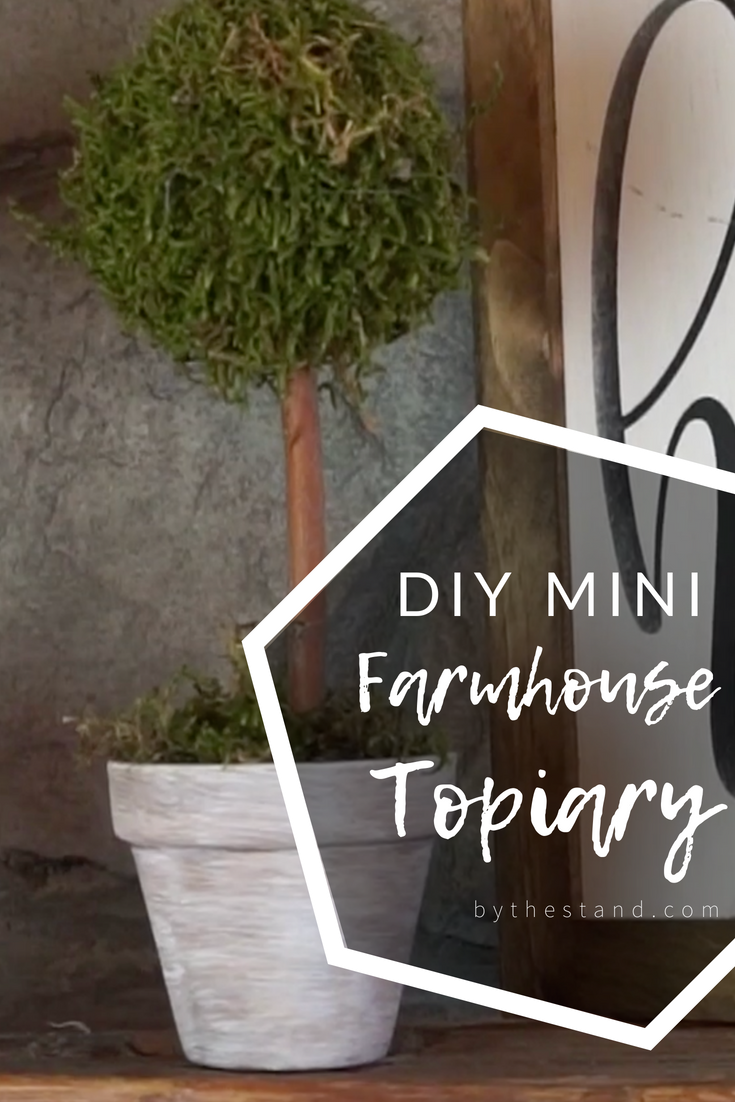
So here is my version.
Let me know what you think. Be sure to scroll all the way to the end to see the video of this DIY in action.
Here are the supplies that I gathered.
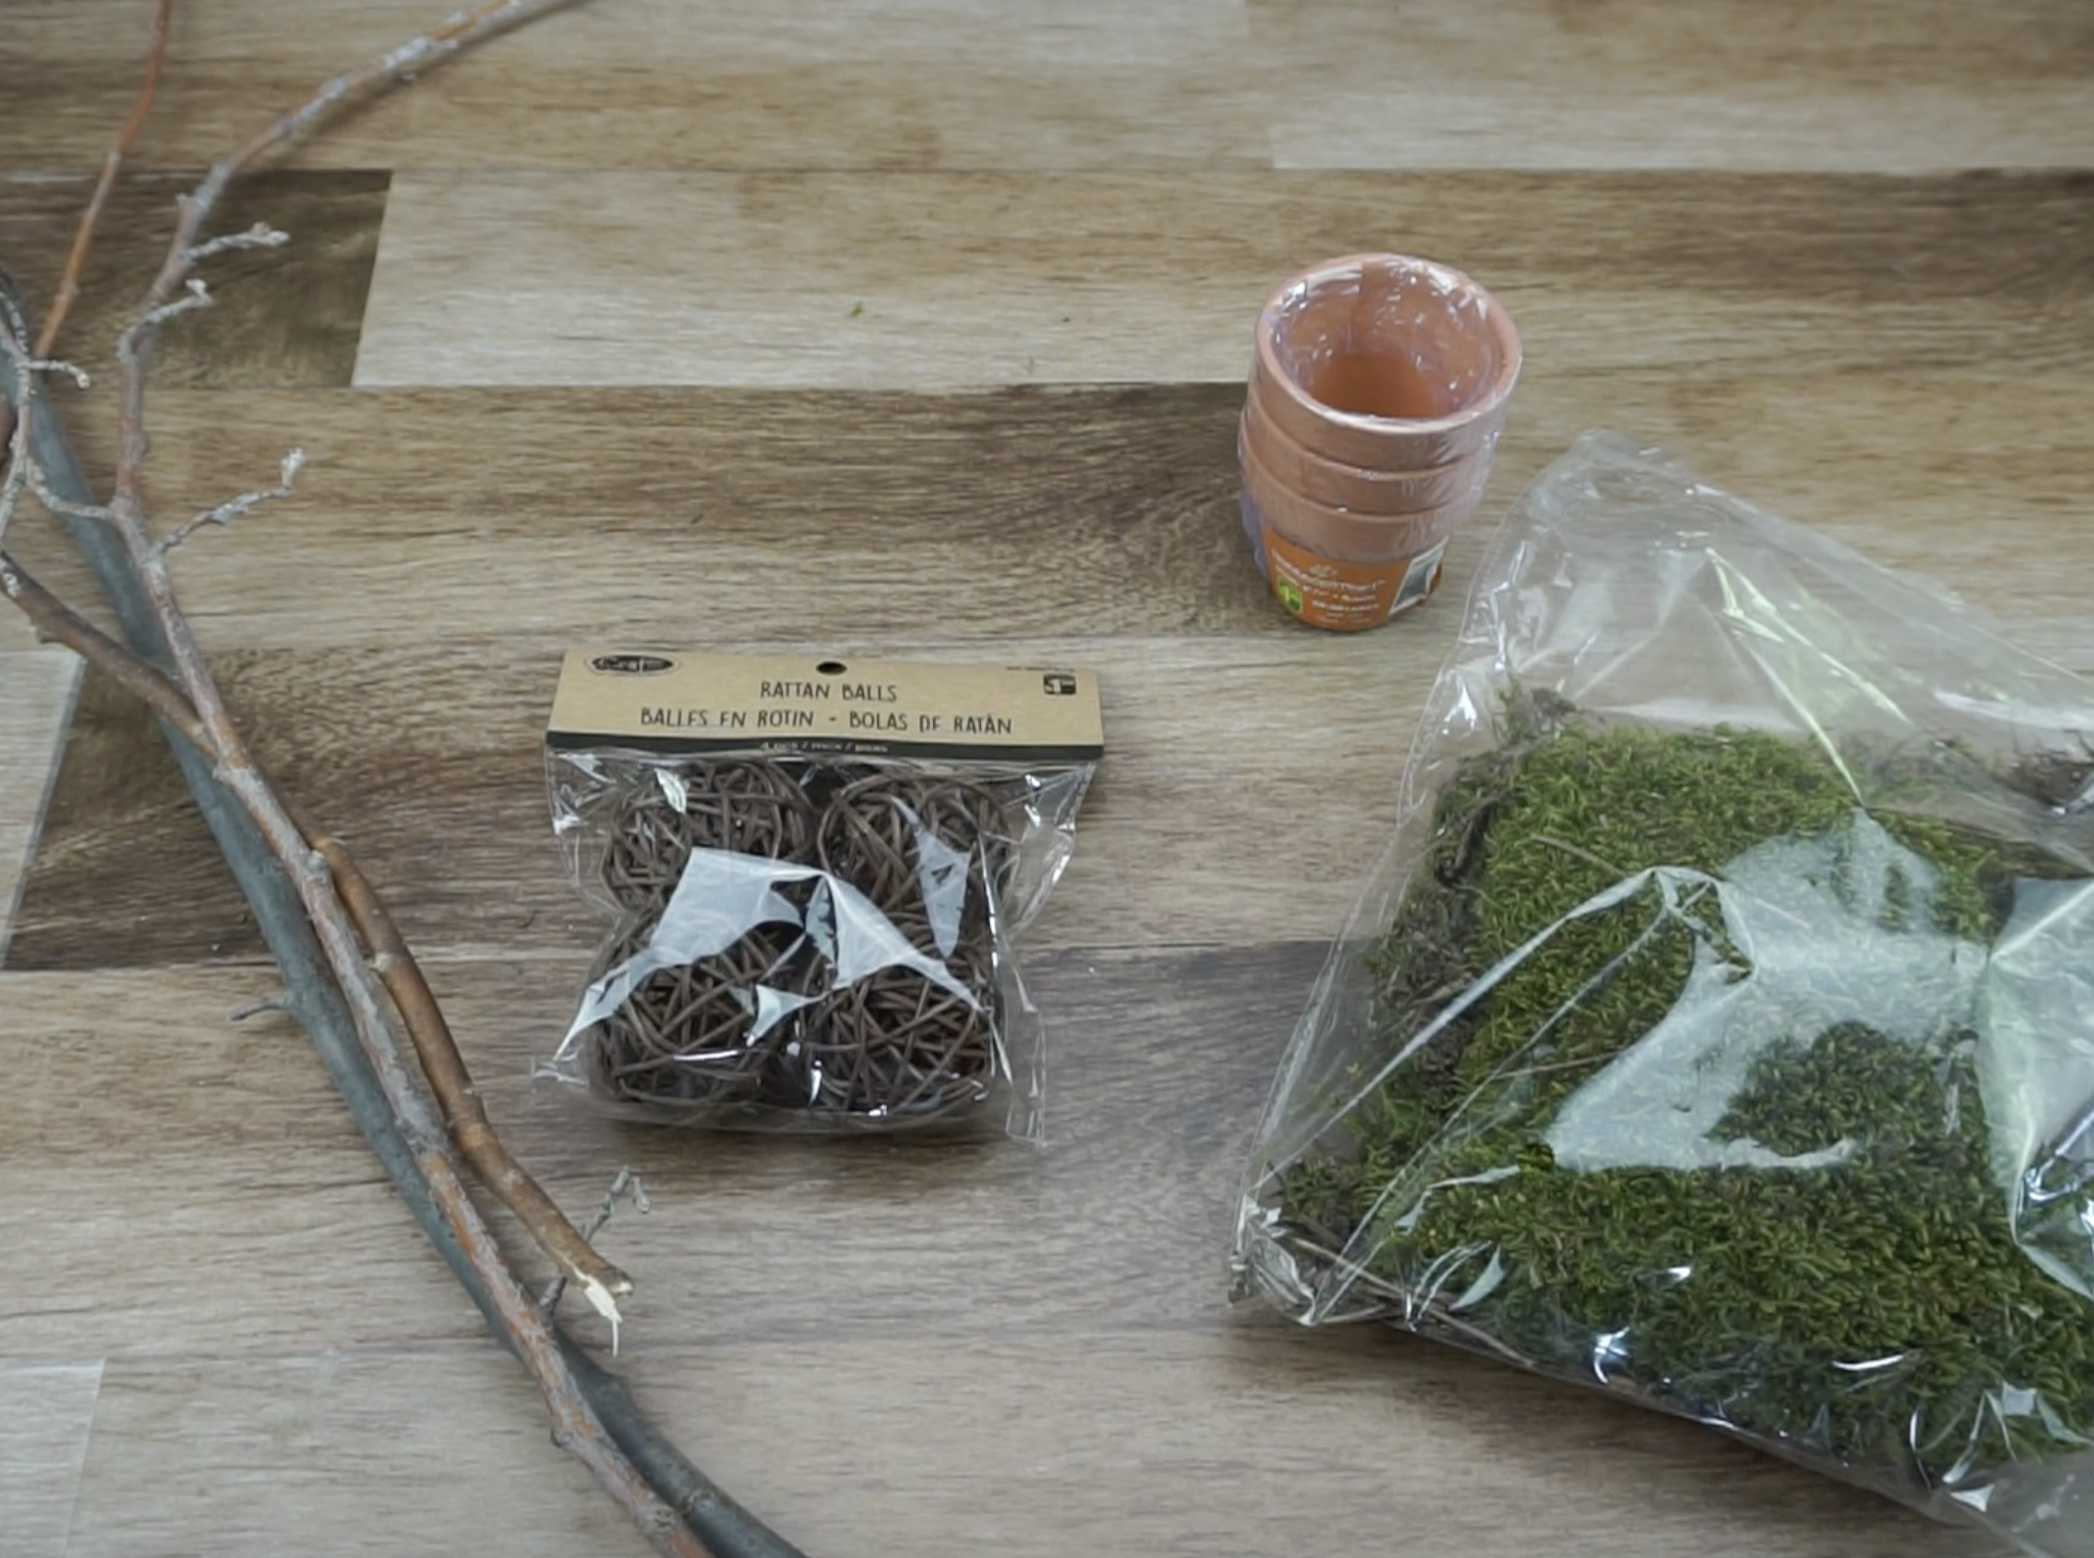
There are a few items that I added once I started creating so I will list the materials so that you can recreate this project, too!
Materials
- Branches
- Small rattan balls
- Faux moss
- Tiny terracotta pots
- Hot glue
- Vintage Effect Wash in White
- Vintage Effect Wash in Brown
- Scrap piece of styrofoam
- Ryobi Hot Glue gun (not a necessity but it makes DIYs and crafting so easier and much more fun!)
To begin this project, you start by painting your terra cotta pots. To create a paint washed effect, I used Vintage Effect Wash from DecoArt. I can’t say enough good things about this paint. You can use it to create a light and washed-out look. I have used it on wood but never terracotta and I have to say I quite pleased with the results.


To create the look, I did one coat of the white, let it dry.

Followed up by two coats of brown.
I did the first coat of brown, wiped it a bit with a cloth and let dry.

Then I did a second coat of brown and wiped again.

Last coat, was another coat of white, wipe and then let dry.

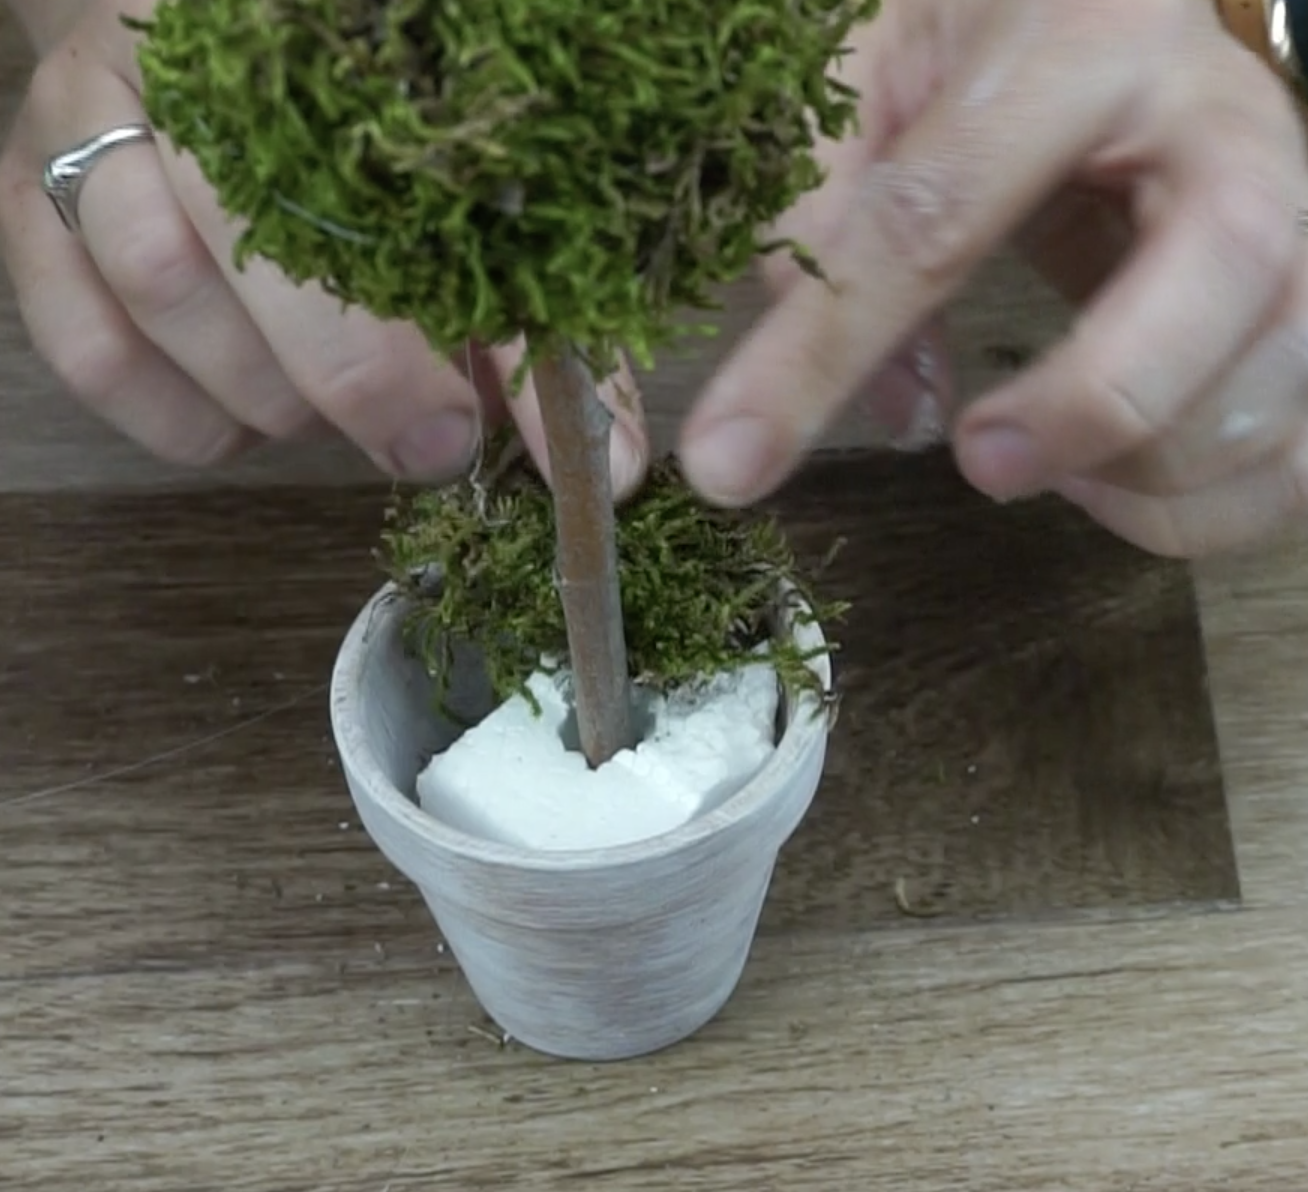
To create a base for my topiary, I found a scrap piece of styrofoam and cut it to fit the inside of the pot.


It doesn’t matter if the styrofoam is neat because you will be covering it anyway.
I cut a piece of a branch to my desired length and stuck it in the styrofoam. My styrofoam was quite thick, but if you are using a thinner styrofoam you can secure your branch with a bit of hot glue.
Next, I stuck the rattan ball onto the top of the stick and secured with hot glue.

Rattan balls are great because you can slide the stick right inside.


Time to stick on the faux moss! This is easiest if you do it in little pieces. You’ll have less waste, and you will end up with a more symmetrical round shape.

You can always trim off excess messy pieces.

After I had the whole ball covered in moss, I took the top of topiary and shaped and molded it in my hands to create a perfectly round shape. It’s best to do this right away while the glue is fresh because it will help stick down the flyaways.

Using more hot glue, I covered the base with more faux moss.
And tada…

Now obviously, I used faux moss instead of the boxwood leaves that the Micheals topiaries had but I like to put my own spin on things and shake it up!
Let me know what you think about this DIY in the comments below. Have you ever recreated something you saw in Michael’s? Let me know and please share your pics in the comments!
Here is the video so you can see these topiaries come to life!
If you like this project, make sure you pin this image so you can come back to it later!


2 COMMENTS
avila790
8 years agoSuch a great decor idea, so easy and inexpensive! love it.
La Puffer
8 years agoAwesome!