
This is a sponsored conversation written by me on behalf of Cricut. The opinions and text are all mine.
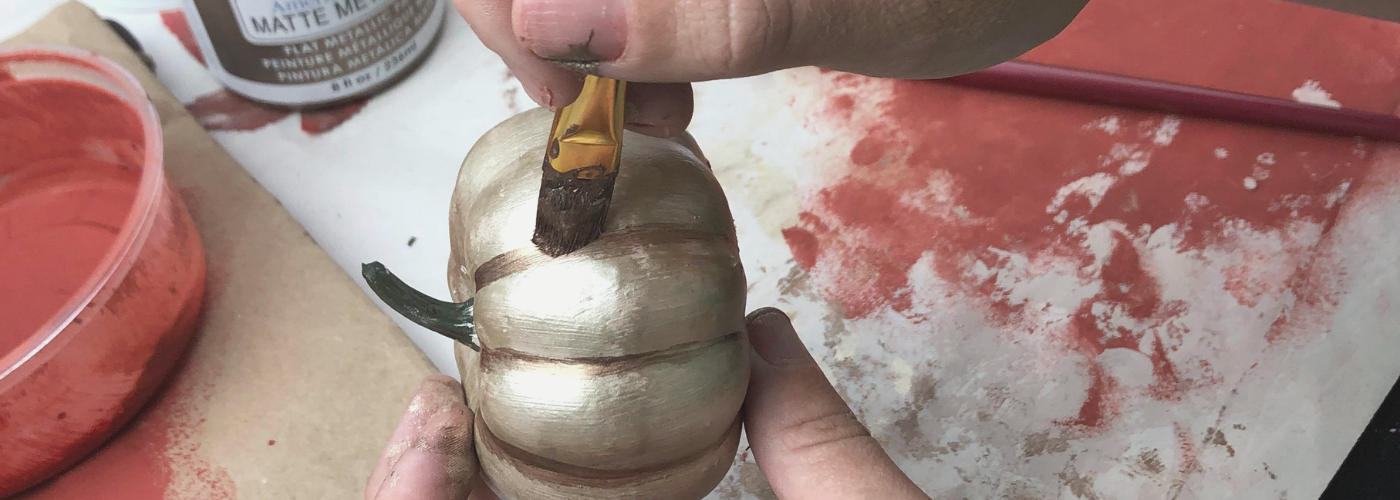
So guys, last week I shared with you all the ins and outs of the Scoring Wheel attachment for the Circut Maker. This week, I thought I should show you a really neat project you can make with your Scoring Wheel.

There are tons of amazing projects that you can create using the Scoring Wheel right from the list of projects available through Cricut Design Space or you can always come up with your own. With this unique tool, creating has never been easier.
Disclosure: This post is sponsored by Cricut. All opinions are my own. Also, this post contains affiliate links – should you choose to purchase through these links I make a small commission at no cost to you.
The project that I am going to share in this post is super easy and a great beginner project if this is your first time working with the Scoring Wheel. I like going through Design Space and creating from their list of projects because they lay everything out so that it is super easy to follow.

While browsing around in Design Space, I found this project for a Geometric Cardstock Vase. I love the simplicity and geometric lines of this vase but what I love most of all is that you can’t even tell that it’s made out of cardstock.
This project is available through a Cricut Access subscription. If you haven’t heard of Cricut Access and you’re a newbie. I highly suggest it. The subscription service will totally change how you craft with your Cricut.

Let’s get into the project!
This project is not only fun but it’s super easy and can be completed in under 30 mins! If you don’t have a Scoring Wheel, there’s no time like the present! Especially if you use my savings code HOLLYGRACE19. It will get you FREE SHIPPING and 10% off purchases over $50.
(Code cannot be combined with any other offer and is not valid on machines)
Materials
- Cricut Maker
- Single Scoring Wheel
- 12×24 Cricut Cardstock in colour of your choice (colour show in Cricut Design Space is Modern Mint)
- 12×24 Cricut cutting mat
- Glue
Step 1 – Cutting
- Load the project in Design Space.
** Note: You can change the size of the vase if you wish, but you must maintain the same proportions or it will not assemble correctly. Leave the size lock on when resizing this image.
- Insert the scoring wheel when prompted.

- Hit that flashing C and watch your machine score!


Step 2 – Assembly


- Fold along all the score lines, and familiarize yourself with how the vase fits together.

- The vase should have a natural curl to it at this point.

- Curl the vase around itself, so the two end panels meet. Glue them along this line, beneath the overlapping panel.


- Fold the side tabs of the base.

- Apply glue to the tabs, and slide the base into the bottom of the vase.

- Fold down the top rim of the vase. The small overlapping corners are where glue should go.

- After applying a small dot of glue to the corner, slip it beneath to make a mitered corner appearance.
- Repeat for the other four corners, and you’re finished!


There are so many possibilities for this vases. Try a different


If you LOVE this project, don’t forget to pin it!


Leave a Reply
Pingback: What is the difference between Cricut materials and their uses? • Holly Grace on January 17, 2019
1 COMMENT