This is a sponsored conversation written by me on behalf of Cricut. The opinions and text are all mine.

Hello friends! It’s almost March and that means that people will be starting to gear up for St. Patrick’s Day. I have never been a big fan of dying my hair green or smothering green face paint on but I do often think back to my daughter’s first St. Patrick’s Day and she had this adorable St. Patrick’s Day onesie.
Getting all nostalgic made me think that I should make another St. Patrick’s Day onesie and unfortunately, I don’t have any little ones that could squeeze into it but I do have a bunch of nieces and nephews that surely would love one!
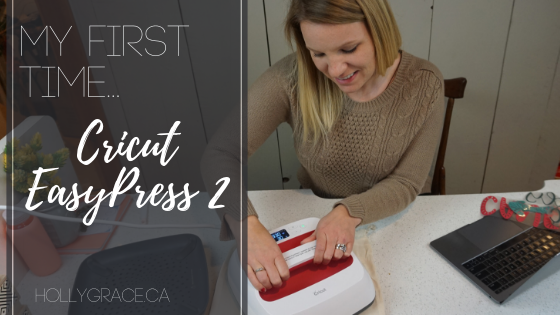
I made this onesie by using my Cricut Maker and my Cricut EasyPress 2. So without delay, let’s jump right into the project.
Disclosure: This post is sponsored by Cricut. All opinions are my own. Also, this post contains affiliate links – should you choose to purchase through these links I make a small commission at no cost to you.
For this project, I chose an image that I found in Design Space.
If you have Cricut Access you have access to over 60,000 images and 400 fonts. It’s well worth it in my mind. Being able to log on and have a bevy of images ready and at your disposal is more than worth it.


To complete this project, I used a white onesie, Glitter Iron On in green, black and gold. I used my EasyPress 2 and my Cricut Maker.

The other tool from Cricut that I just have to take a minute to brag about is their Self-Healing Mat that is 18″ x 24″ in size. This tool

I used to just size it up on my sticky mat but then the problem is is that the material always stuck where I didn’t want it to. I love just putting this mat down on my workspace and have a grid always handy.

Once I had all my pieces of iron on

Some people recommend the Strong Grip mat when working with Glitter Iron on but I find that when I use the XL scraper, I can get away with a Standard Grip — and a heavily used one at that. This Cricut mats support a lot of wear and tear.

Time to weed!


For a succesful seal when working with Heat Transfer it is imperrative that you heat your material surface with your EasyPress for a min of 5 seconds prior to putting on your Iron On design.

Another great tool that aids in acheiving a perferct transfer is using an EasyPress Mat, which you can see in the image above under the onesie. Not only does this mat protect your work surface, it allows for better adhesion — not to mention they’re on sale right now so get them while they’re hot!

Cricut makes things super easy for its crafters by providing an interactive webpage where you can input your information about your project and it will tell you the exact time and temperature to set your EasyPress to. Check it out in action by watching this quick video.

Here’s another great tip – make sure that after you are done pressing on your image, you flip your onesie and press it from the back as well.

And voila!!


So there it is guys! A cute little onesie made easy with a little help from Cricut.
If you like this project, make sure you share and don’t forget to PIN it!

Have a thought about this project? Leave your comments below!
If you want to recreate this project here is everything that you need:
Cricut Maker
Cricut EasyPress2
Cricut EasyPress Mat
Cricut Self Healing Mat
Cricut XL Scraper
Cricut Tool Set
Glitter Iron On Gold
Glitter Iron On Black
Glitter Iron On Green
Onesie


Leave a Reply