I had a lot of fun messing around today with my Cricut EasyPress 2 so I thought I would share some details and my experience with this incredible piece of machinery.
If you caught my last post where I reviewed the Cricut Maker, you would know that I have been a Cricut user for quite a while now but I haven’t used the Cricut EasyPress before. So this was a brand new experience for me and something that I have wanted to try out for a while.
Disclosure: This post is sponsored by Cricut. All opinions are my own. Also, this post contains affiliate links – should you choose to purchase through these links I make a small commission at no cost to you.
I have a large heat press that I love but I have always been intrigued by the Cricut EasyPress. Does it heat up faster? Is it easier to use? These are all questions that I asked myself.
The mystery has been solved. Let’s get right into it!
First off, I will start by saying that this machine is beyond user-friendly. Even the most inexperienced of crafters will have no problem using this baby — my husband could even figure it out if he wanted to and trust me he has no crafting experience. 😉

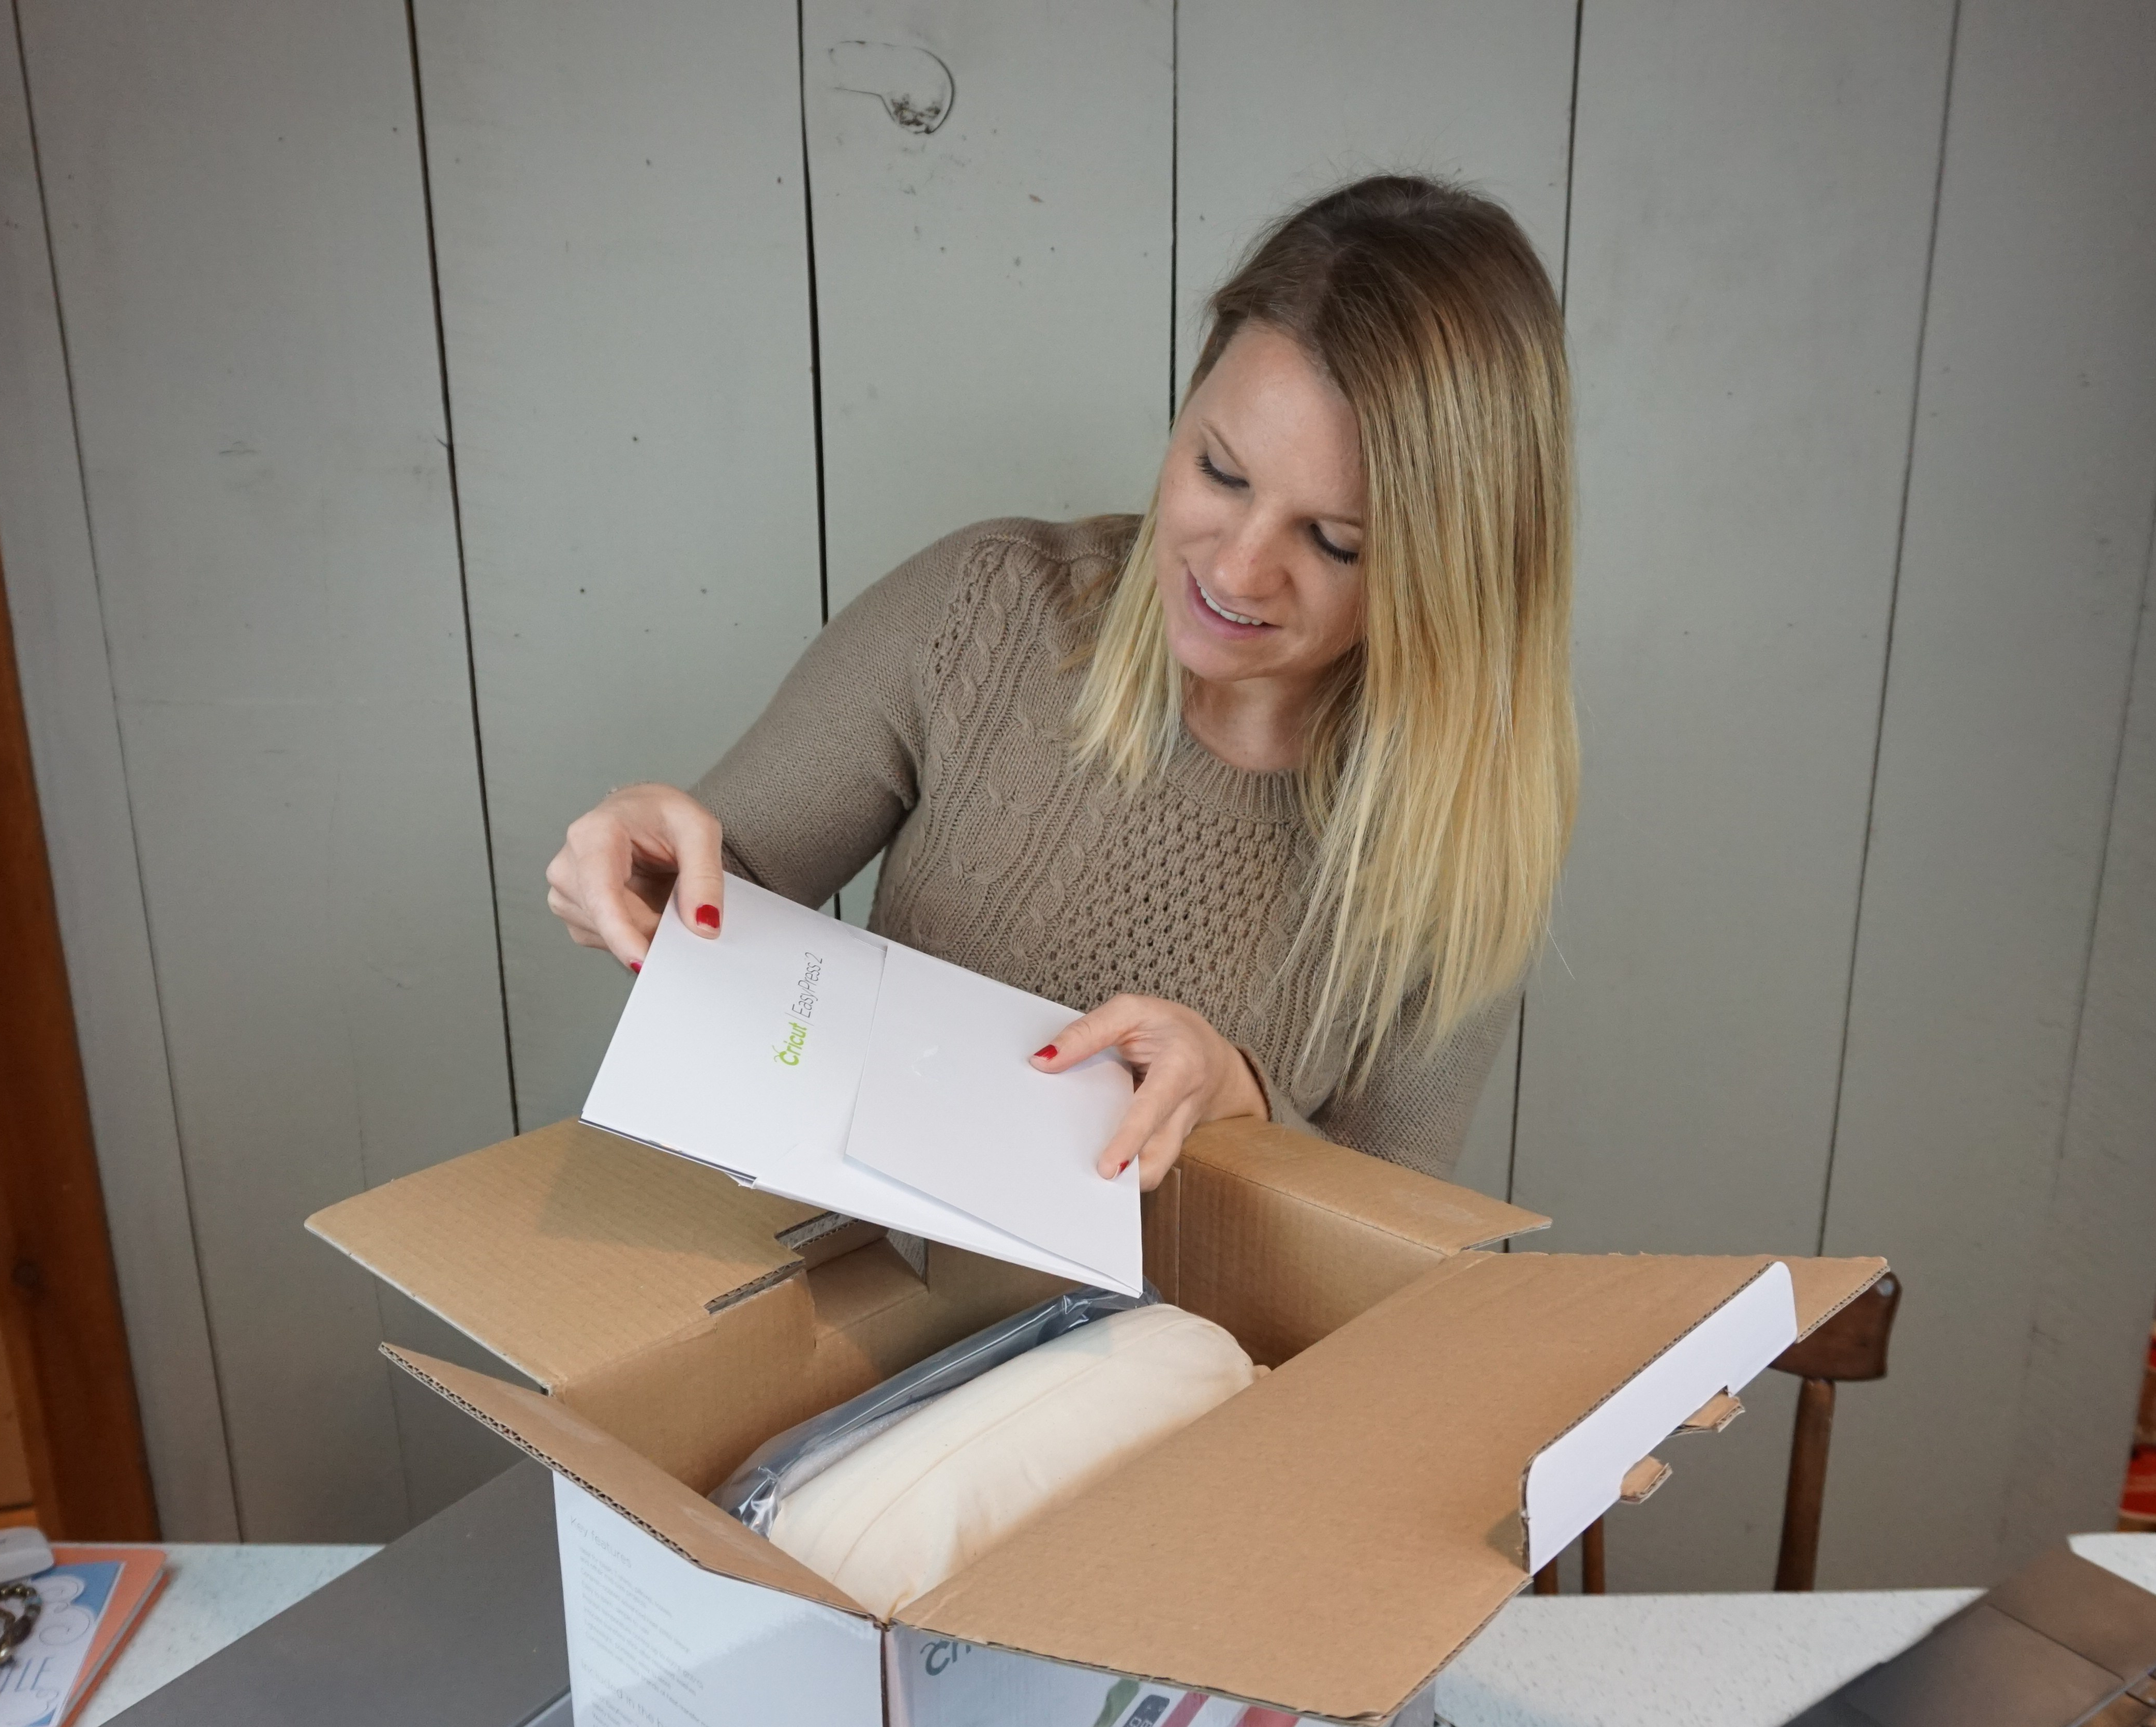
The EasyPress 2 comes with the EasyPress, (the size that I have is 9×9 but there are other sizes to suit all your crafting needs) a dock to set it on when it’s not in use, a canvas bag, and a sample project.
In this post, I am going to show you the making of the sample project. There is a helpful user guide in the box that will get you started.
I highly suggest downloading or even printing out the temperature chart provided by Cricut. I printed it out and put it right next to my craft desk so that I always have it handy.
For the sample project, Cricut provides you with a pre-cut Cricut “C” — so cute! As mentioned above, there is a canvas bag included for storing your EasyPress and also gives you a canvas to press your “C” onto.

You don’t necessarily have to do this but I think it’s super cute and adds a nice touch to the bag but if you want to save your “C” for something else, you totally can!

The great thing about the EasyPress is the perfectly even heat from edge to edge. Its lightweight design makes it super easy to handle and takes all the guesswork out of pressing heat transfer materials.
It’s very important that you always begin your heat press projects by pressing the material for approximately 15 seconds before applying your design.

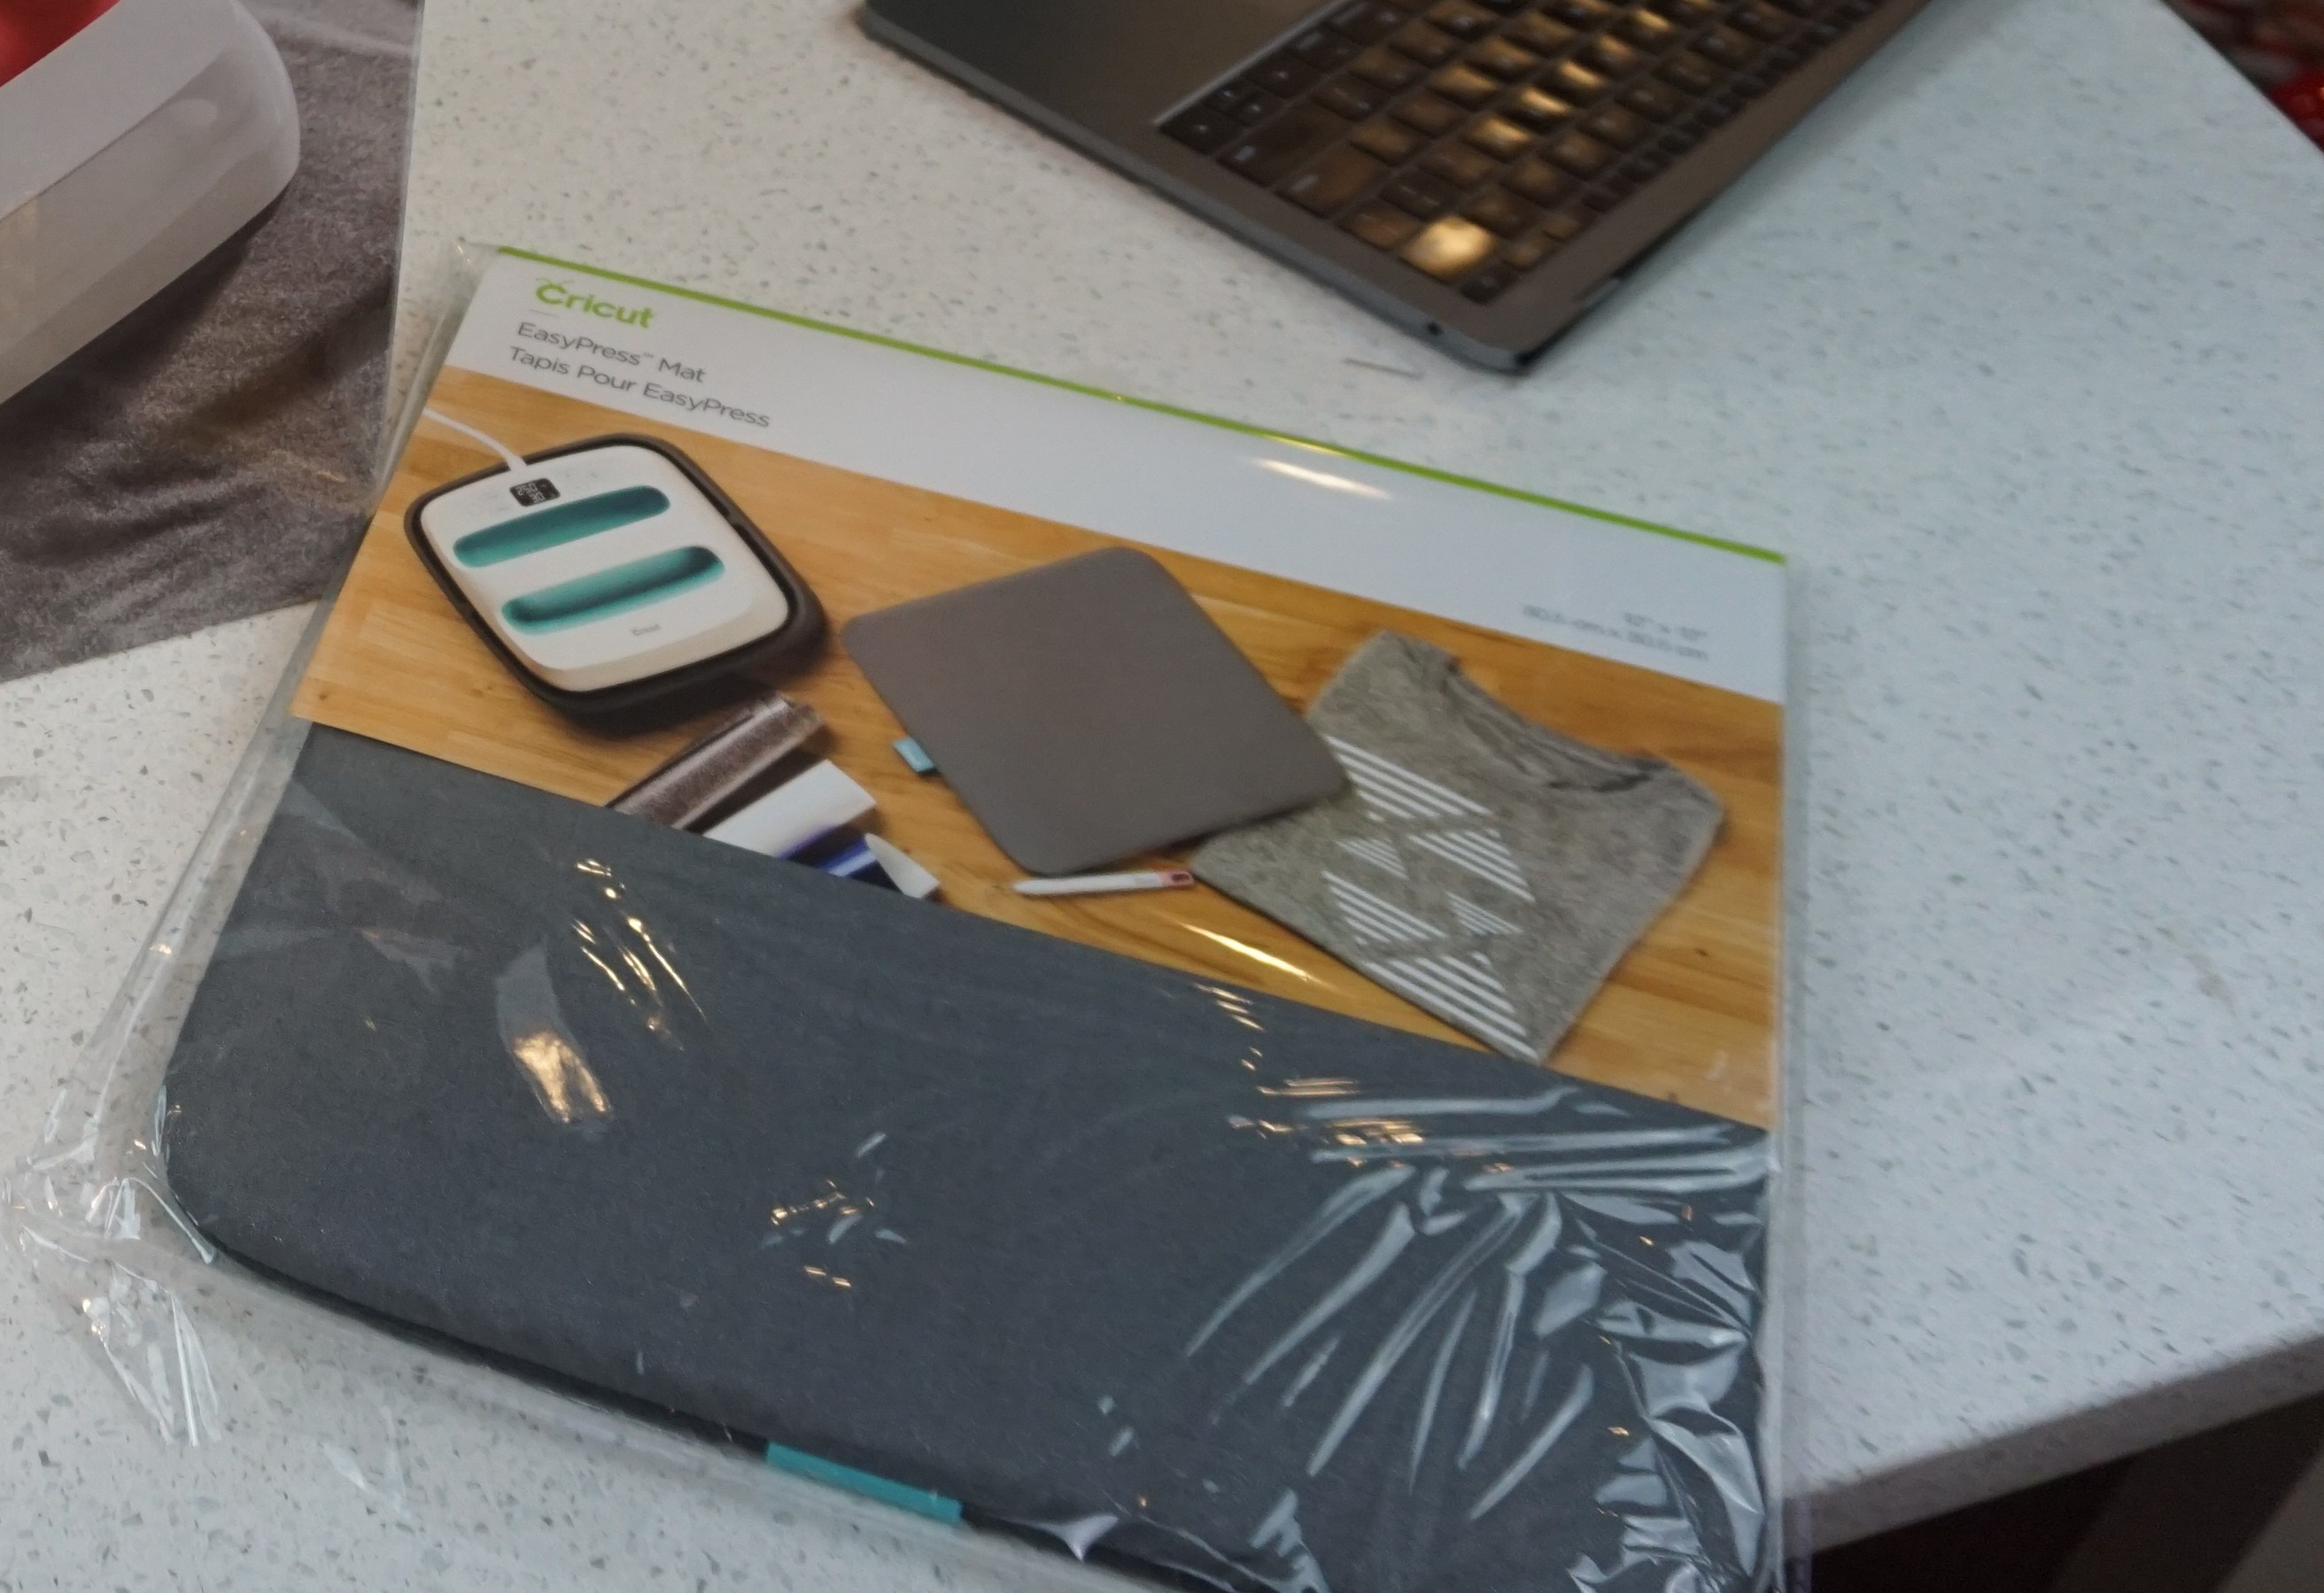
Underneath my material is the EasyPress Mat. This perfect mat protects my work surface, as well as eliminates moisture and directs heat to the iron-on design. Just like the EasyPress, this mat comes in different sizes to match your EasyPress.

The temperature and timer controls are super easy to switch and adjust making any kind of project a breeze.
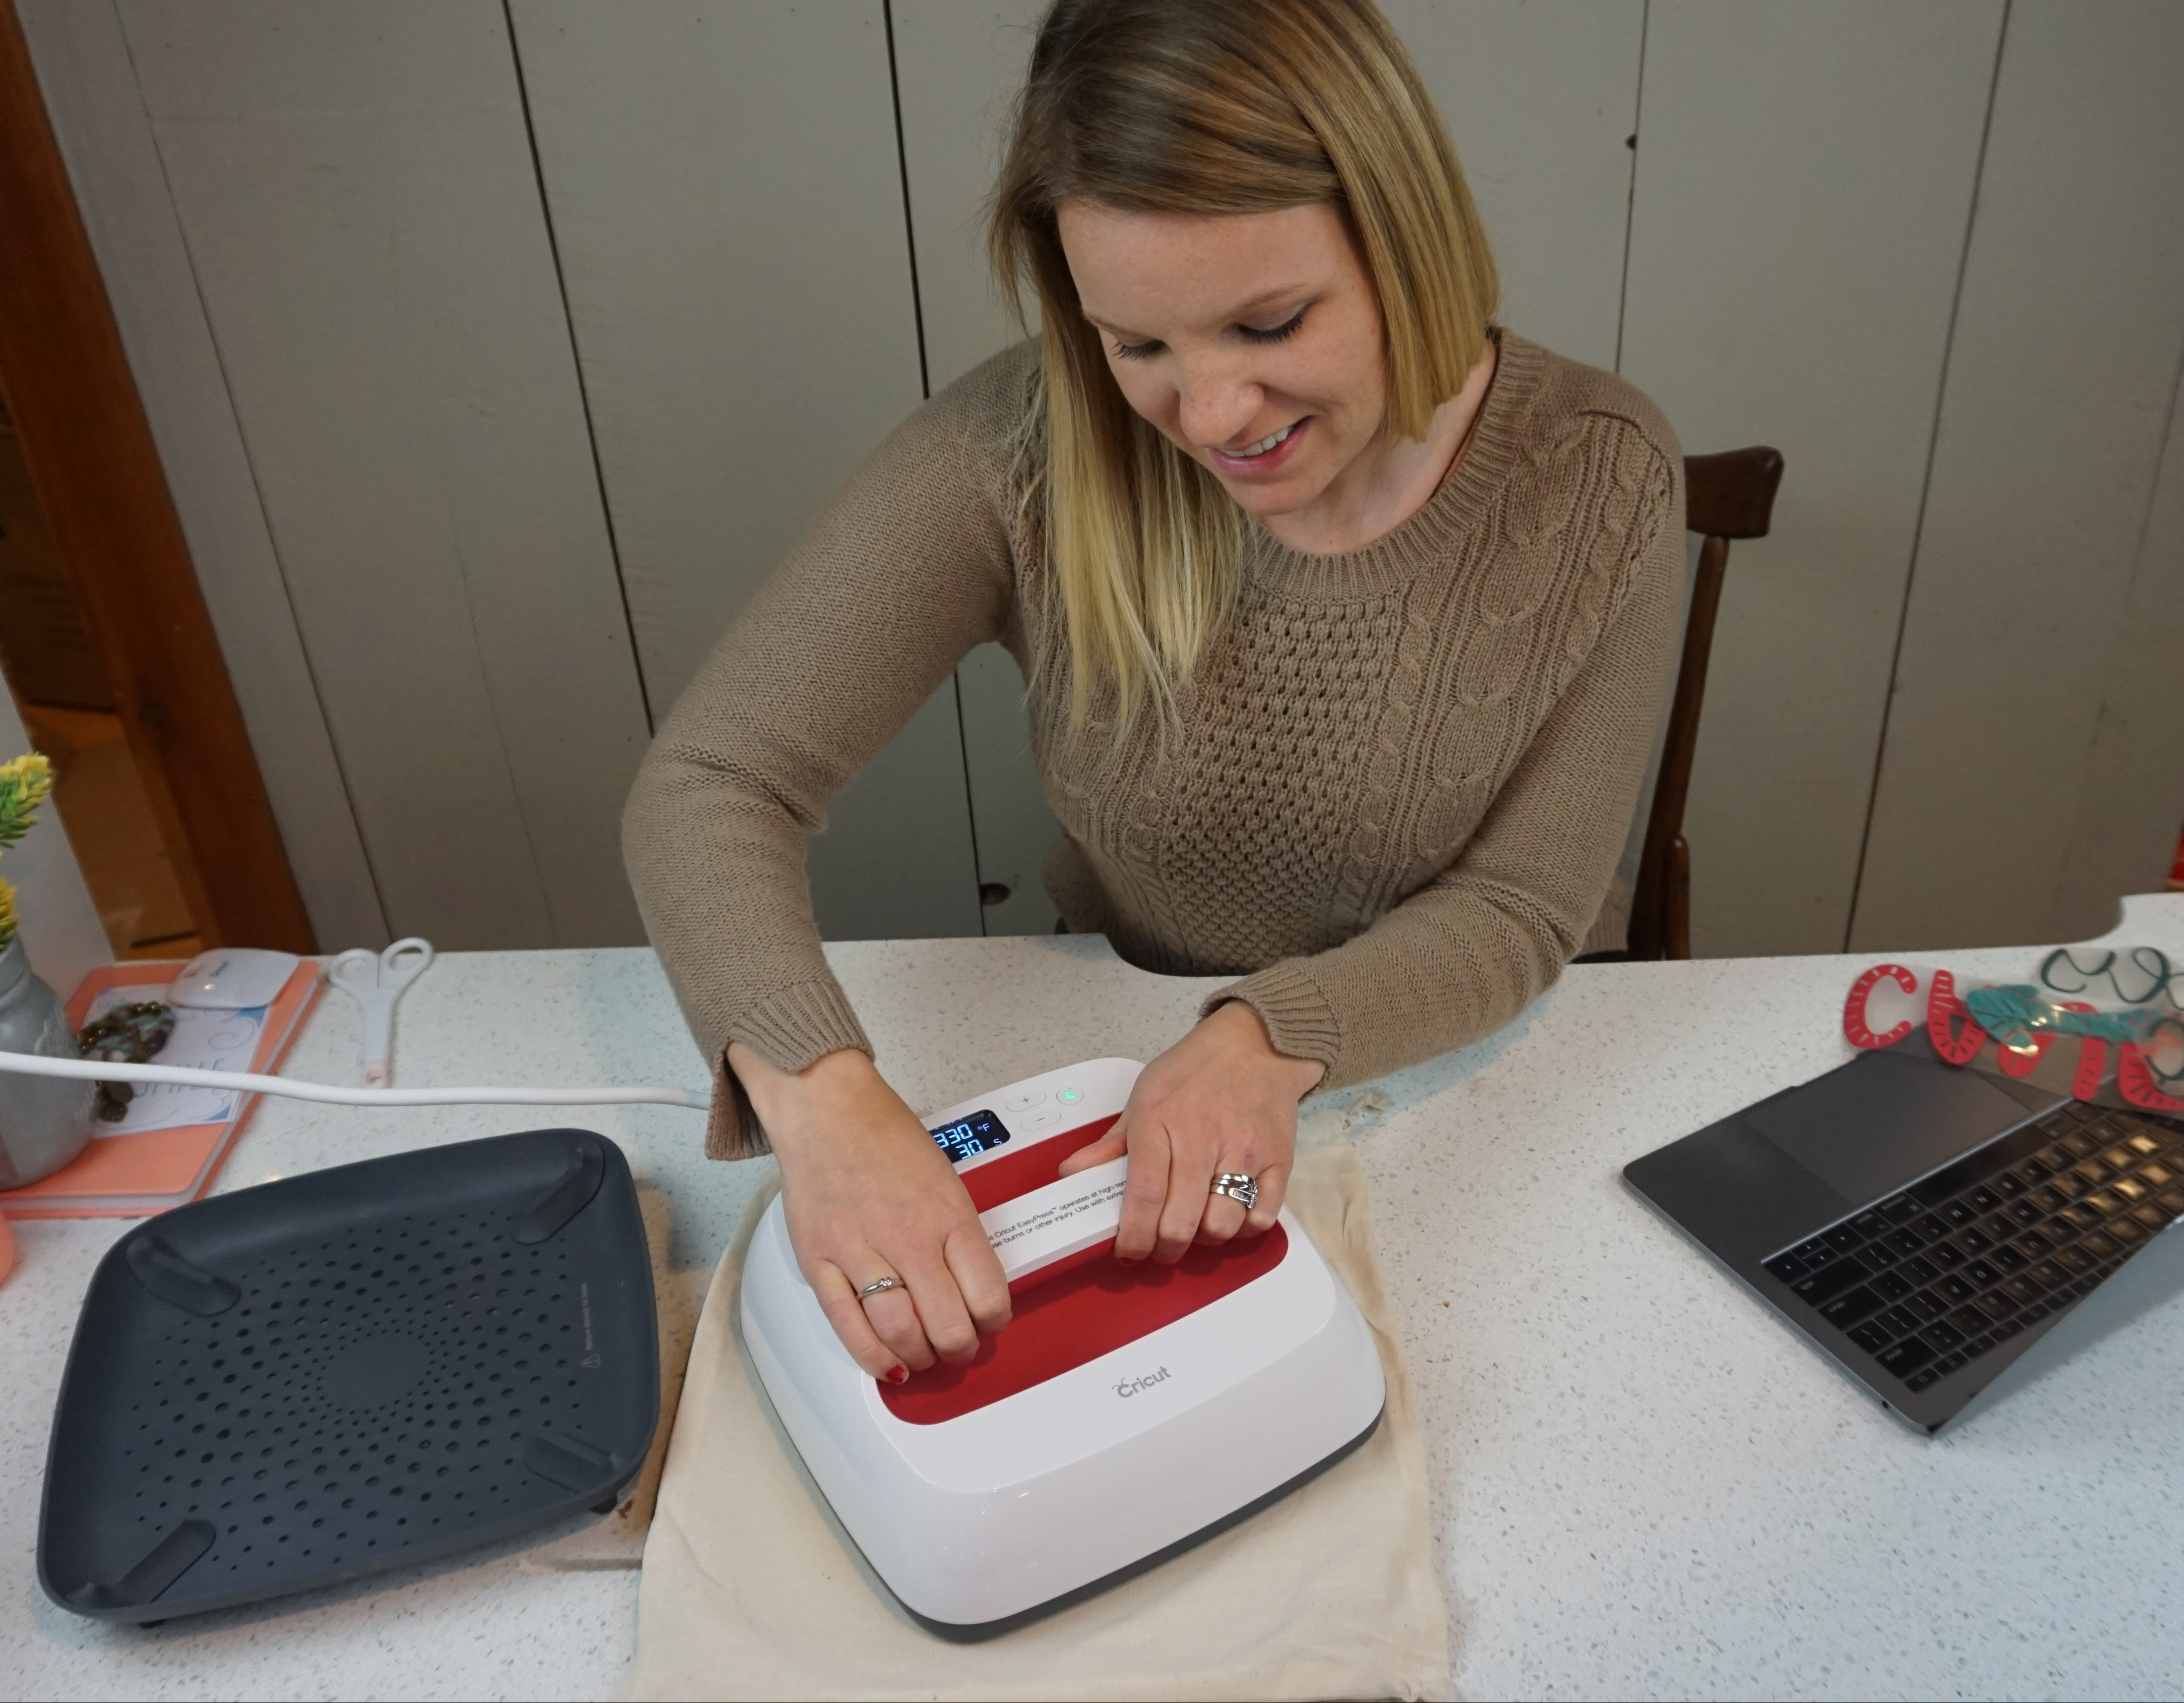
Since the folks at Cricut are kind enough to already cut the applique, all I had to do was place it on the canvas bag, set the temp and time (30 secs at 330F) and press the flashing Cricut “C”.
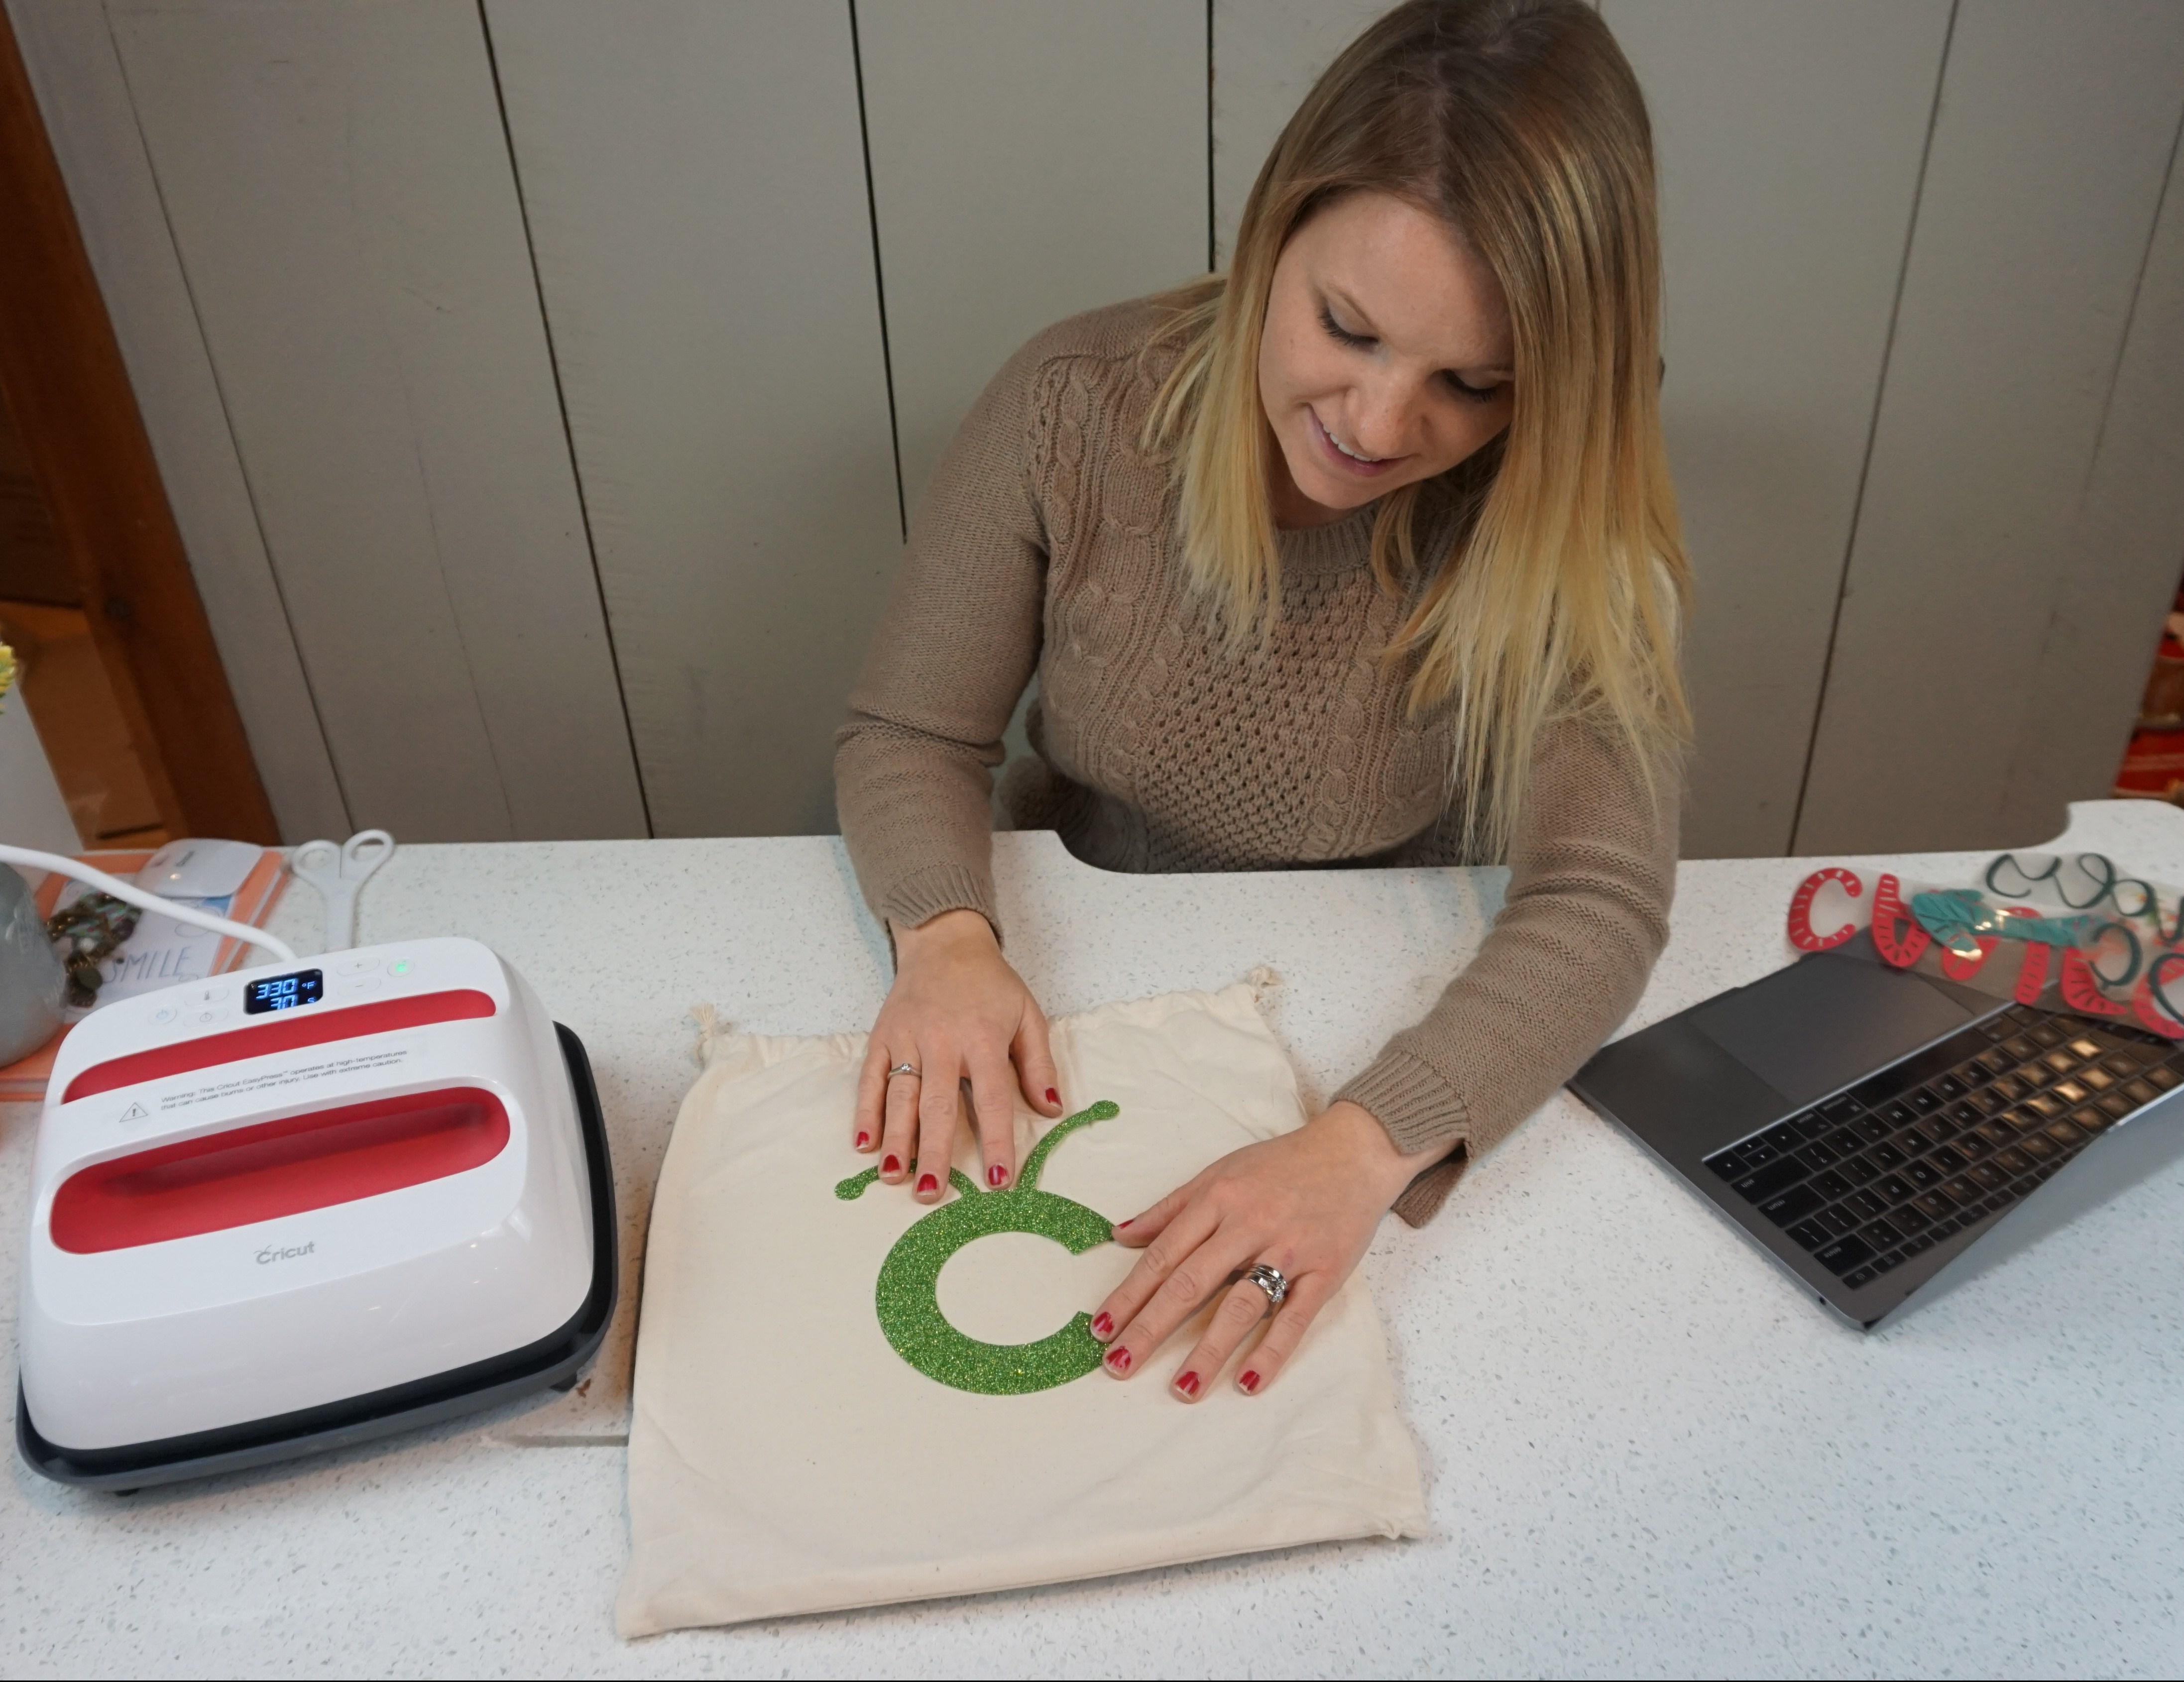
Placing the EasyPress over the project is easy and all you have to do is apply a bit of light pressure and wait for the beep. It really is that simple.


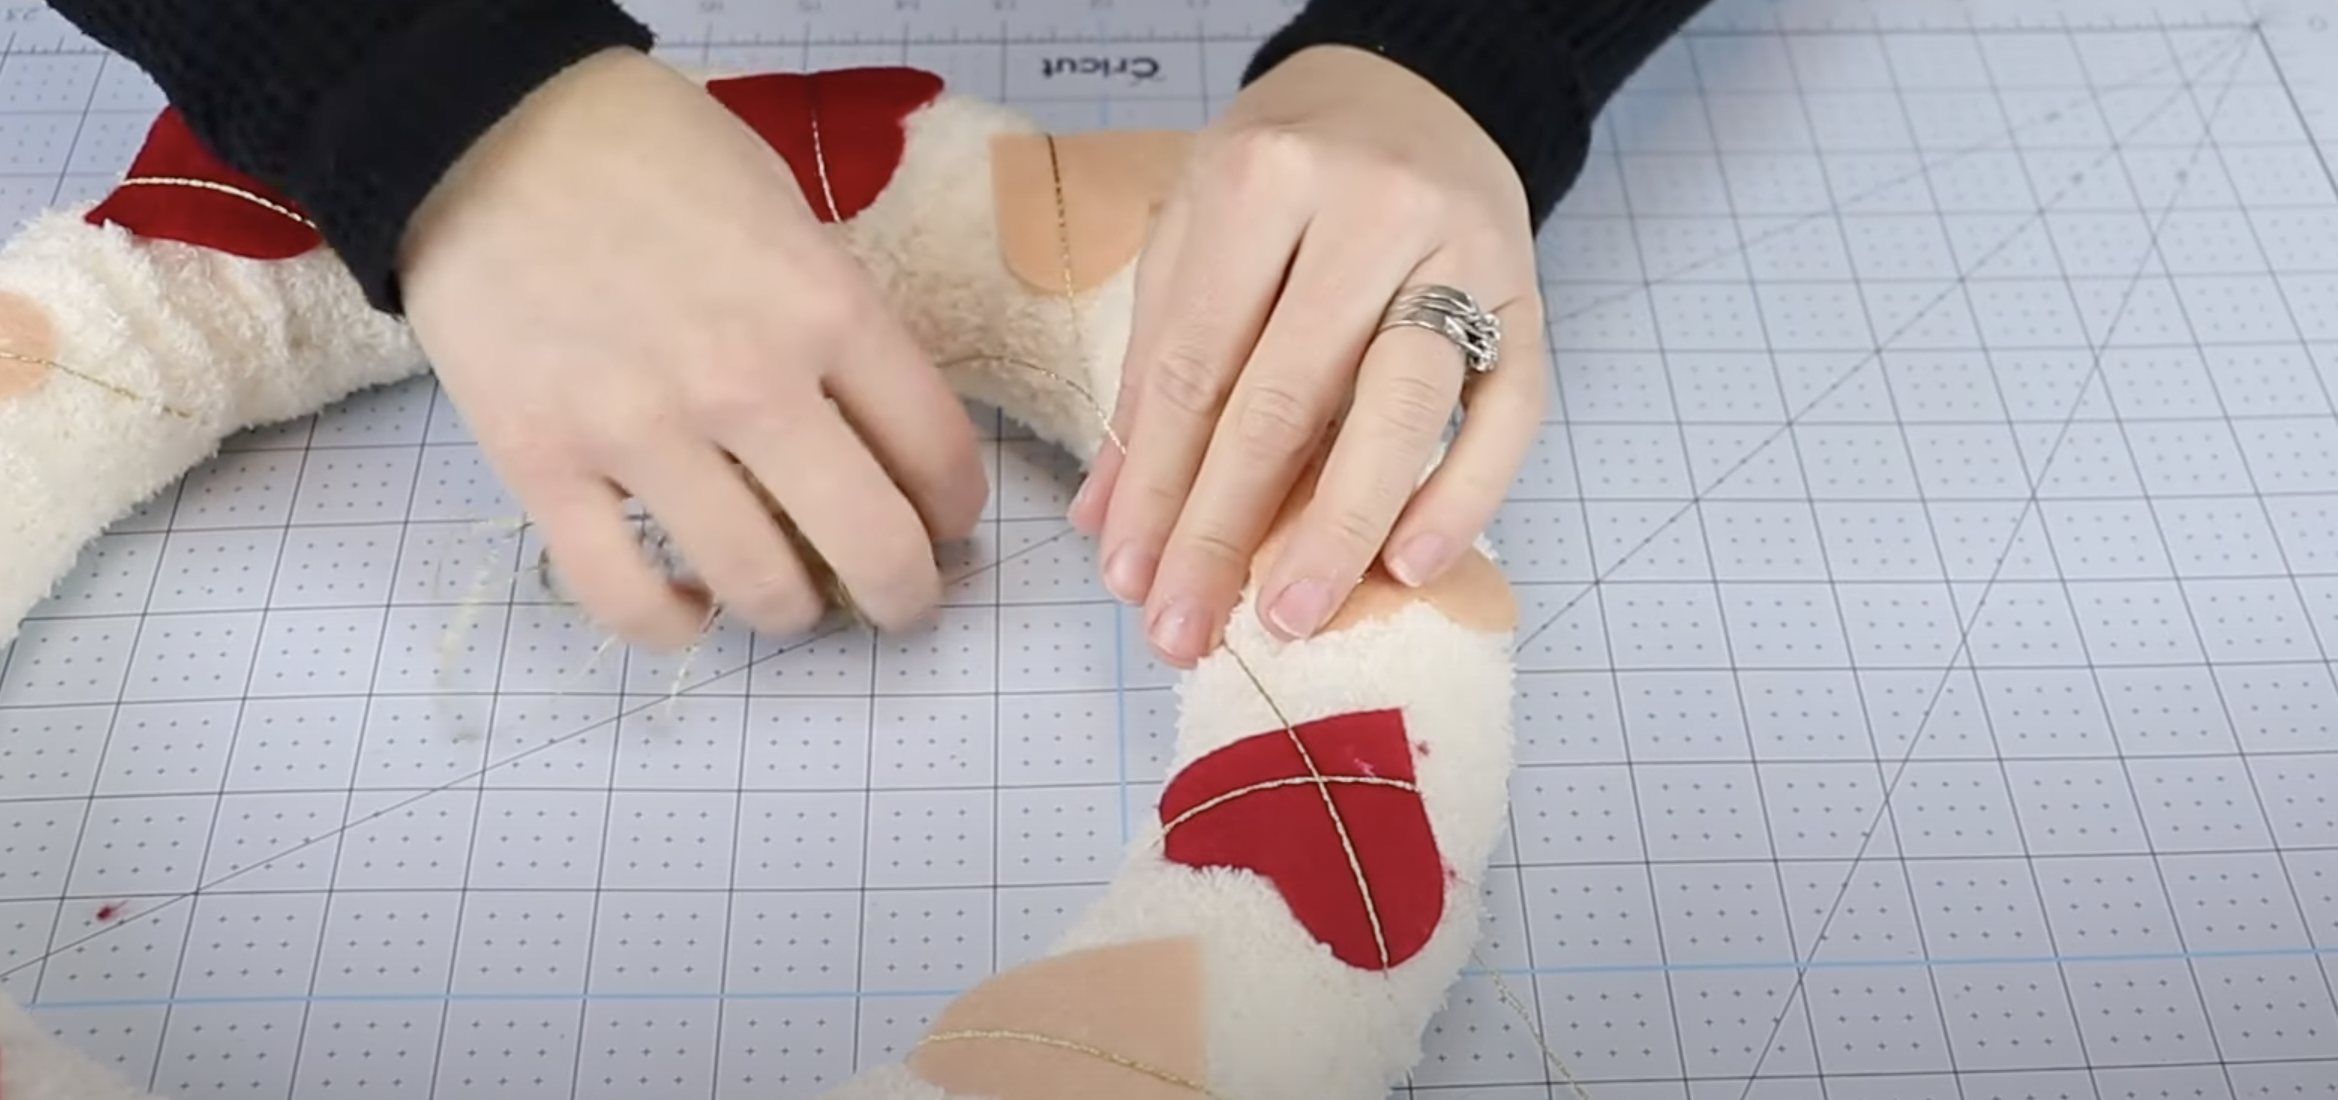
This is something new I learned from reading the manual that came with the EasyPress AND it is very important to a successful transfer. Always make sure that you flip your project over and press the backside for the recommended amount of time.
Another thing to check for is if your material is a warm or cool peel — you can find this info for the material you are using on the chart I linked above earlier.

This sample project is perfect for getting your feet wet with this new toy!


You know what else is great about the EasyPress 2? It makes an amazing Christmas gift!!

After I was done the sample project, I didn’t want to put the EasyPress away! We built a larger than life gingerbread house at my store and I wanted some banners that would hang down from the ceiling. This was just the job for the EasyPress.


Seriously, the project possibilities with this machine are endless. I can’t wait to dive into my next project!
If you have an EasyPress share your experiences and projects below. If you have always wanted one, comment below what you would create.
This is a sponsored conversation written by me on behalf of Cricut. The opinions and text are all mine.

I had a lot of fun messing around today with my Cricut EasyPress 2 so I thought I would share some details and my experience with this incredible piece of machinery.
If you caught my last post where I reviewed the Cricut Maker, you would know that I have been a Cricut user for quite a while now but I haven’t used the Cricut EasyPress before. So this was a brand new experience for me and something that I have wanted to try out for a while.
Disclosure: This post is sponsored by Cricut. All opinions are my own. Also, this post contains affiliate links – should you choose to purchase through these links I make a small commission at no cost to you.
I have a large heat press that I love but I have always been intrigued by the Cricut EasyPress. Does it heat up faster? Is it easier to use? These are all questions that I asked myself.
The mystery has been solved. Let’s get right into it!
First off, I will start by saying that this machine is beyond user-friendly. Even the most inexperienced of crafters will have no problem using this baby — my husband could even figure it out if he wanted to and trust me he has no crafting experience. 😉

The EasyPress 2 comes with the EasyPress, (the size that I have is 9×9 but there are other sizes to suit all your crafting needs) a dock to set it on when it’s not in use, a canvas bag, and a sample project.
In this post, I am going to show you the making of the sample project. There is a helpful user guide in the box that will get you started.

I highly suggest downloading or even printing out the temperature chart provided by Cricut. I printed it out and put it right next to my craft desk so that I always have it handy.
For the sample project, Cricut provides you with a pre-cut Cricut “C” — so cute! As mentioned above, there is a canvas bag included for storing your EasyPress and also gives you a canvas to press your “C” onto.

You don’t necessarily have to do this but I think it’s super cute and adds a nice touch to the bag but if you want to save your “C” for something else, you totally can!

The great thing about the EasyPress is the perfectly even heat from edge to edge. Its lightweight design makes it super easy to handle and takes all the guesswork out of pressing heat transfer materials.
It’s very important that you always begin your heat press projects by pressing the material for approximately 15 seconds before applying your design.

Underneath my material is the EasyPress Mat. This perfect mat protects my work surface, as well as eliminates moisture and directs heat to the iron-on design. Just like the EasyPress, this mat comes in different sizes to match your EasyPress.


The temperature and timer controls are super easy to switch and adjust making any kind of project a breeze.
Since the folks at Cricut are kind enough to already cut the applique, all I had to do was place it on the canvas bag, set the temp and time (30 secs at 330F) and press the flashing Cricut “C”.

Placing the EasyPress over the project is easy and all you have to do is apply a bit of light pressure and wait for the beep. It really is that simple.


This is something new I learned from reading the manual that came with the EasyPress AND it is very important to a successful transfer. Always make sure that you flip your project over and press the backside for the recommended amount of time.

Another thing to check for is if your material is a warm or cool peel — you can find this info for the material you are using on the chart I linked above earlier.

This sample project is perfect for getting your feet wet with this new toy!


You know what else is great about the EasyPress 2? It makes an amazing Christmas gift!!

After I was done the sample project, I didn’t want to put the EasyPress away! We built a larger than life gingerbread house at my store and I wanted some banners that would hang down from the ceiling. This was just the job for the EasyPress.


Seriously, the project possibilities with this machine are endless. I can’t wait to dive into my next project!
If you have an EasyPress share your experiences and projects below. If you have always wanted one, comment below what you would create.
This is a sponsored conversation written by me on behalf of Cricut. The opinions and text are all mine.


Leave a Reply