This is a sponsored conversation written by me on behalf of Cricut. The opinions and text are all mine.
Well, guys, the end of summer is quickly looming towards us. I am not sure where the summer went or why it always goes so fast but I do know that the end of summer means it’s time to go back to school shopping.

I wanted to take a minute and share a super cool Cricut project with you all. Having a Cricut Maker means that I have the freedom to personalize and deck out my kid’s back to school supplies however I see fit — that’s a pretty spectacular thing. The Maker is the ultimate easy personalization tool for all things back to school.
Disclosure: This post is sponsored by Cricut. All opinions are my own. Also, this post contains affiliate links – should you choose to purchase through these links I make a small commission at no cost to you.
When you visit the Cricut website, they have all kinds of pretty Patterned Iron-On. Lots to choose from so that you can take a boring old backpack or lunch pail and dress it up nice for your kids.
My son is a huge Star Wars fan (as am I) so I thought it would be nice this year, to make him something and as luck would have it, Cricut has tons of snazzy Star Wars Iron-On.
Take a look and see what I came up with. If your new to all this or don’t yet have a Cricut Maker or any Cricut cutting machine for that matter, there’s no time like the present.
Seriously. NO TIME. Owning a Cricut cutting machine can open up a whole world of possibilities for you. You can check out more about Cricut here.
Let’s get into the project.

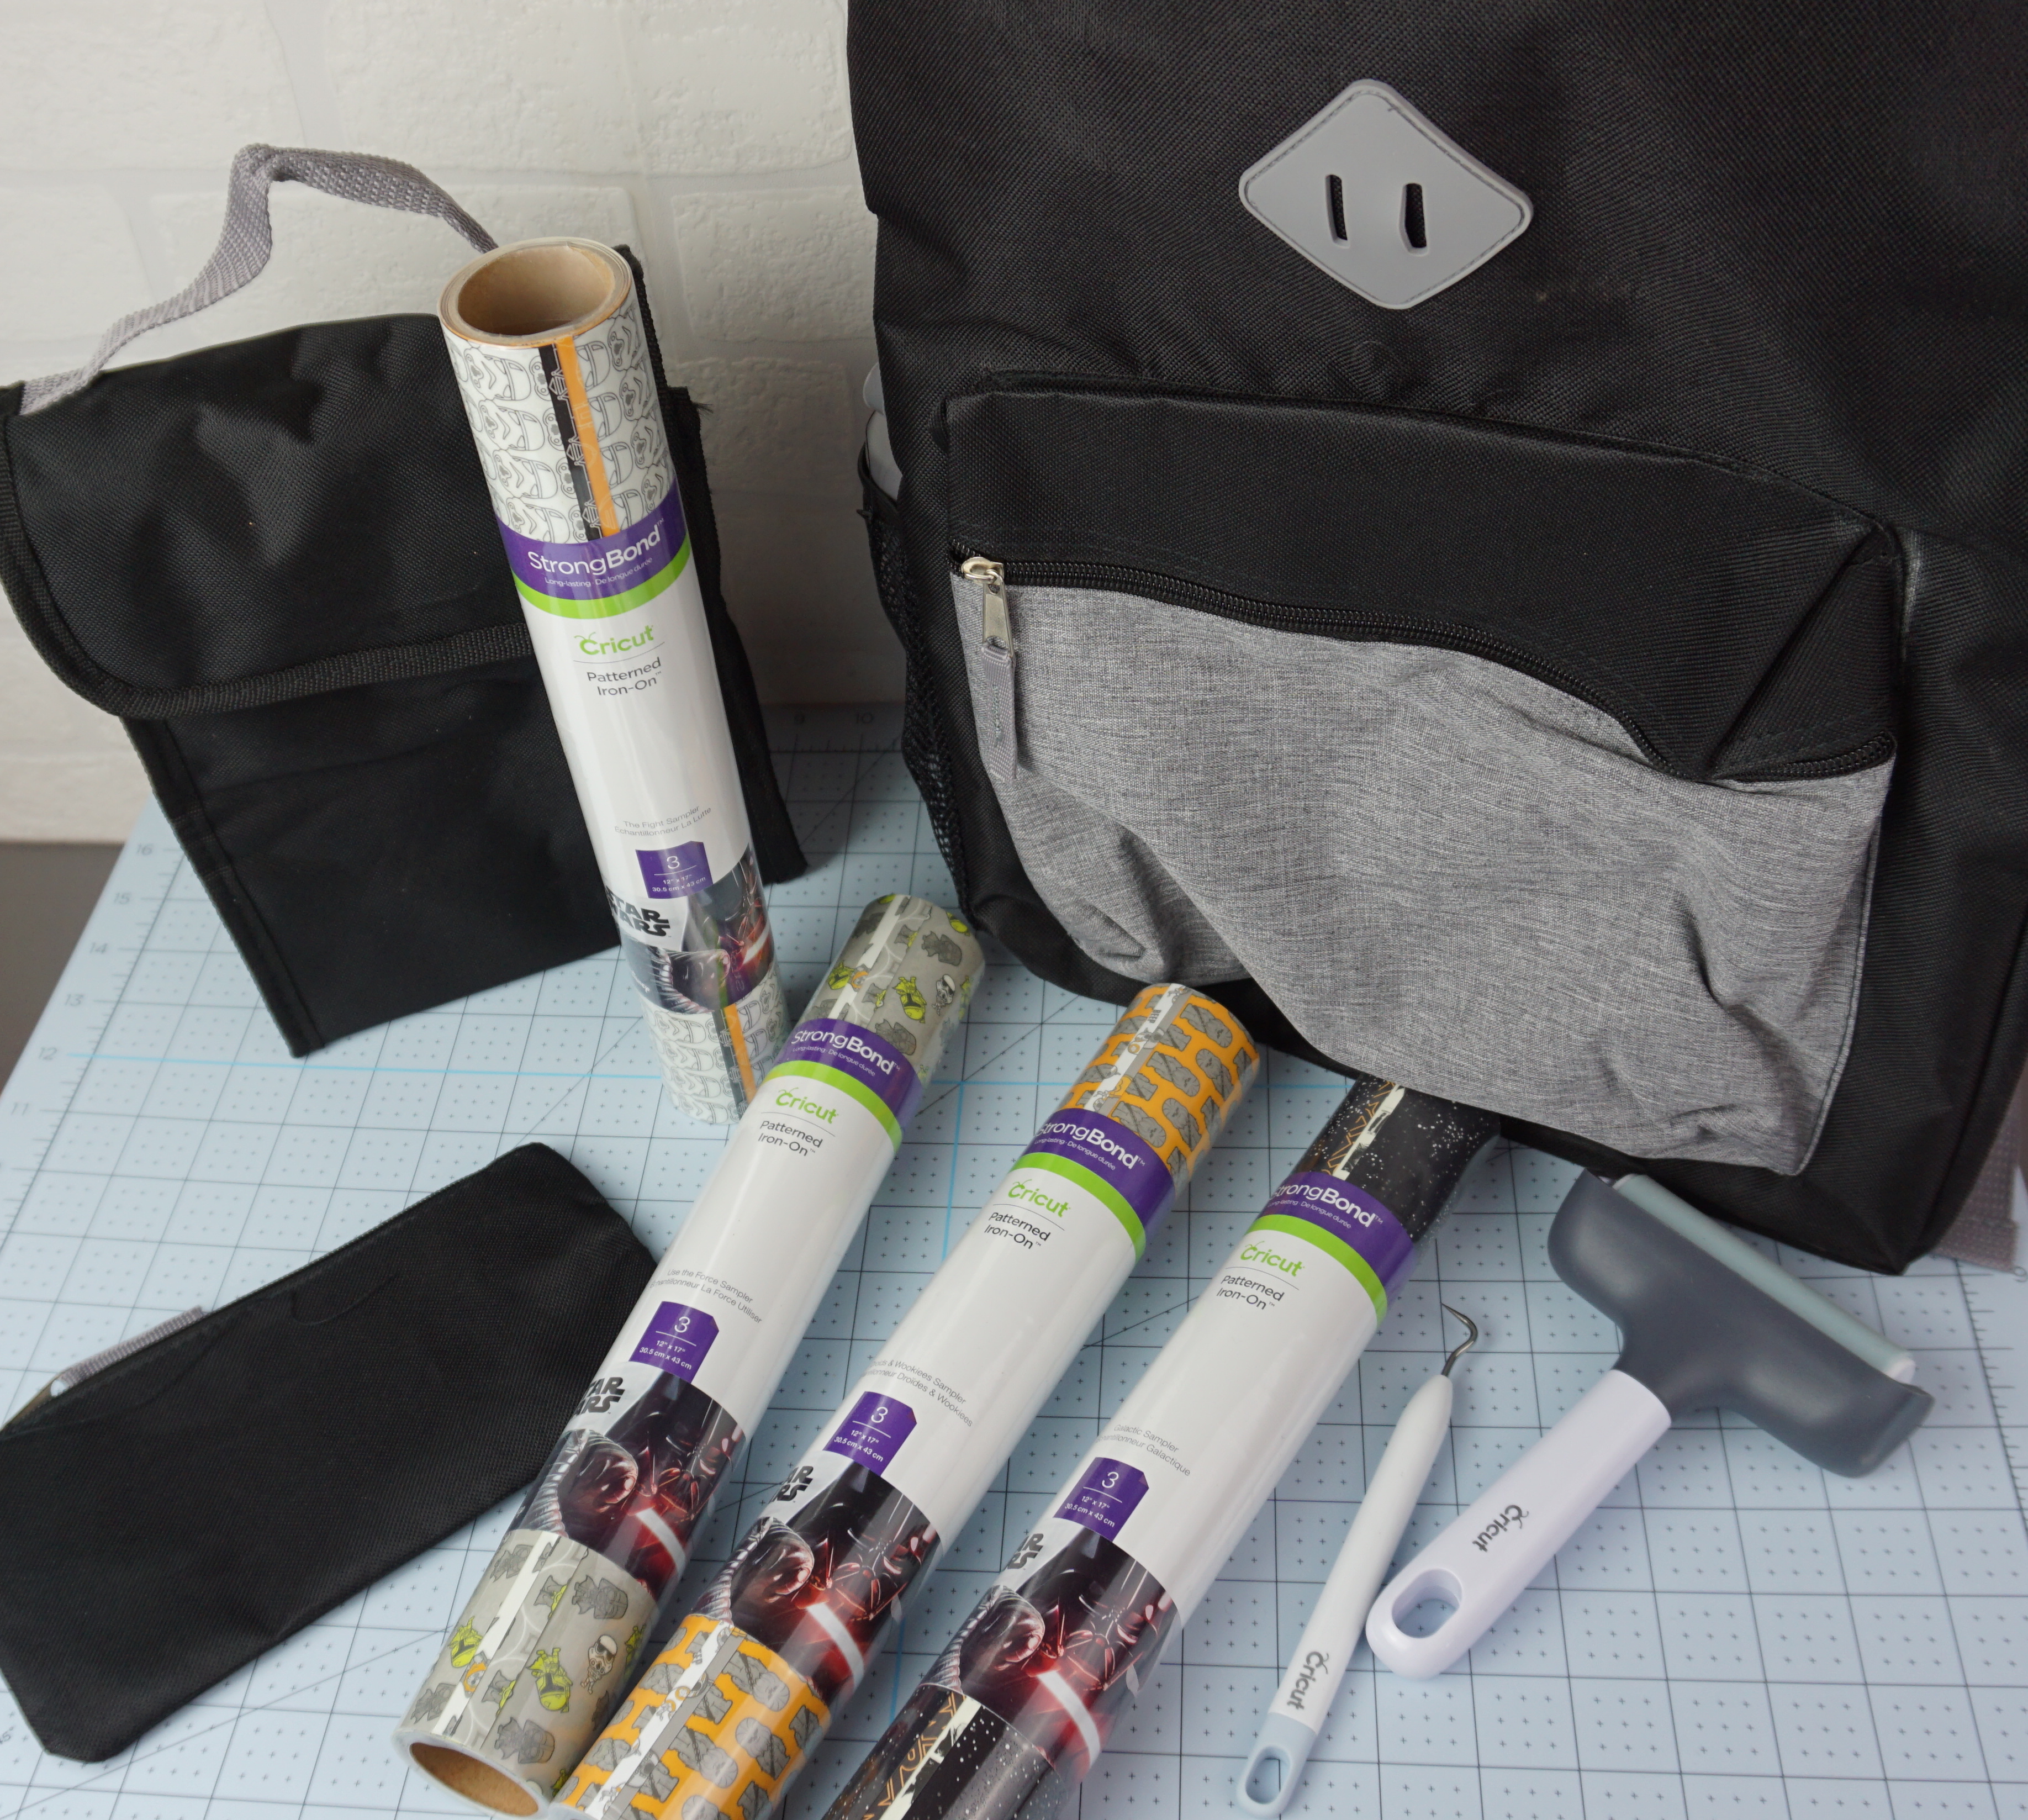
I was lucky enough to score a backpack, lunchpail and pencil case combo from Wal-Mart for 9.98! What a steal!
I decided that I wanted to include the famous “Star Wars” logo but I thought it would be fun to make the inside of the letters with the Patterned Iron-On.

I installed the Star Wars font from dafont.com. They have lots of different Star Wars fonts to choose from. I chose one that was hallow so that I could add a coloured Iron-On around the Pattern Iron-on.
This helps the letters stand out a lot better.
I just LOVE this particular pattern with the little Storm Troopers and Darth Vaders with the oversized heads.

After applying my Iron On to my mat, I made sure to use a Brayer to smooth out an air bubbles.
The brayer is a very important tool that I feel gets skipped over a lot but let me tell you, it’s so important to make sure that your material is smoothed out perfectly on your mat.
Using the brayer ensures that you have a perfect cut but more than that it’s good for the long term of your machine and blades.

Once I had my designs all ready, it was time to cut! Hitting that flashing “C” is my favourite part of any Cricut project. 😉 Sitting back and watching this glorious machine do it’s thing is mesmerizing.

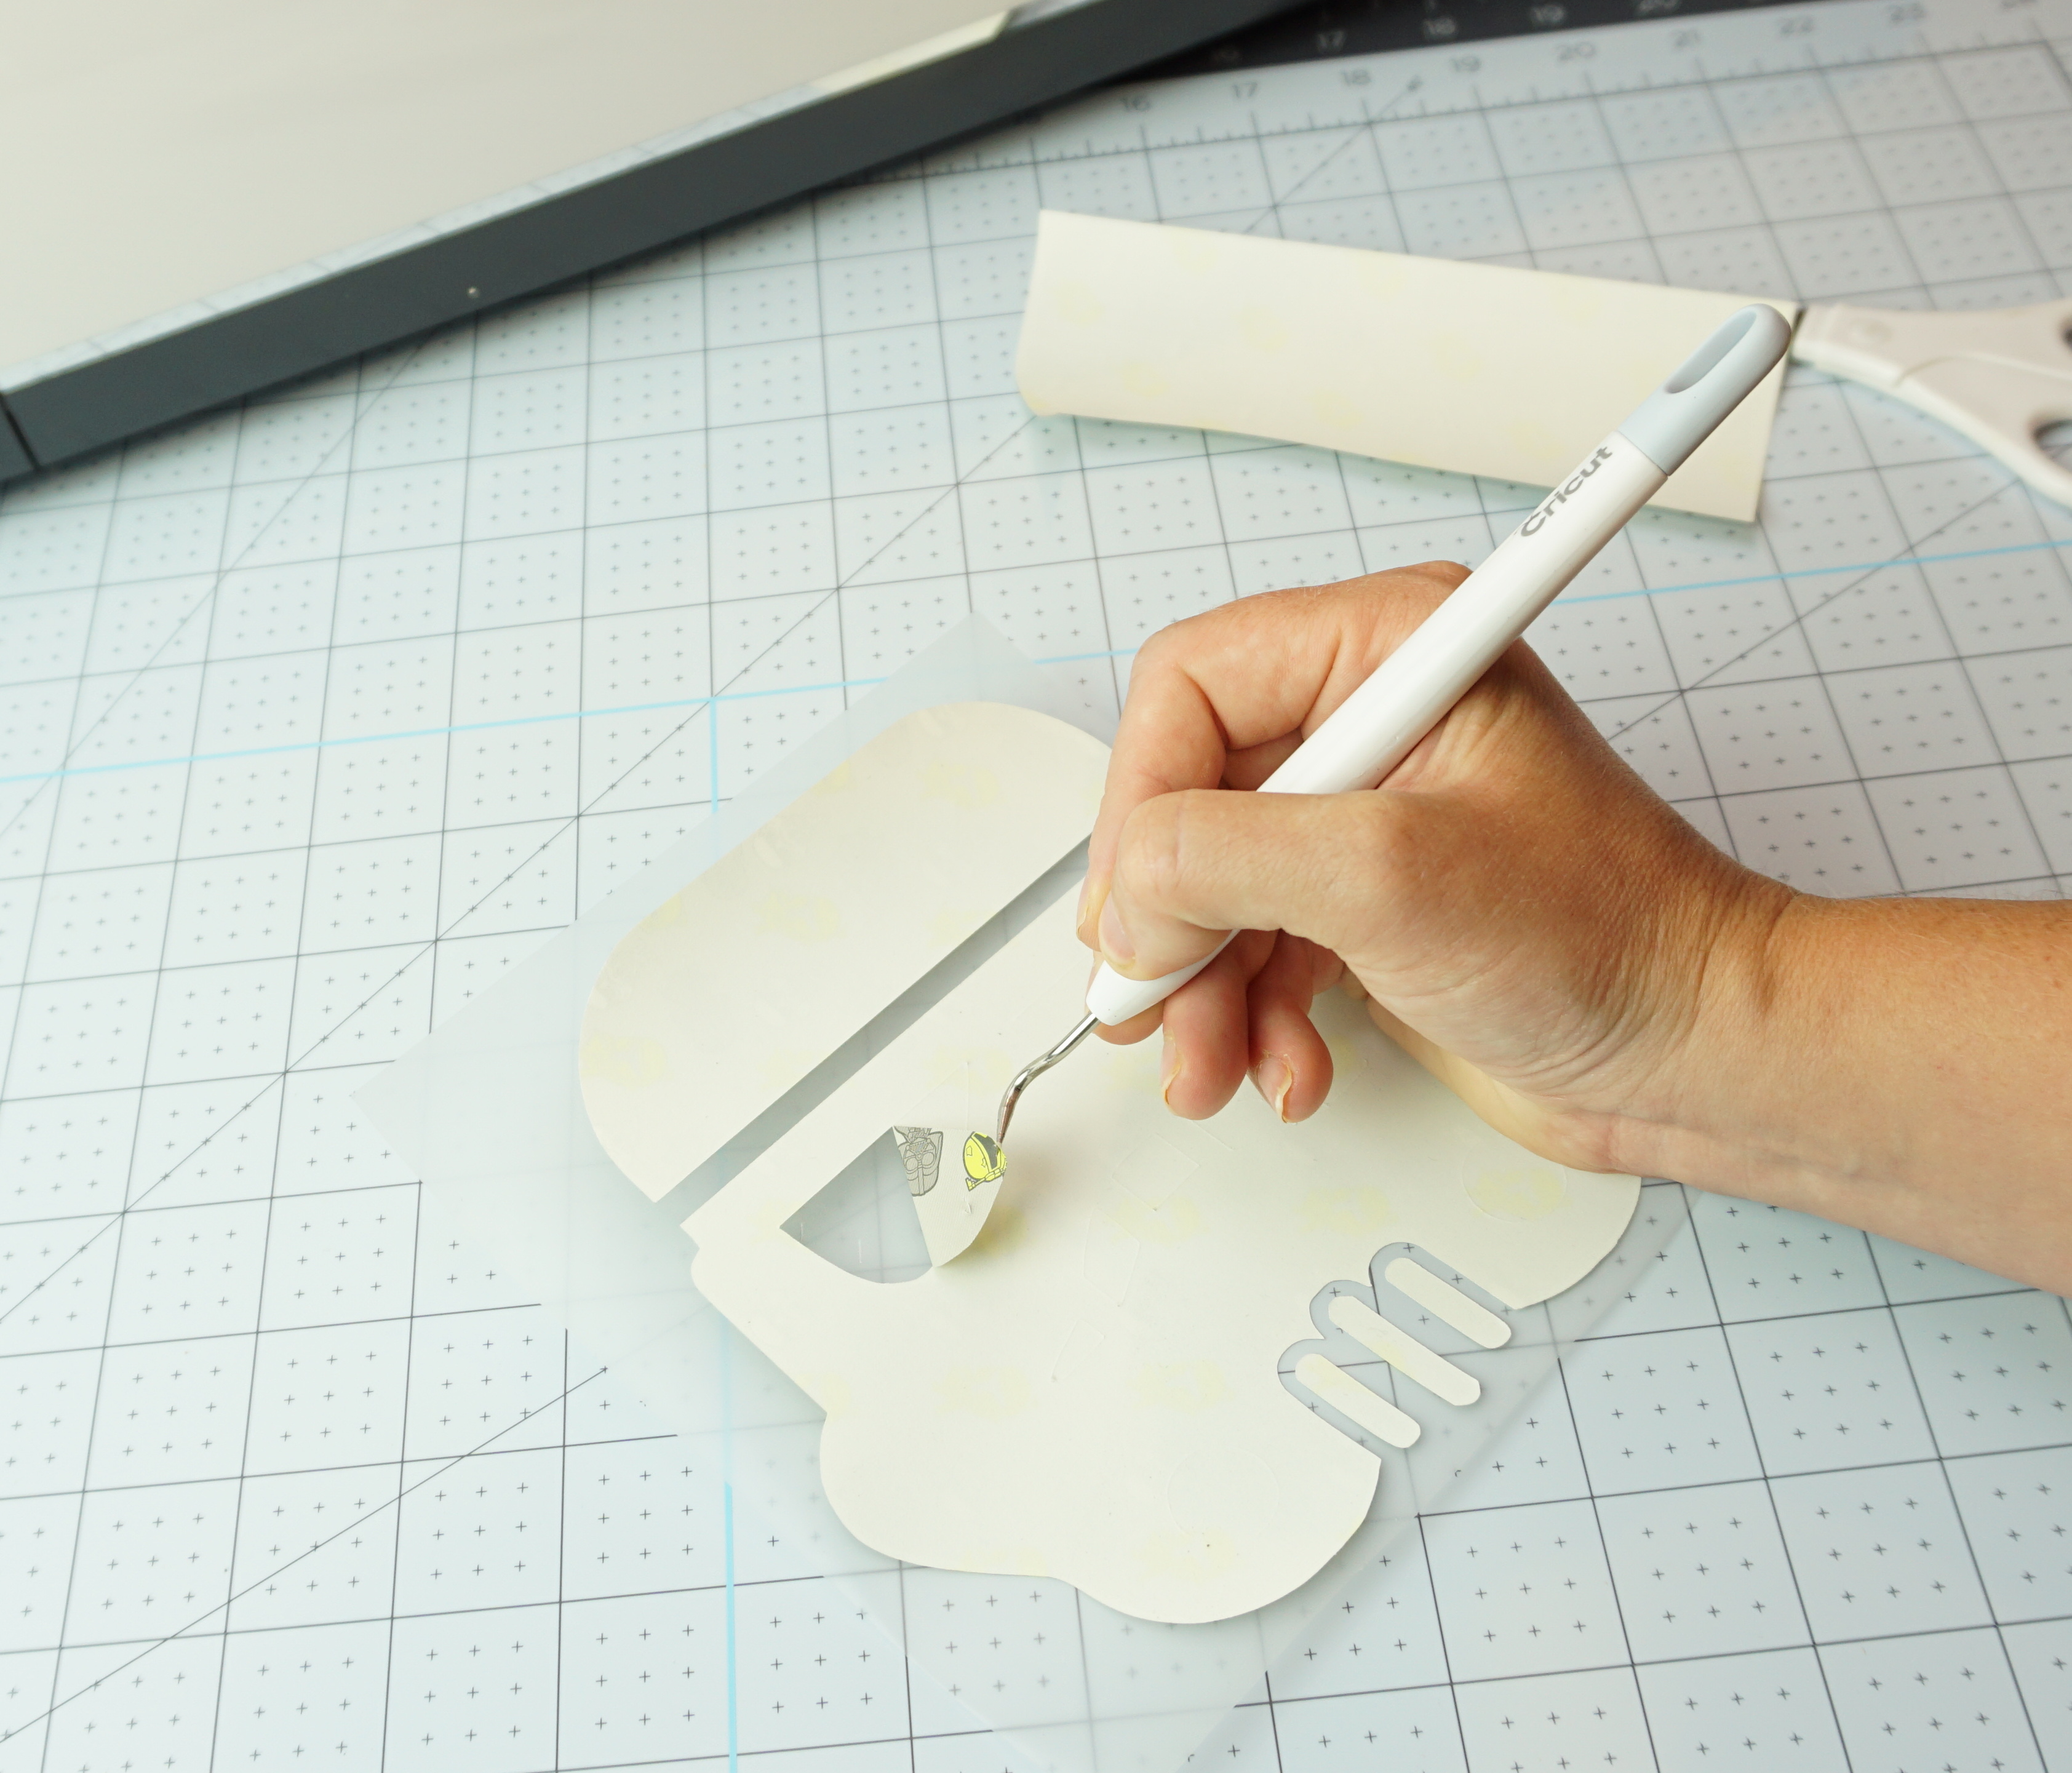
Once I had my designs all cut, I moved on to weeding. My designs weren’t too intricate so weeding didn’t take long at all.

Pressing on a backpack can be a little bit of a challenge, but as long as you are careful and take your time you can do it!

I used the Cricut EasyPress2 in the 10×12 size. This EasyPress is great for jumbo projects like this one. It ensures that you get even heat/pressure across your whole project.

The other important thing to note is that when you are pressing things like backpacks and lunch pails, make sure you place a barrier sheet inside the backpack or lunchpail wherever your heat press touches or else you will melt the interior of it.

So what do you guys think!?

I wanted to shake things up so I did different designs on each different piece.

But the most important thing?

My son was so excited when he saw his new back to school gear!!


Do you know a Star Wars kid that would love this!? Or maybe even an adult? Make sure you share this project with them and don’t forget to Pin it so you can remember this idea!


Leave a Reply