When summer starts to wind down and I start thinking all things Fall, one of my favourite places to go is to Michaels. I love to go there and walk up and down their fall aisles and get inspiration for my DIYs.
As much as I love the look of Michaels, there is one thing I do not like: the price tag. Browch. Some of their decor items are so expensive. But all I need when I leave their store is some inspiration. Last year when I was pursuing the aisles I saw a lot of shelf decor pieces involving fences and pumpkins so I decided to make my own.
I headed to my local Dollarama and picked up my supplies for this project. If you are not Canadian and wondering what is a Dollarama — it’s one of our dollar store chains here. You could probably find most of these items at Dollar Tree, too.
Let’s dive right into this one, because I am so excited to share it with you all. If you prefer watching DIY projects on video, don’t worry, there is a video at the end of this post.
Preparing My Pumpkins
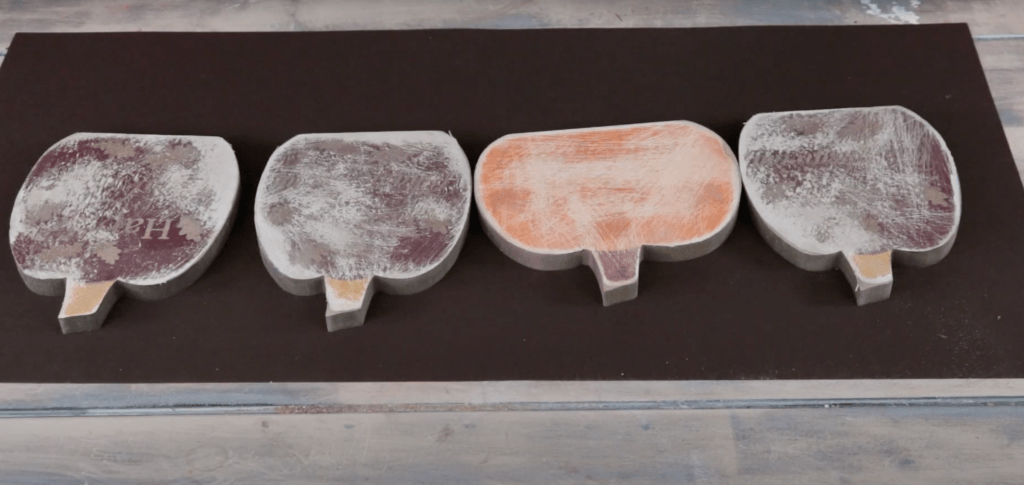
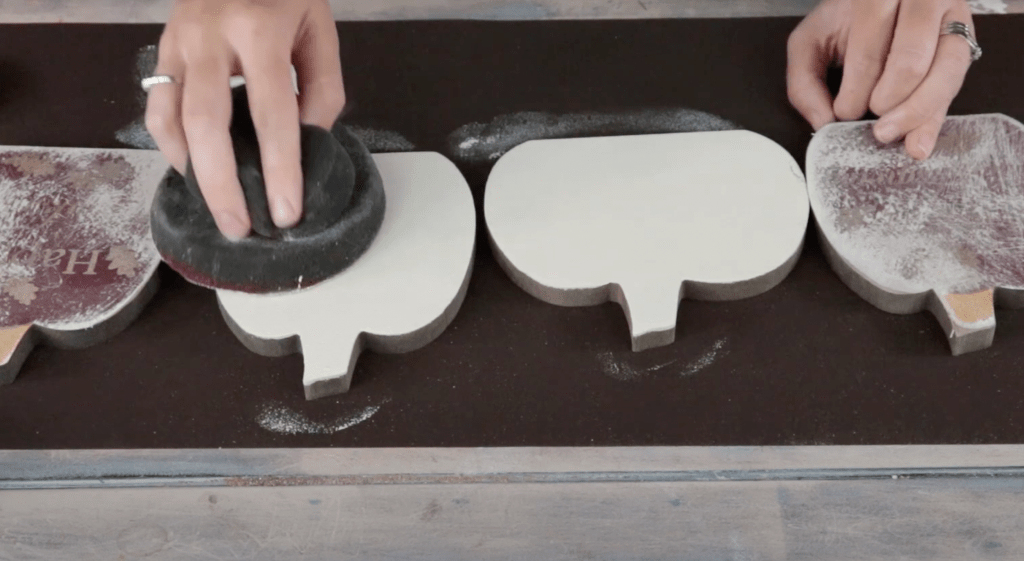
To begin, I had to remove all the glitter lettering from my MDF pumpkins. I picked up four of these pumpkins from Dollarama and used some 80 grit sandpaper to get all the glitter off.
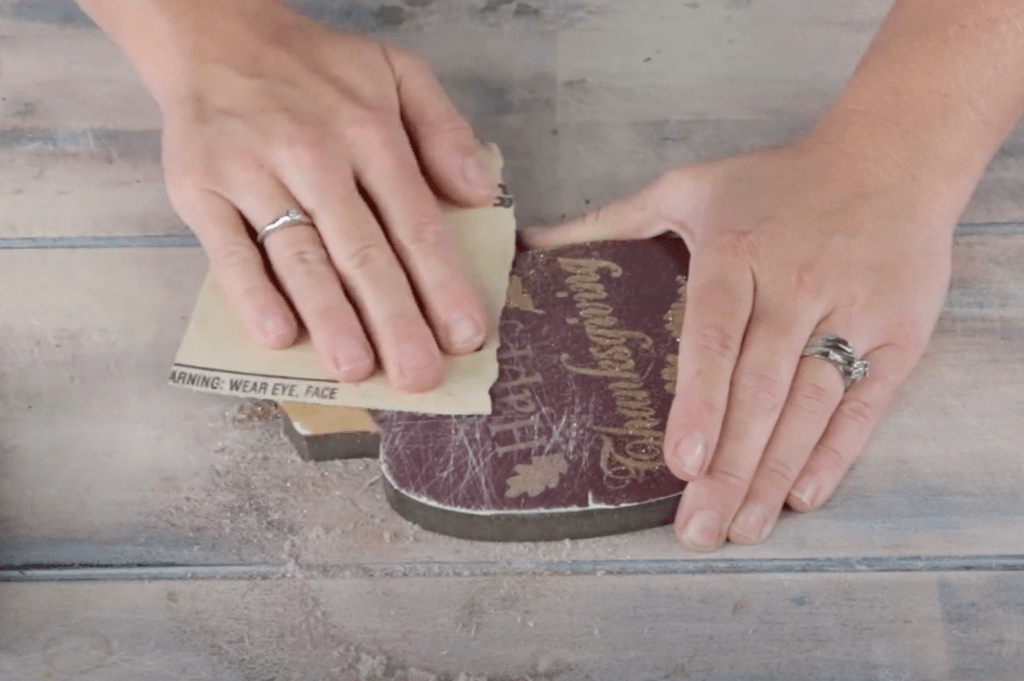
You don’t have to remove all the colour. You just want them to be smooth for painting.
For more great Dollar Store pumpkin DIYs check out this post
To paint my pumpkins, I did two coats of Cheesecake from Country Chic Paint. I used a foam pouncer which is also available from Country Chic Paint.
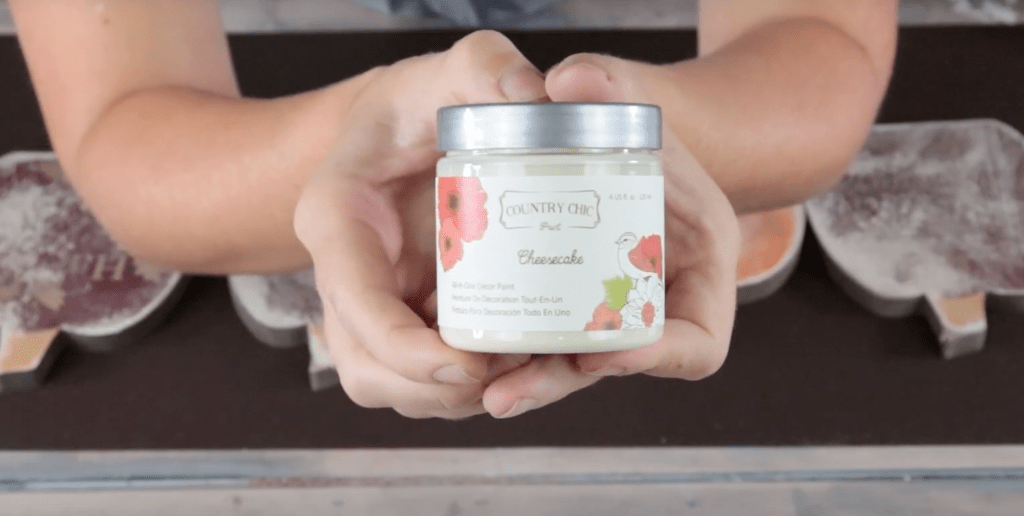
I love this foam pouncer as it’s so easy to use for large coverage and provides a flawless finish. You can find these Country Chic Paint products here on my Amazon storefront.
While this paint was drying, I moved on to working on my fence.
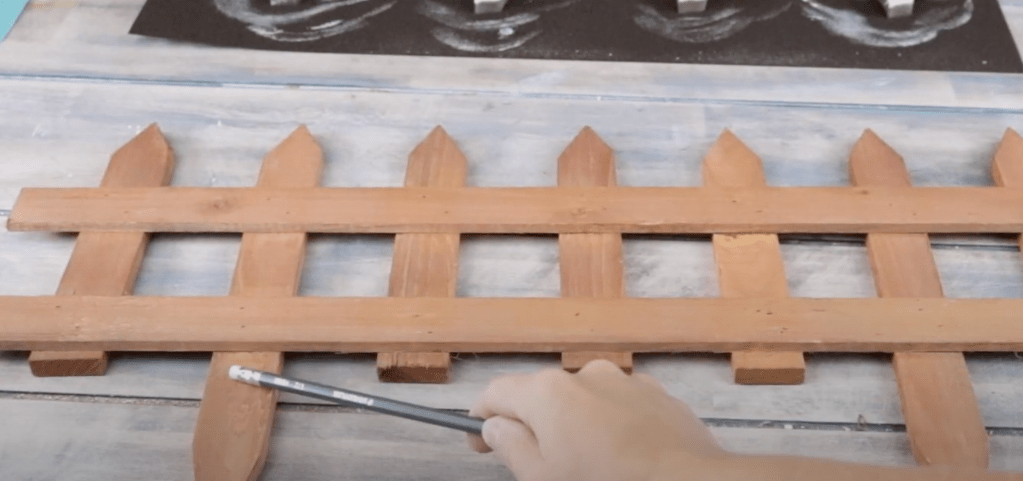
I picked up this garden fence from Dollarama. I needed to cut off the stakes that go into the ground so I used a ruler and pencil to mark a line and then cut them off with a jigsaw.

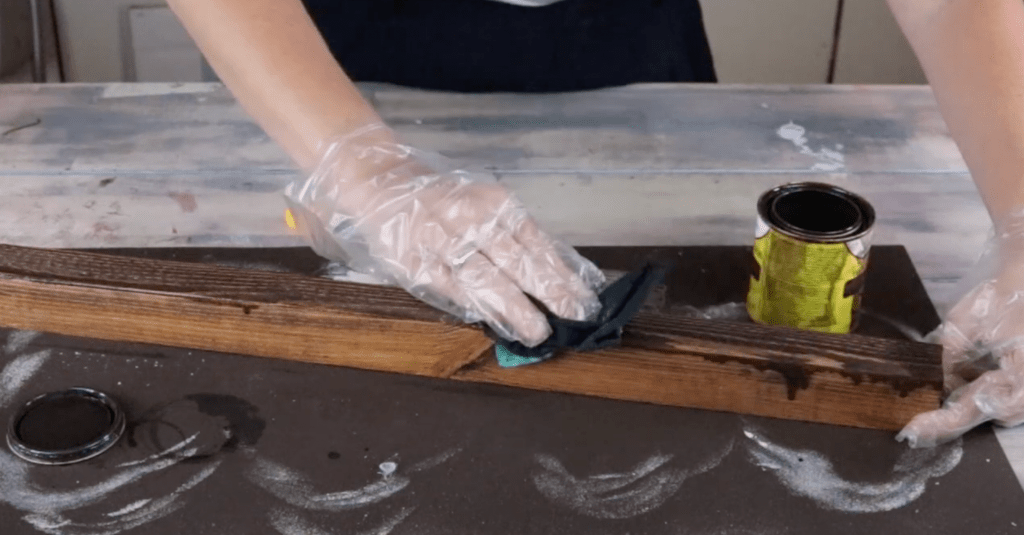
Next, I found a scrap piece of 1×2 that I had lying around and using a Dark Walnut shade of stain, I stained both the 1×2 and the garden fence.

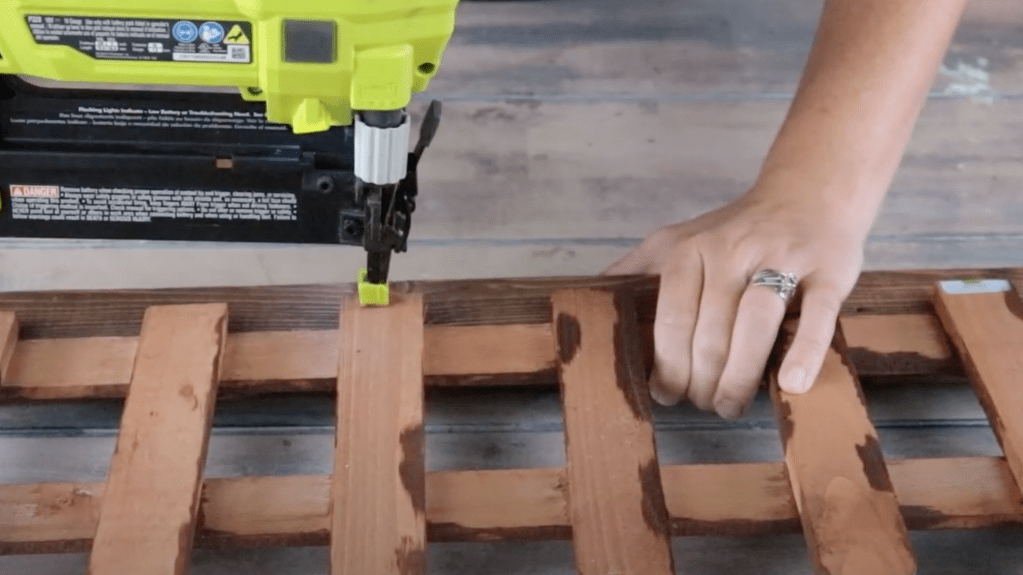
Once both pieces were dry, I used an air nailer to secure the fence to the 1×2. The fence sit nicely on the 1×2 as I used bottom horizontal rung to sit on the 1×2.
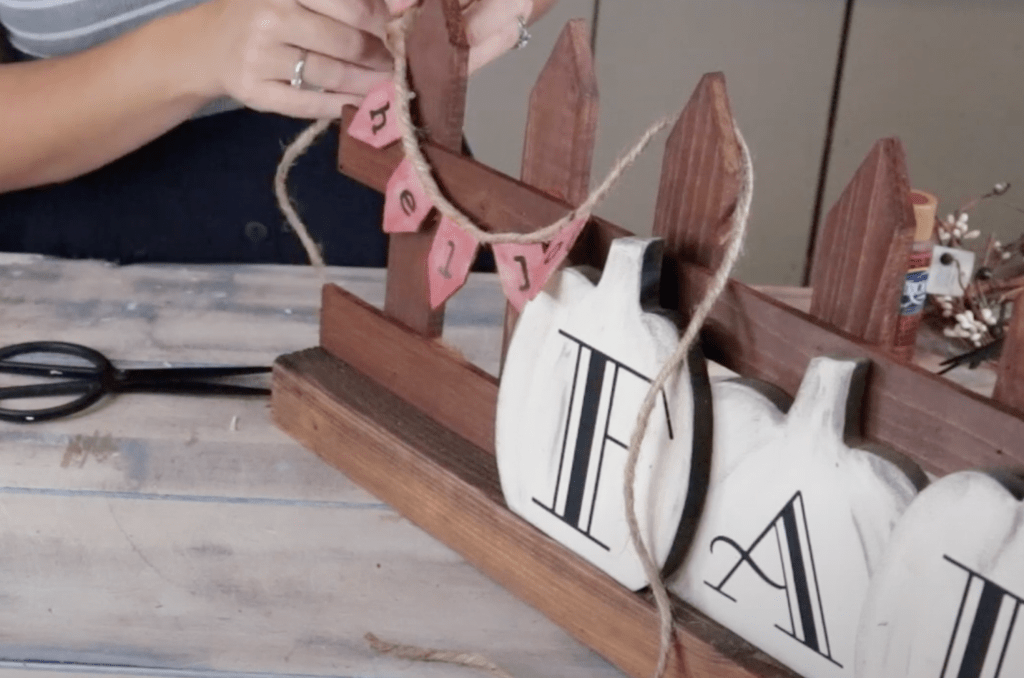
Working back to my pumpkins, I used my Cricut Joy to cut the word “FALL” using some Permanent Vinyl. I was going to apply the vinyl directly onto the pumpkins, but I decided to use them as a stencil instead and go with a painted look.
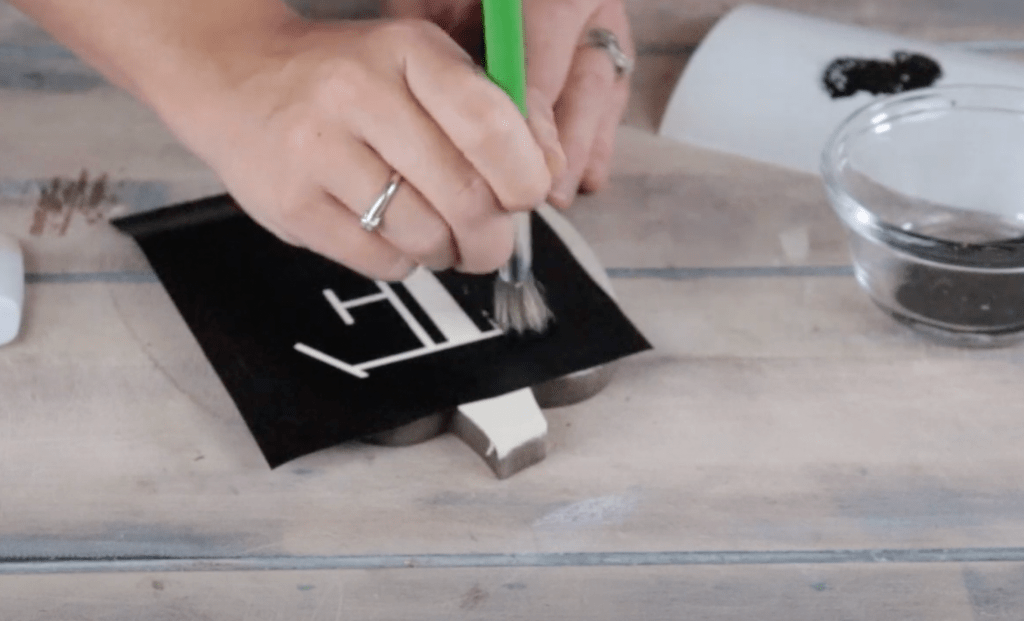
If you want to do this project but don’t have a Cricut, you could always hand paint or buy some letter stencils.
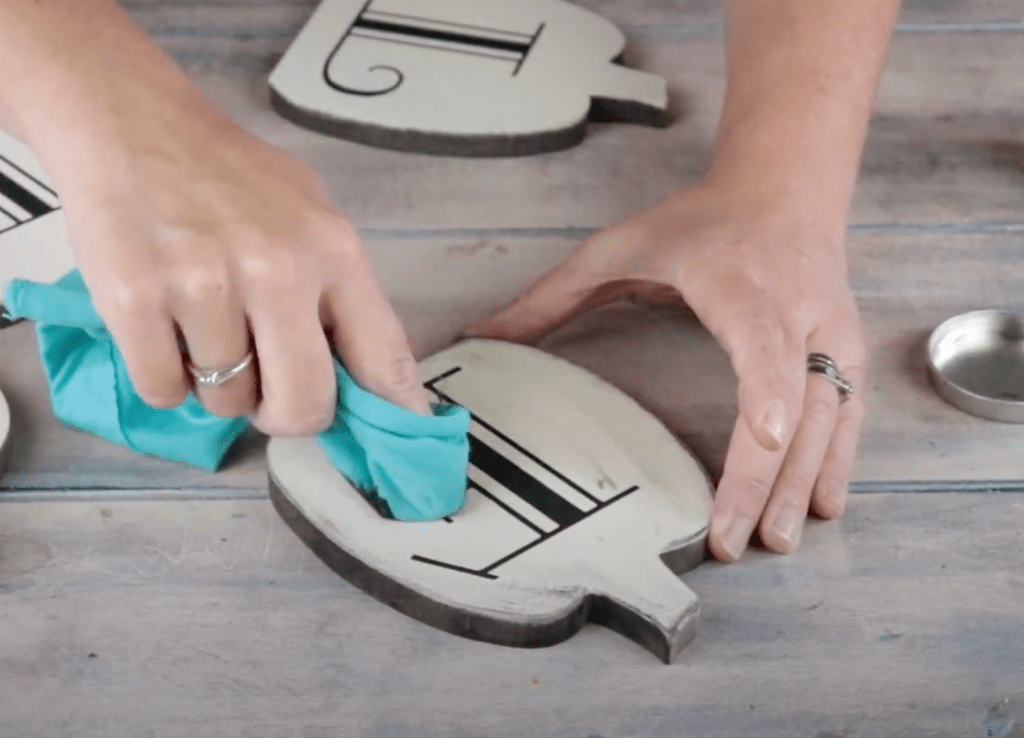
Once my stencilled letters were dry, I came in with some Grey Wax from Country Chic Paint and distressed the pumpkins for a more rustic, primitive look.
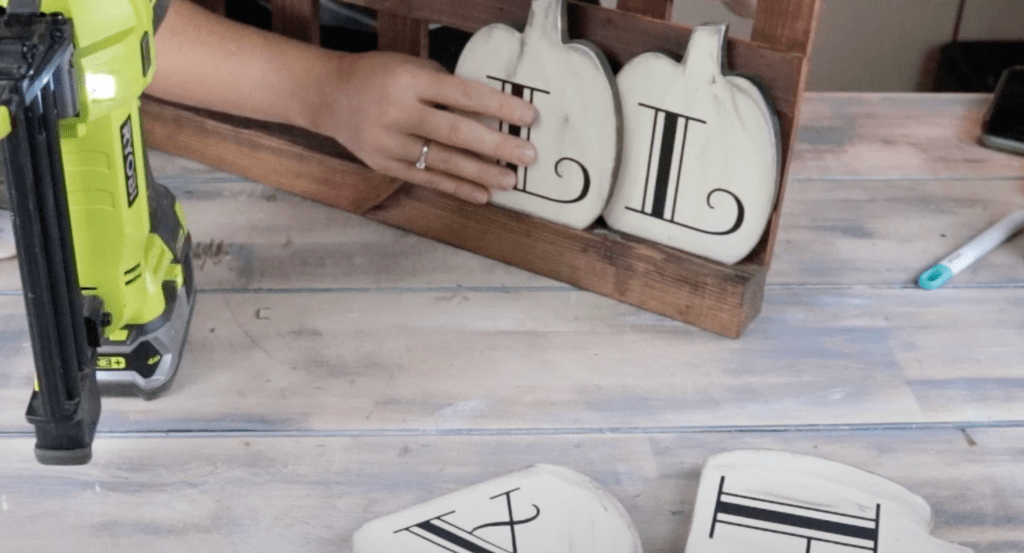
Then using my air nailer, I attached the pumpkins to the fence making sure to overlap them each a bit.
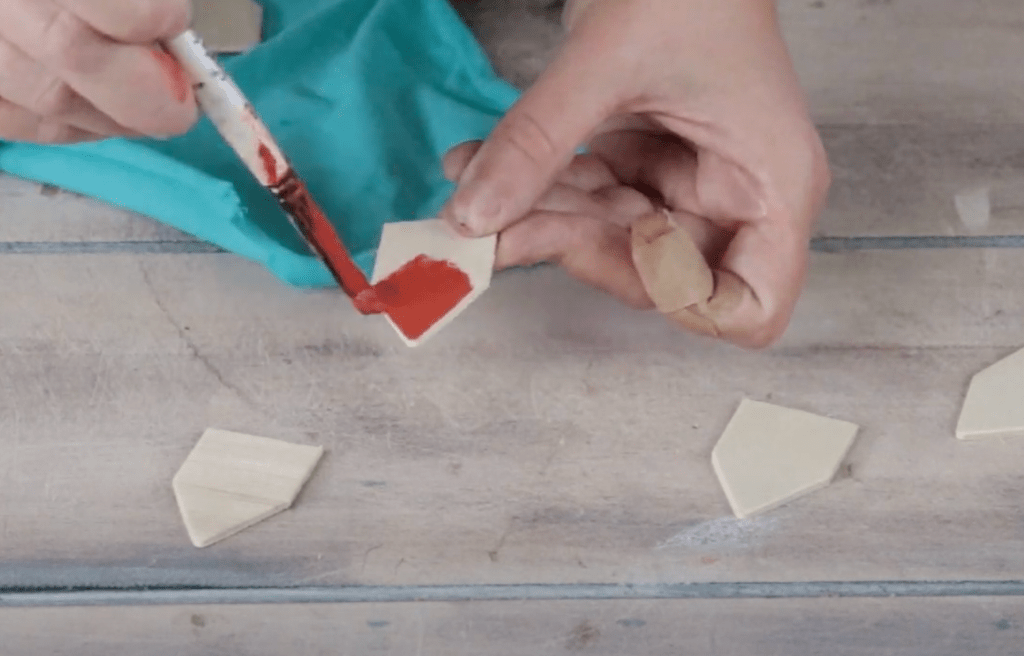
To add another element to my project, I used these wood plant labels to make tiny pendant banner.
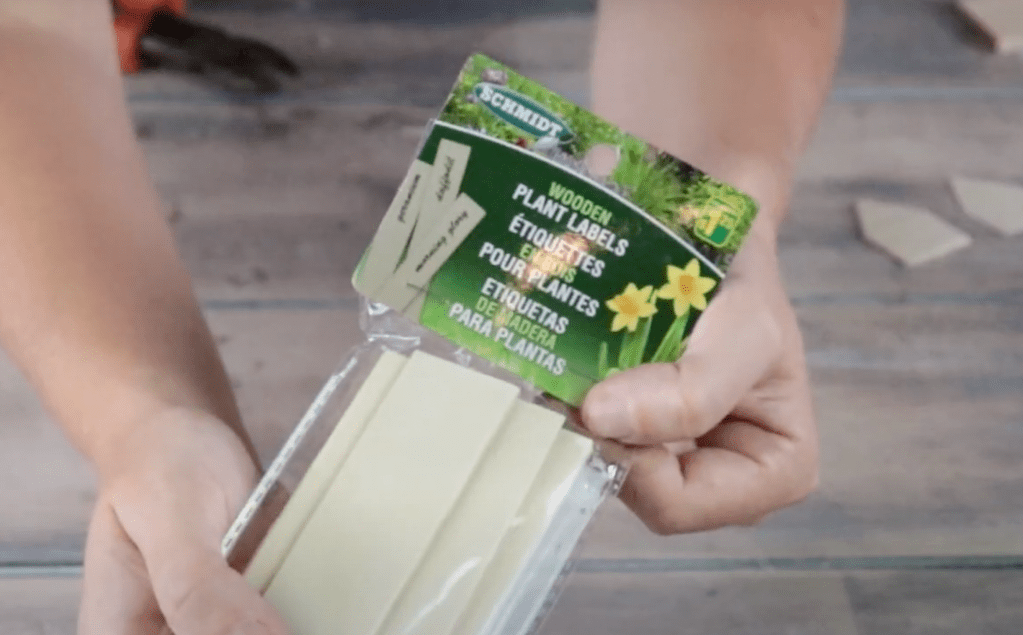
I cut off the end of the plant label using an exact-o knife and then painted them using Georgia Clay from DecoArt Acrylic Paints.

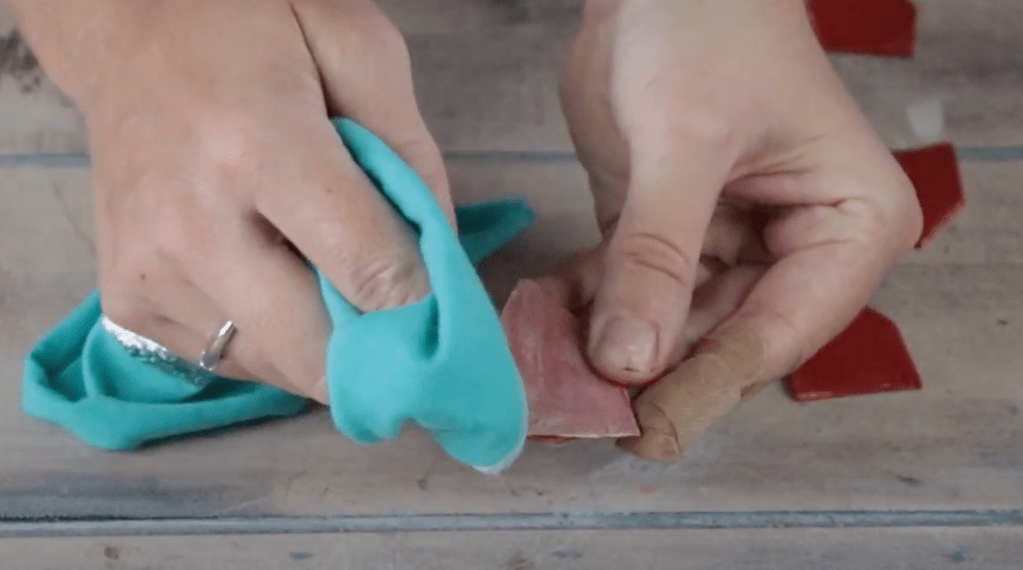
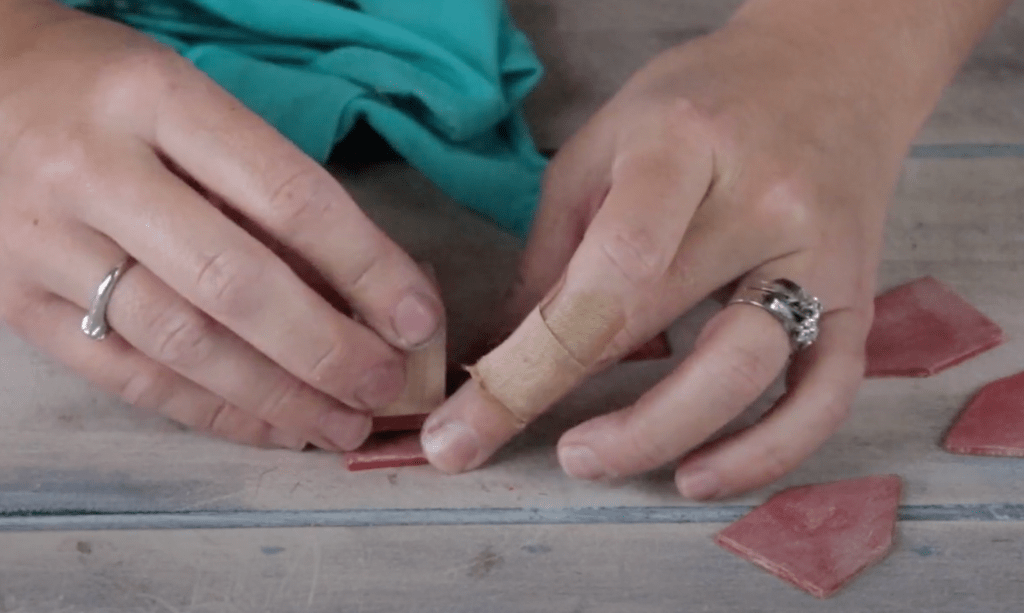
Once the paint was dry, to make them look a little more worn and distressed, I went over the pendants with a bit of White Wax from Country Chic Paint.
Then I used a rubber stamp set to stamp on each pendant with black acrylic paint.
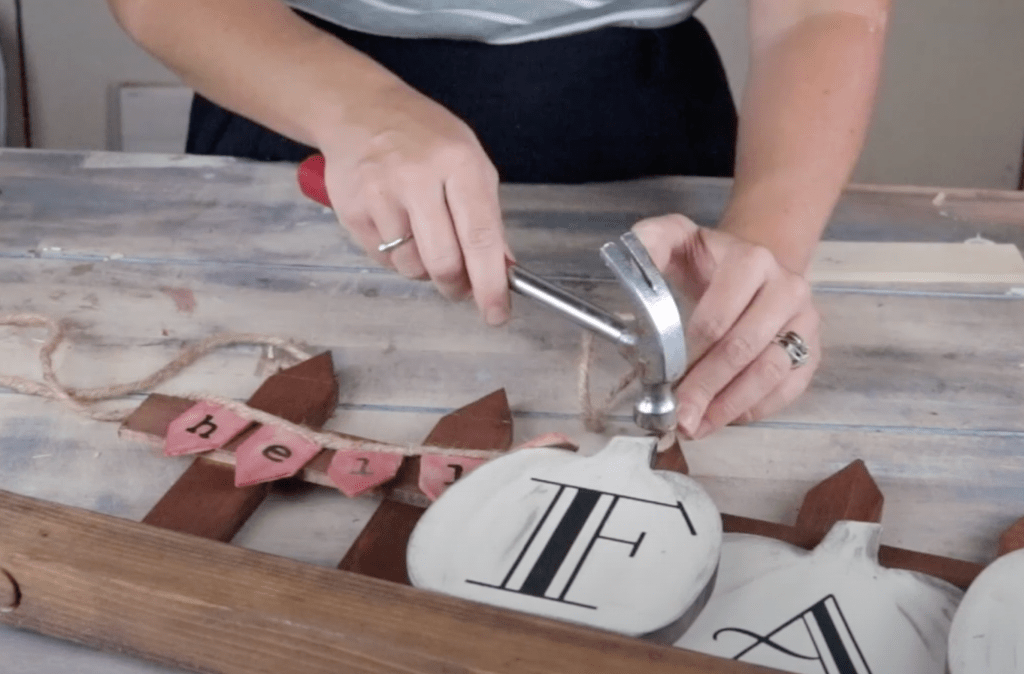
I attached the pendants with hot glue to a piece of jute twine and then fixated it onto my garden fence.

I decided that the jute twine needed just a little something so I hammered in a couple rustic finish nails to make it look like they were holding the banner in place — but really it’s hot glued…shhhh 😉
And here is the finished project:
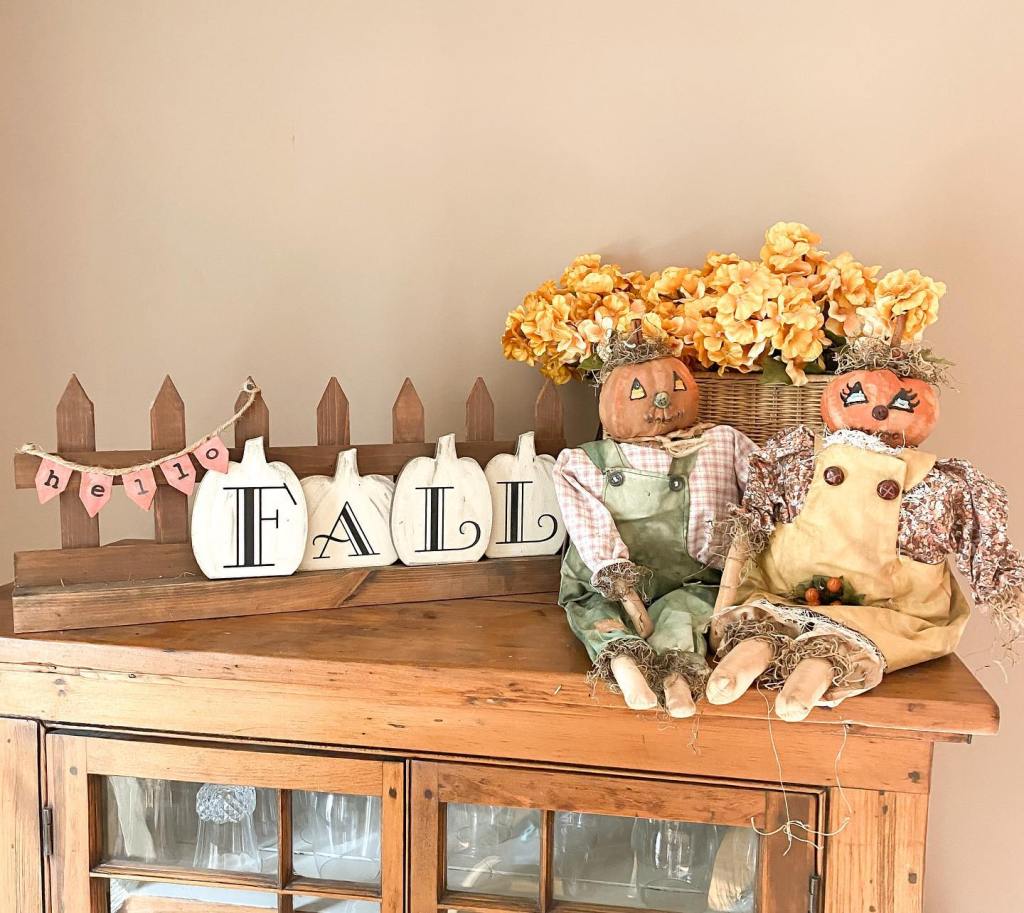
Let me know in the comments what you think of this project! As promised here is the full YouTube video so you can see this DIY in action!
If you need more inspo for fall, check out one of my favourite posts — my DIY Gold Leaf Pumpkins


Leave a Reply