 Hey everyone! I know we are getting down to the wire — Christmas is almost here! I just wanted to share this great project with you all!
Take a look at my DIY snow globes.
It all started when I saw this in Canadian Tire. 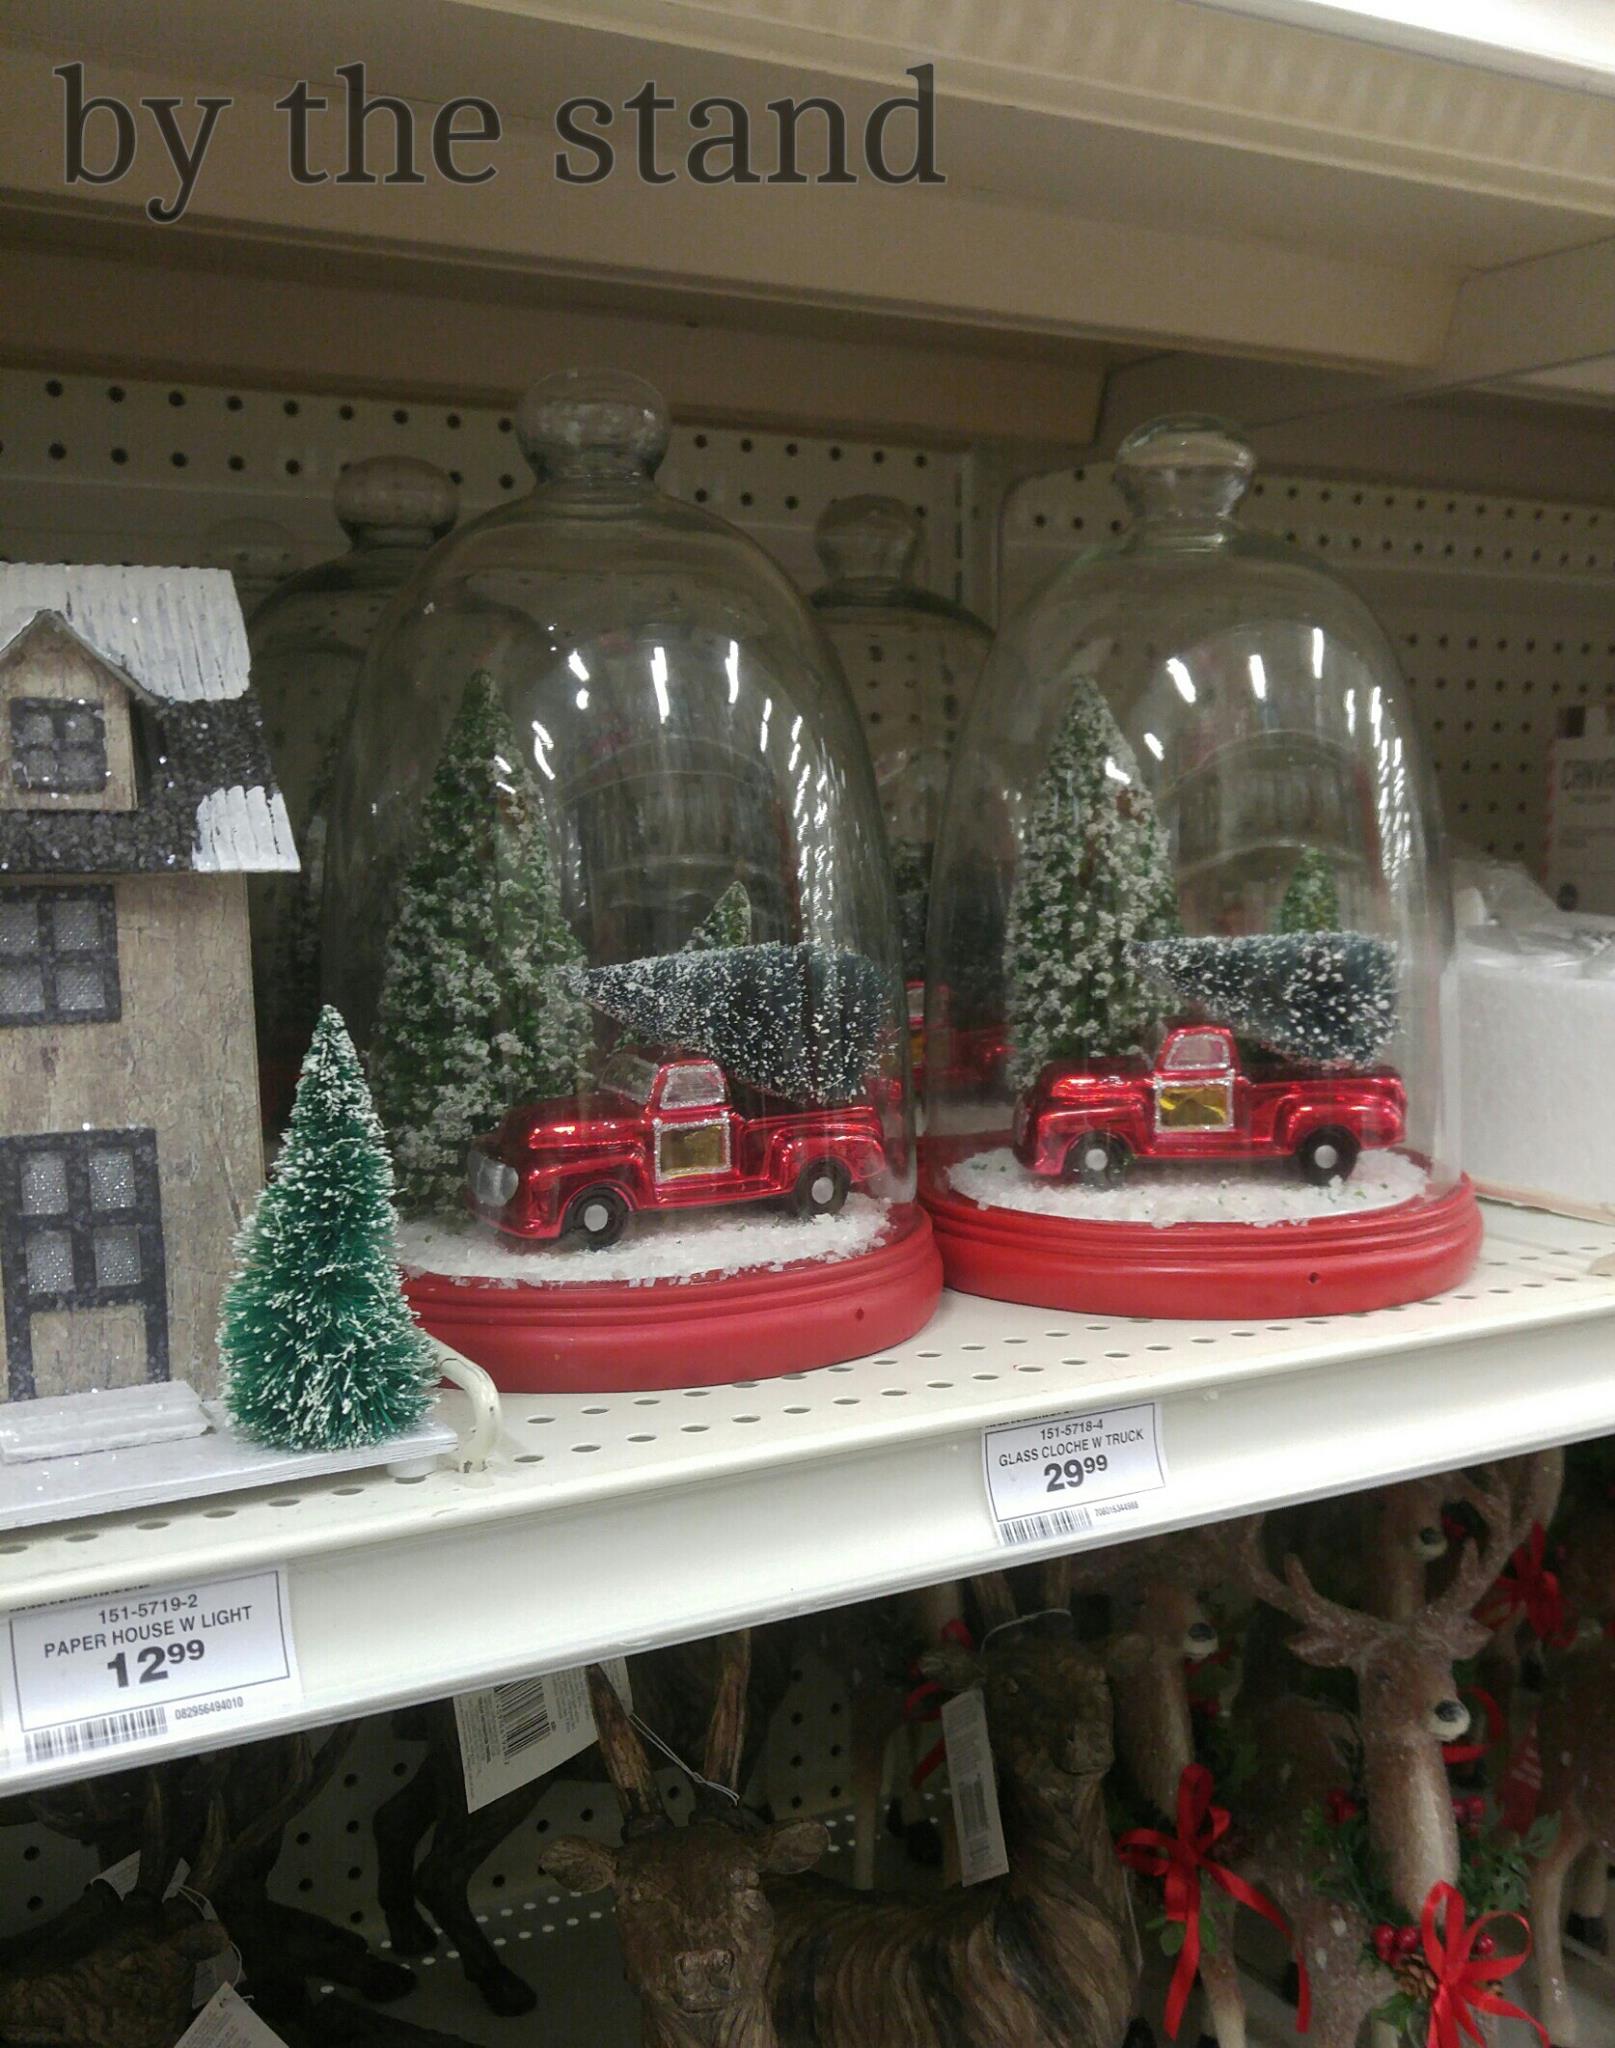 For those that aren’t from Canada, Canadian Tire is like a pricier version of Walmart. I feel in love with these but couldn’t justify paying $30 for one and I wanted to DIY my own anyway.
I was with my mom and she saw just how much I wanted one of these clonches, so the next day she bought me an early birthday present!  The perfect truck to make my own snow globe! 🙂
I found a round globe like dish. My mom actually had this kicking around the store, and a terra cotta pot plate.  The terra cotta plate clearly needed to be cleaned. It had also been kicking around the store.
I spray painted the terra cotta plate green, just to get rid of that potted plant look.


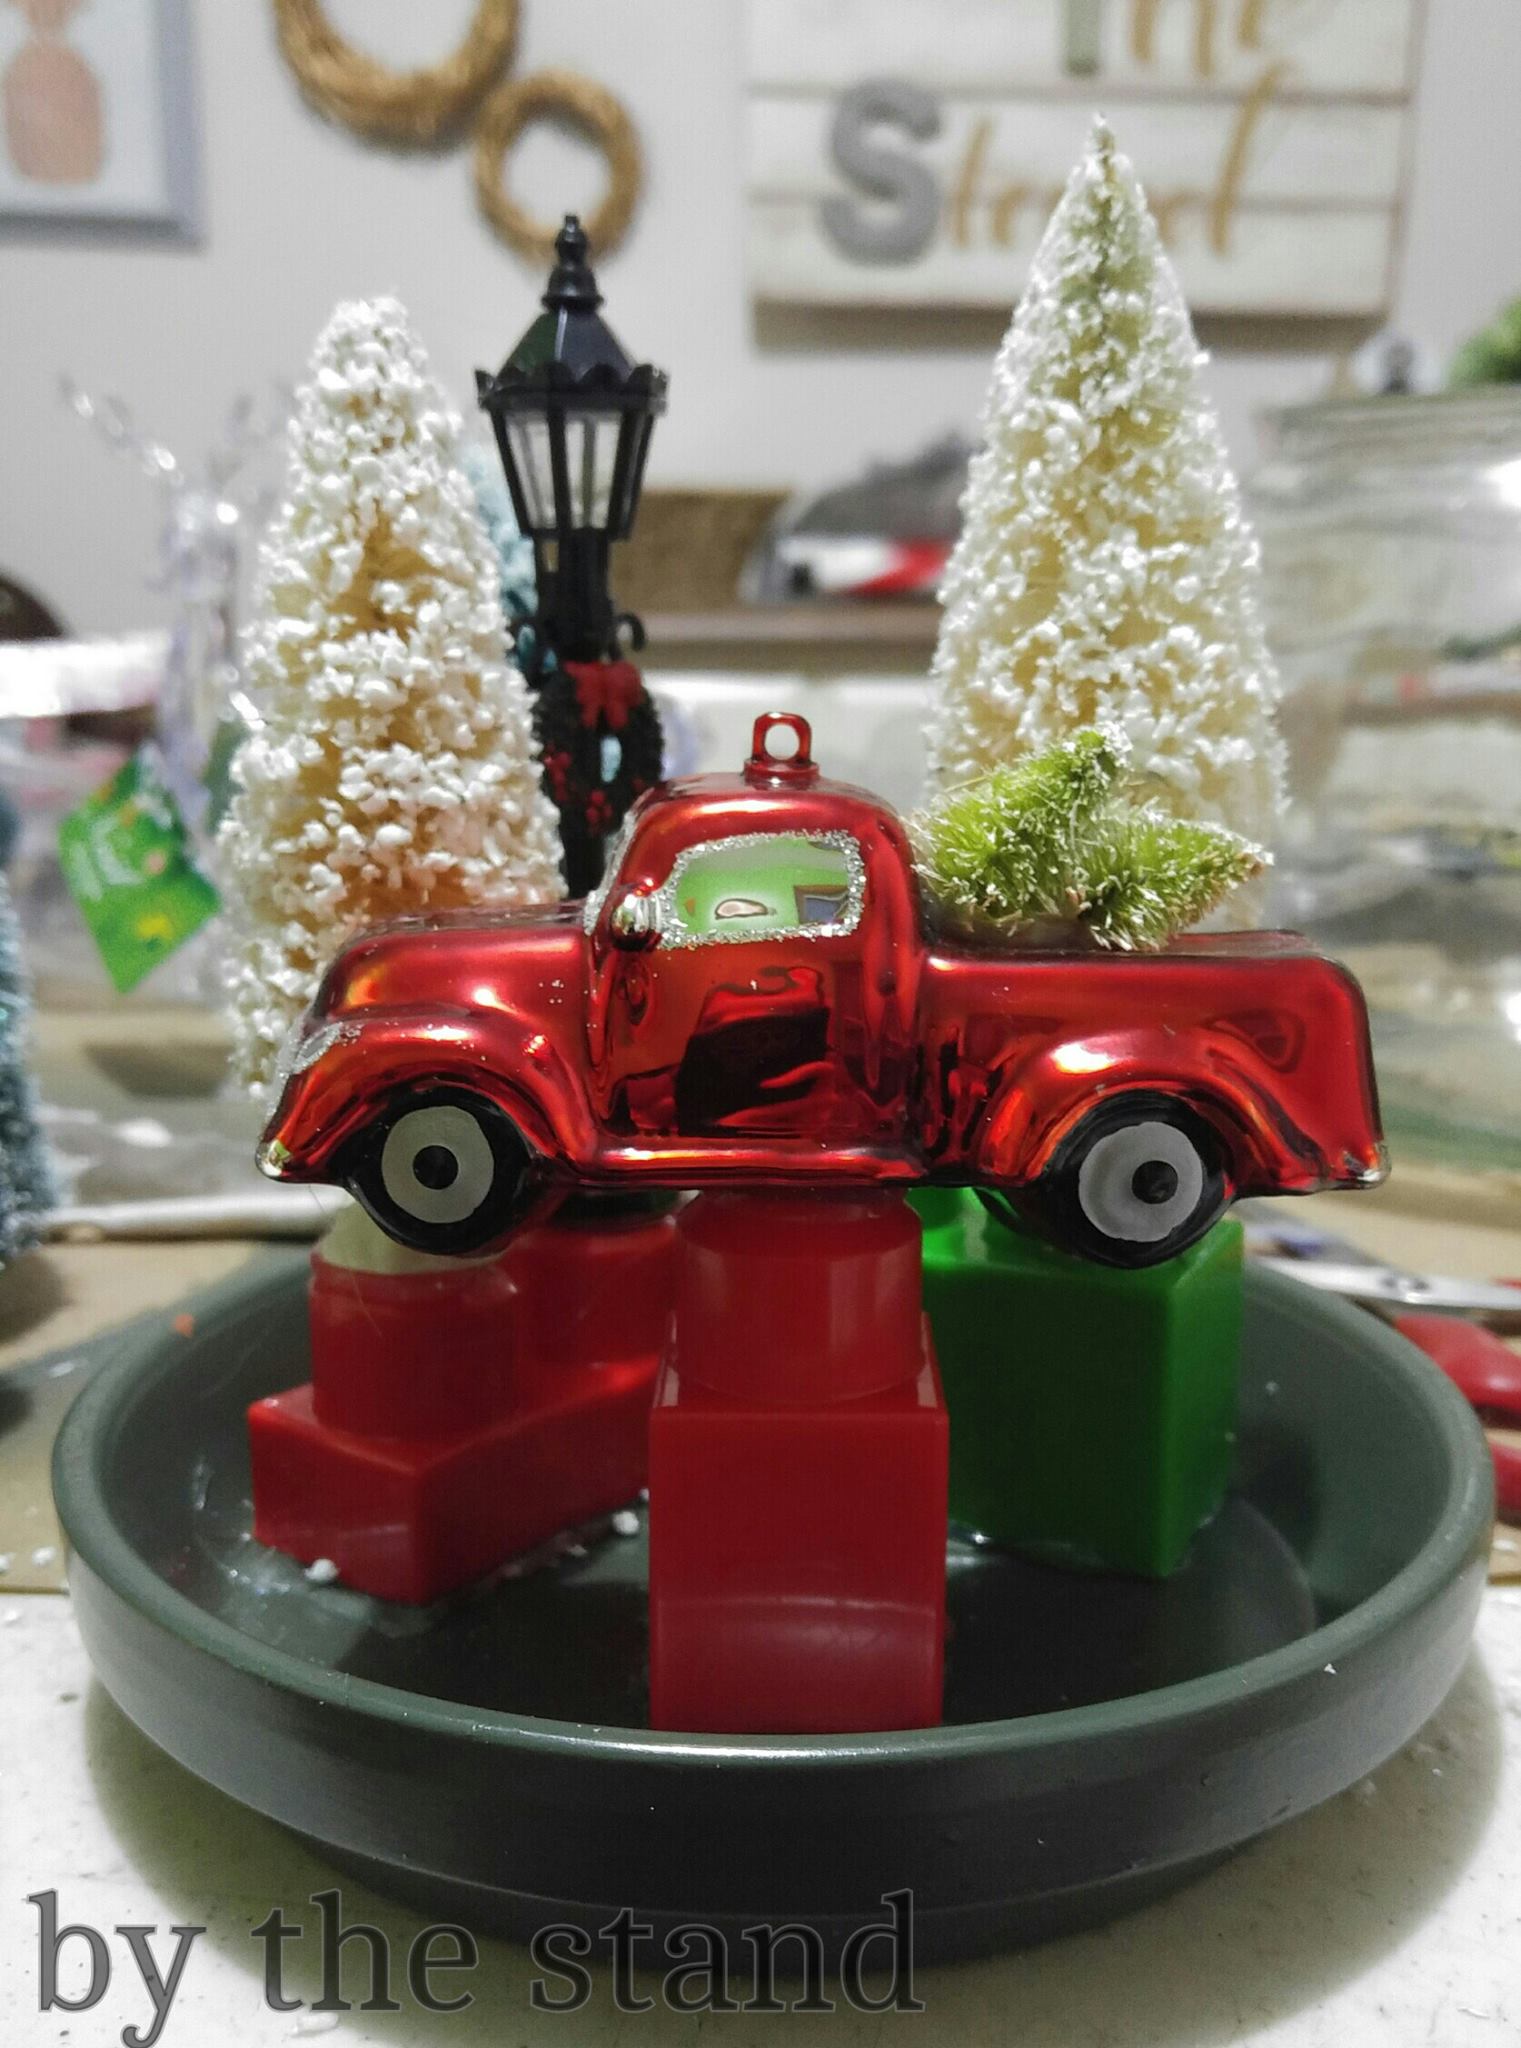
After it dried I need to arrange my truck. I wanted the truck to be elevated a bit and I could figure out how to do that when I looked over and saw my son playing with mega blocks — perfect! 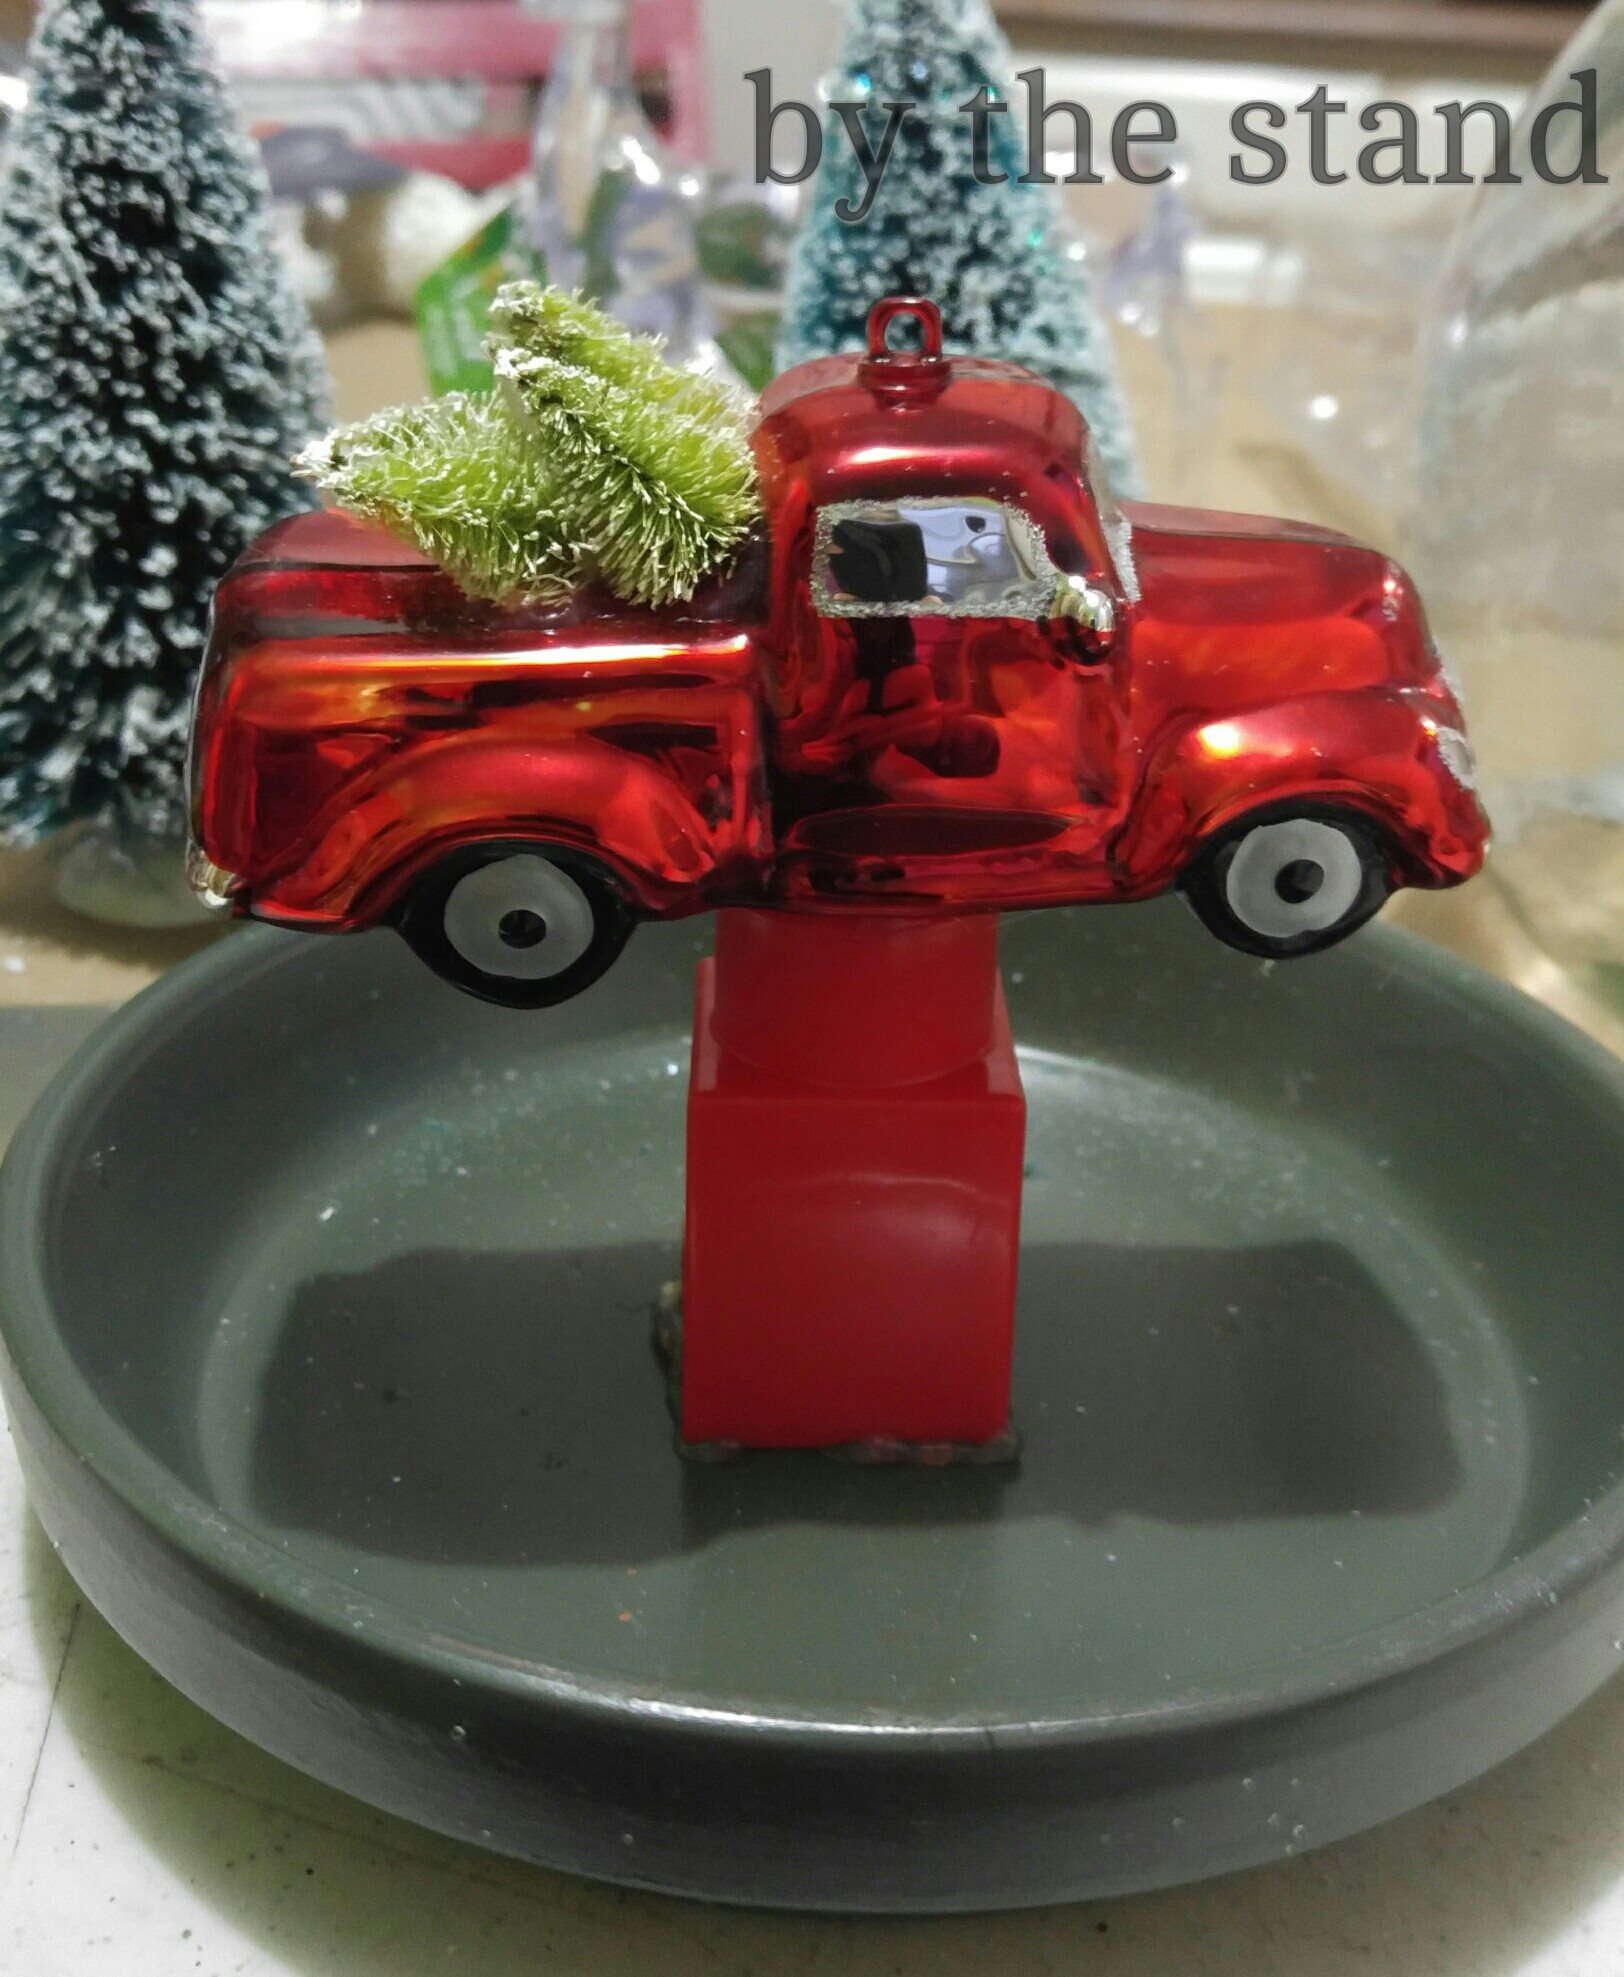 Don’t worry… he is getting new ones for Christmas. I am not a total monster lol
I also added some artificial white trees from the dollar store. 

Now to add the snow! My mother has this stuff that she sells in the store. It is so much fun! 
You would have to replace it every year, though. It is a powder that you stir into water.


At first it kind of has a liquid corn starch consistency, but the more you stir is starts to look just like real snow.
I filled the bottom of globe and then attached then put the terra cotta plate on the top.
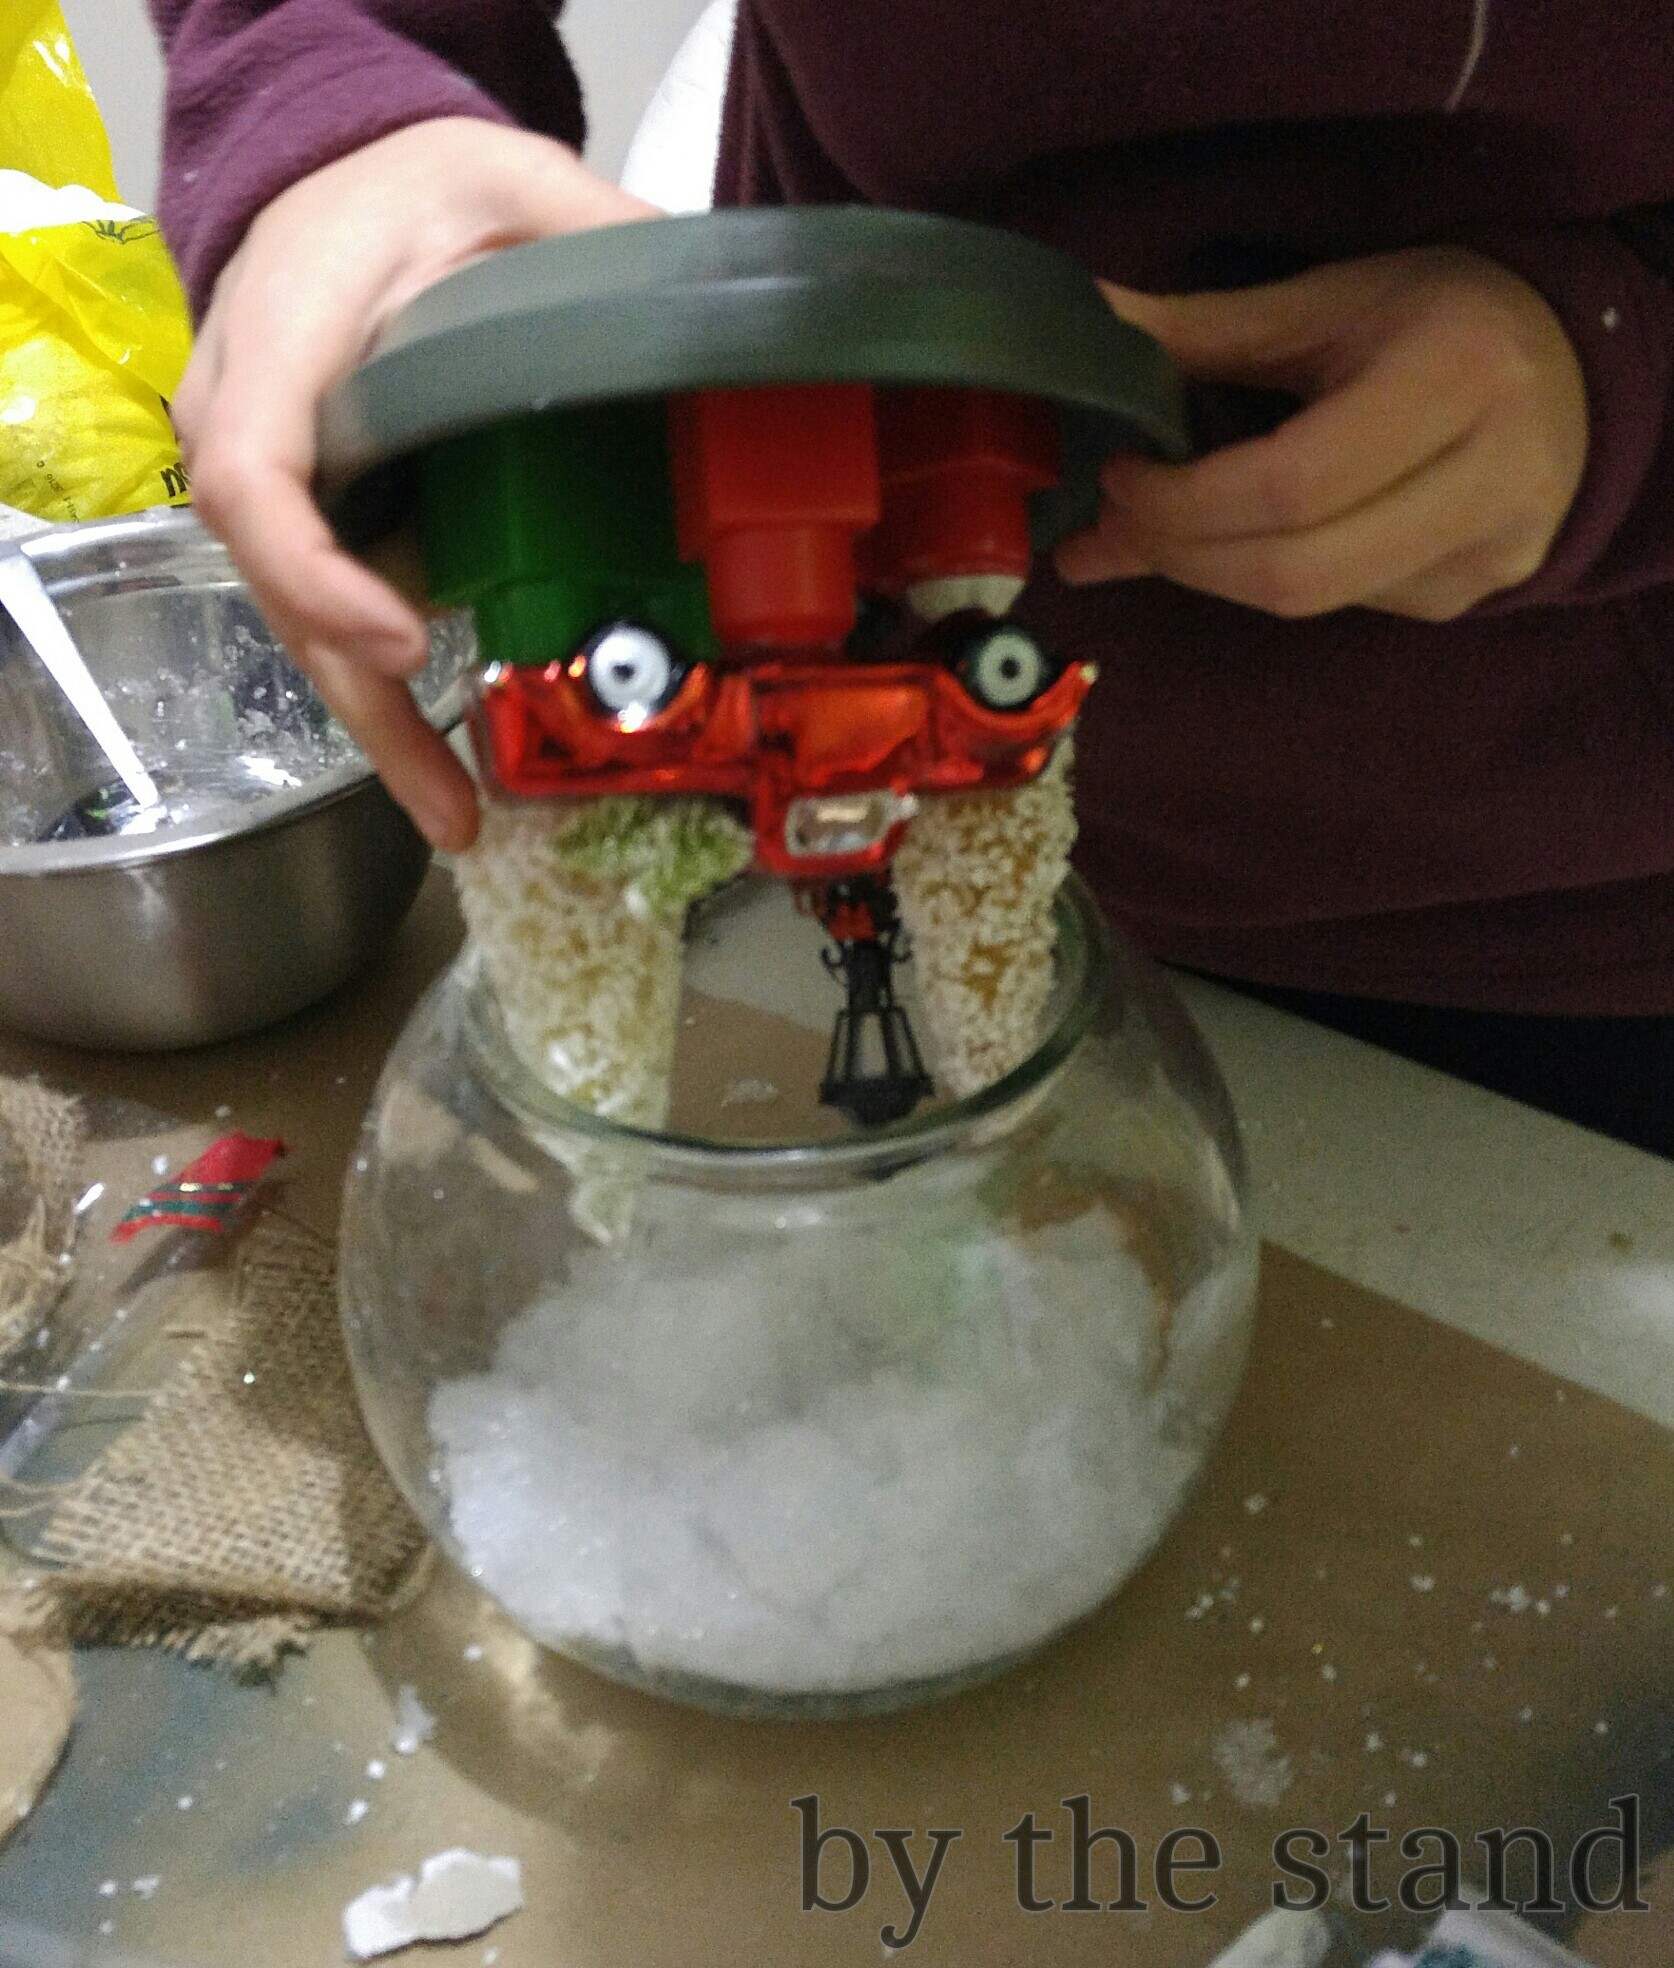 And then when you flip it back up this is what you get!
  Pretty cool, eh?
  You will notice I removed the light post. It didn’t fit that well so I opted to leave it out, but I love my new snow globe! I put it in the middle of some greens to give it that extra pzazz. What do you think?
I had so much fun that I wanted to make more! Here are some fun tree ones I did…
I wanted to do a mason jar one. I also saw this at Canadian Tire and wanted to replicate it.  So I grabbed an old mason jar and some burlap.
  I covered the pink lid in burlap. Don’t ask me why the lid was spray painted pink. I have no idea.


There is no rhyme or reason to how I covered the lid. I just cut the burlap into strips and started gluing it around. One thing to be mindful of is to not mess with the grooves on the inside of the lid or you won’t be able to get your lid back on your jar.
I had some left over white trees, so I used this glitter ball stuff that I had from the dollar store. 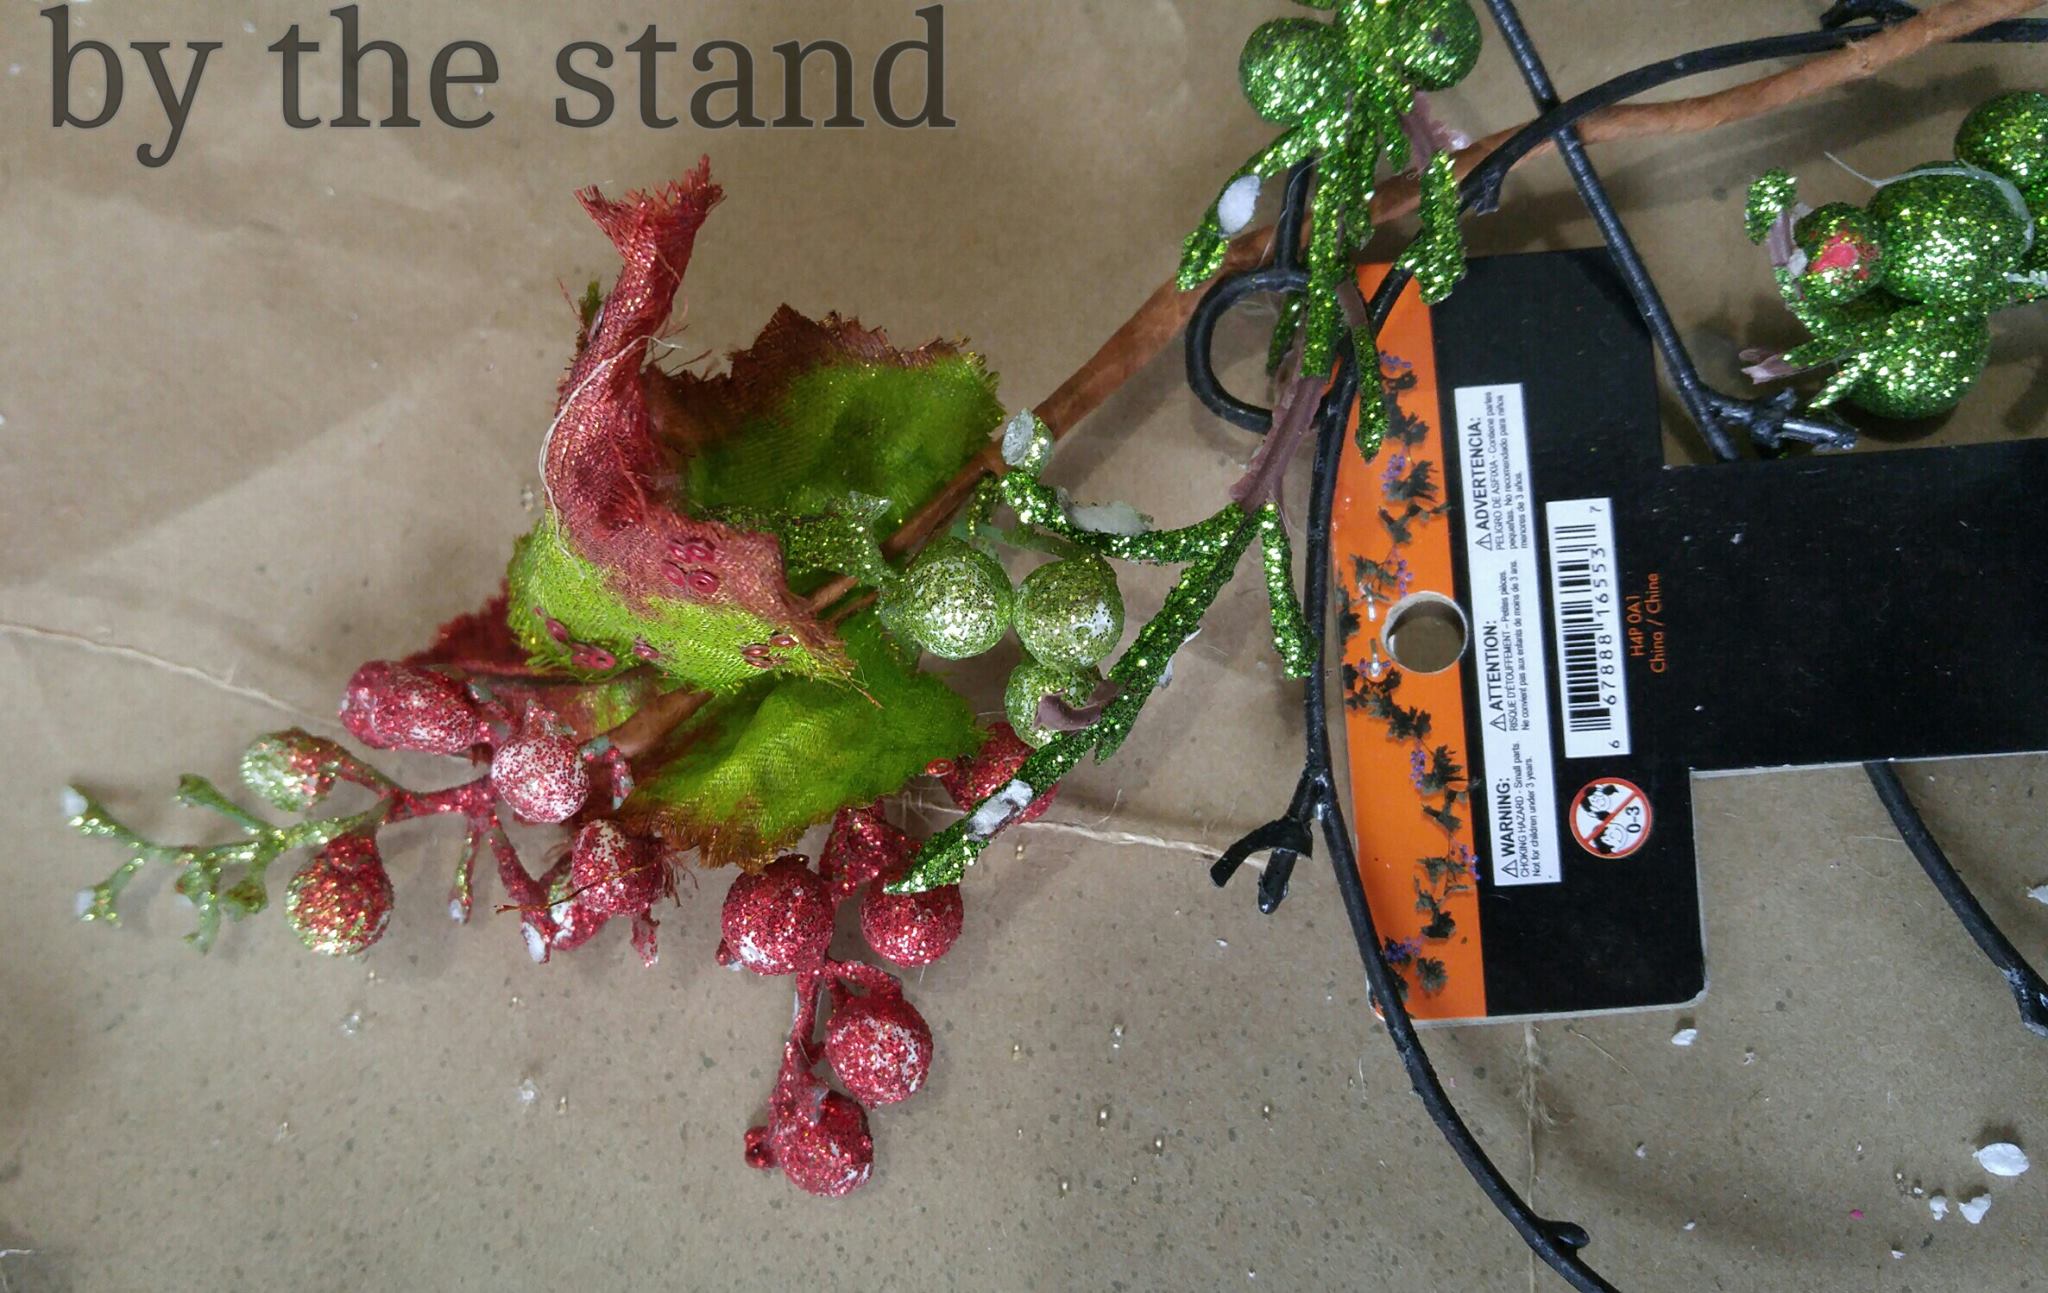 I picked the balls off and then glued them into the white trees to look like Christmas ornaments.
  I also attached a stick to the bottom with hot glue because just like the truck, I wanted the trees to be raised up… and sit at different heights.
 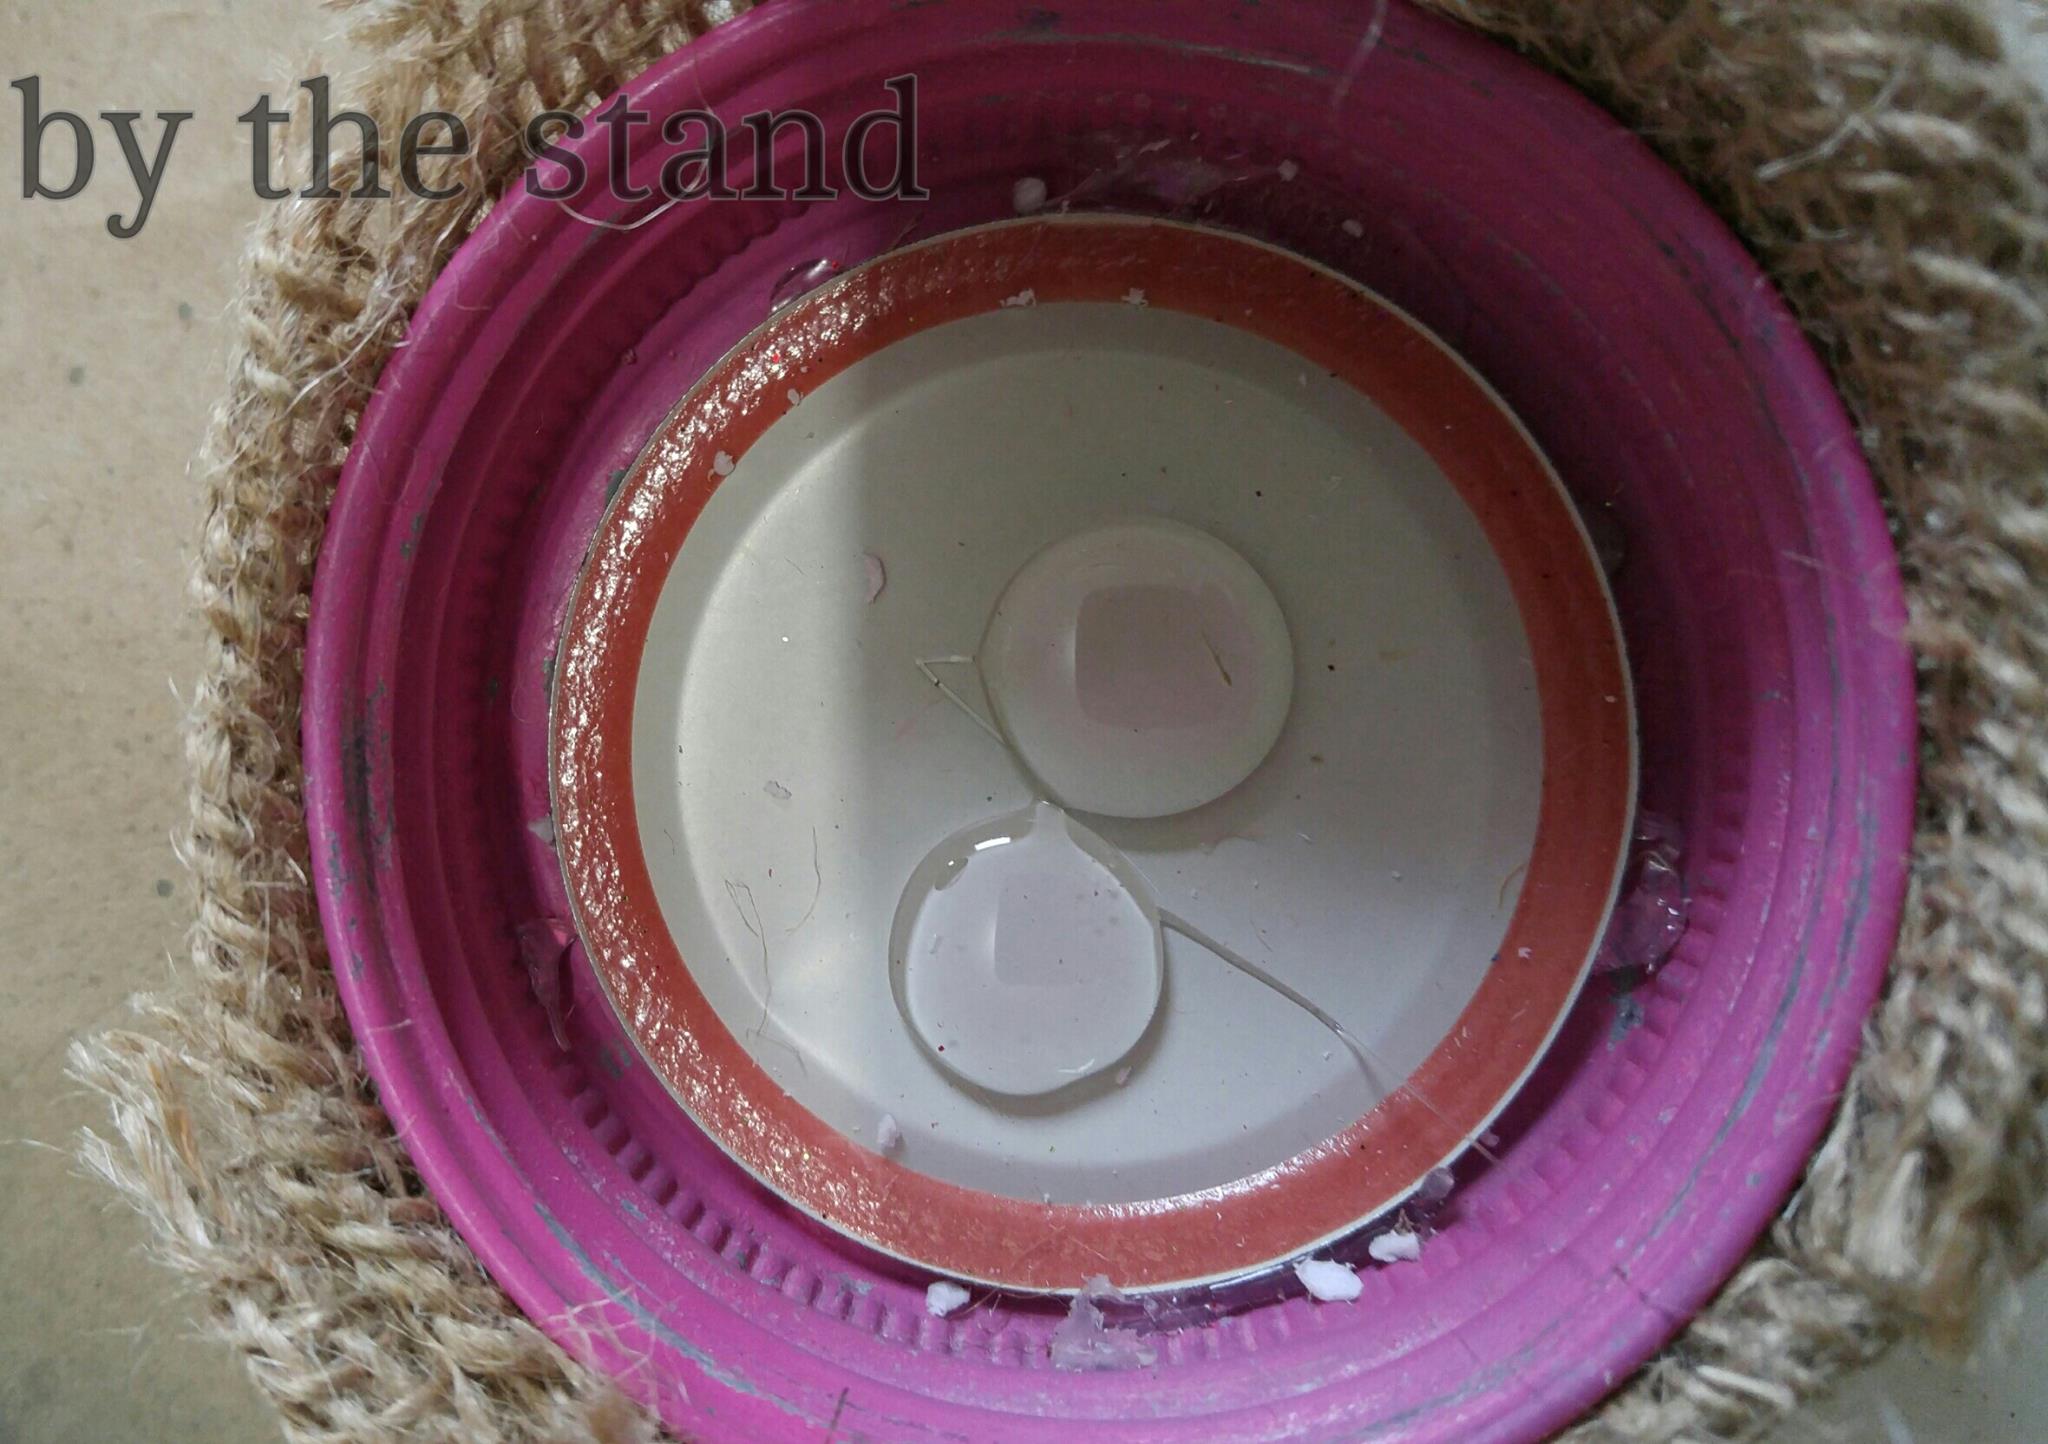 I used hot glue in the bottom of the lid of a mason jar to make a bit of a holder for the sticks.
Ta-da!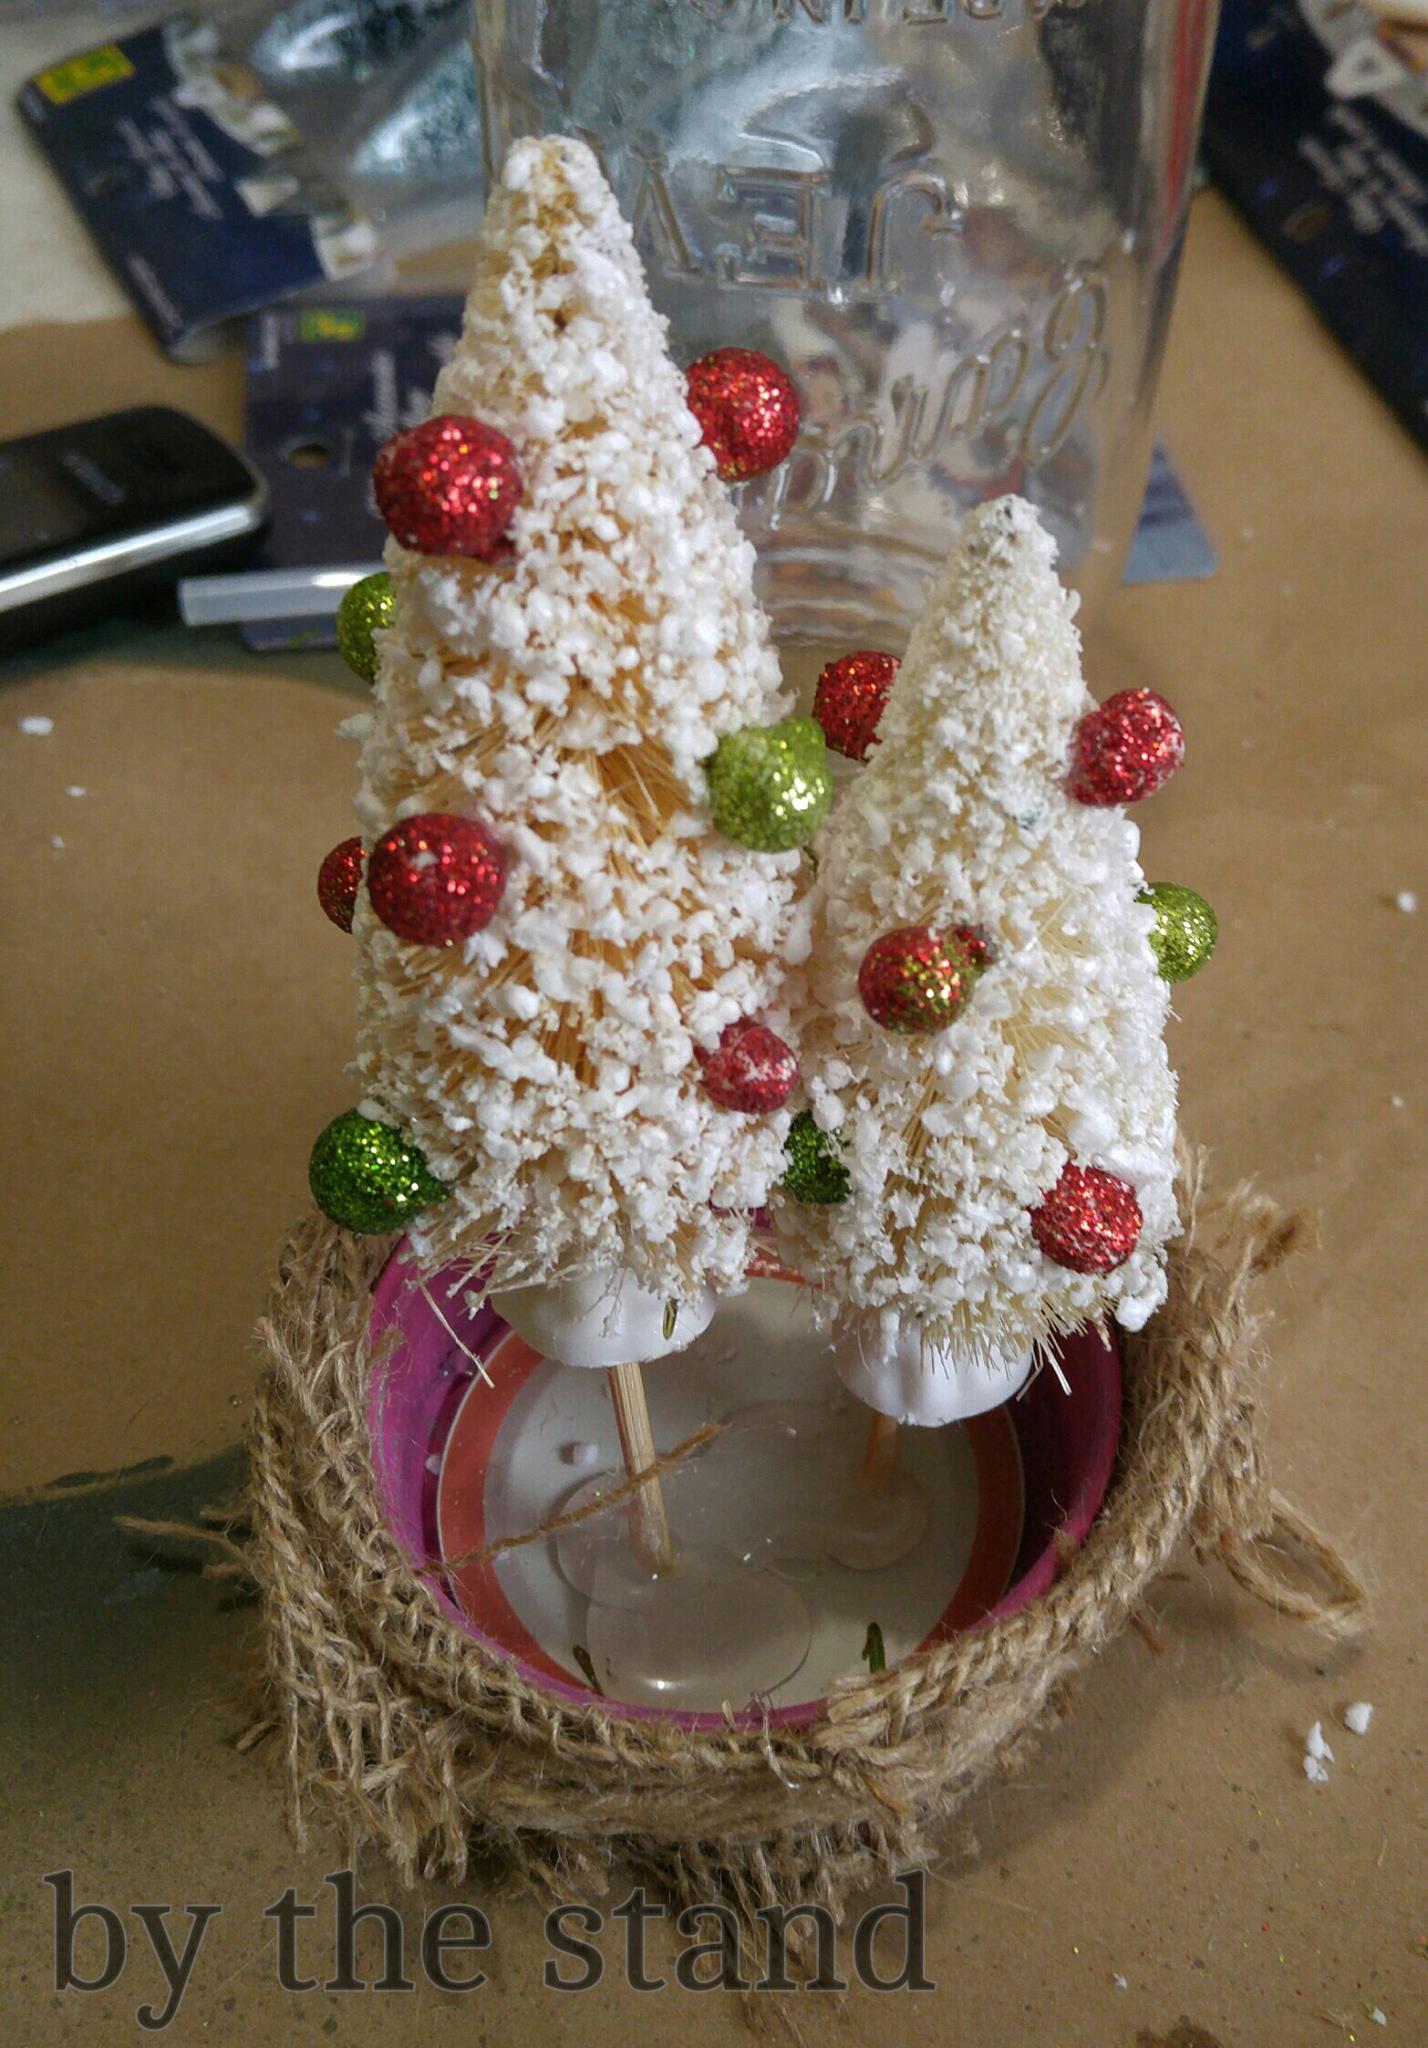 I then filled the jar with the “Real Snow” and put it all together.


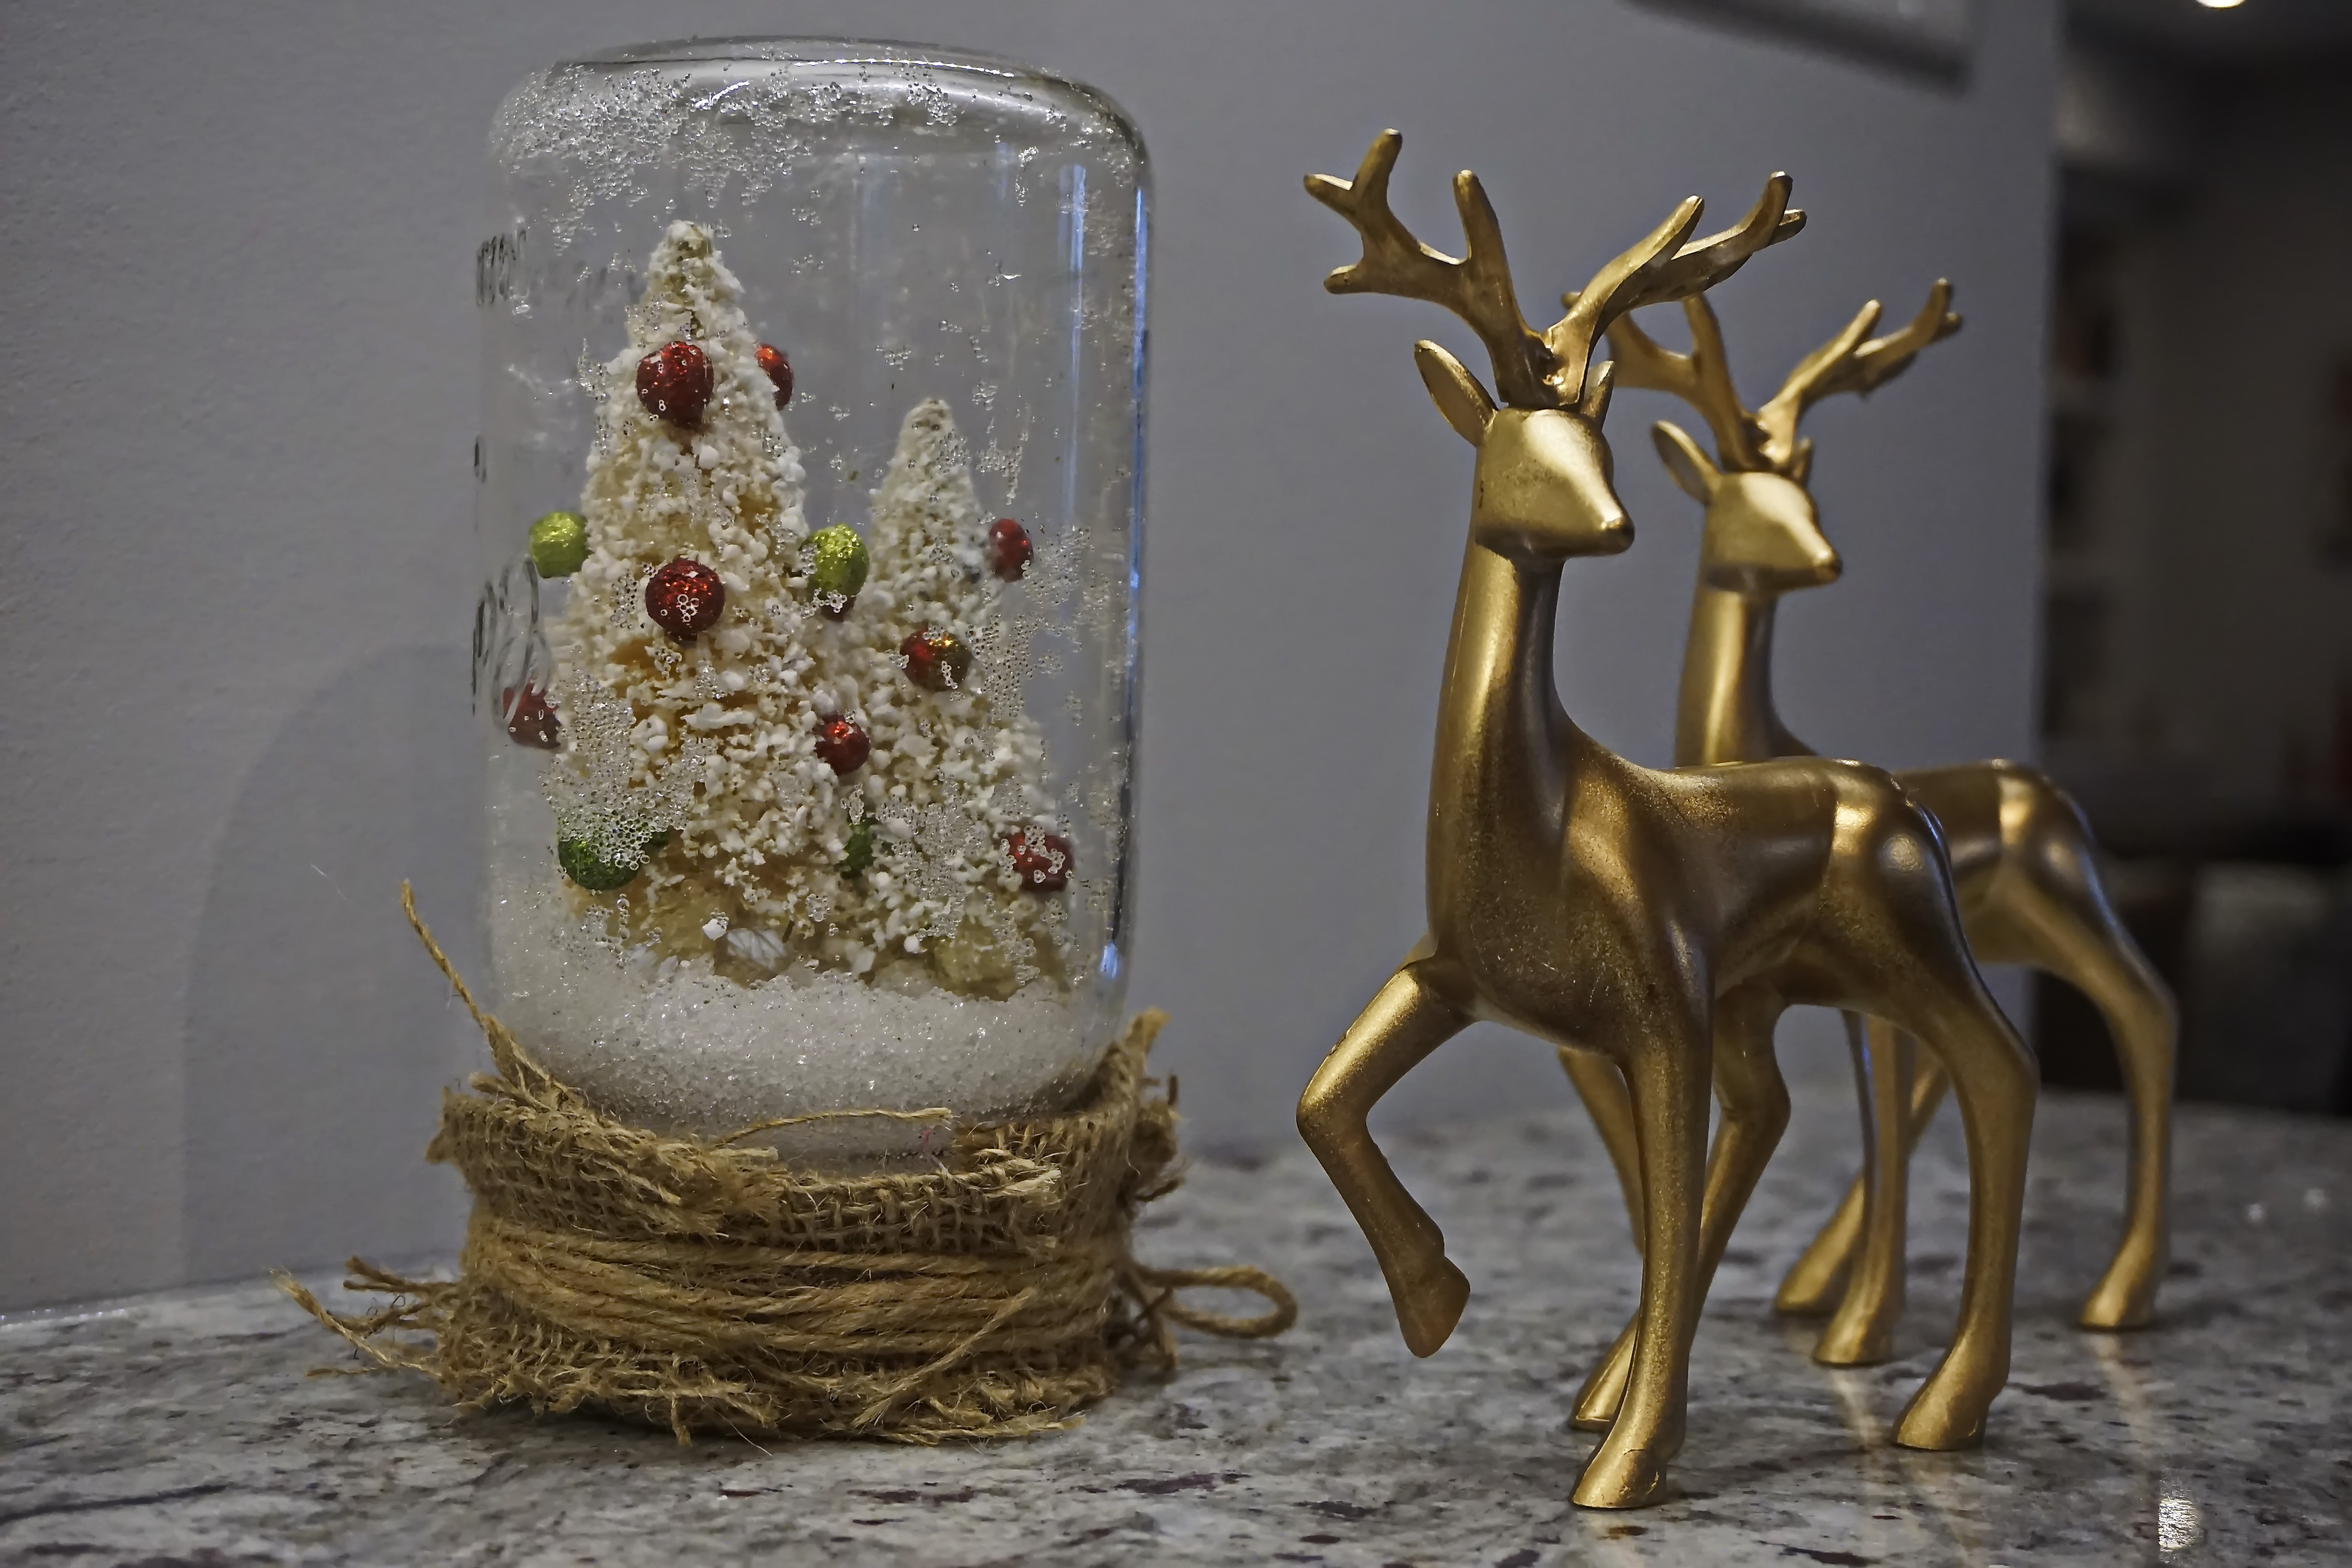
What do you think of this one? Which one is your favorite?
Don’t decide yet, I have one more!
My mom had this cool looking glass dish and I knew it would be perfect for a “snow globe” village.  So I picked up some village pieces from the dollar store.
 I put it all together in the dish with the “real snow”.
 I had so much fun making all these and this would even be fun to do with little kids!
Share your thoughts on these snow globes and feel free to share this project with your friends!


Leave a Reply
Pingback: Take a look at how this woman turned these jars into something so magical - DIY on December 21, 2016
5 COMMENTS
Ivory
9 years agoWow, you are very talent. I love both of them.
Happy holidays!
hollygrace13
9 years agoThank you!!!
camryn forrest
9 years agoNice work!
hollygrace13
9 years agoThank you!!