Hey guys! I am so excited to share this post with you! I have taken part in the “Fab Furniture Flippin Contest” Sponsored by “EnviroTex Lite®” I can’t wait to show you the bathroom vanity that I made over with this product.

This is my first time participating in the “Fab Furniture Flippin Contest” and it has been so much fun. Before I go into the details and photos of my project, I would like to throw out a huge thank you to Evelin Alvarez-Flores. She is the creator and operator of the “Fab Furniture Flippin Contest” and I am so grateful to be included!
A big thank you as well to our hosts for the contest, Christi, Scottie, and Jessica. Thanks for all your hard work, too!

And, of course, I can’t forget the fine people over at “EnviroTex Lite®“. Thanks for sending me your amazing product so that I could create and makeover a dingy old bathroom vanity.
I saw a video a long time ago on Facebook and it was a tray makeover where they filled the tray with resin. It was so cool and ever since I saw that video, I have been wanting to work with resin.
When I saw the post in the “Fab Furniture Flippin Contest” Facebook group about the resin challenge, I knew it was one that I wanted to be a part of.
If you’re interested in the “Fab Furniture Flippin Contest” and want to be a part of the next challenge, check it out here.
Let’s talk about our Sponsor
“EnviroTex Lite®“
EnviroTex Lite® is a water clear reactive polymer compound. It cures to a thick, glossy coating in about 8 hours at 70°F, and reaches full strength and toughness in about 48 hours. This durable, resilient material requires no polishing to produce a high gloss. One coat is all that is usually required for a deep attractive finish, however, two or more coats may be applied one over the other by simply wiping the surface with a clean cloth and alcohol prior to re-coating.
The possibilities for this versatile product are endless! Just head over to their website and check it out!
The Challenge
The challenge for this month was “Showstopping TOPS!”
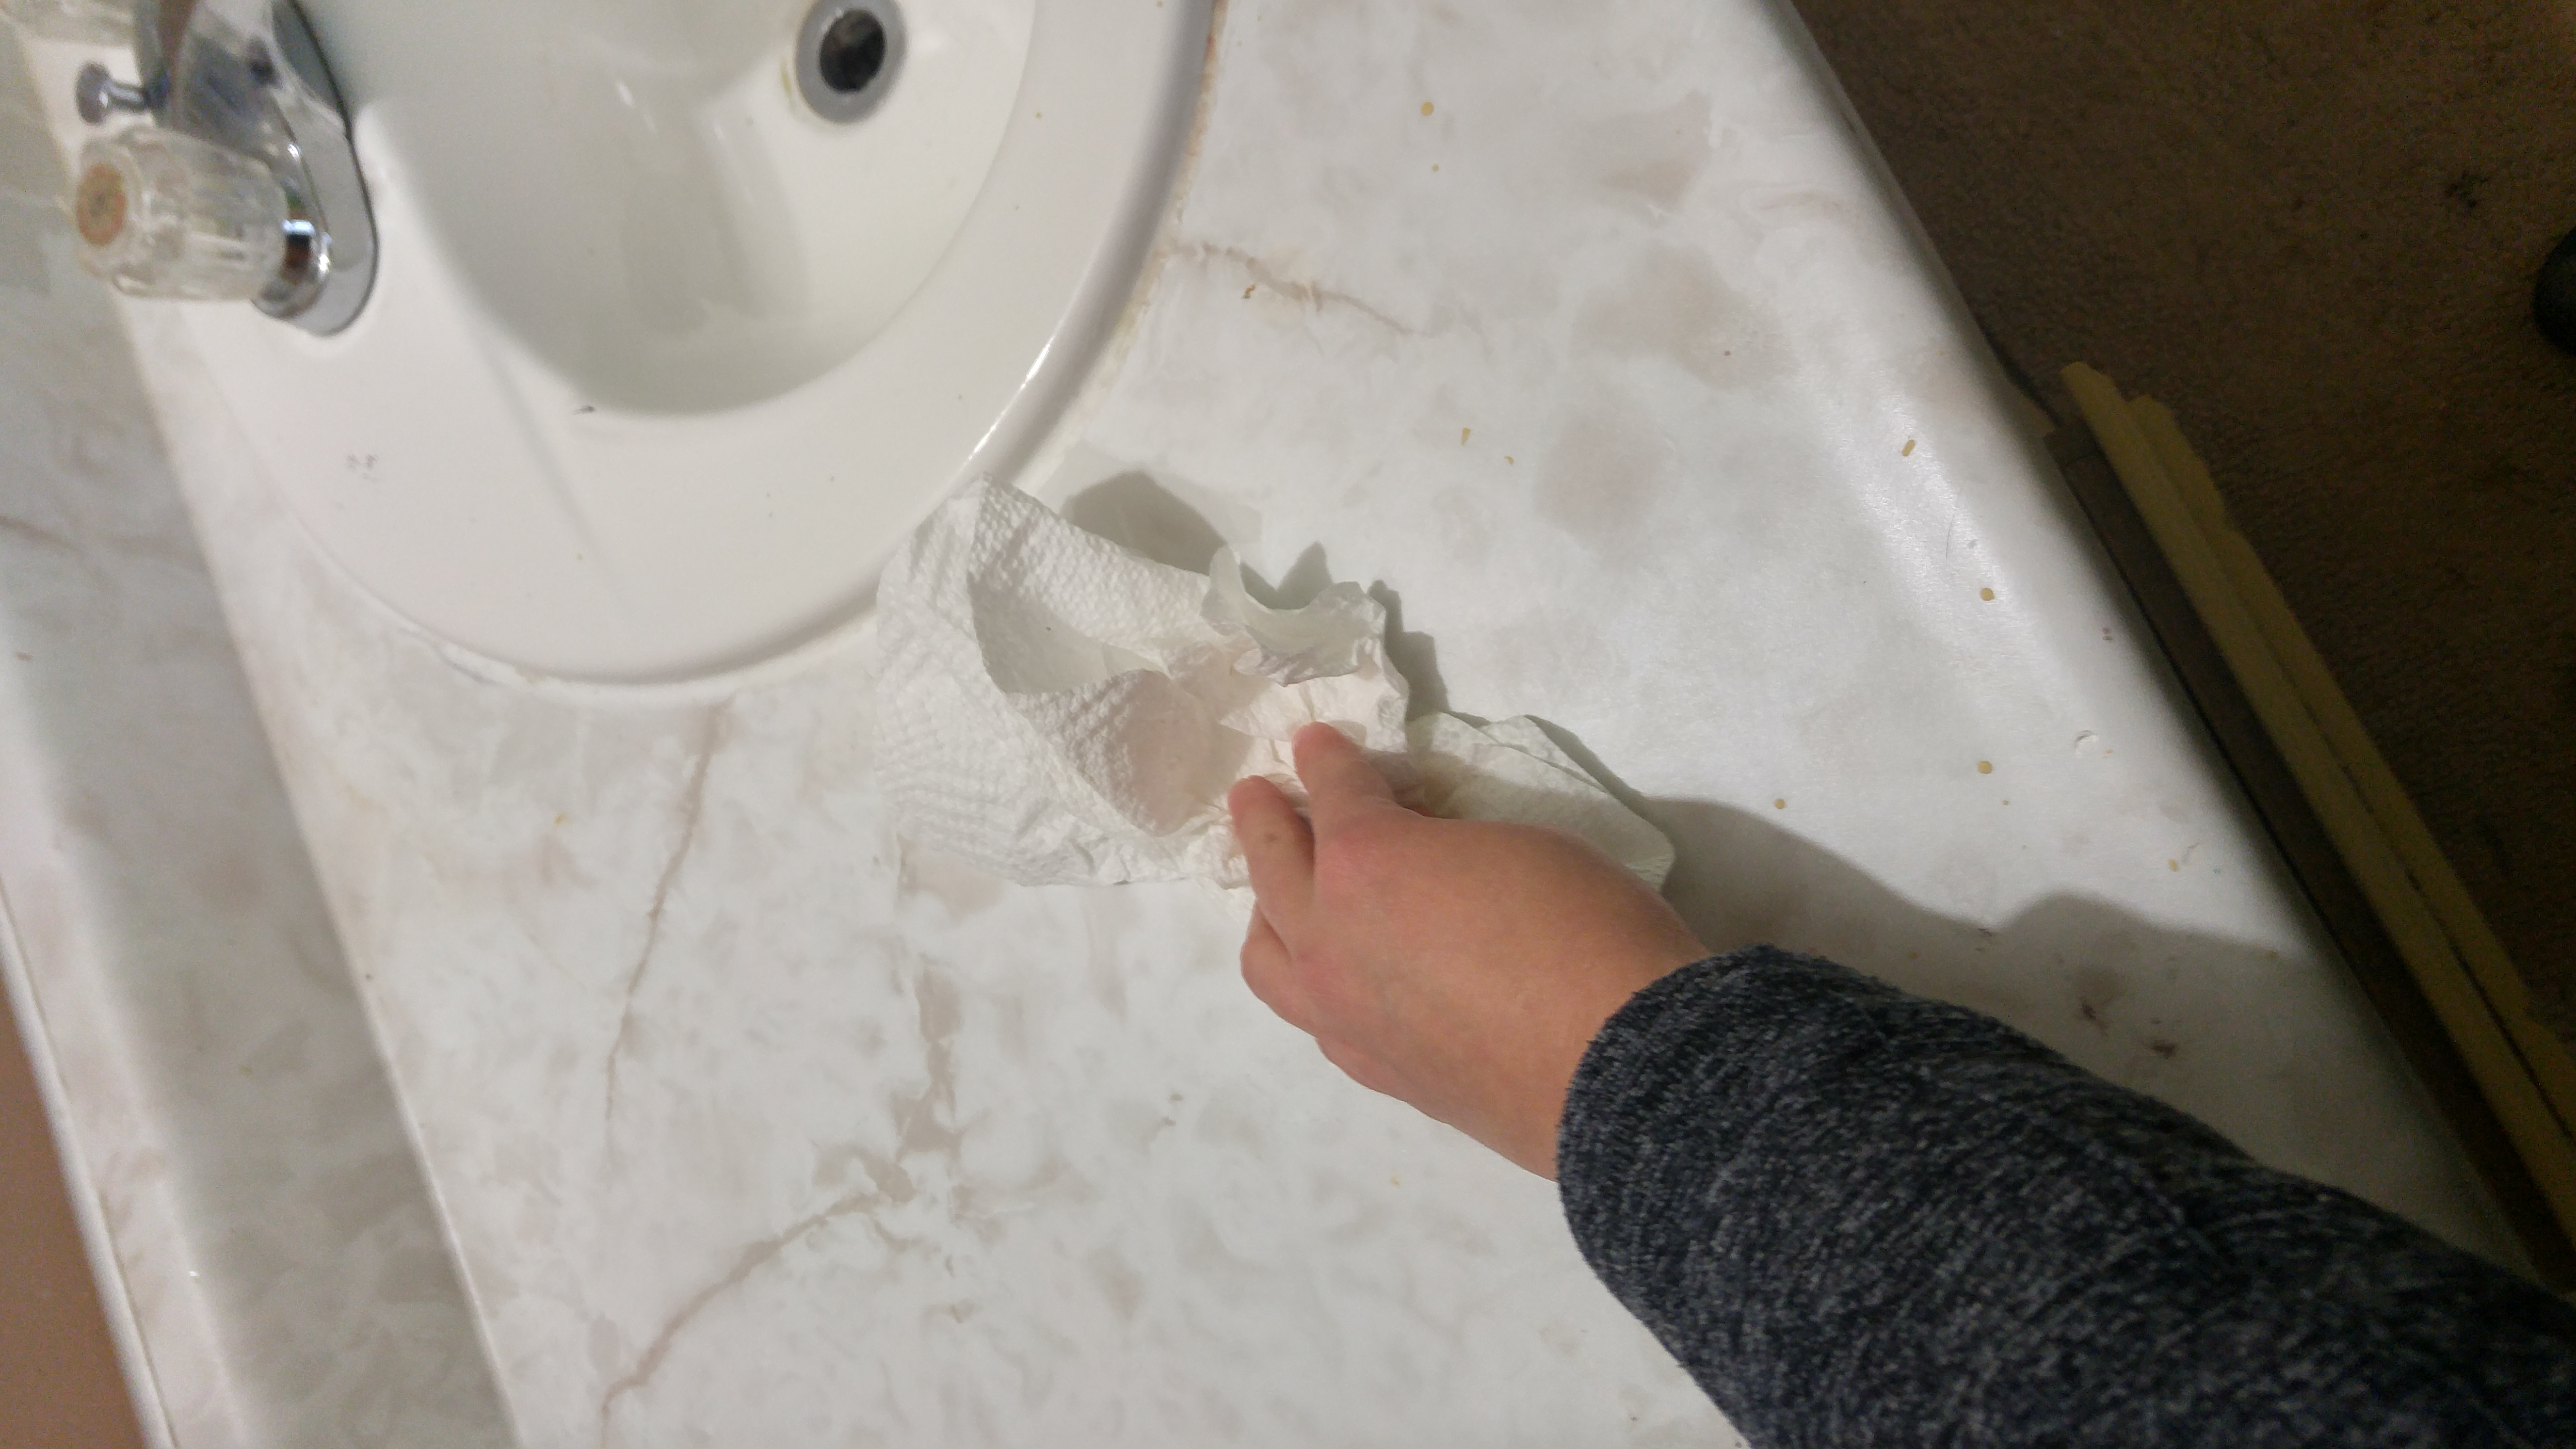
And boy, oh boy, did I have a “top” that needed a little updating. Take a look at this old bathroom vanity.

It’s seen better days, eh?
This is the bathroom vanity in the washroom at the store that my mom and I operate. We definitely can’t have customers coming in and seeing this!! I thought this would be a perfect job for EnviroTex Lite®.
First thing I did was clean it the best that I could. I got rid of any dirt or grime.
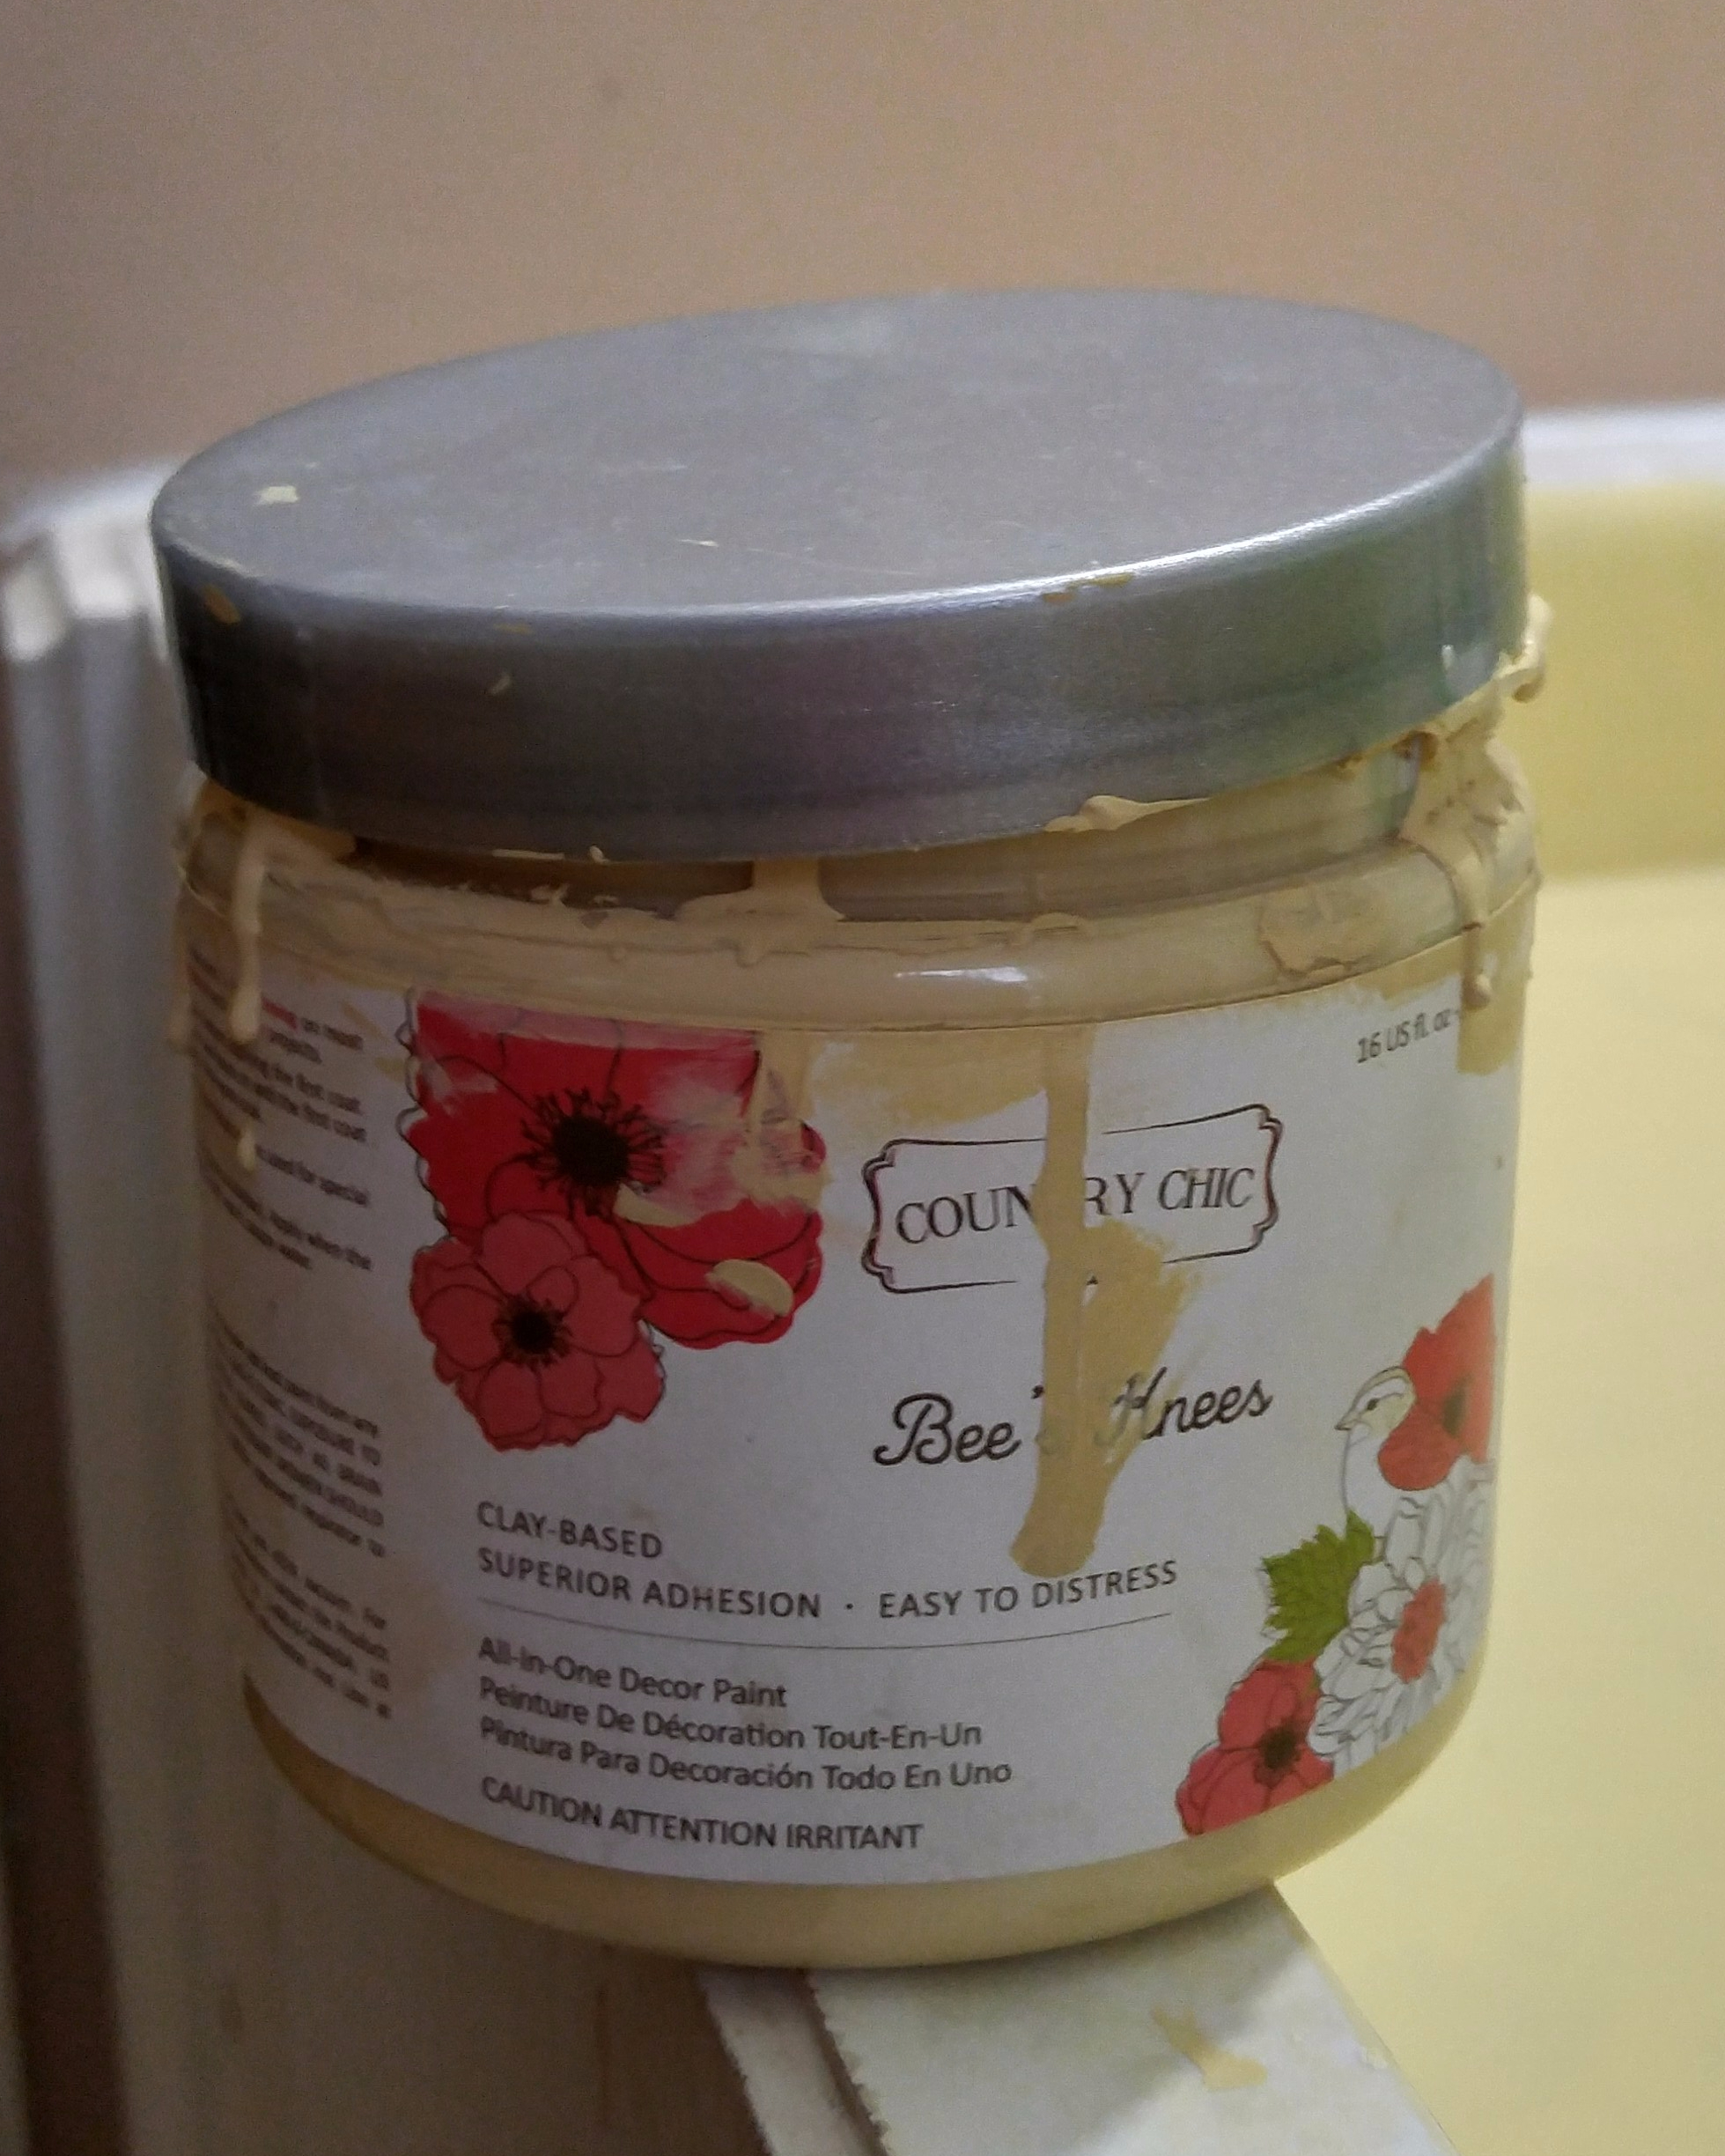
I painted the countertop first because I didn’t want the white old “fake marble” showing through.
I used Bee’s Knees from Country Chic Paint because this is the same color that I painted the cabinet fronts with.
A great paint job always starts with a little bit of painter’s tape.


I let the countertop dry and then dug out the pieces that I was going to resin into the countertop.
My mother used to do stained glass so she has buckets and buckets of glass pieces.
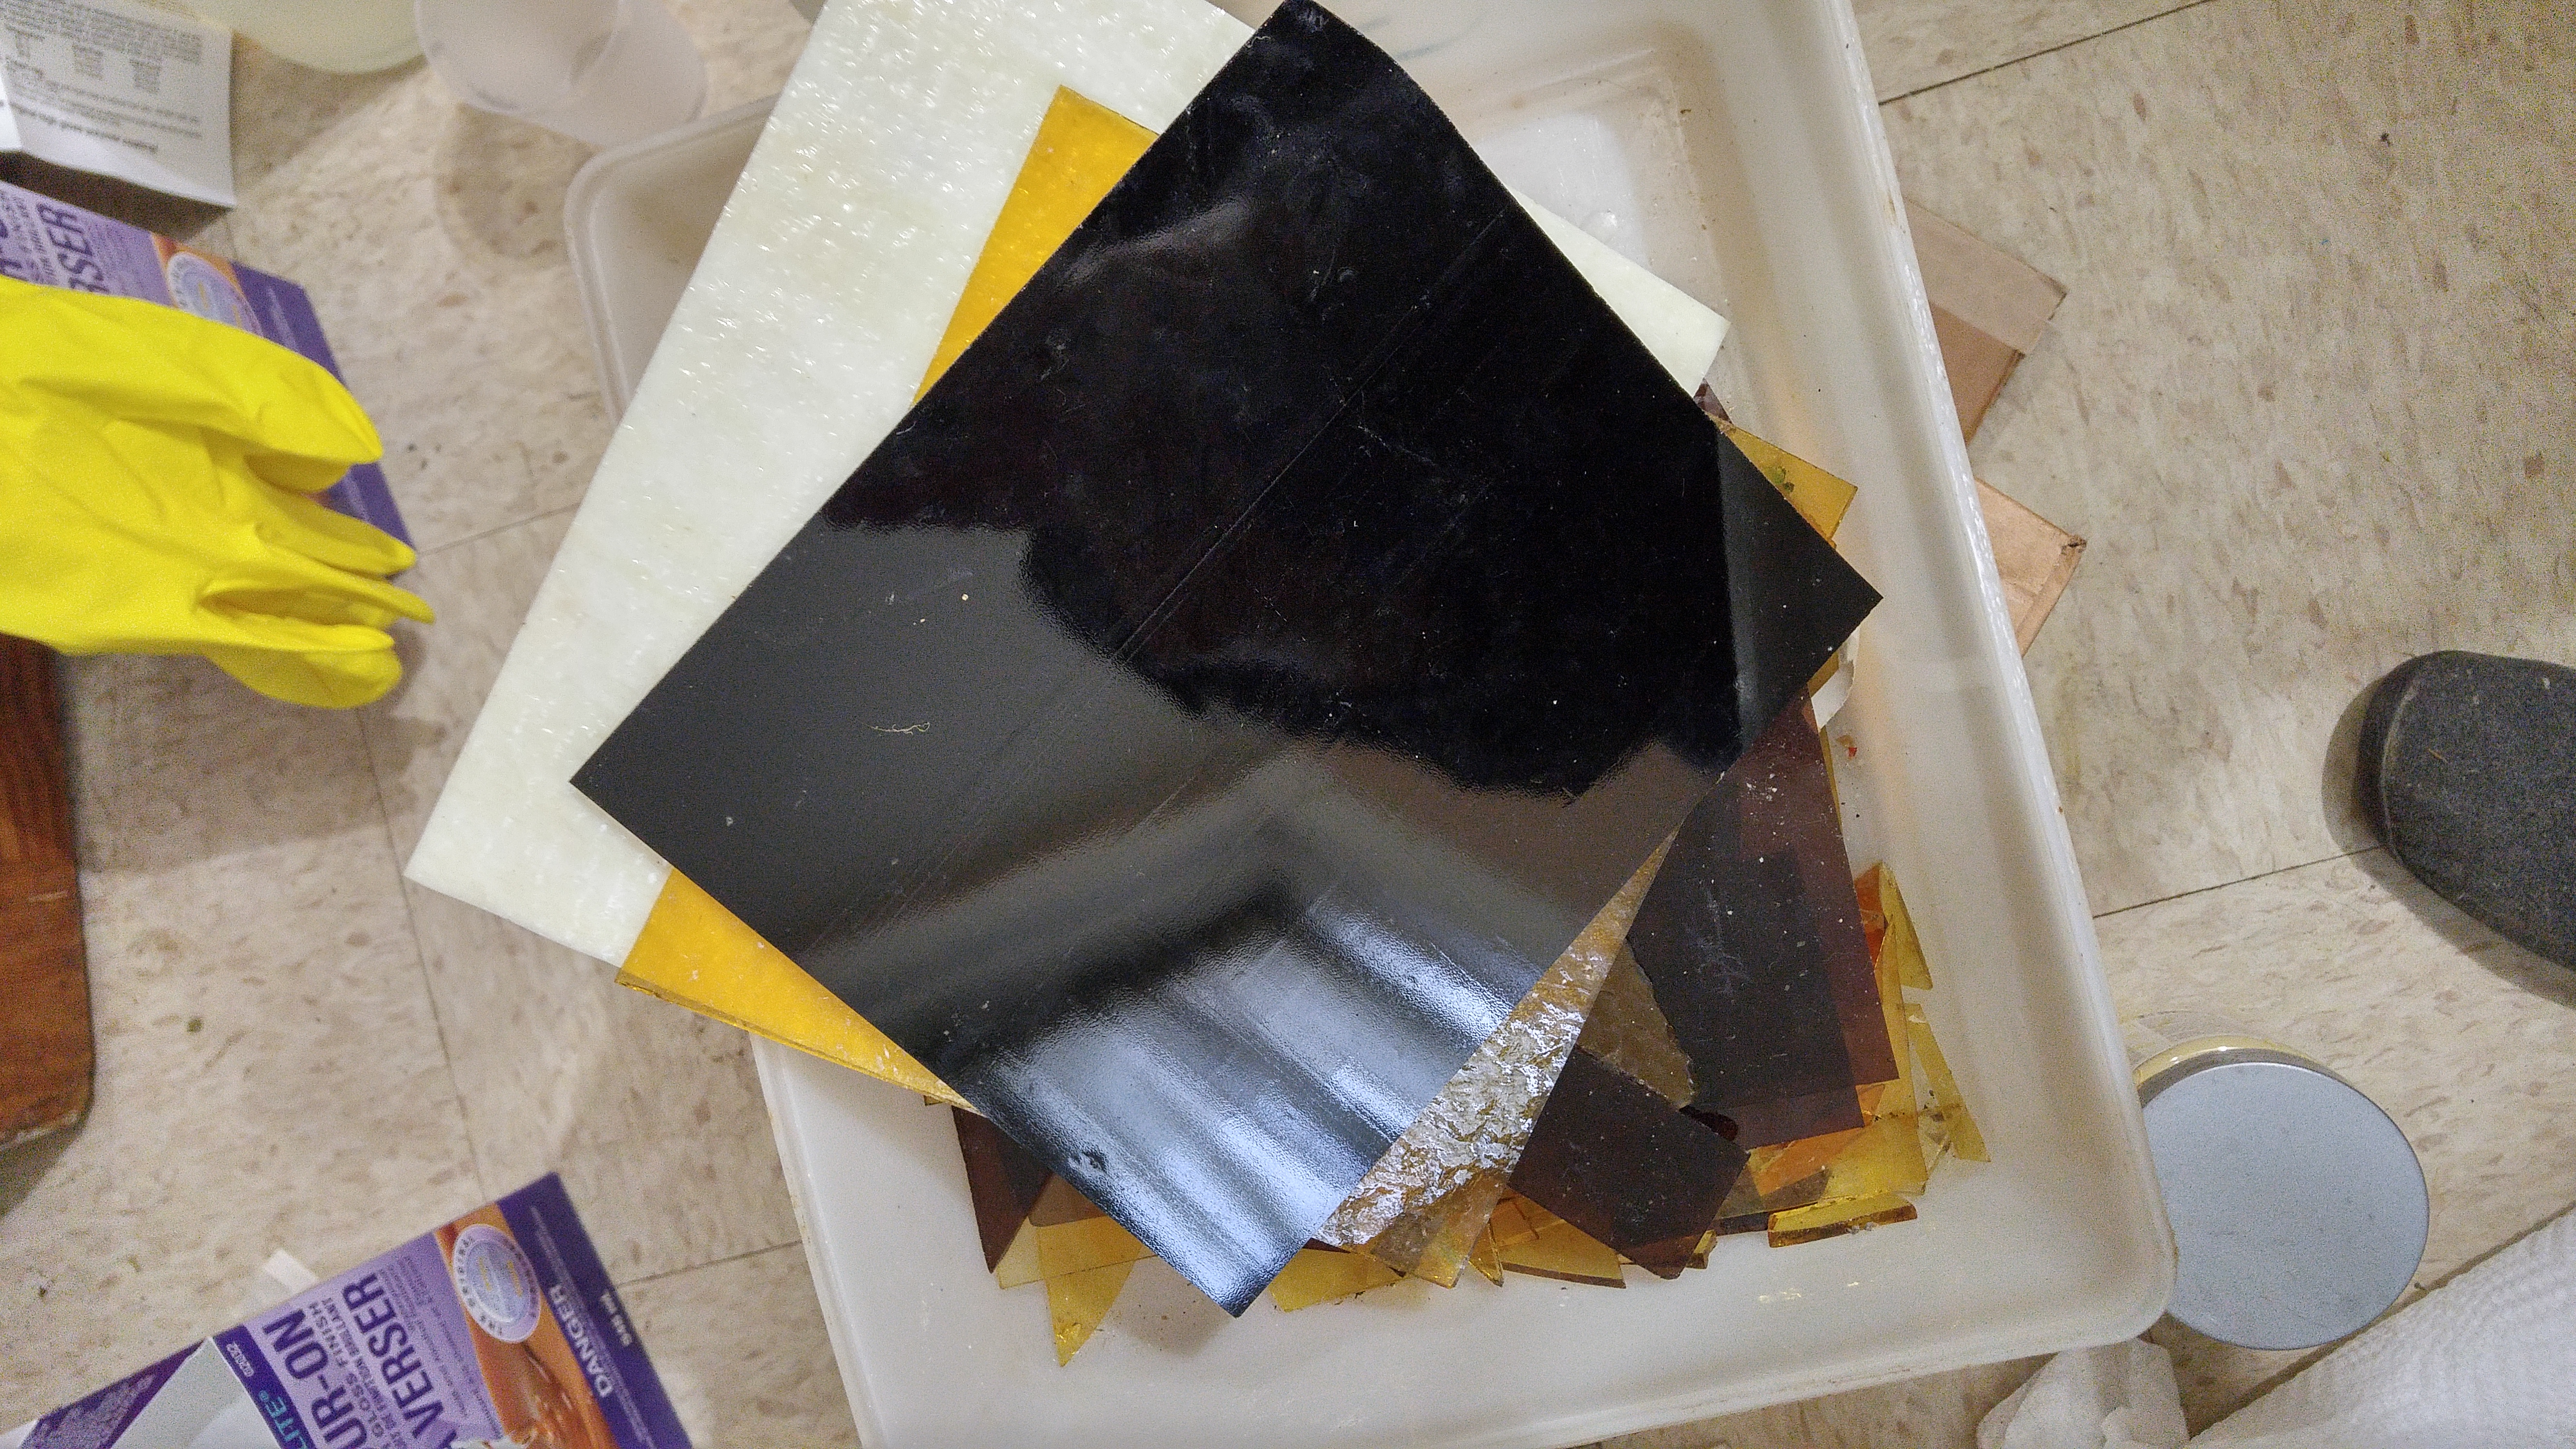
I thought that this would be something totally different and unique so I create a mosaic countertop.
I arranged the pieces on my countertop.


This seems simple enough, but it was actually quite time consuming. It’s not easy to get all the piece to look effortless.
Now for the fun part — the mixing of the resin.
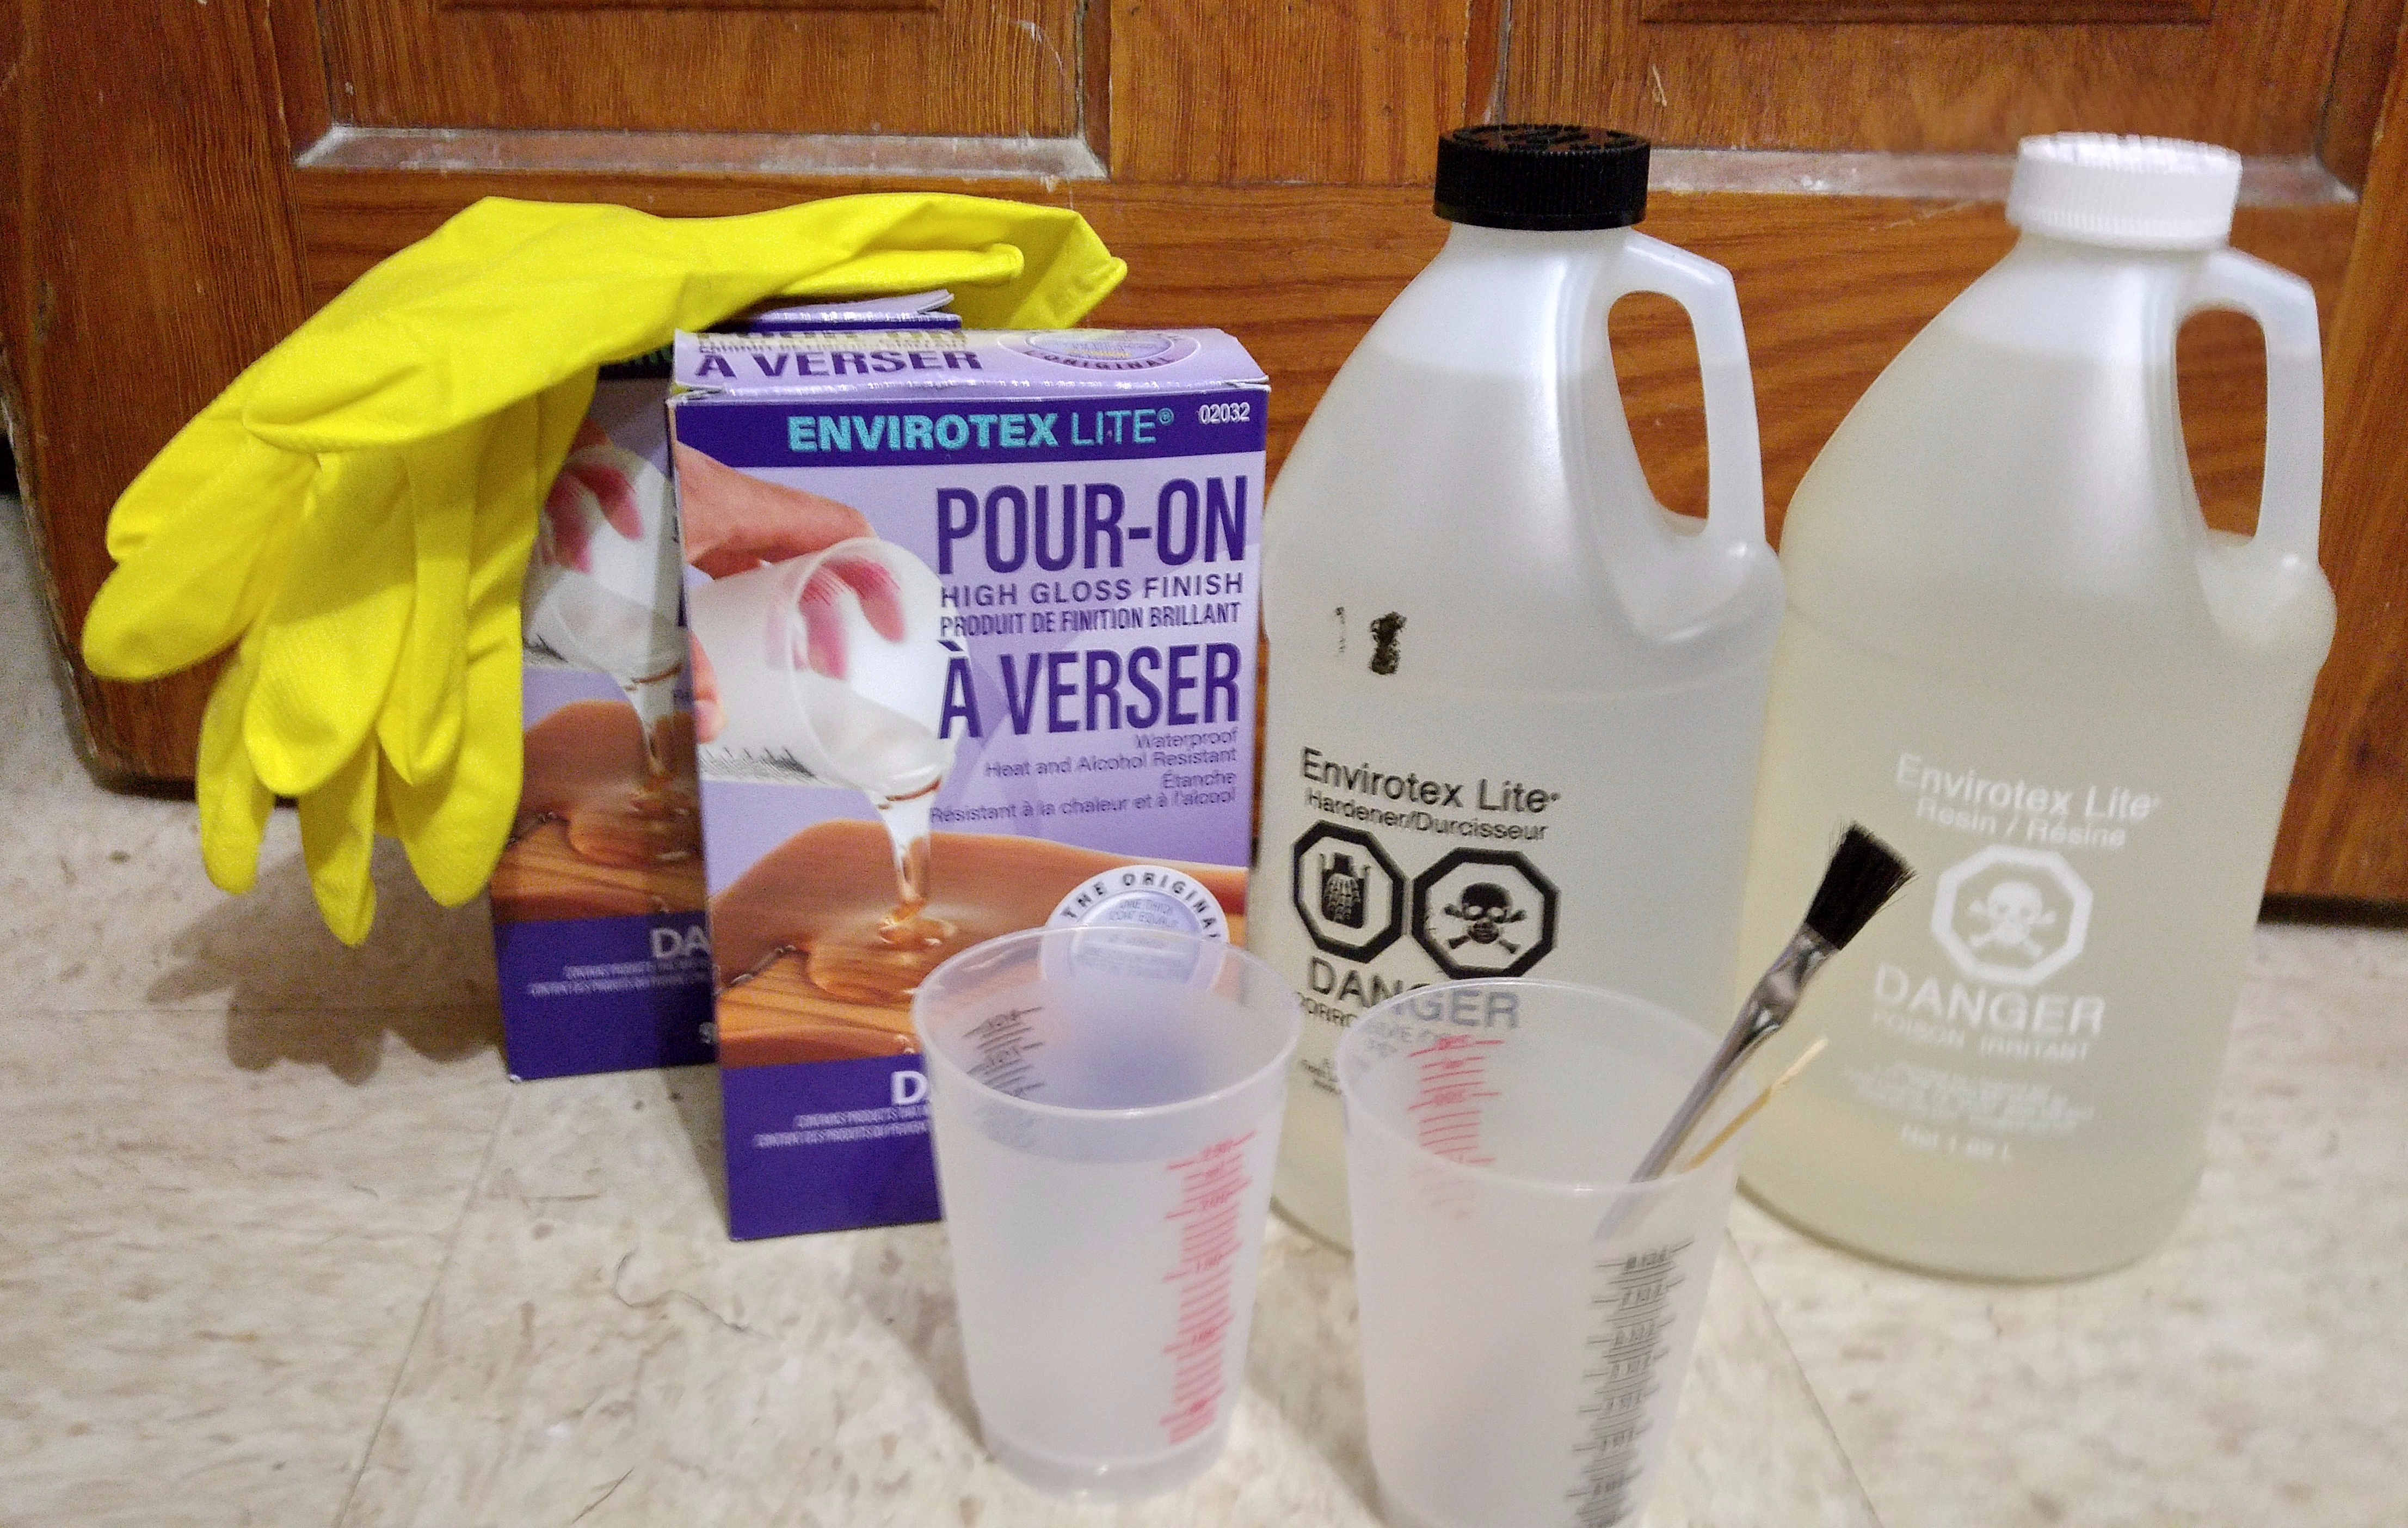
When you purchase a kit from EnviroTex Lite® , everything you need to mix the resin is included. The one thing you will want to get that isn’t included is some gloves.
Mix and prepare the resin according to the instructions on the packaging. One thing that is vital is to make sure that you have the correct ratio of resin and hardener. The ratio is even measurements.

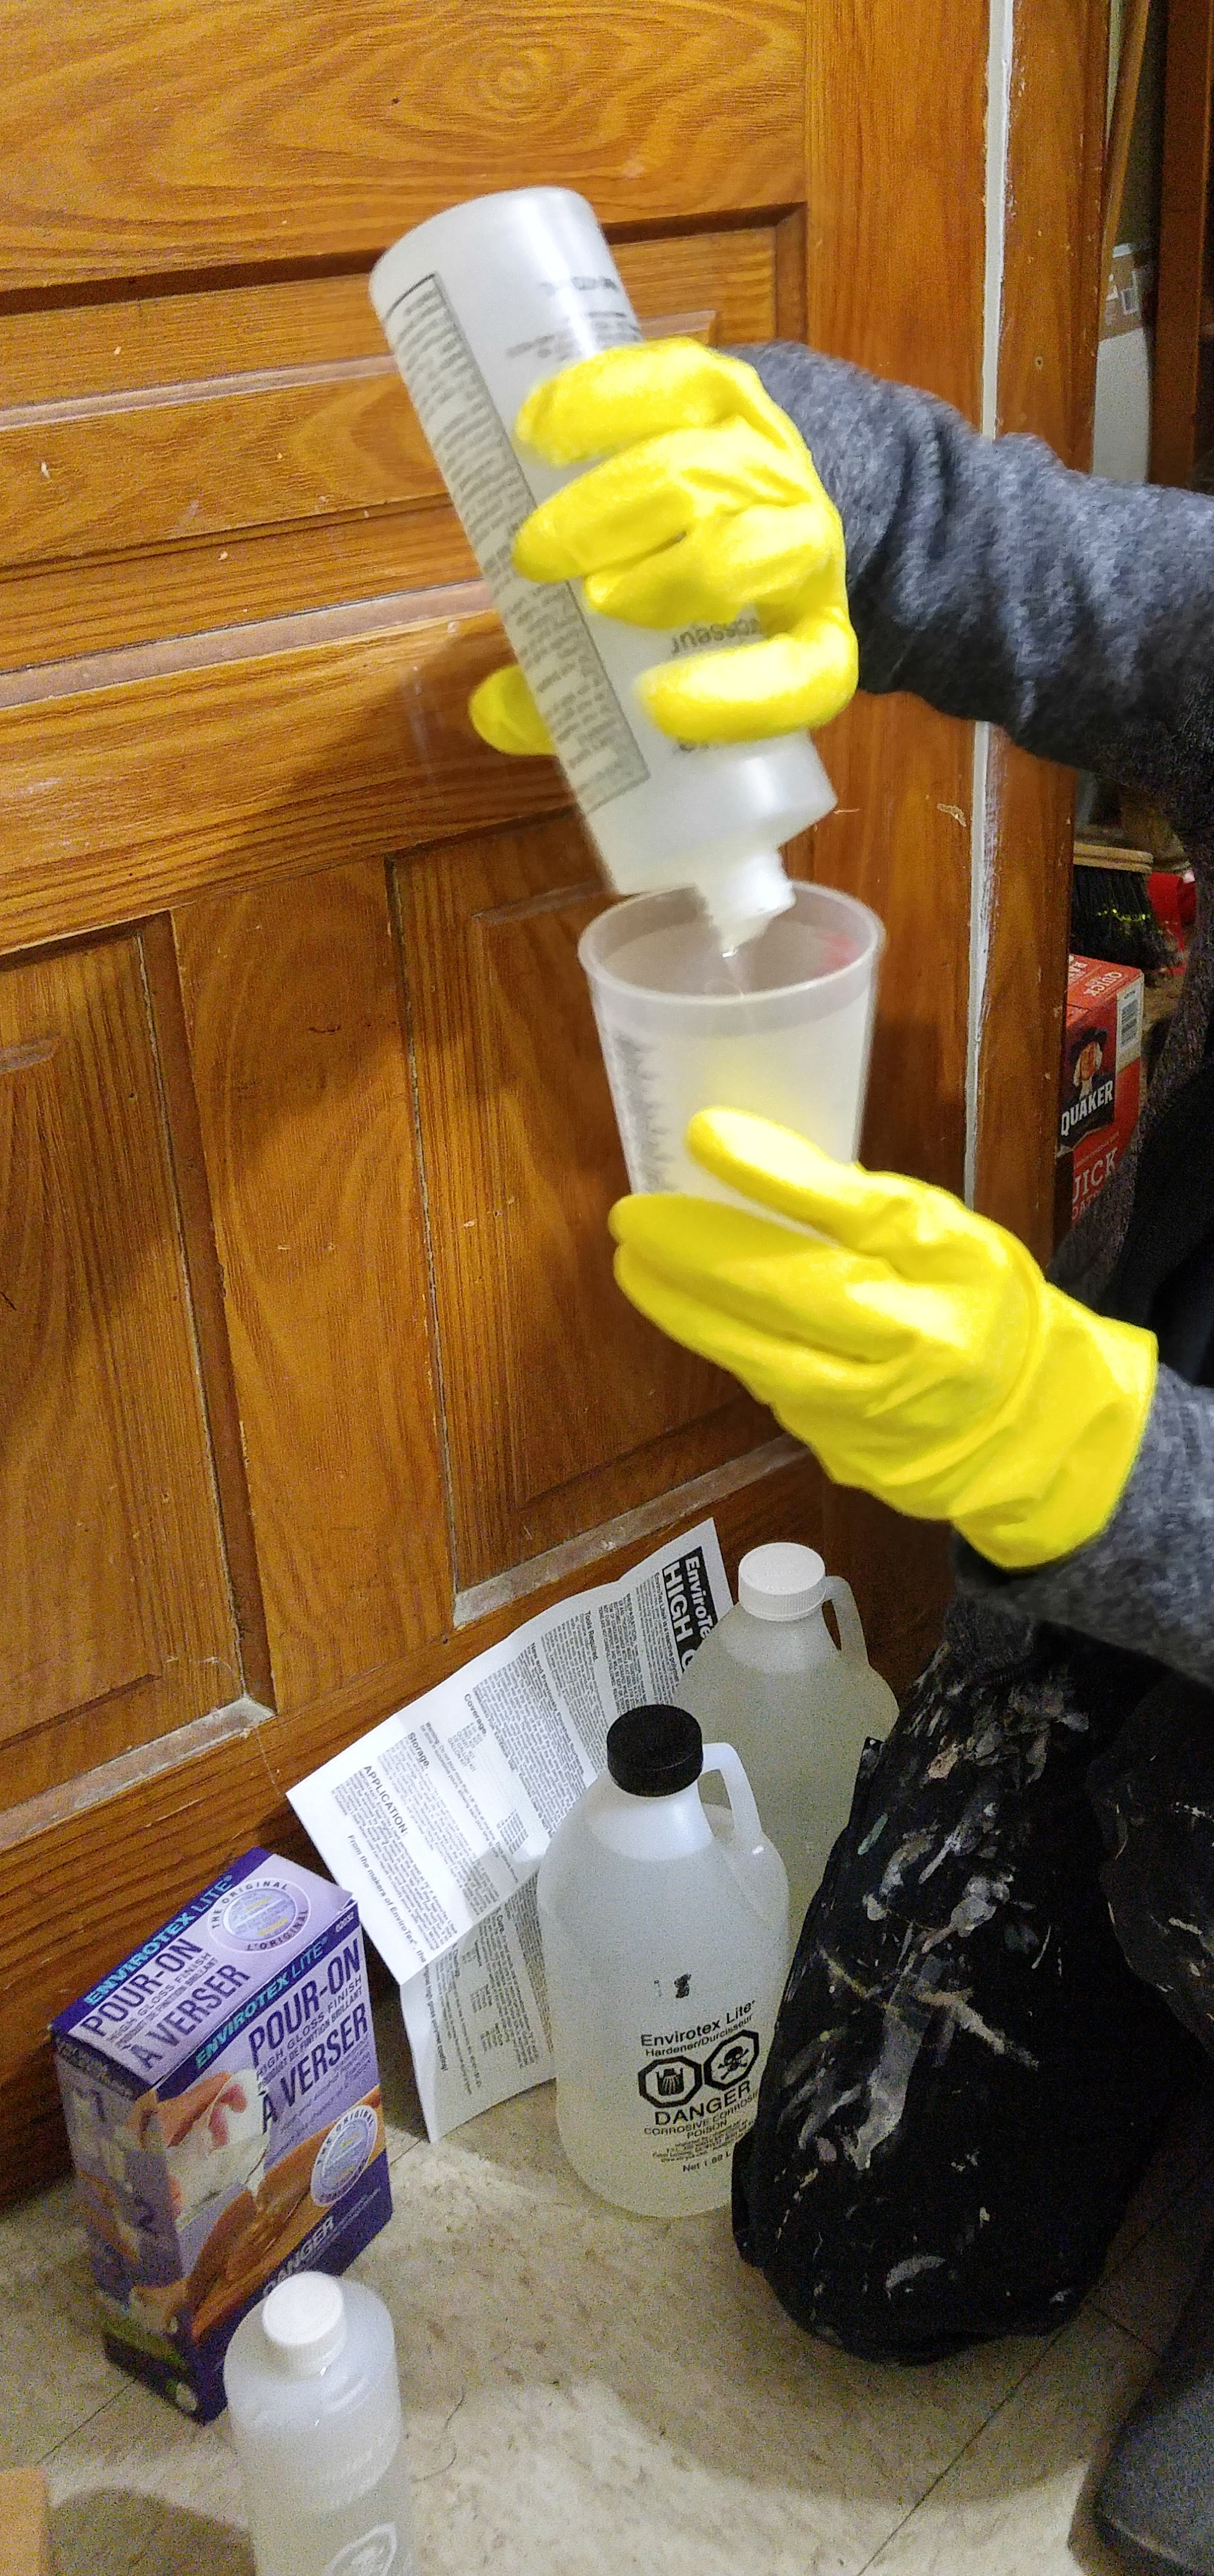

I have to say that this stuff was actually quite fun to “play” with.
Once you have thoroughly mixed according to the instructions, you can pour your resin over your project. I had to mix up quite a lot to cover the vanity.
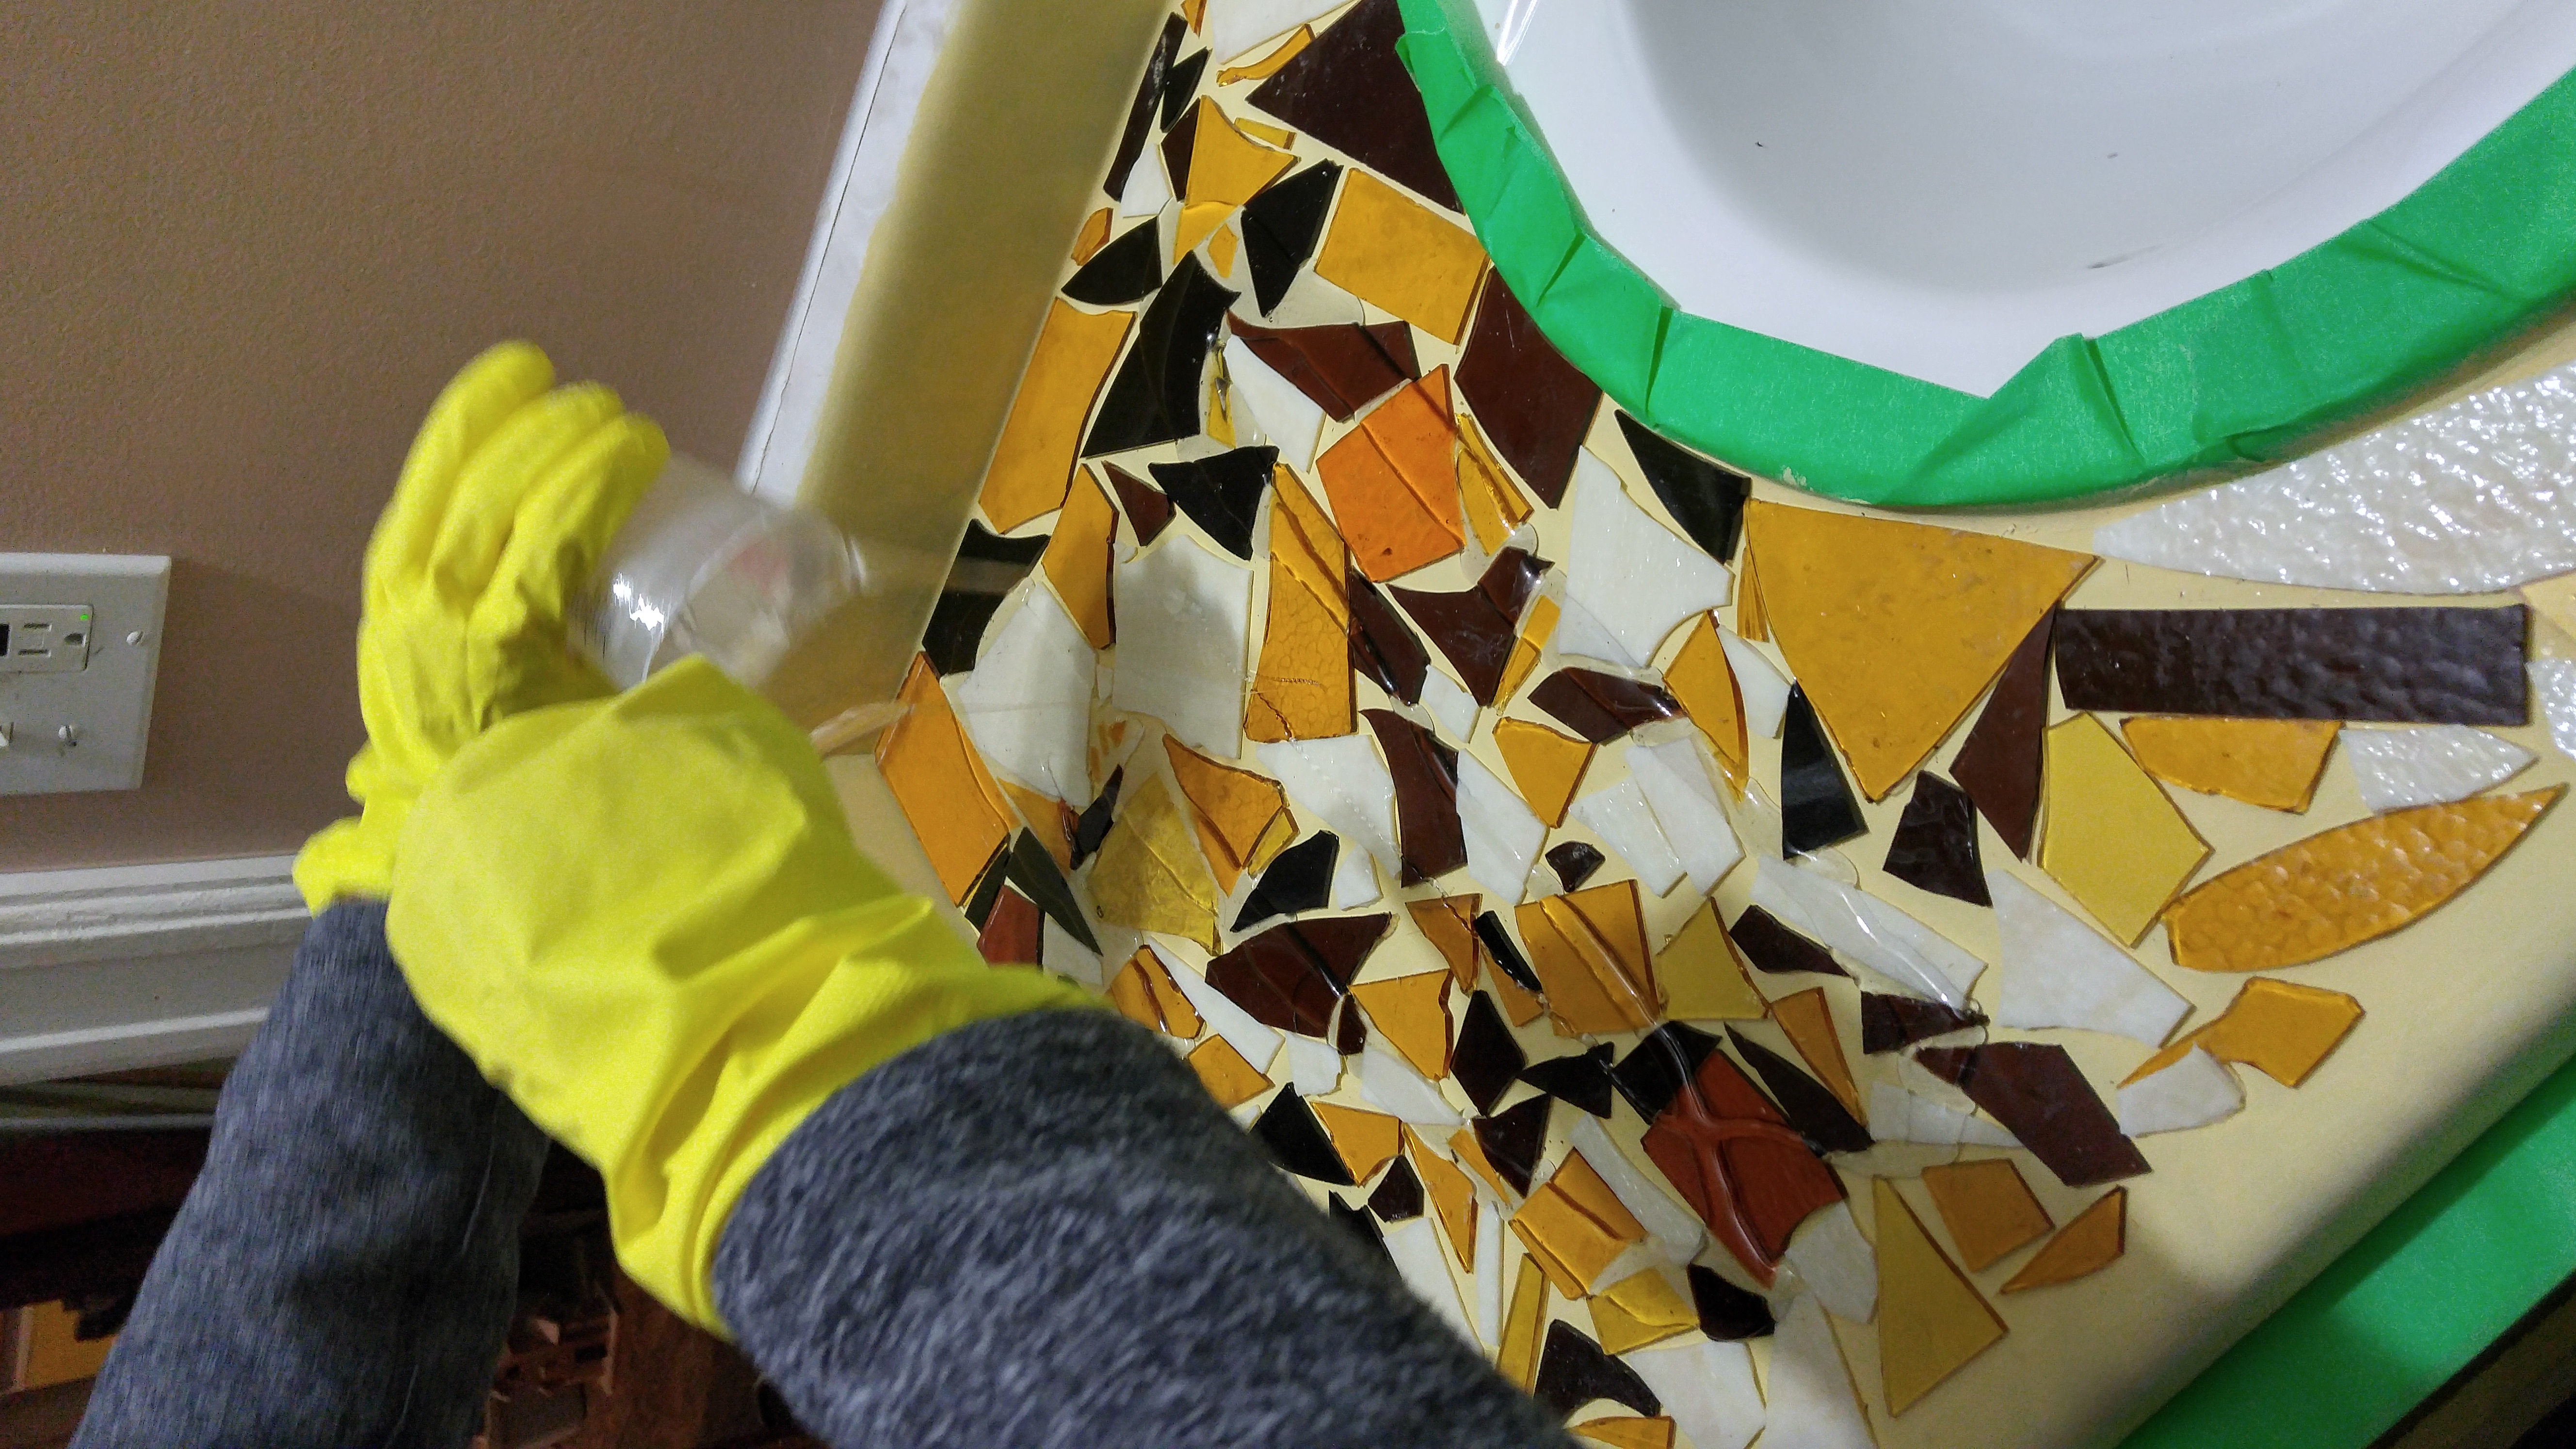
It’s very important to protect the surrounding of your project as the resin will spread. I used painter’s tape at the edge of the countertop to help control the drips.

Once you have covered your project with the resin, you can use a straw to gently blow out any air bubbles. You can also use a BBQ lighter to do this, too.

I left the resin for 72 hours before touching it.

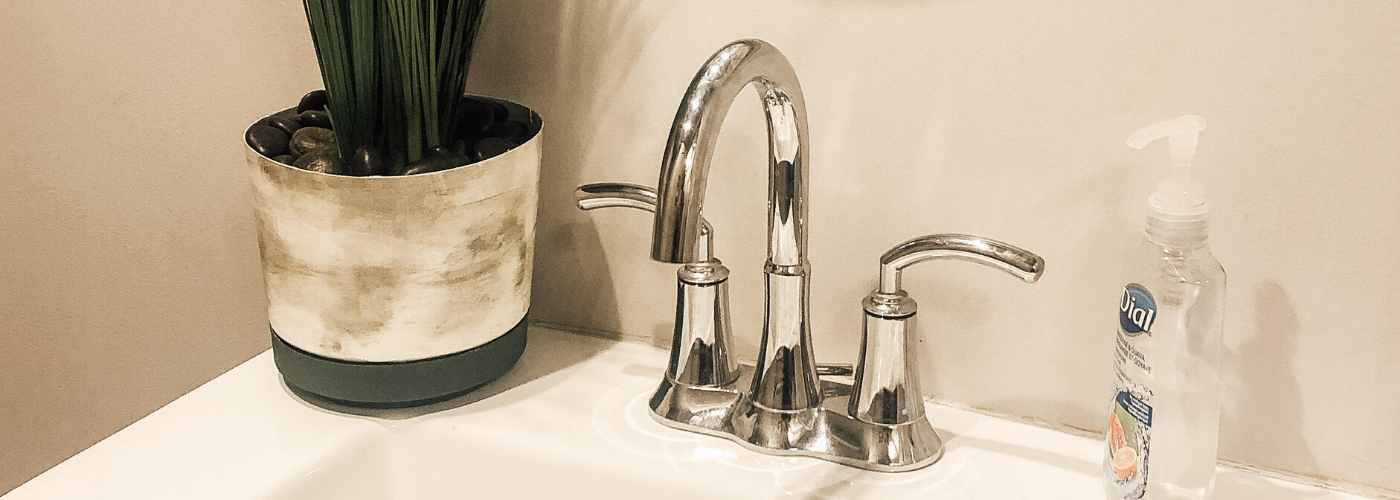
After 72 hours, I was left with a solid and gorgeous finish!
You can see more detailed instructions on how to work with EnviroTex Lite® and how to achieve the best finish for your project by watching this video.
I felt like the bathroom vanity needed some better “edging” — if you will. I went really rustic with this space and decided to grab some scrap wood and barn board to create a whole new look.


I also added some barnboard to the side of the vanity to complete the whole look.


So now that you have seen my gorgeous makeover using EnviroTex Lite® go ahead and check out all the other entries by clicking here.
Also, head over and see what our fabulous hosts came up with!
If you fell in love with this project, don’t forget to pin it!


11 COMMENTS
ourlittleredhouseblog
8 years agoWow, that looks so cool.
hollygrace13
8 years ago AUTHORThank you!!
Lisa Scibilia
8 years agoHolly, I have always wanted to do a glass or ceramic mosaic. I’ve actually held onto a broken tea cup of my mom’s for years thinking I would do a tabletop or something interesting with it. I love what you did here and now you’ve got me thinking about the tea cup project!! Such a great idea to add the wood trim too, you have completely transformed this vanity!
hollygrace13
8 years ago AUTHORThank you so much Lisa! Good luck with your project! 😀
Emy
8 years agoI love how your vanity top turned out! So cool!!
hollygrace13
8 years ago AUTHORThank you!! 😀
hollygrace13
8 years ago AUTHORThank you! 😀
hollygrace13
8 years ago AUTHORThank you Emy! 😀
Holly
8 years agoWow, really fun place to put it! The transformation is so fun and unique! Really great idea!
hollygrace13
8 years ago AUTHORThank you! 😀
jakestoolscool
8 years agoYour vanity turned out great, thanks for the detailed info.