Hello friends!
Well, this December has certainly been a very busy month for me and I can’t believe how fast time is flying.
Christmas is going to be here in about a week and I can’t wait! I have been very busy with a special project that my mother and I have taken on.
We have been redecorating a home for a client — for Christmas and as well for every day living. I wanted to share with you all the fireplace makeover that I did for our client. I can’t believe this transformation and most of all — I can’t believe I did it!
I do things sometimes that even surprise me! lol
This was the fireplace before

Nestled in the bottom right corner is Sheldon lol (Our client’s adorable chihuahua)
We had discussed with our client replacing the fireplace with something that would match our new design for the room better but I had also suggested re-doing this one.
Can’t hurt, right?
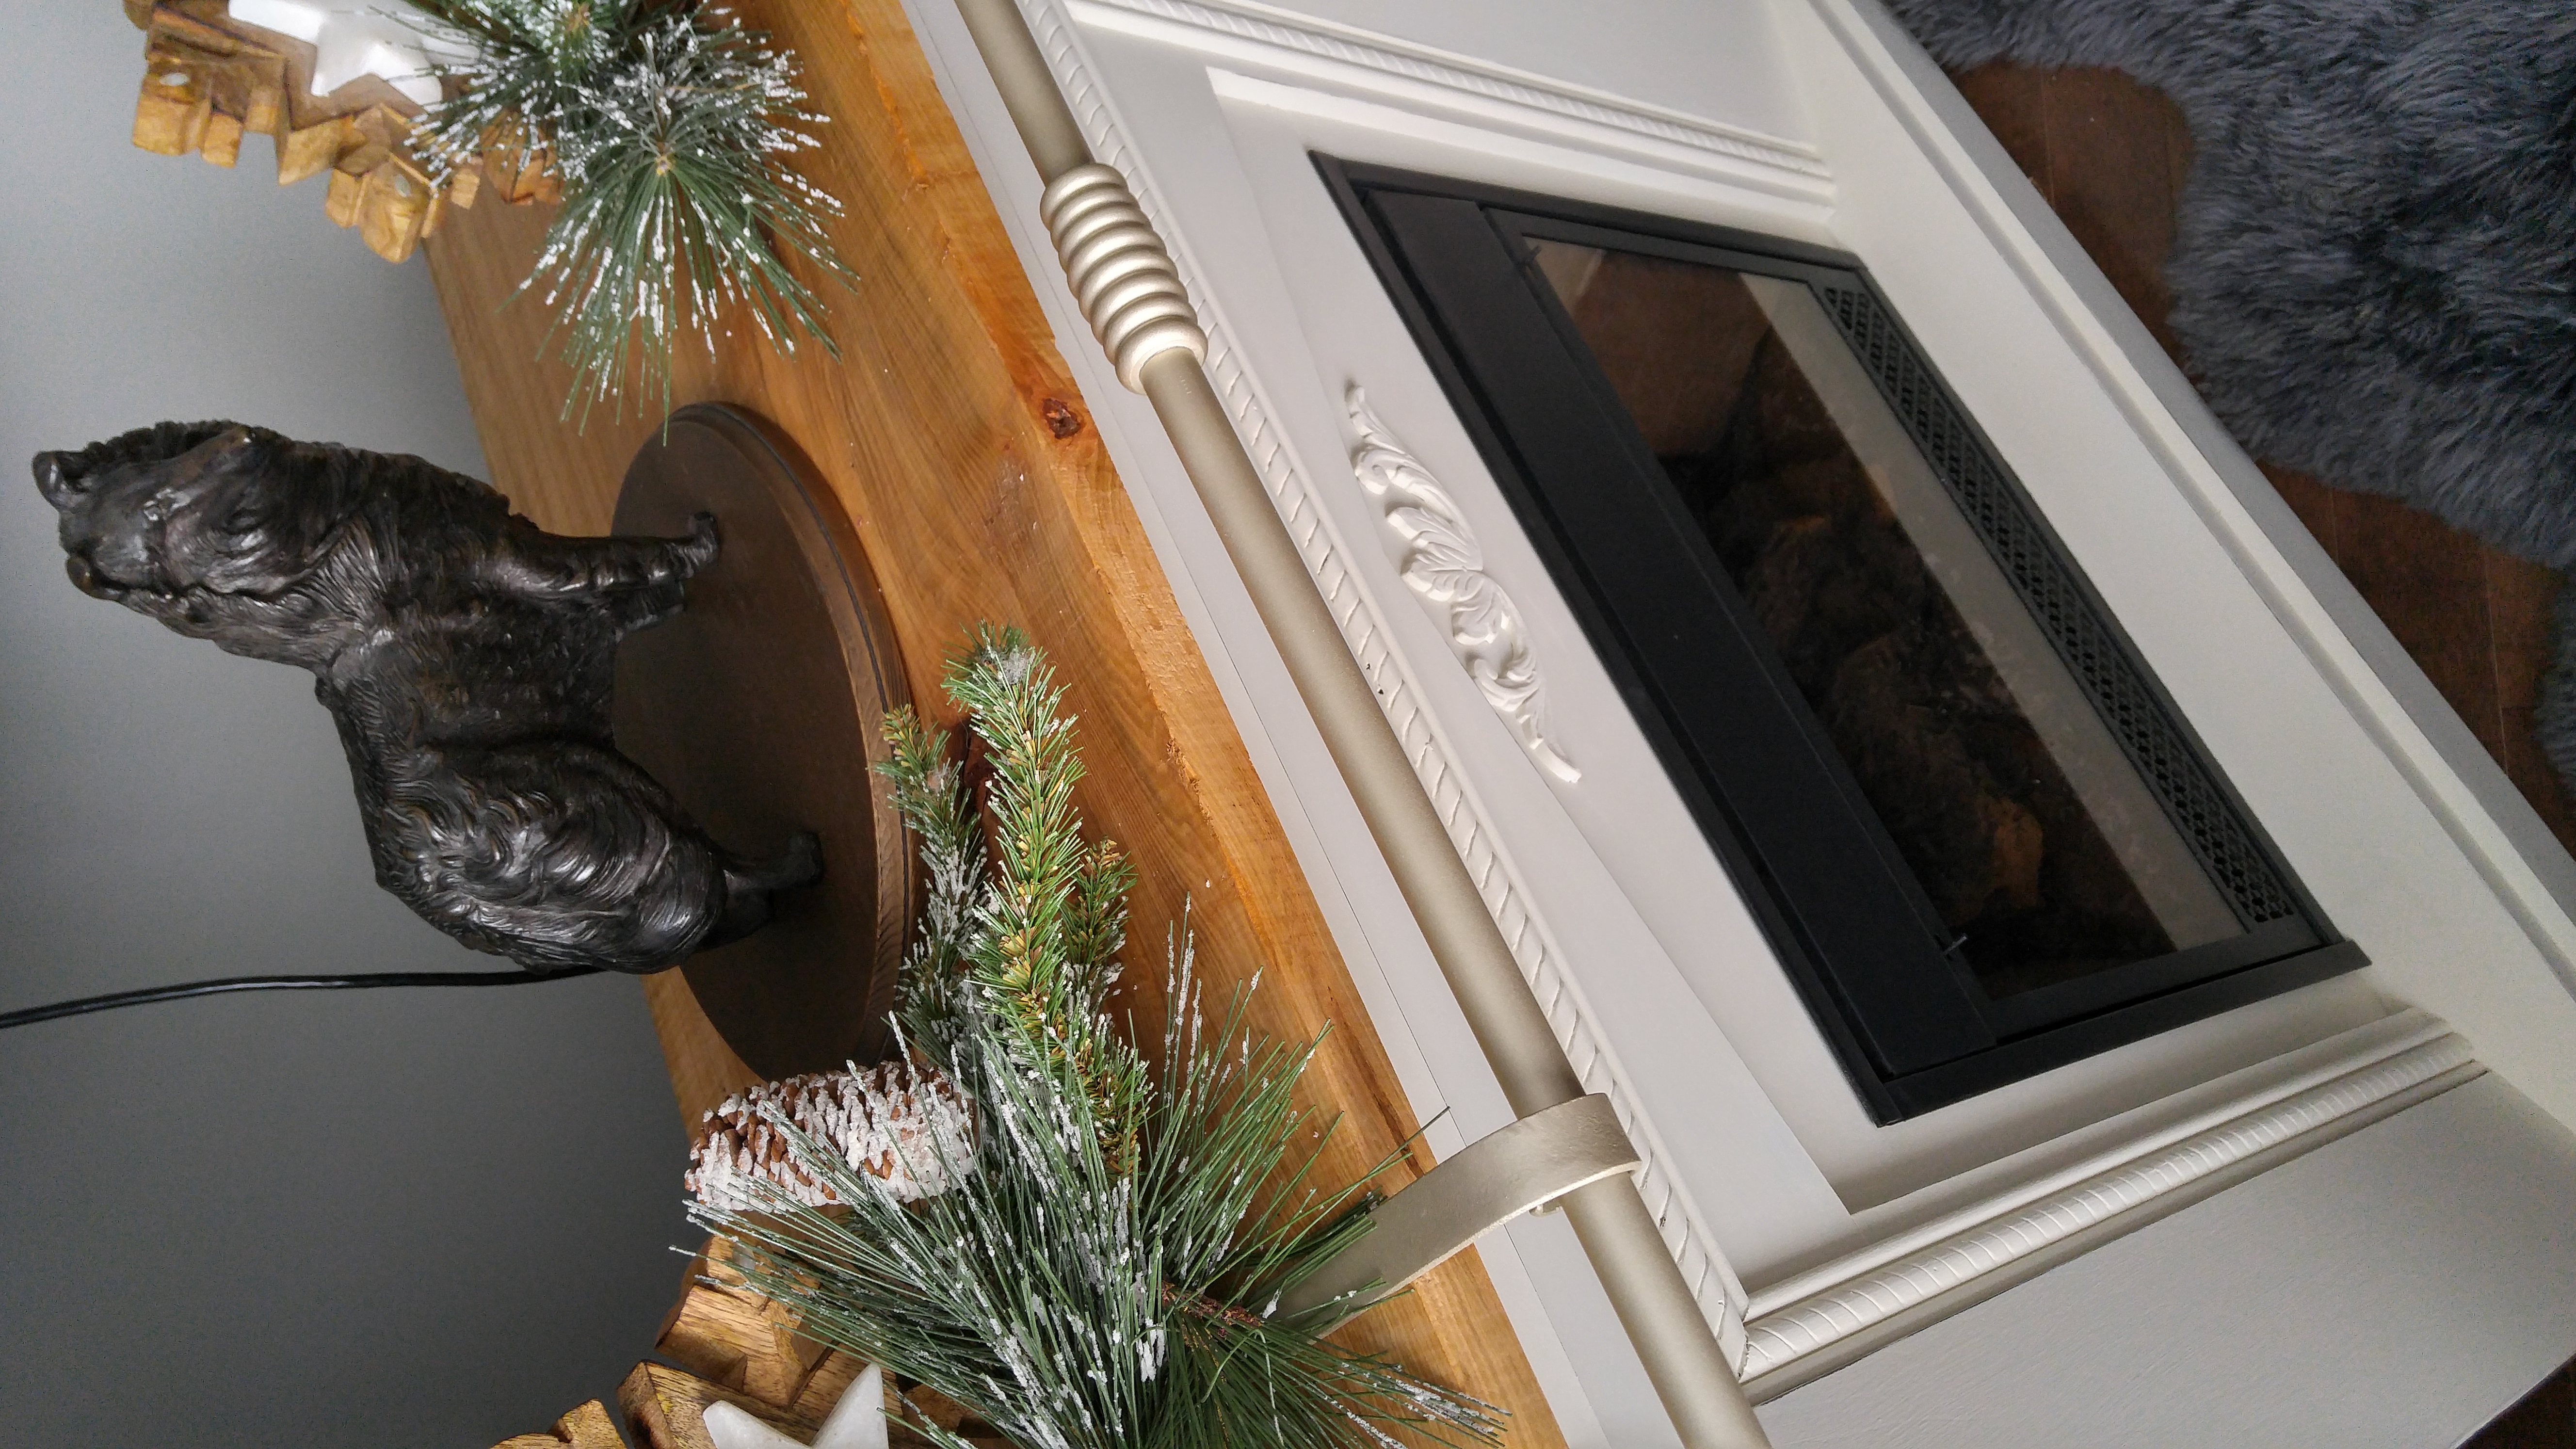
I am so glad I went with my gut because not only does this fireplace have a different look, it looks like a brand new piece!
My first thought was that this fireplace could use a more regal look, so I headed to Home Depot to grab some decorative trim.
I also found this neat little leaf applique and knew right away it would look great!

I used my sliding miter saw from Ryobi to cut the trim at 45-degree angle so that it would fit in the corners.


I used my air nailer to fix the trim and the leaf applique on the fireplace.

Since this fireplace was a very dark “wood” (it’s not real wood, it’s MDF) I went over the fireplace with two coats of primer.

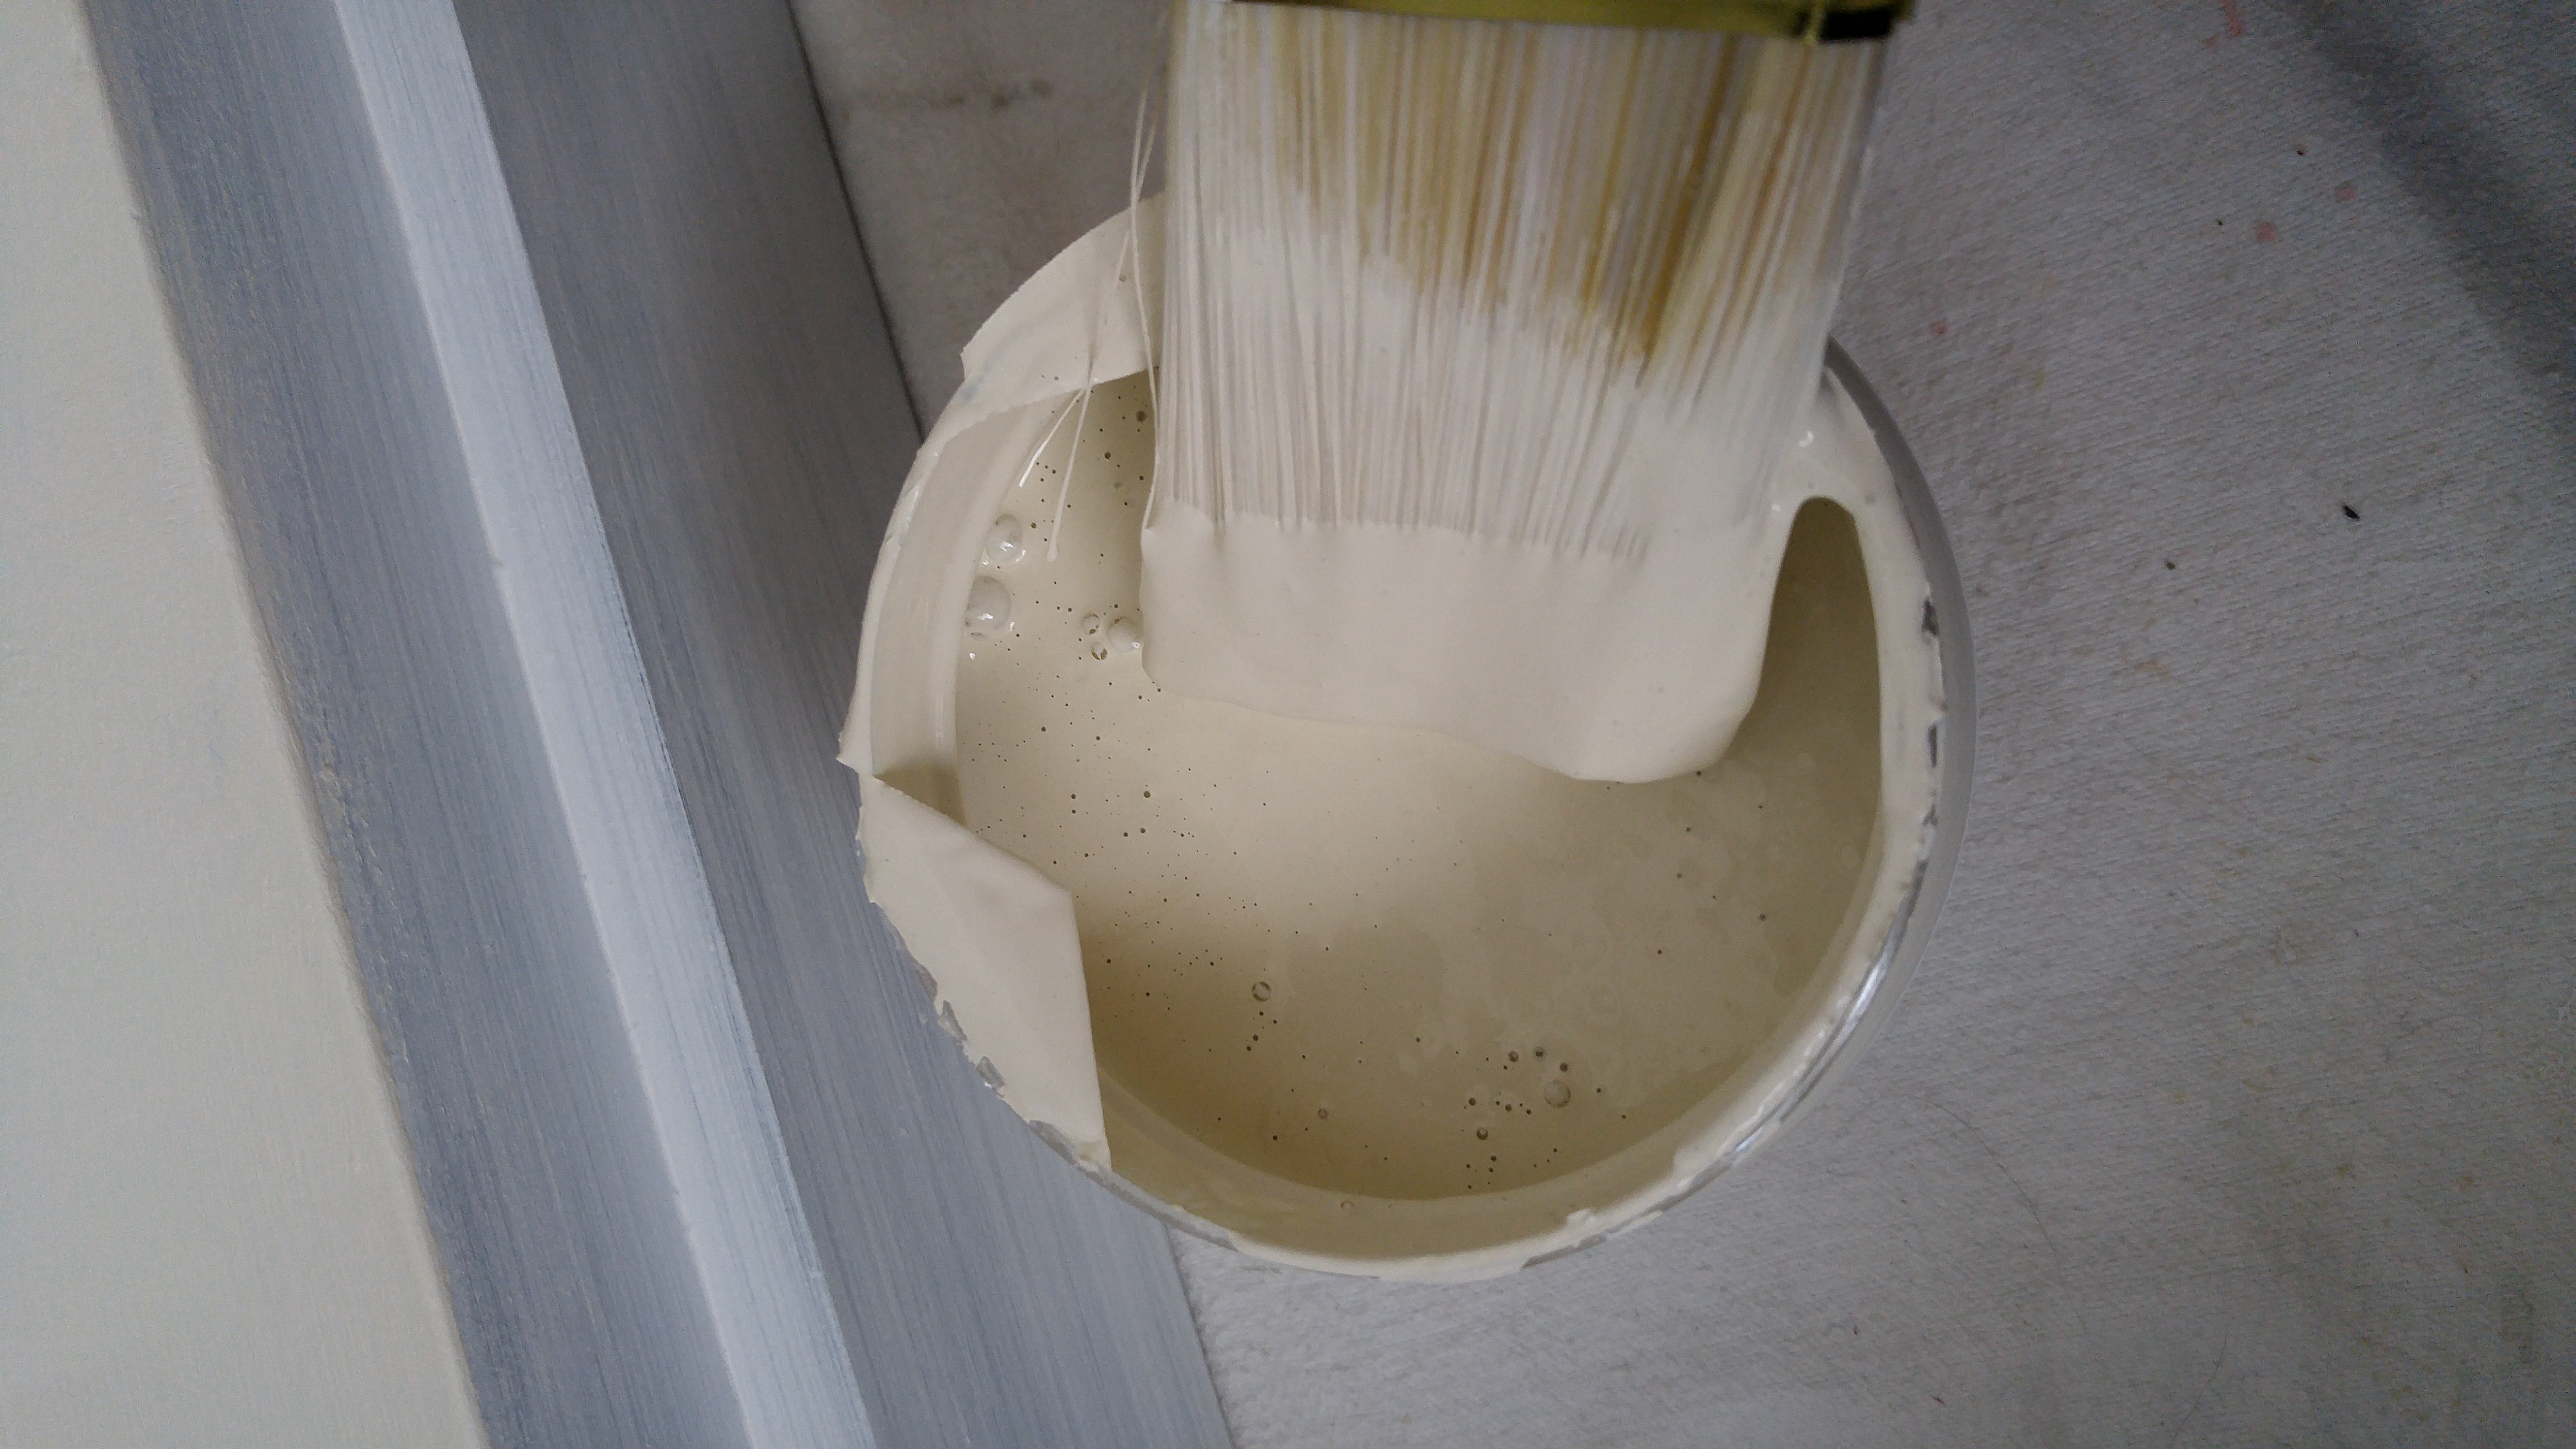
After the two coats of primer had dried, I painted the fireplace with Vanilla Frosting from Country Chic Paint.

After the final coat of paint had dried, I realized the fireplace needed a little something more.
I decided to put a live edge top on it. I grab some soft maple and nail it onto the top with my air nailer and tada!


Here’s a side by side comparison so you can see the amazing difference!


This was such an easy upgrade and if you’re thinking of making over an electric fireplace you should totally consider just getting some paint, decorative trim and a piece of wood for the top.
What an amazing difference!

If you love this makeover, don’t forget to pin it! 😀


8 COMMENTS
Giselle
8 years agoJust adding the trim made a big difference. It looks fantastic!
hollygrace13
8 years ago AUTHORThank you, Giselle! 😀
Joyce Singleton
8 years agoI love the new look. Great job!
hollygrace13
8 years ago AUTHORThank you!!
Margot
7 years agoBeautiful! Love the color and the little add on plus the greens!!! I liked it better without that grey bear rug! Maybe a beige or white…oh, and love what you’re wearing! margot_d@sbcglobal .net
hollygrace13
7 years ago AUTHORThank you Margot!! 🙂
Deborah
7 years agoWhere did you find the rod attachment that fits your fireplace please.
hollygrace13
7 years ago AUTHORHello Deborah! This rod attachment belongs to the homeowner of the fireplace. This project was done for a client. I believe she got the rod attachment at Pier 1, but I am not 100% sure.