There’s nothing I love more than a good Dollar Store DIY, but I am sure you guys already know that! I think it’s what I might be famous for — Ok, so I am not really famous but it doesn’t change the fact that I am addicted to making over Dollar Store stuff.
Today, I have a special “treat” for you.
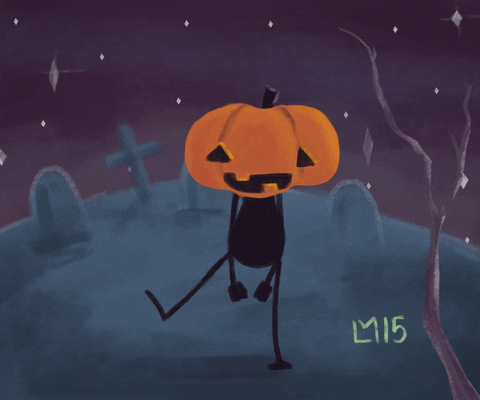
These DIY Halloween Candy jars are so easy and inexpensive to make. They are a great beginner craft and an even better craft to do with kids.
Let’s jump right into it!
To make these Halloween Candy Jars here’s what you need:
- Two glass jars with lids ( I got mine from Dollar Tree)
- Two Halloween Kid’s Craft painting kits with ceramic figures (Dollarama)
- Spray Paint
- E6000
Instructions
- Remove the lids from your glass jars.
- Apply E6000 to the bottom of your Halloween figurines and to the middle of the lid of your jar.
- Wait 2 minutes.
- Press the Halloween figurine onto the top of your lid.
- Let the glue set for at least 12 hours to maintain the best hold
- Spray paint the lids with figurines attached in the colour of your choosing.
- Fill your jars with candy and put the lids back on.
That’s it!
Super easy, right!?
Here’s a quick video to help you with this project:
Remember, if you love my little videos, don’t forget to FOLLOW me on Youki. If you don’t know what Youki is, it is the newest site for short and inspiring videos. I love being a part of this site because all the videos are quick and to the point!
Don’t forget to share this with a crafty friend and Pin it to your DIY boards!


Leave a Reply