
I can still remember the very first time I made a wood sign. This was long before I knew that there was such thing as a Cricut. I hand painted words on a piece of wood and I thought to myself — there has got to be an easier way to do this.
I did a little research and read a bunch of stuff in regards to Cricut cutting machines. It didn’t take me long to run to the closest Micheals and scoop up a Cricut Explore Air.
I have been working with the Cricut Explore Air for about 5 years and I love it but when Cricut came out with the Circut Maker, I started lusting after the newer, shinier model.
Well, here I am sitting at my desk with my very own Cricut Maker.
Someone pinch me please because I have got to be dreaming!

Disclosure: This post is sponsored by Cricut. All opinions are my own. Also, this post contains affiliate links – should you choose to purchase through these links I make a small commission at no cost to you.
This machine is everything I dreamed it would be. If you follow my blog, you know that I am no newbie to Cricut but I am quite a newbie when it comes to this machine, so I do have a bit to learn but I was so excited to do my first project.
We will get into the project in just a bit and if you like the project, don’t forget to grab the free cut files at the end of this post!
Before I go into the project, I just want to say that if you are thinking about getting a Cricut Maker, go for it! You won’t regret it. Plus, if you are Canadian like me you’re in luck. Cricut products are currently sold at Michael’s but even more excitement — they are going to be launching soon at Canadian WalMart stores and Costco! Eeek!
Or the ever popular and my favorite option — shop online at Cricut.com
Ok, let’s get into the machine. There’s a reason why this little baby is called “the ultimate smart cutting machine”. Unlike its predecessors, this machine can cut thicker materials, such as balsa wood, heavy chipboard and although you need to have a special knife cutting blade, it’s totally worth it because you can really up your crafting game.
This machine can cut other materials such as:
- Fabric
- Vinyl
- Iron on Vinyl
- Cardstock
- Felt
- and so much more!
To get you started, Cricut provides you with a sample project. This adorable little card.

Setup is super easy and there is a step by step guide when you create your account in Design Space. Design Space is the Cricut app that allows you to create, design and cut with your machine. It’s super user-friendly and very easy to navigate.

When you are in Design Space, you are free to create to your heart’s content or you can browse through Cricut’s library of projects. There are projects that you purchase but they also have a very nice selection of free projects, too.

Cricut also has a great blog where you can find lots of inspiration for future projects.
Just as a testament to Cricut and their products — there is absolutely nothing wrong with my old machine (Cricut Explore Air) either. It still runs like the day I got it 5 years ago.


But sometimes it’s so nice to upgrade 🙂
Speaking of upgrading, you can upgrade your Cricut user experience by signing up for Cricut Access. With Cricut Access, you get unlimited access to over 400 beautiful fonts, unlimited use of over 50,000 covet‑worthy, cut‑ready premium Cricut images and so much more! There are three different plans sure to suit any budget.
Here are some important things you should know when you get a Cricut Maker:
- To make the most out of your Cricut crafting experience, I highly recommend in investing in all the proper tools and accessories. They do not come with the machine, however, you can get some great deals on bundles through their website.
- Take some time and browse around for videos and tutorials. There is so much you can make with the Cricut Maker and it might seem a little overwhelming but the more you read and watch the more you will know!
- Set up a nice workspace with lots of room. The machine itself requires at least 10 inches clear in front and back to run smoothly. Also, it’s a lot easier to work with the products in a clean and organized space.
- If you are feeling overwhelmed, there are a ton of Cricut support groups on Facebook and not only can other Cricut crafters offer you support, they are a great space to get inspired.
Ok! It’s time to get inspired. Let’s take a look at the first project I made with my Maker.
I wanted to make something fun for Christmas and I am tired of just plain old wood signs so I did something a little different.

Buffalo check is huge right now, especially now that the Christmas season is coming upon us. I had a thin piece of MDF (medium density fiber) board laying around so I decided that I would glue the buffalo check fabric to it to create a nice background for my sign.
To glue it to the MDF, I used E6000 Spray Adhesive.


Once the fabric was secured to the MDF, I framed it with some 1/2″ x 1/2″ wood using my Ryobi Air Nailer and trimmed off the excess fabric with a pair of scissors

This is where it gets interesting. I decided I didn’t want to make just another sign with words. I wanted this beauty to have a little dimension so instead of cutting out vinyl and putting it on the fabric, I put it on some wood pieces that I got from the dollar store.

I decided to go with the Cricut Black Glitter Vinyl for just a little bit of sparkle.

The graphic that I designed for this sign, cut super fast in the Maker. Total upgrade from the Explore Air. I love it!

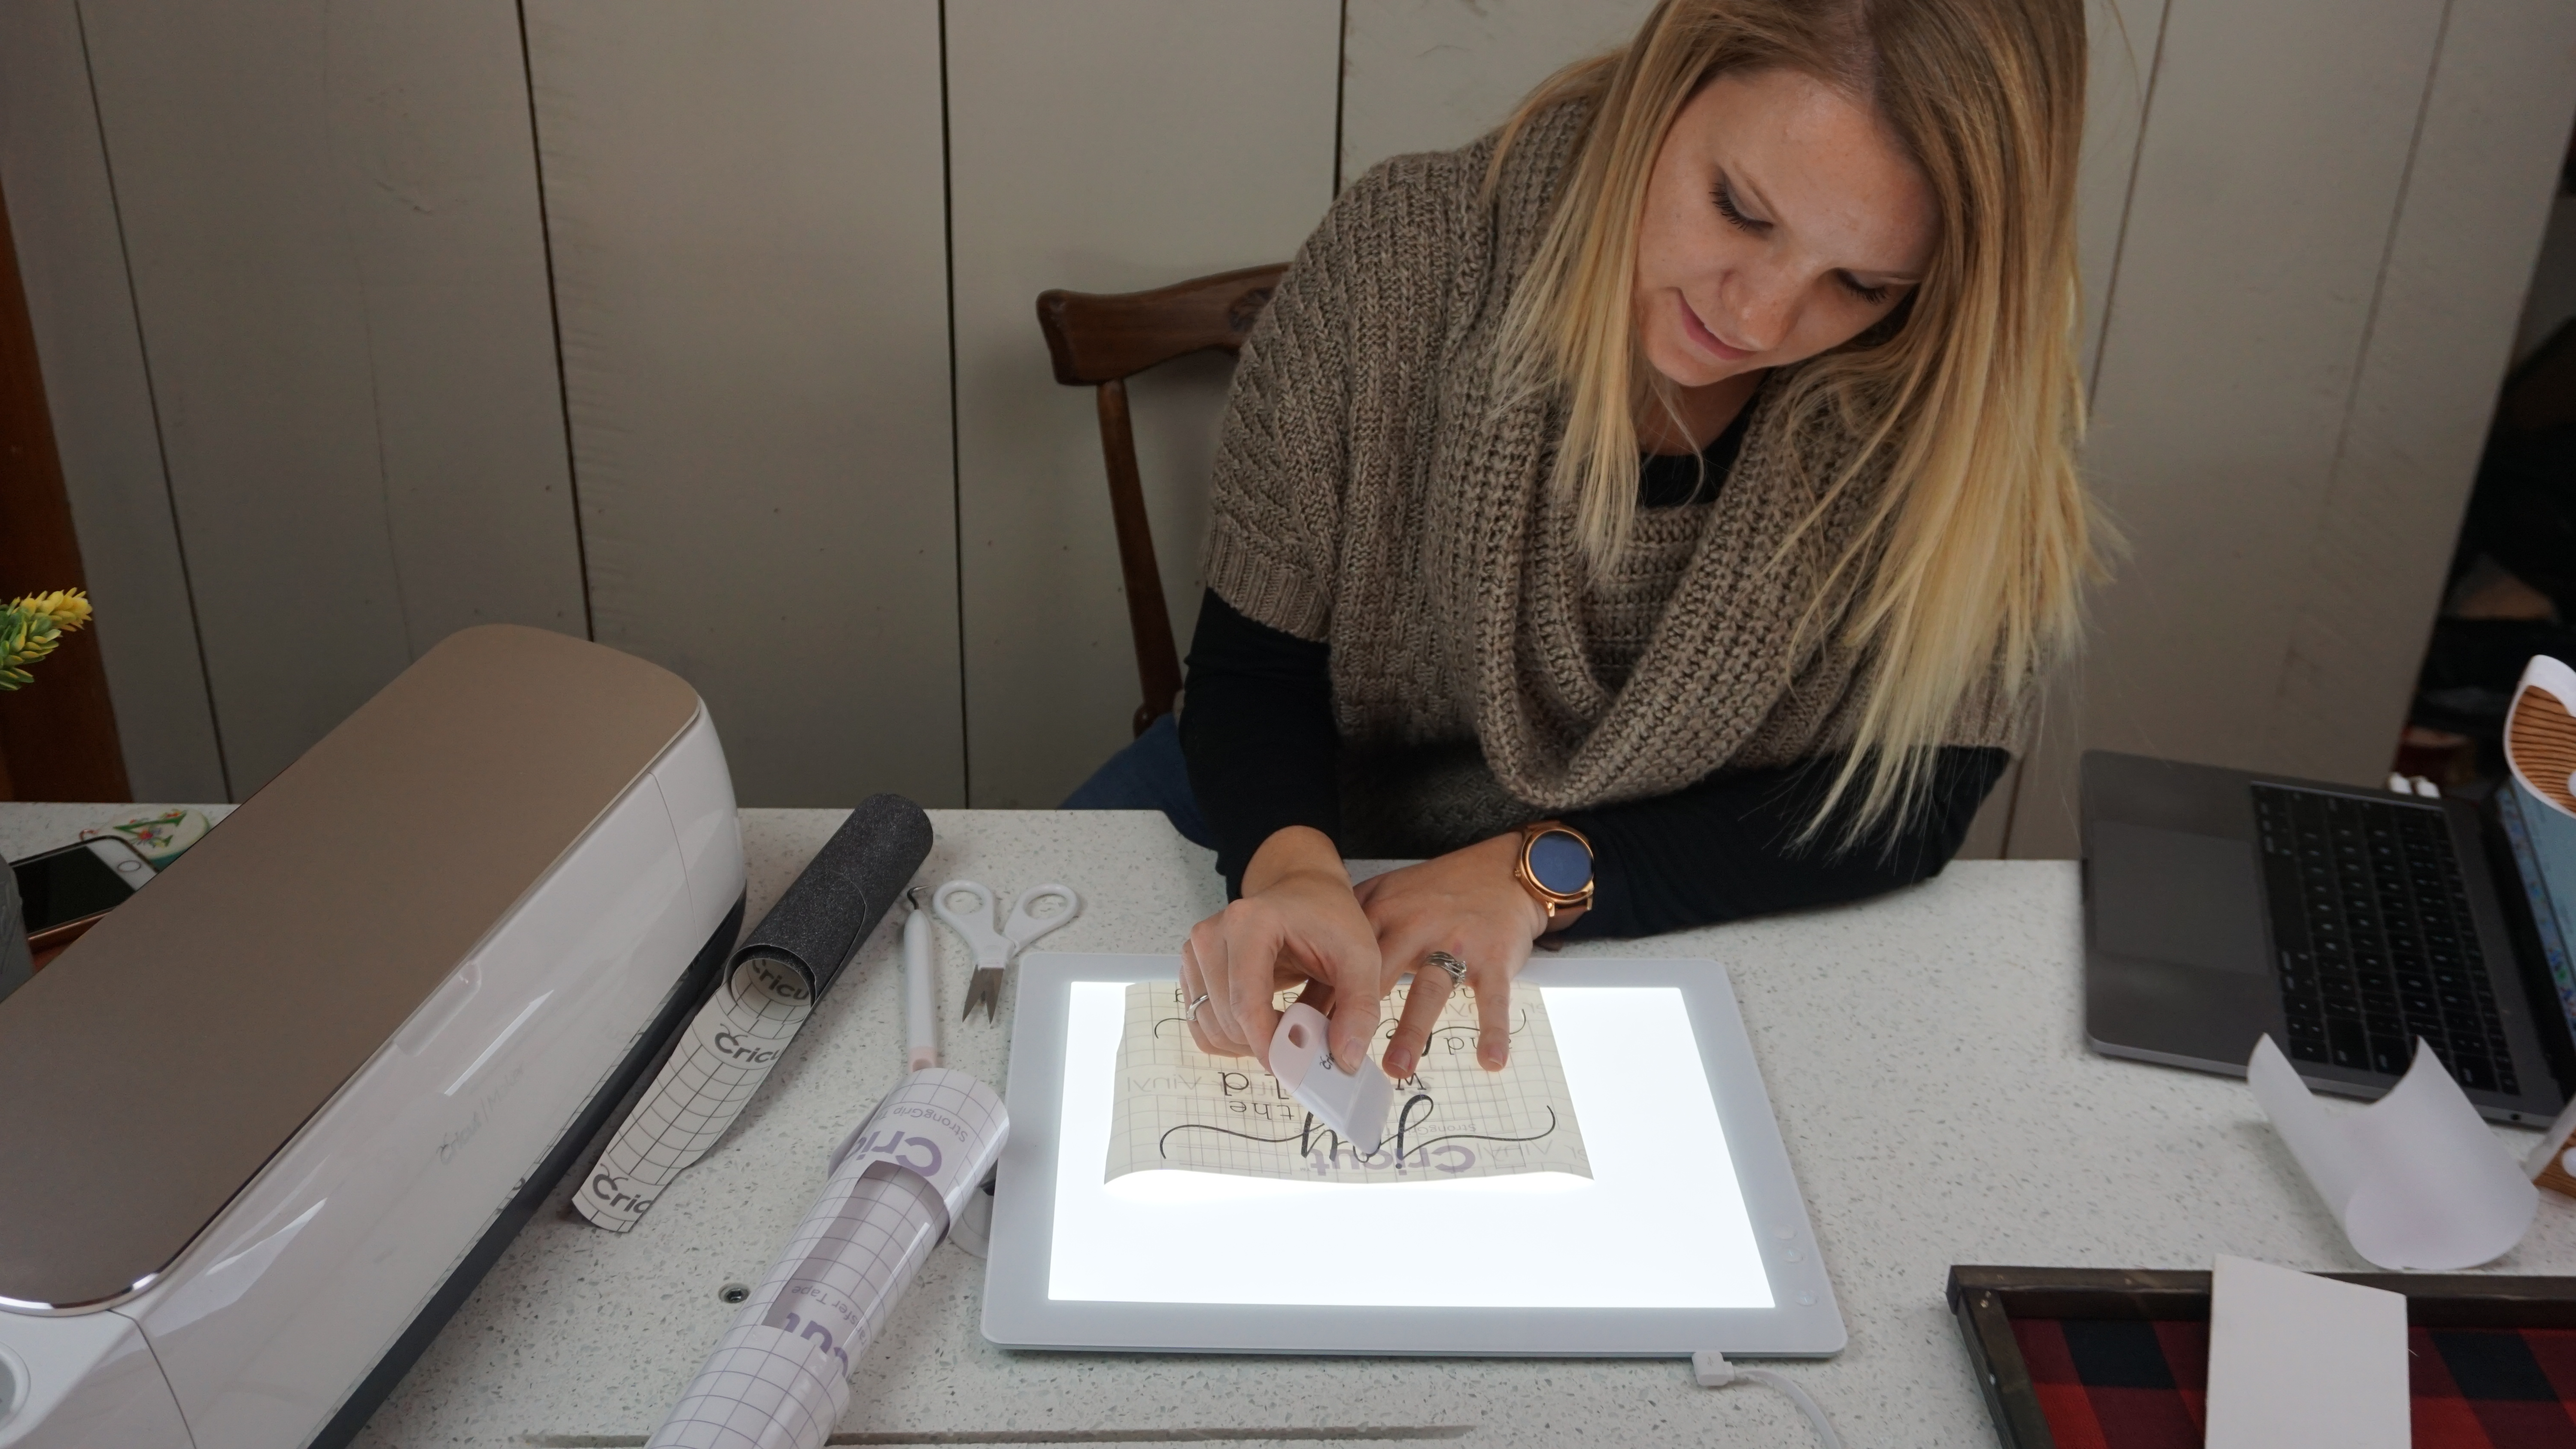
I used to shy away from glitter vinyl because I found it next to impossible to weed but now that I have a Bright Pad, I can forget that excuse. This might just be one of my favourite Cricut accessories. Well, this and my Cricut scissors. Hands down, best scissors ever.

To apply the vinyl to my pieces of wood, I used Cricut transfer tape. If you are going to be working with intricate designs, I highly suggest using transfer tape. It will make your life so much easier.
I wanted more dimension to my sign, so I added in some artificial greenery and some wood snowflakes.


And here she is!

What do you think!?


I love the punch of buffalo check for the background and this sign has just a titch of sparkle thanks to the Cricut vinyl.
I can’t wait to create my next project with my Cricut Maker. Make sure you follow my blog so that you get a notification every time I post!
ALSO! Because you’re all my favourite, as promised here are the free cut files so that you can recreate this sign, too!
Just click on each image and the zip file containing all the image formats will download to your computer.


So let me know what you guys think in the comments below. Do you have a Cricut Maker? Thinking about getting one? I want to know your thoughts!
Feel free to share your project photos in the comments as well.
Don’t forget — if you like this project, make sure you pin it!

This is a sponsored conversation written by me on behalf of Cricut. The opinions and text are all mine.
This is a sponsored conversation written by me on behalf of Cricut. The opinions and text are all mine.


Leave a Reply
Pingback: First Time Using Cricut EasyPress 2 on November 22, 2018
2 COMMENTS
avila790
7 years agoThat sign is so cute