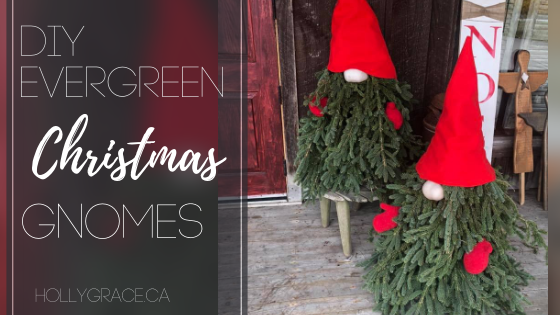
Gnomes are all the rage this Christmas. They seem to be everywhere and growing more popular by the day!
If you don’t know this already, my mother and I have a cute store just outside of the city of London and this year we thought it would be great to make porch gnomes to sell. They have been a huge hit! People LOVE them.
I thought it would be nice to show how they are made for all my blog followers, too!
Here is a quick video that will walk you through the steps and then directly below the video are some written instructions.
Materials:
- Tomato cage
- Evergreen
- Red mitts
- Red fabric
- Needle and thread or sewing machine
- Floral wire
- Nude pantyhose
- Cotton stuffing
- Elastic
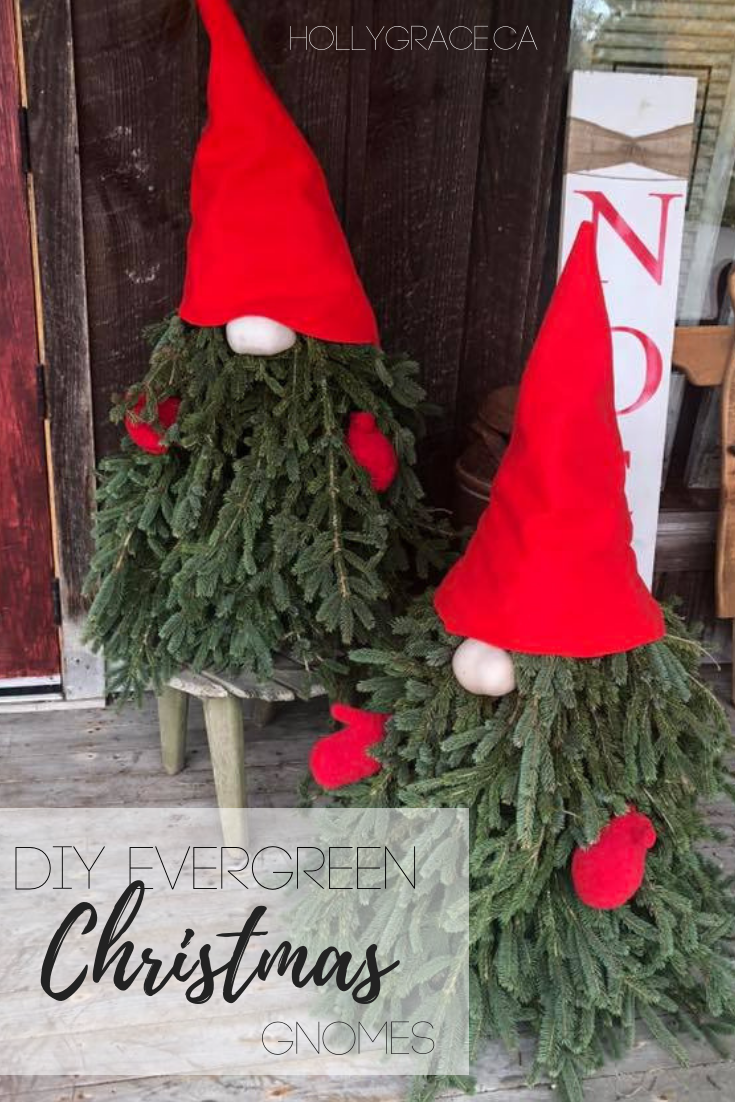
- Place tomato cage on work surface with ring on the bottom. Using floral wire secure all prongs of the tomato cage together (like a teepee).
- Using cut piece of evergreen, begin attaching them to the tomato cage with floral wire. Star from the top and work your way down.
- Fill in any gaps of evergreen before moving onto next step.
- Make your hat by cutting a 20×20 piece of red fabric. I used heavy cotton fabric.
- Fold your fabric by bringing a corner to the opposite corner, thus creating a triangle.
- Along the edge of the triangle where the fabric pieces aren’t attached cut a slight curve.
- Sew together the straight lines of the triangle leaving the curved portion open.
- Place hat over tomato cage covered with evergreen.
- Taking a pair of pantyhose, cut off one leg and discard or save remaining pantyhose for another project.
- Using the cut off leg of the pantyhose, stuff it with cotton stuffing. Approx a handful.
- Push the stuffing to the middle of the leg and then bring the two pieces of pantyhose on either side together and then start twisting. Secure with an elastic.
- Using floral wire, secure nose to evergreen on the tomato cage so that it sits just under the hat.
- Stuff two red mittens with cotton stuffing. I used children’s mittens as they are nice and small.
- Push the floral wire through the mitten and secure to evergreen on the tomato cage. I go just under the nose on each side with each mitten.
- Put your gnome on display and enjoy your Christmas season!
I find the best way to learn how to do this DIY is by watching the video. If you have any questions or comments, please feel free to leave them below!
If you like this project, make sure you pin it!


Leave a Reply
Pingback: Homemade Christmas Decor: The Best Christmas Gifts for 2020 and Beyond | All in One Limo on November 27, 2018
Pingback: 30 DIY Christmas Gnomes - Prudent Penny Pincher on November 27, 2018
Pingback: 61 Cheap And Easy DIY Outdoor Christmas Decorations | IdeasToKnow on November 27, 2018
Pingback: 46 Best Christmas Porch Decoration Ideas For 2023 on November 27, 2018
Pingback: 56 Best DIY Outdoor Christmas Decorations - Handy Keen on November 27, 2018
29 COMMENTS
Debbie
7 years agoI really like these. They are so cute. I’m wondering where you found small mittens? Great awsome job.
hollygrace13
7 years ago AUTHORThank you Debbie! I found the mittens at the dollar store – Dollarama
Haley
6 years agoDo you use real evergreen? If so, does it not turn quickly?
hollygrace13
6 years ago AUTHORYes, I use real evergreen. I am in Canada so because we are in a colder climate it actually holds up for quite sometime 😊 I made mine in November and they lasted through until after Christmas
orangedoorboutique
6 years agoHow much evergreens did you use? And where did you get them?
hollygrace13
6 years ago AUTHORHello!! I cut down from an evergreen tree that we were trimming. This is a 3 foot tomato cage and I used about 8-10 big branches cut up.
Cathy Johnson
6 years agoWhy did you start at the top?
hollygrace13
6 years ago AUTHORHi Cathy! There isn’t really a rhyme or reason as to why. You could totally start from bottom or top 🙂
Susan
6 years agoThank you Holly. Love these gnomes, so we are going to make two of them this weekend. You make the video and the step by step directions easy to follow.
hollygrace13
6 years ago AUTHORYou are most welcome!!! 🙂 Happy crafting!!
Pat
6 years agowhat size of tomato cage are you using?? So cute
hollygrace13
6 years ago AUTHORThank you, Pat! This is a 3ft tomato cage 🙂
Debra Thornington
2 years agoWould love to make some of these adorable gnomes! How do you secure them on our Canadian front porches so they don’t blow away from strong winter winds?
hollygrace13
2 years ago AUTHORSorry, Debra, your comment was buried and I am just seeing it now. My porch is covered so I didn’t secure mine and they seemed to do fine but you could totally tie them down to the porch with a bit of rope or twine.
Kathryn
6 years agoHolly, What type of branches do you prefer to use?
hollygrace13
6 years ago AUTHORI prefer blue spruce 🙂
Tana
6 years agoI am having a problem with the fabric when you cut the curve. I have been using flannel, and it just doesn’t fit the gnome.
hollygrace13
6 years ago AUTHORHello Tana! What size of tomato cage are you using? You could also try cutting your fabric larger that 20×20 and see if that makes a difference
Linda Smith
6 years agoWondering if its possible to make these with artificial evergreen instead of frest?
hollygrace13
6 years ago AUTHORHi Linda!! yes you most certainly could use artificial! 🙂
Chris Flatequal
5 years agoI’m making these next week and I’m so excited!!!!! Can’t wait..thanks for the video😘
Fern Bessac
5 years agowhy didn’t the whole pattern print?
Melissa
5 years agoWhat size wire is used, and when cutting the curve in the hat do you start cutting right at the corner and all along I wished you would of showed where you start and where you stop cutting thank you
hollygrace13
5 years ago AUTHORHello Melissa! I used 22 gauge floral wire for my gnome. For the hat, I have since re-done this tutorial for Hometalk with more indepth instructions 🙂 you can find that video here – https://www.hometalk.com/tv/decorate/44236973/stop-everything-and-make-these-christmas-gnomes