Hey guys! So I was walking around in Canadian Tire the other day, surrounded by aisles and aisles of Christmas. I love Canadian Tire’s Christmas stuff. They have great taste but their amazing taste really hurts my wallet and if I am being completely honest with you, I feel like some of the prices are a bit much.
What I like about Canadian Tire, though? They are a great place to go to get inspiration. I find that a lot of their Christmas products can easily be DIY’d.
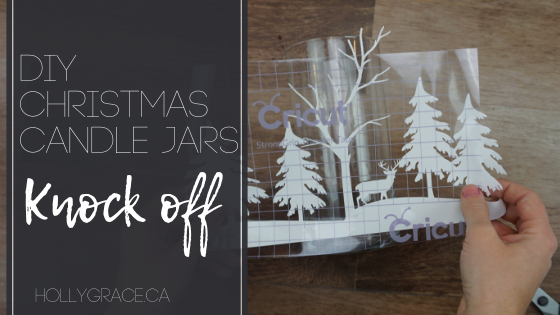
Like these for example:

They are $25.99 each I just couldn’t justify it because while I was looking at it, I thought, I have a Cricut Maker! I could easily go to Dollar Tree, grab a clear vase and make that myself.
So that’s what I did! I changed it a little bit because I thought I could expand on their product and make it just that much better. So here’s what I did.
Disclosure: This post is sponsored by Cricut. All opinions are my own. Also, this post contains affiliate links – should you choose to purchase through these links I make a small commission at no cost to you.
I went to my closest Dollar Tree and picked up a bunch of vases as well as some clear candlestick holders.

I decided that I wanted to do something a little different with the candlestick holders. I went through a couple different processes before coming up with something really cool.
First, I thought I would paint them gold for a nice touch of shine and richness but I didn’t end up liking it and I thought the gold would be too contrasting with the white design I was going to put on the vase.
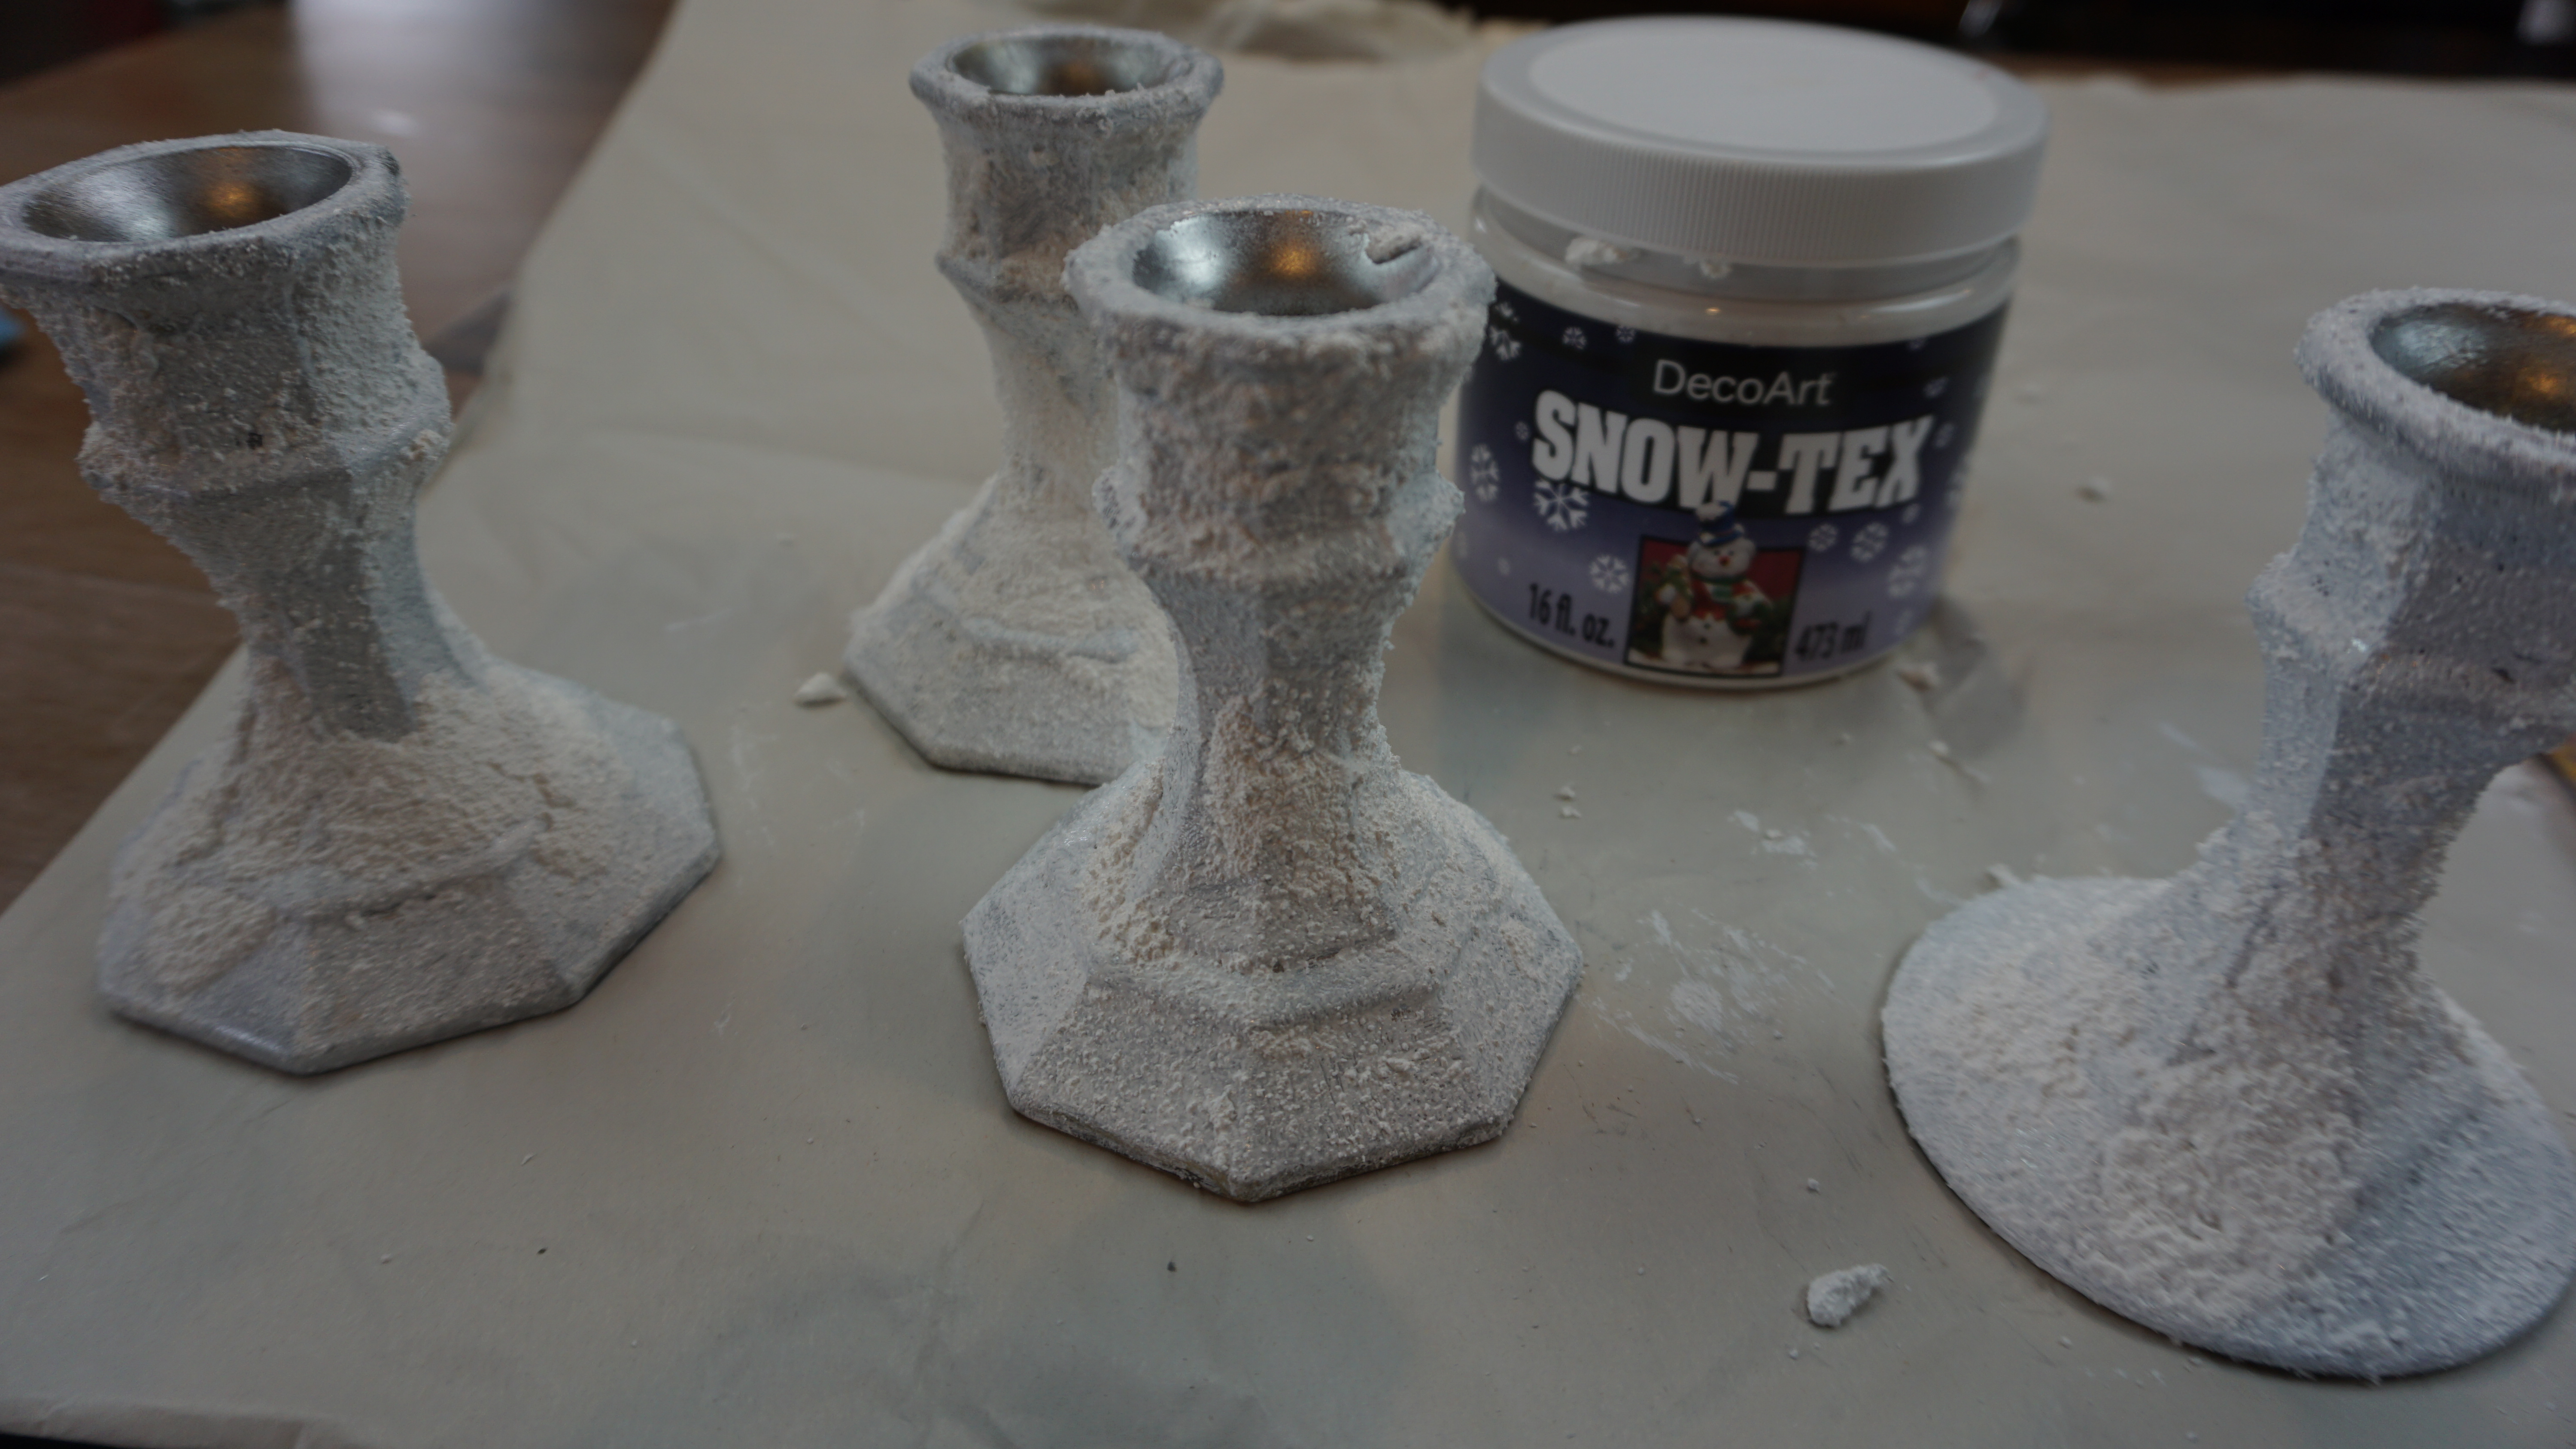
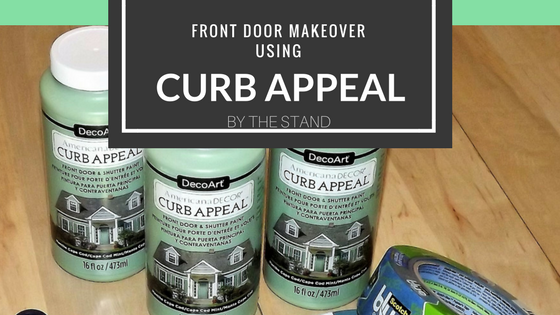
Next, I tried silver. Nope. Still didn’t like it — then I remembered this Snow-Tex stuff that I received from DecoArt.

This stuff is beyond cool. I can’t believe that I didn’t know about it before. Seriously, I wasn’t even halfway done putting it on and I was already thinking about what I was going to make next with it.
Let’s get back to the project at hand, though.
Snow-Tex is incredibly easy to apply and I was also surprised at how fast it dries, too.
It looks a little like feta cheese and has a really weird consistency.

Patting it on was super easy. I used a foam brush.

I patted on a little thicker in some areas. I didn’t want it to be completely even because I wanted to give the illusion of real snow. I am very happy with how these turned out.

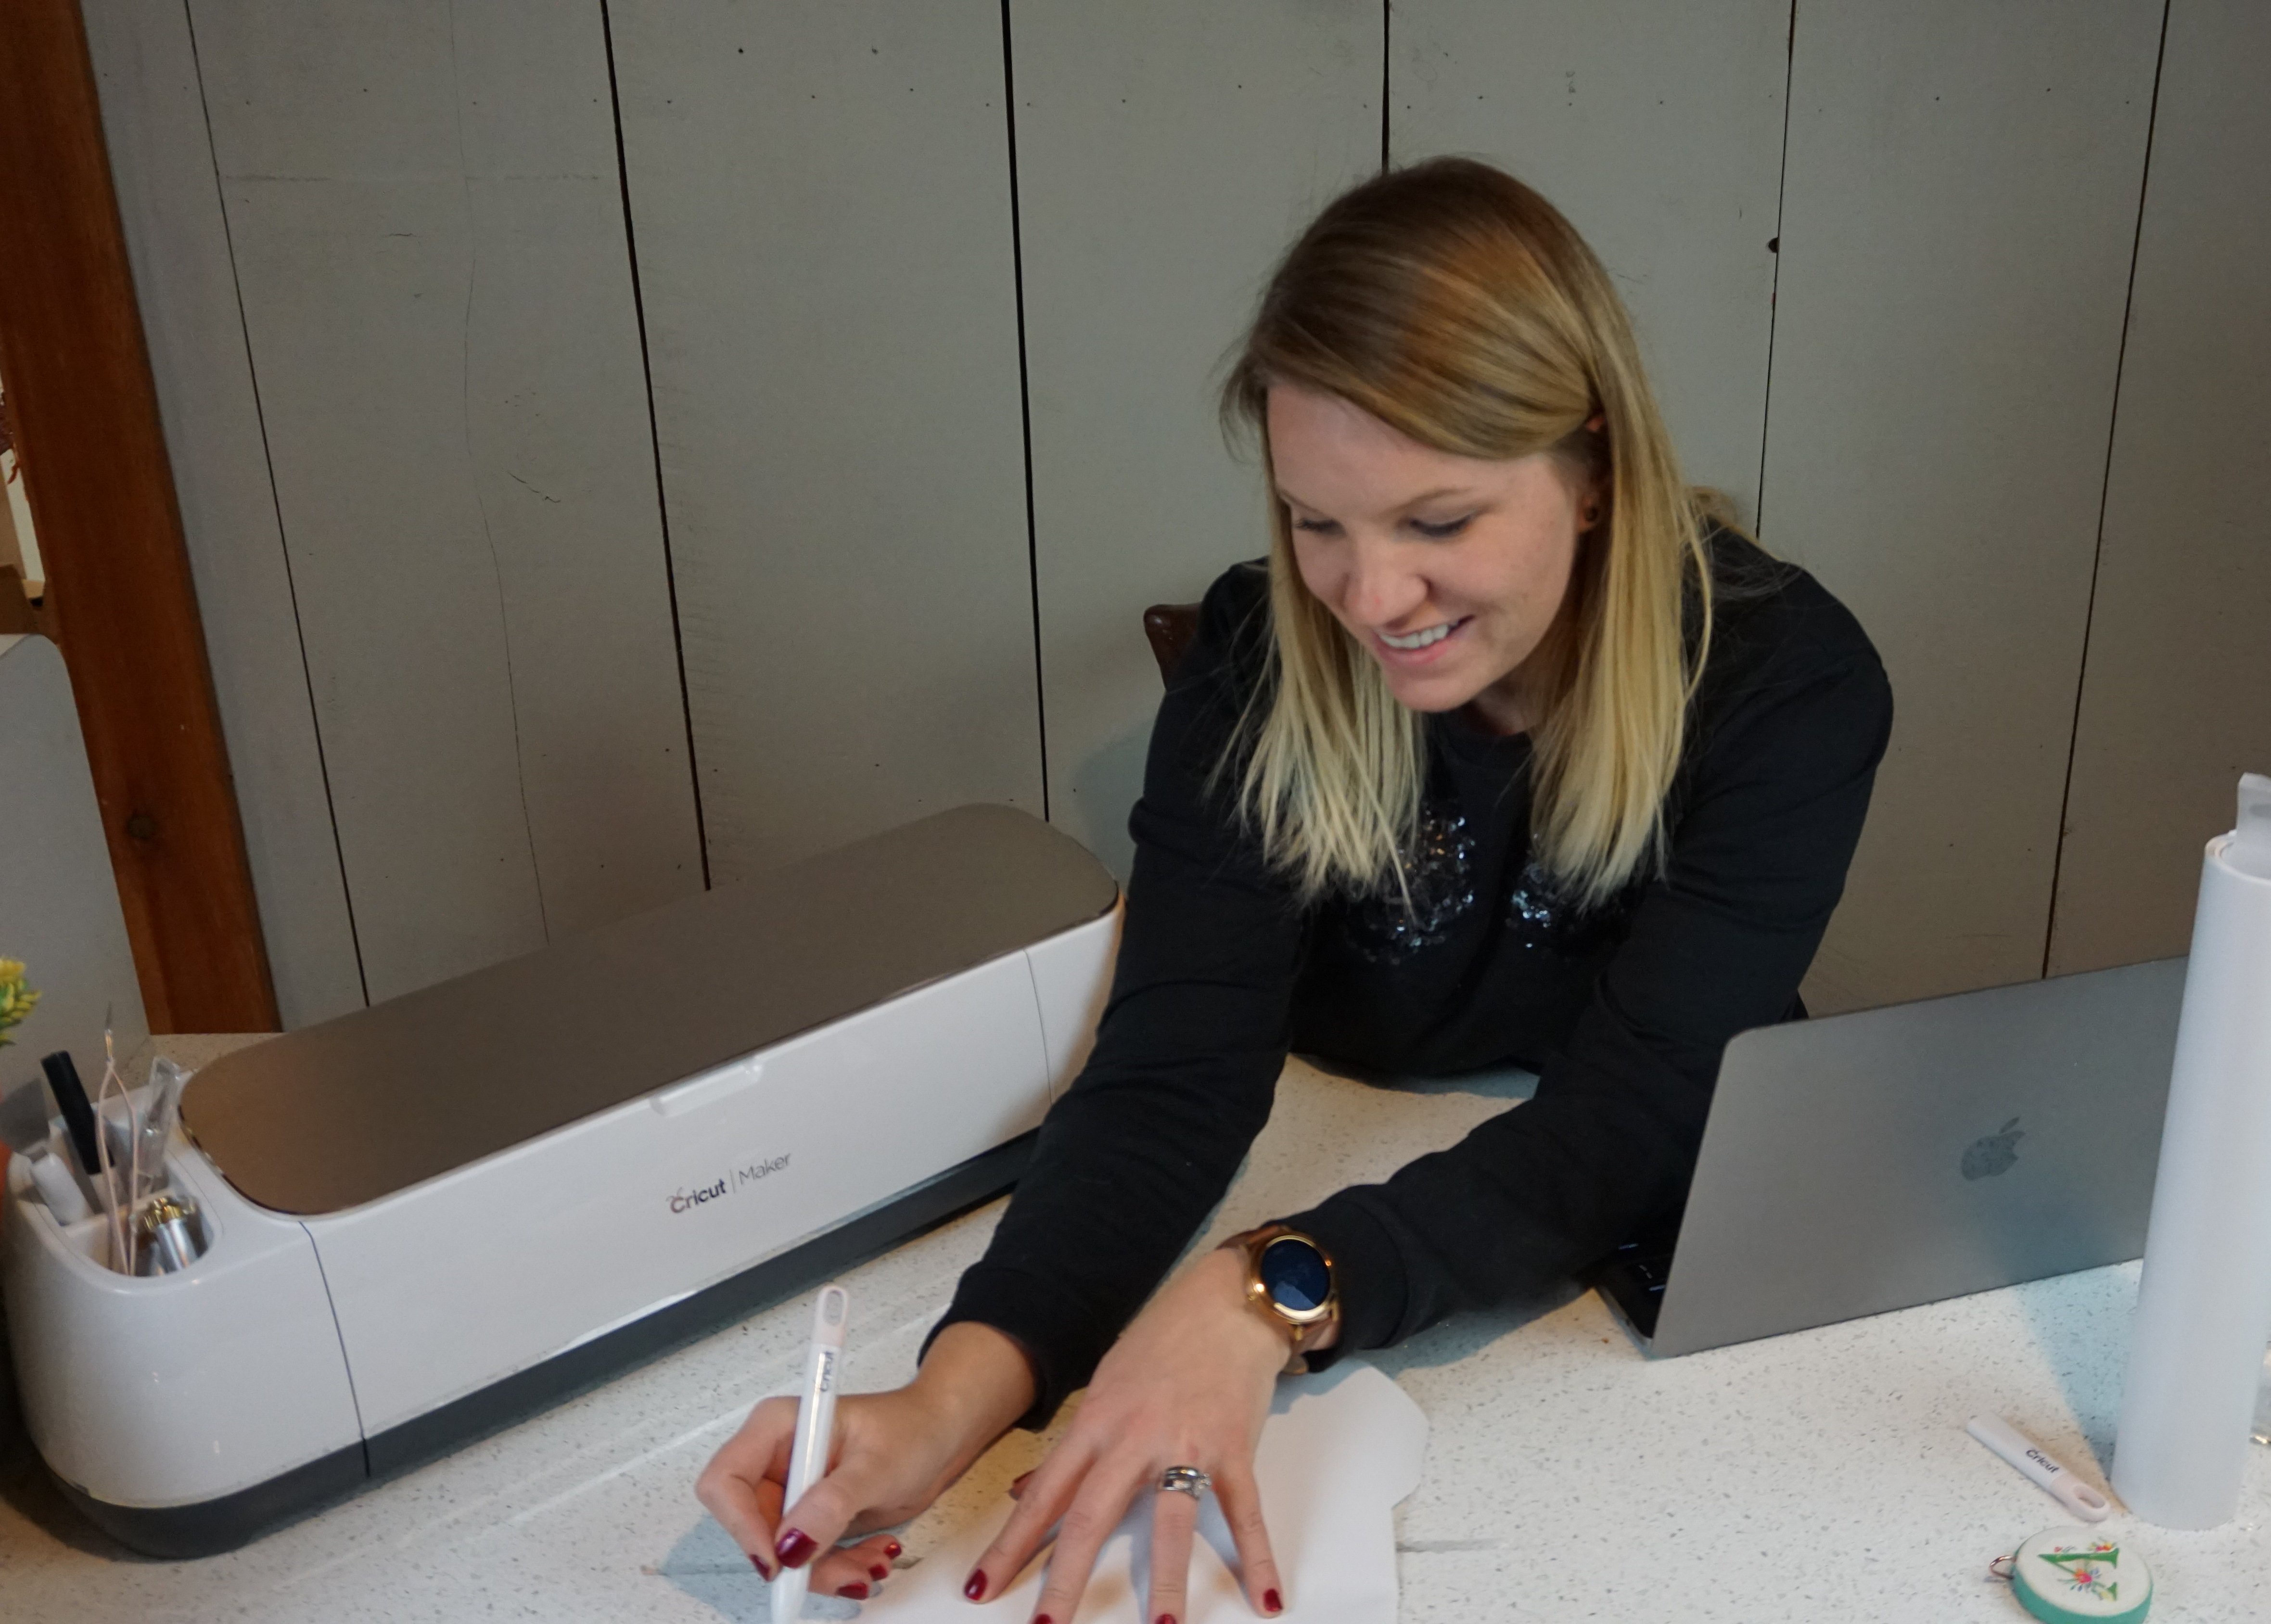
I set my candlestick holders aside and got to work on my vases.
Enter the Cricut Maker. You want to up your crafting game — get a Cricut Maker. This project was so easy thanks to this machine.
I designed an image that would wrap around my vase. I will include the cut file at the bottom of this post. If you want to make one of these for yourself, all you have to do is download the free cut file — so don’t forget to scroll all the way to the bottom.

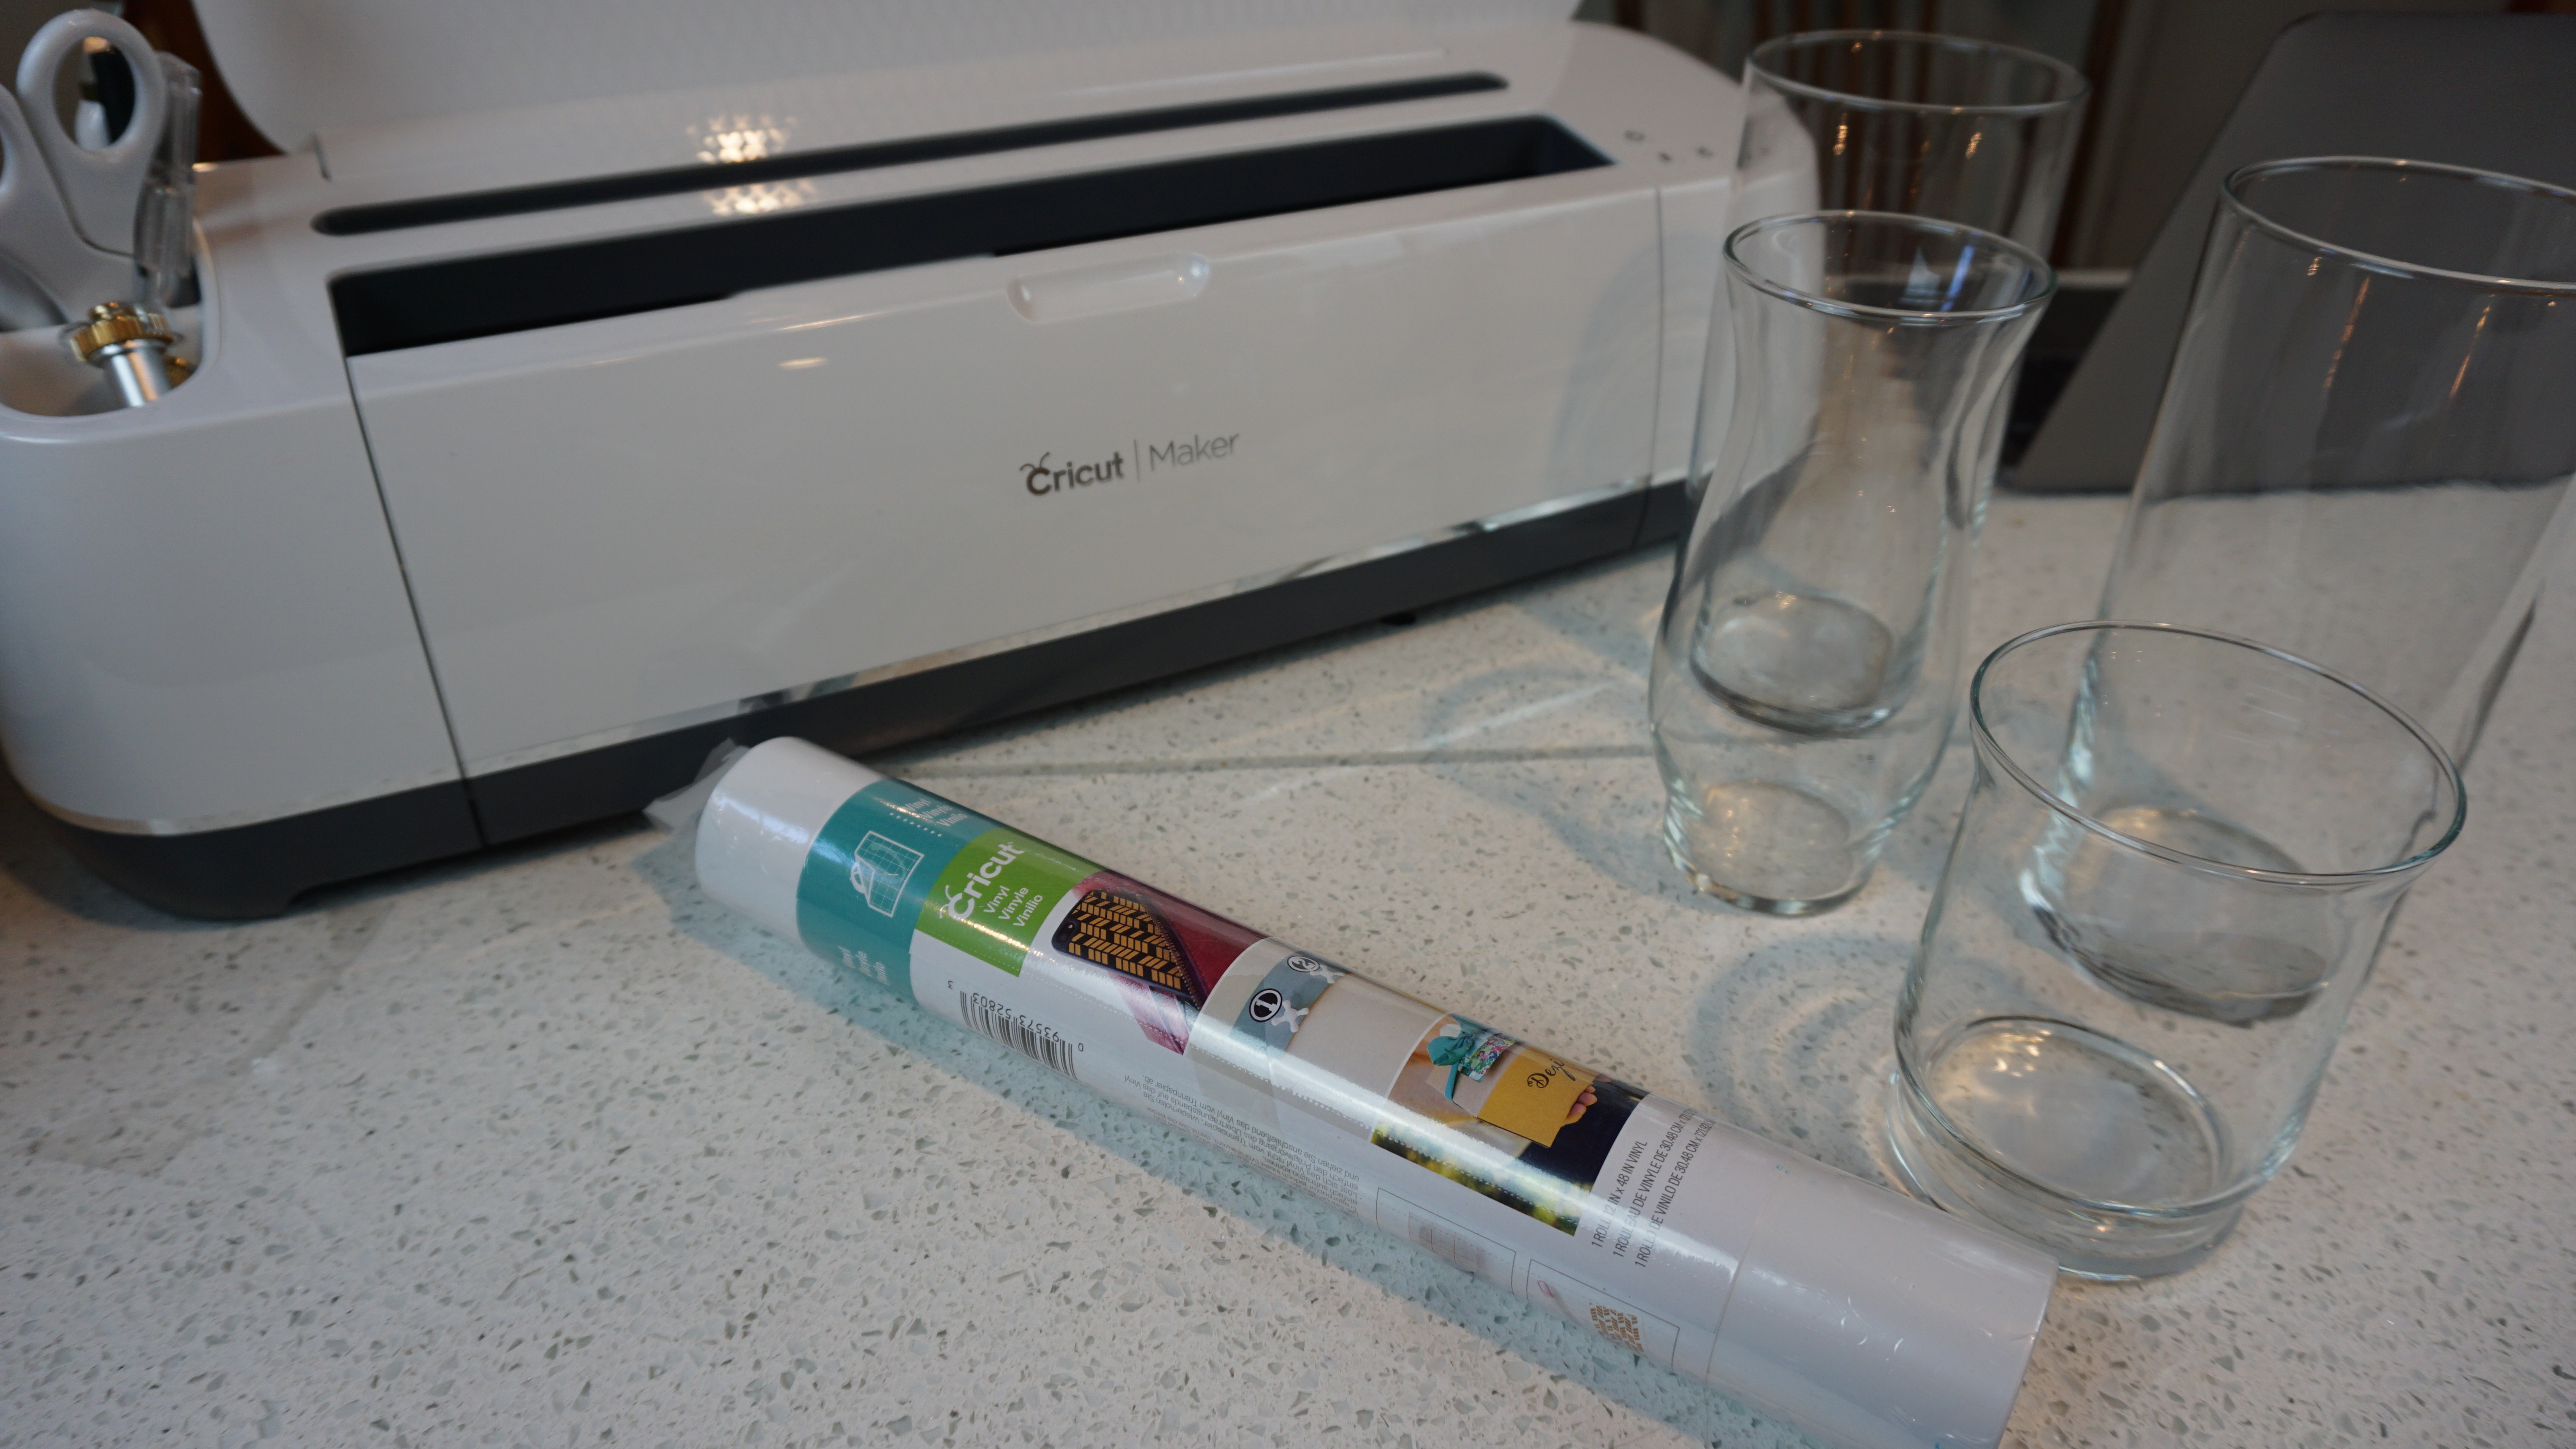
All I needed to make the vases, was the vases themselves, my Cricut Maker and some white vinyl.
Working with the Cricut Maker can’t get any easier. It’s as simple as uploading your design, loading your mat and hitting the flashing Cricut logo on your machine.
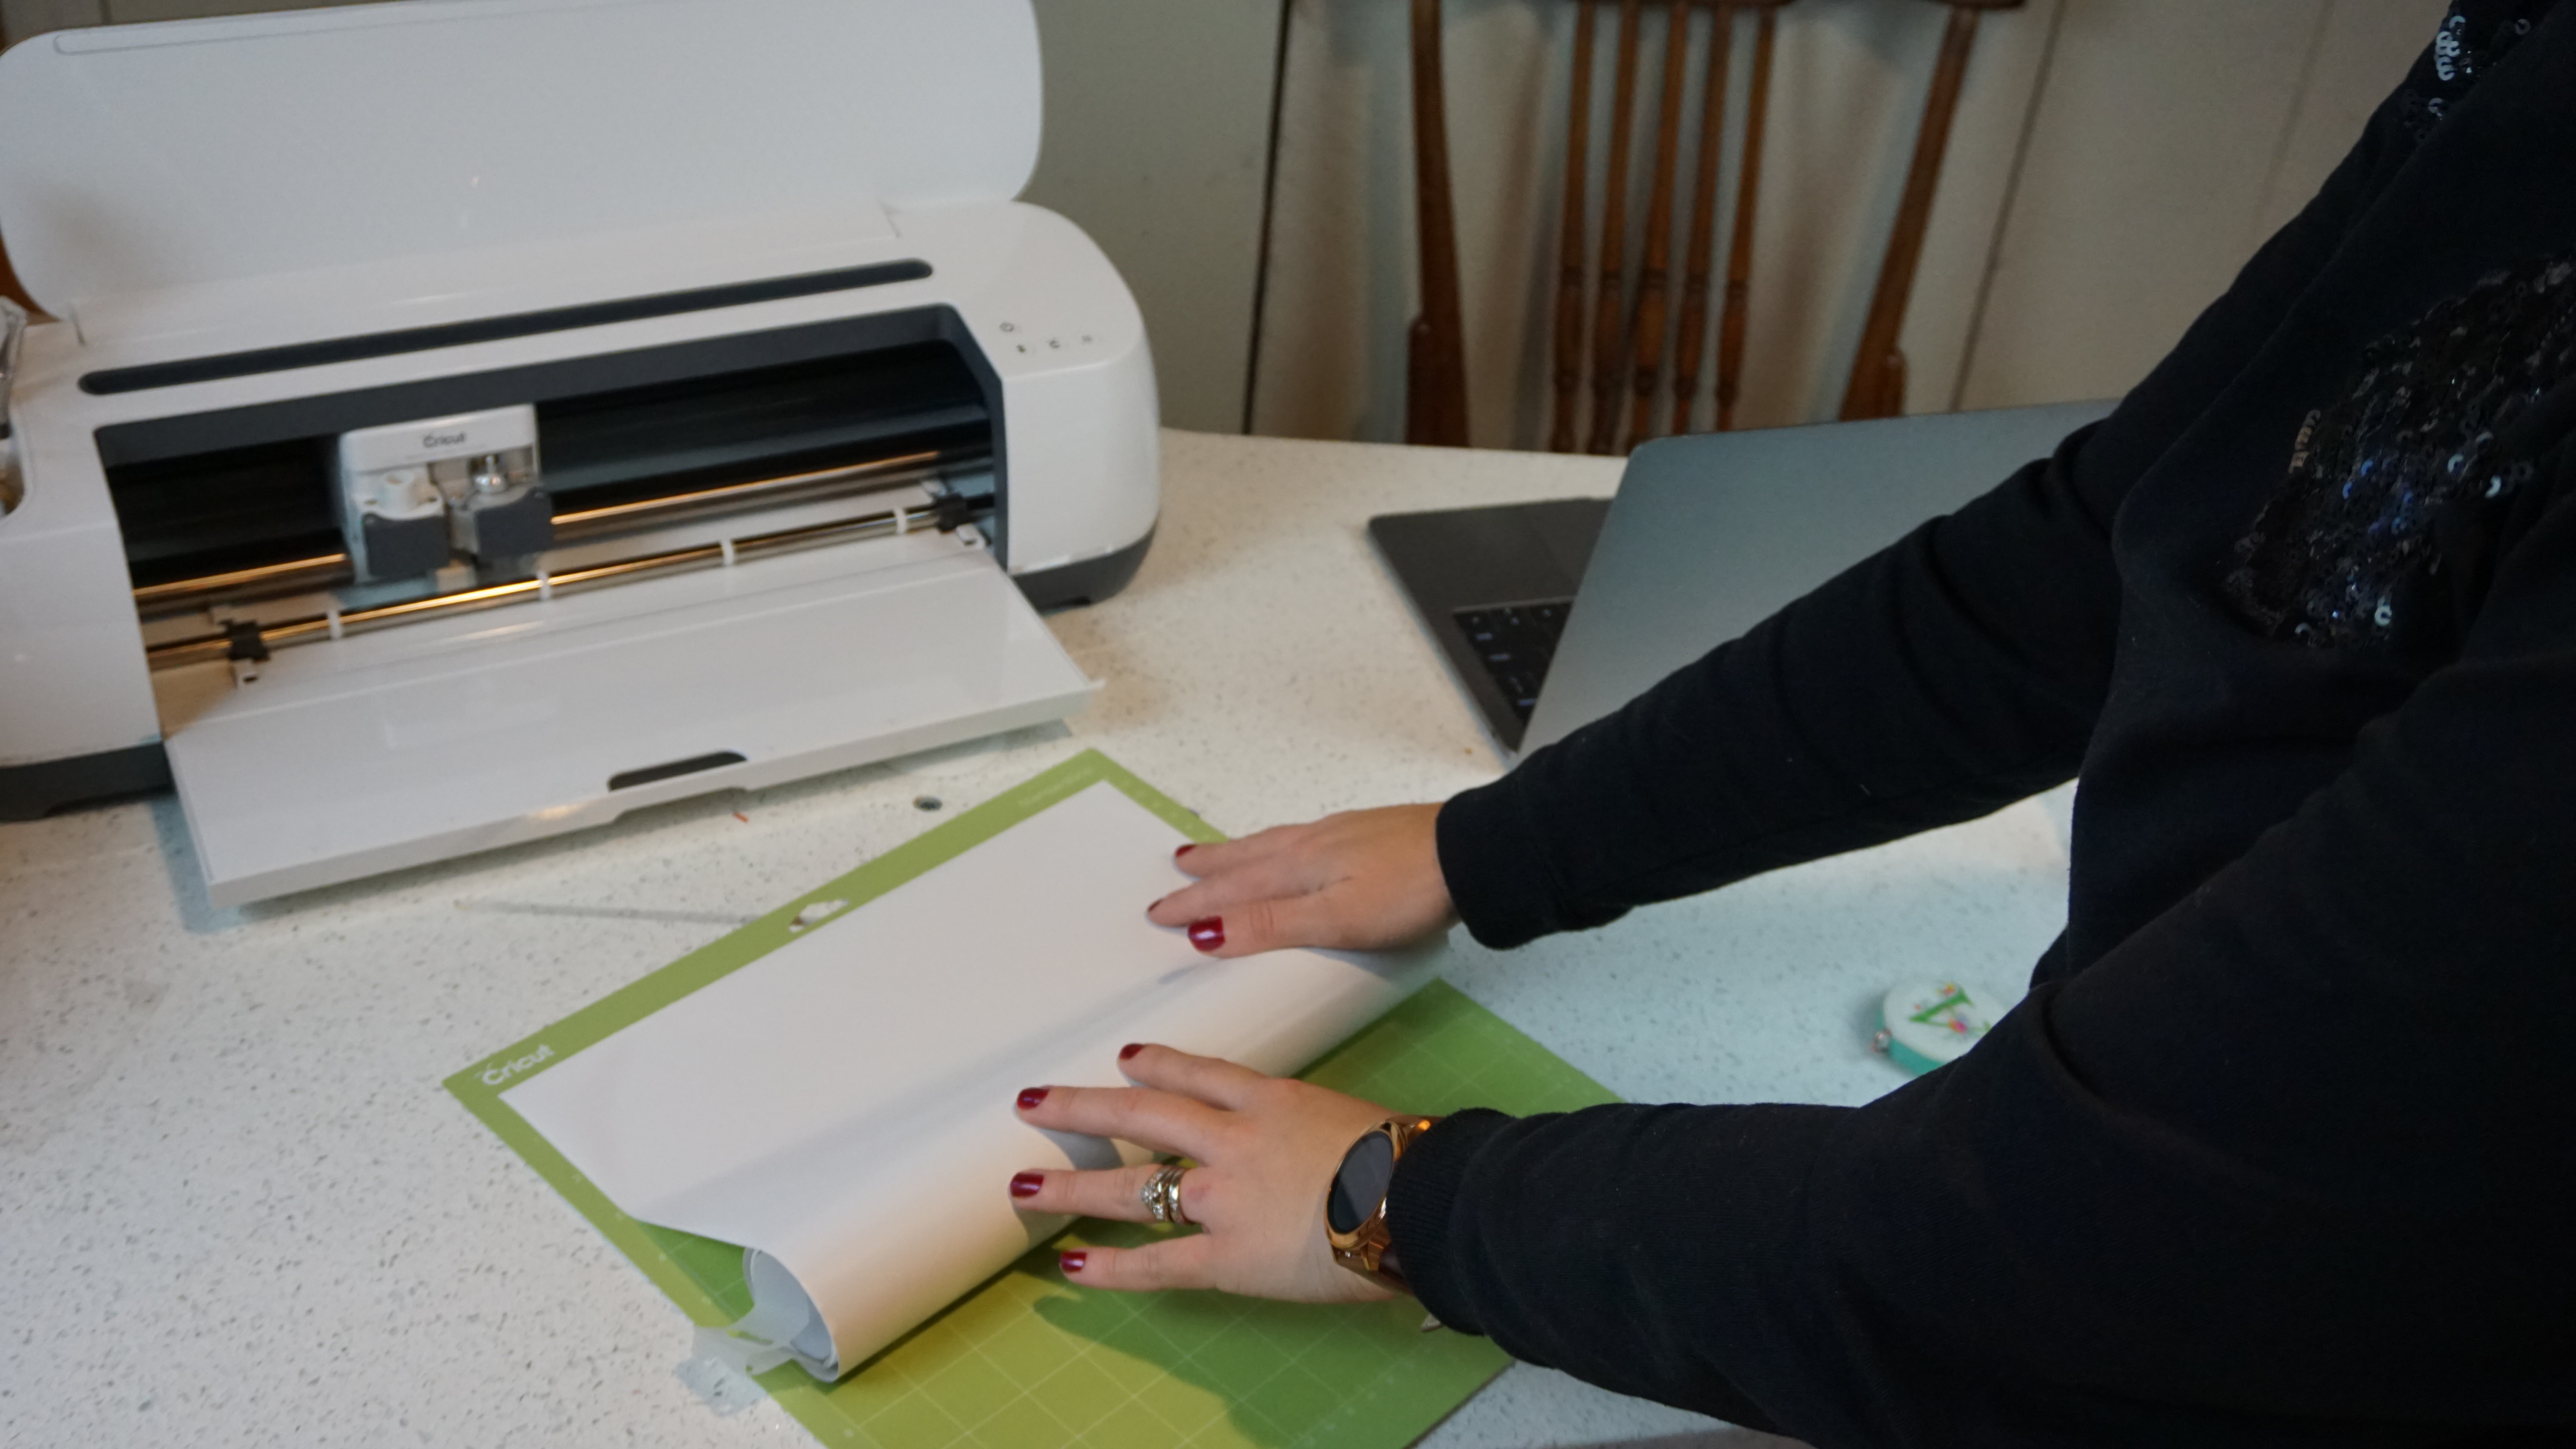
For this project, I went with the Standard Grip mat, but you most certainly could use a Light Grip mat as well.

After the design is cut, next comes time to weed.
If you’re new to the world of Cricut, weeding is when you remove the parts of the cut vinyl that you don’t want.
This is a photo from a different project, but I just wanted to mention that when you are working with materials like Glitter Vinyl, having a Bright Pad really helps and it totally a worthy investment.

Proper tools are also key in any Cricut project. Investing in one of their toolsets will definitely make your Cricut crafting projects go a lot smoother.

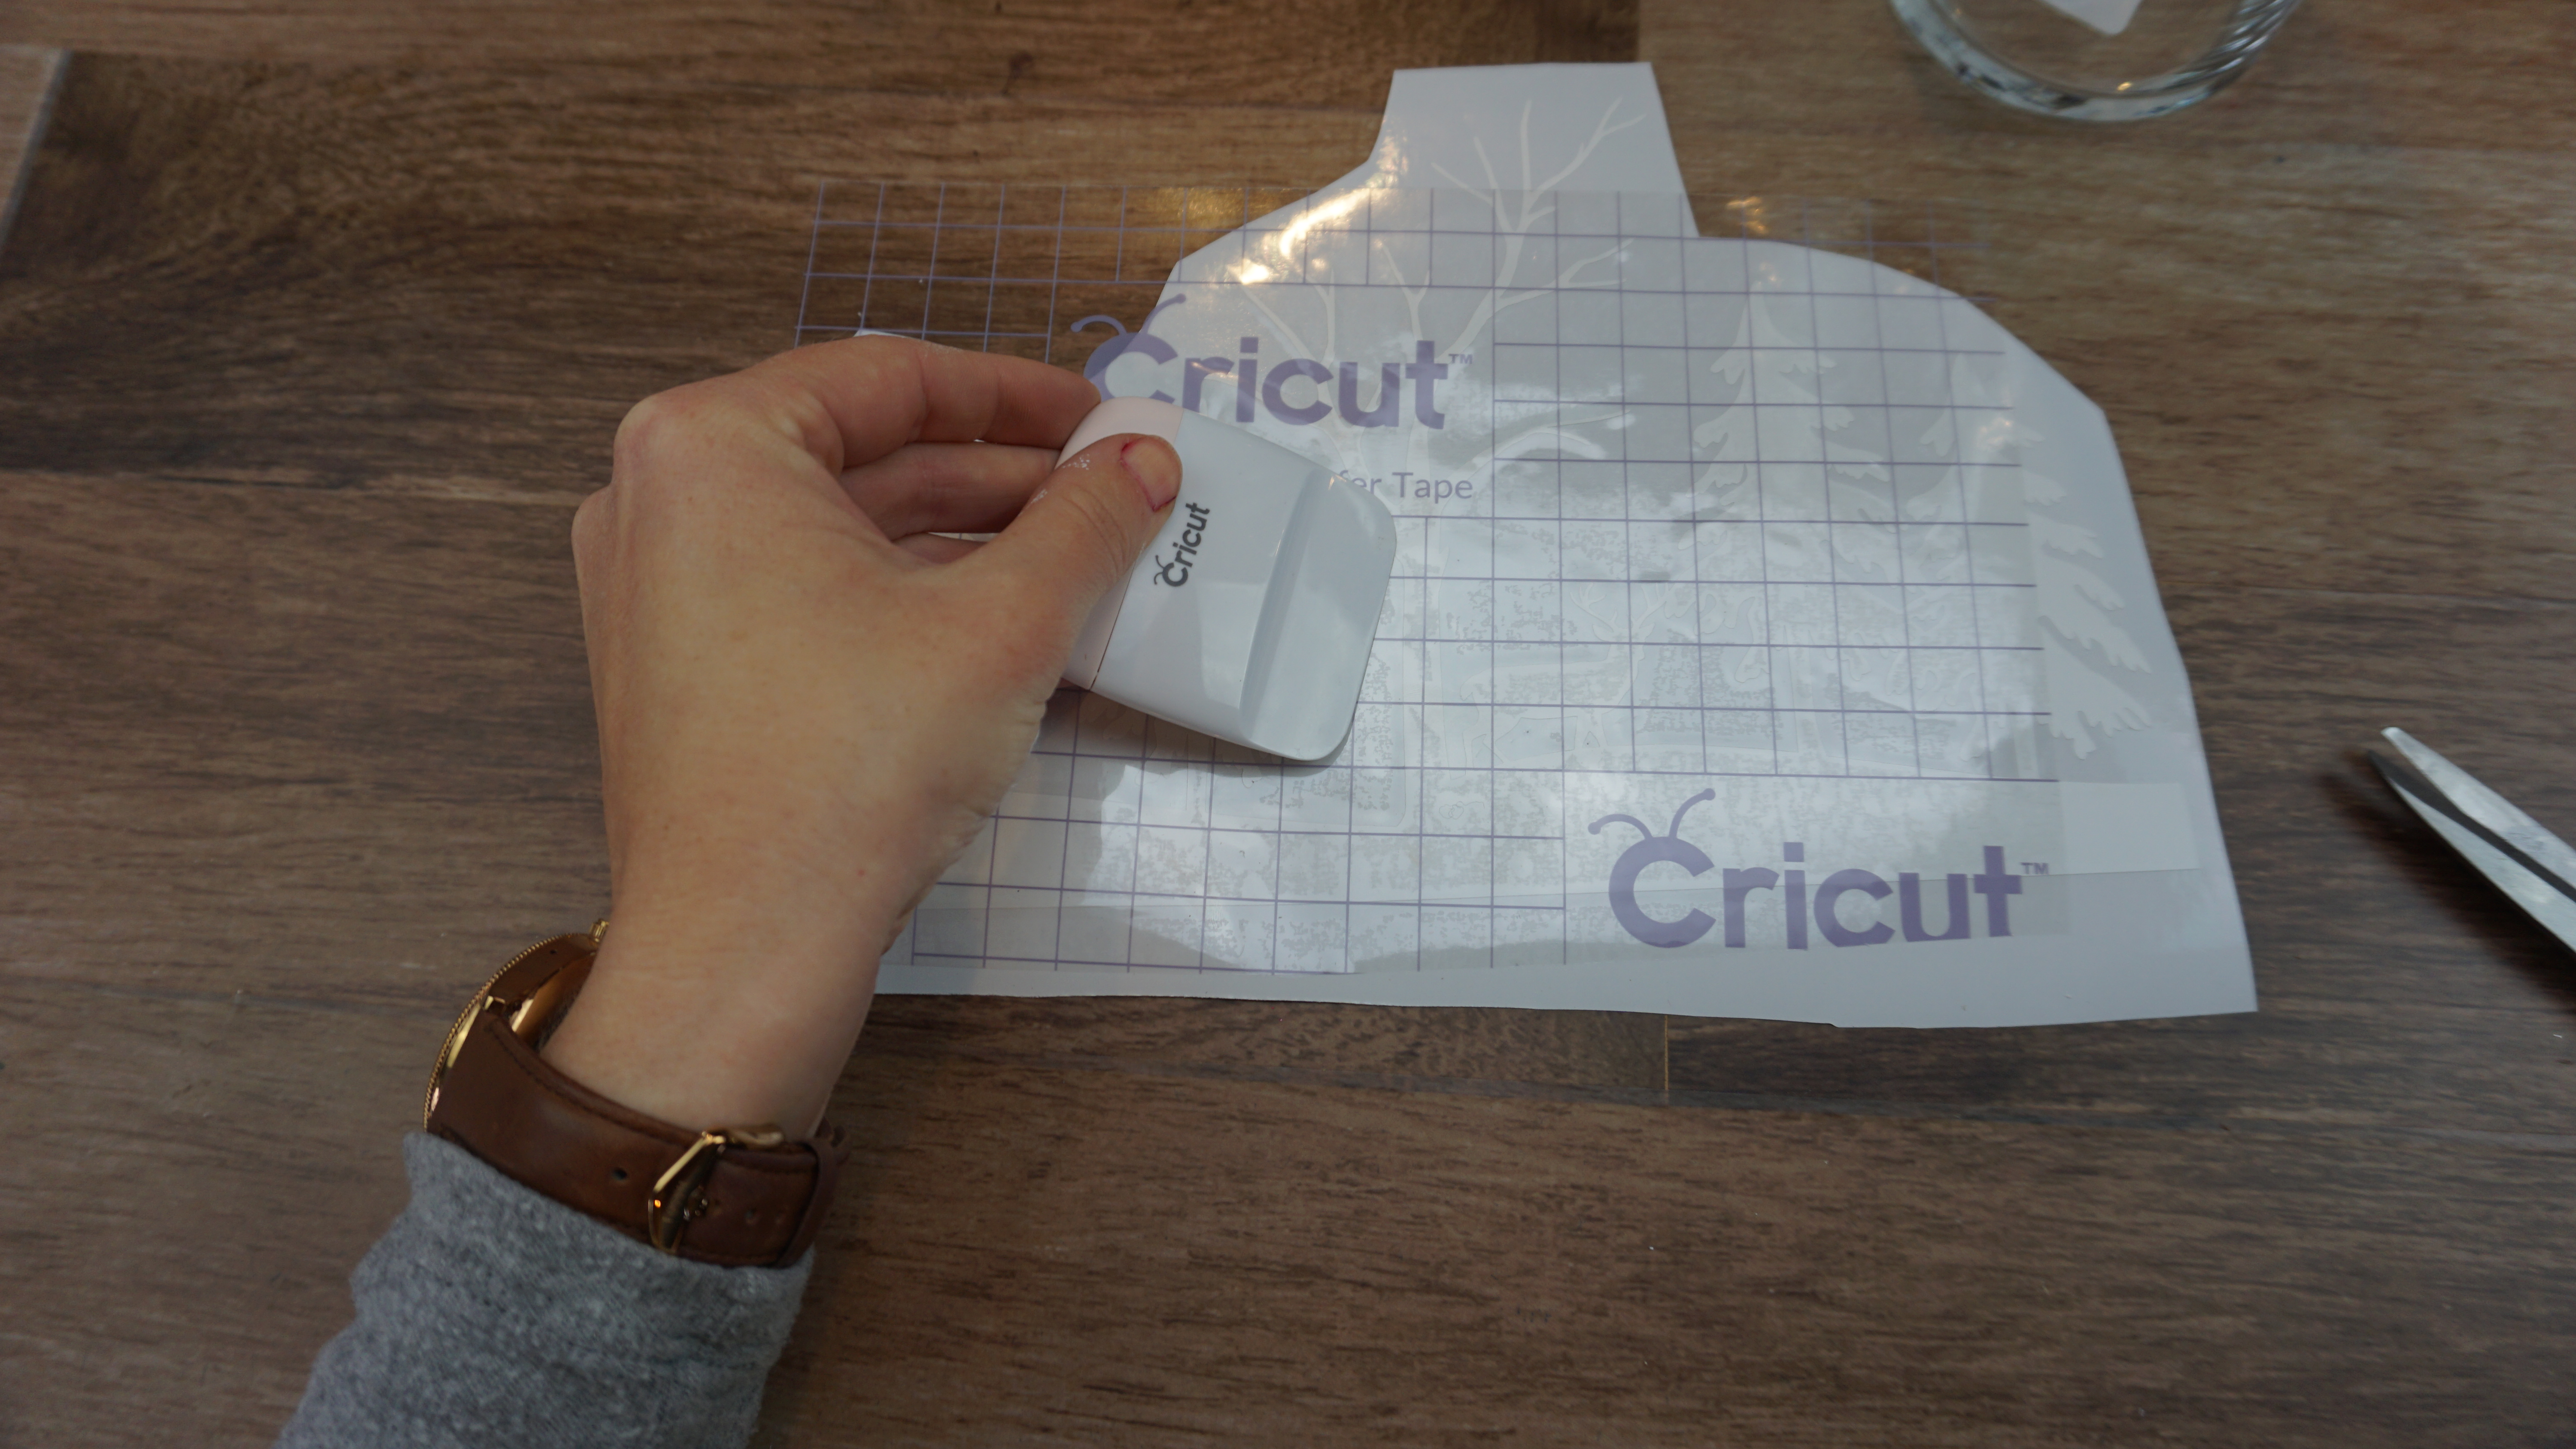
To apply the vinyl to the vase, I used my scraping tool and some Cricut Transfer Tape.

I can’t imagine applying vinyl without transfer tape. It makes everything so much easier.
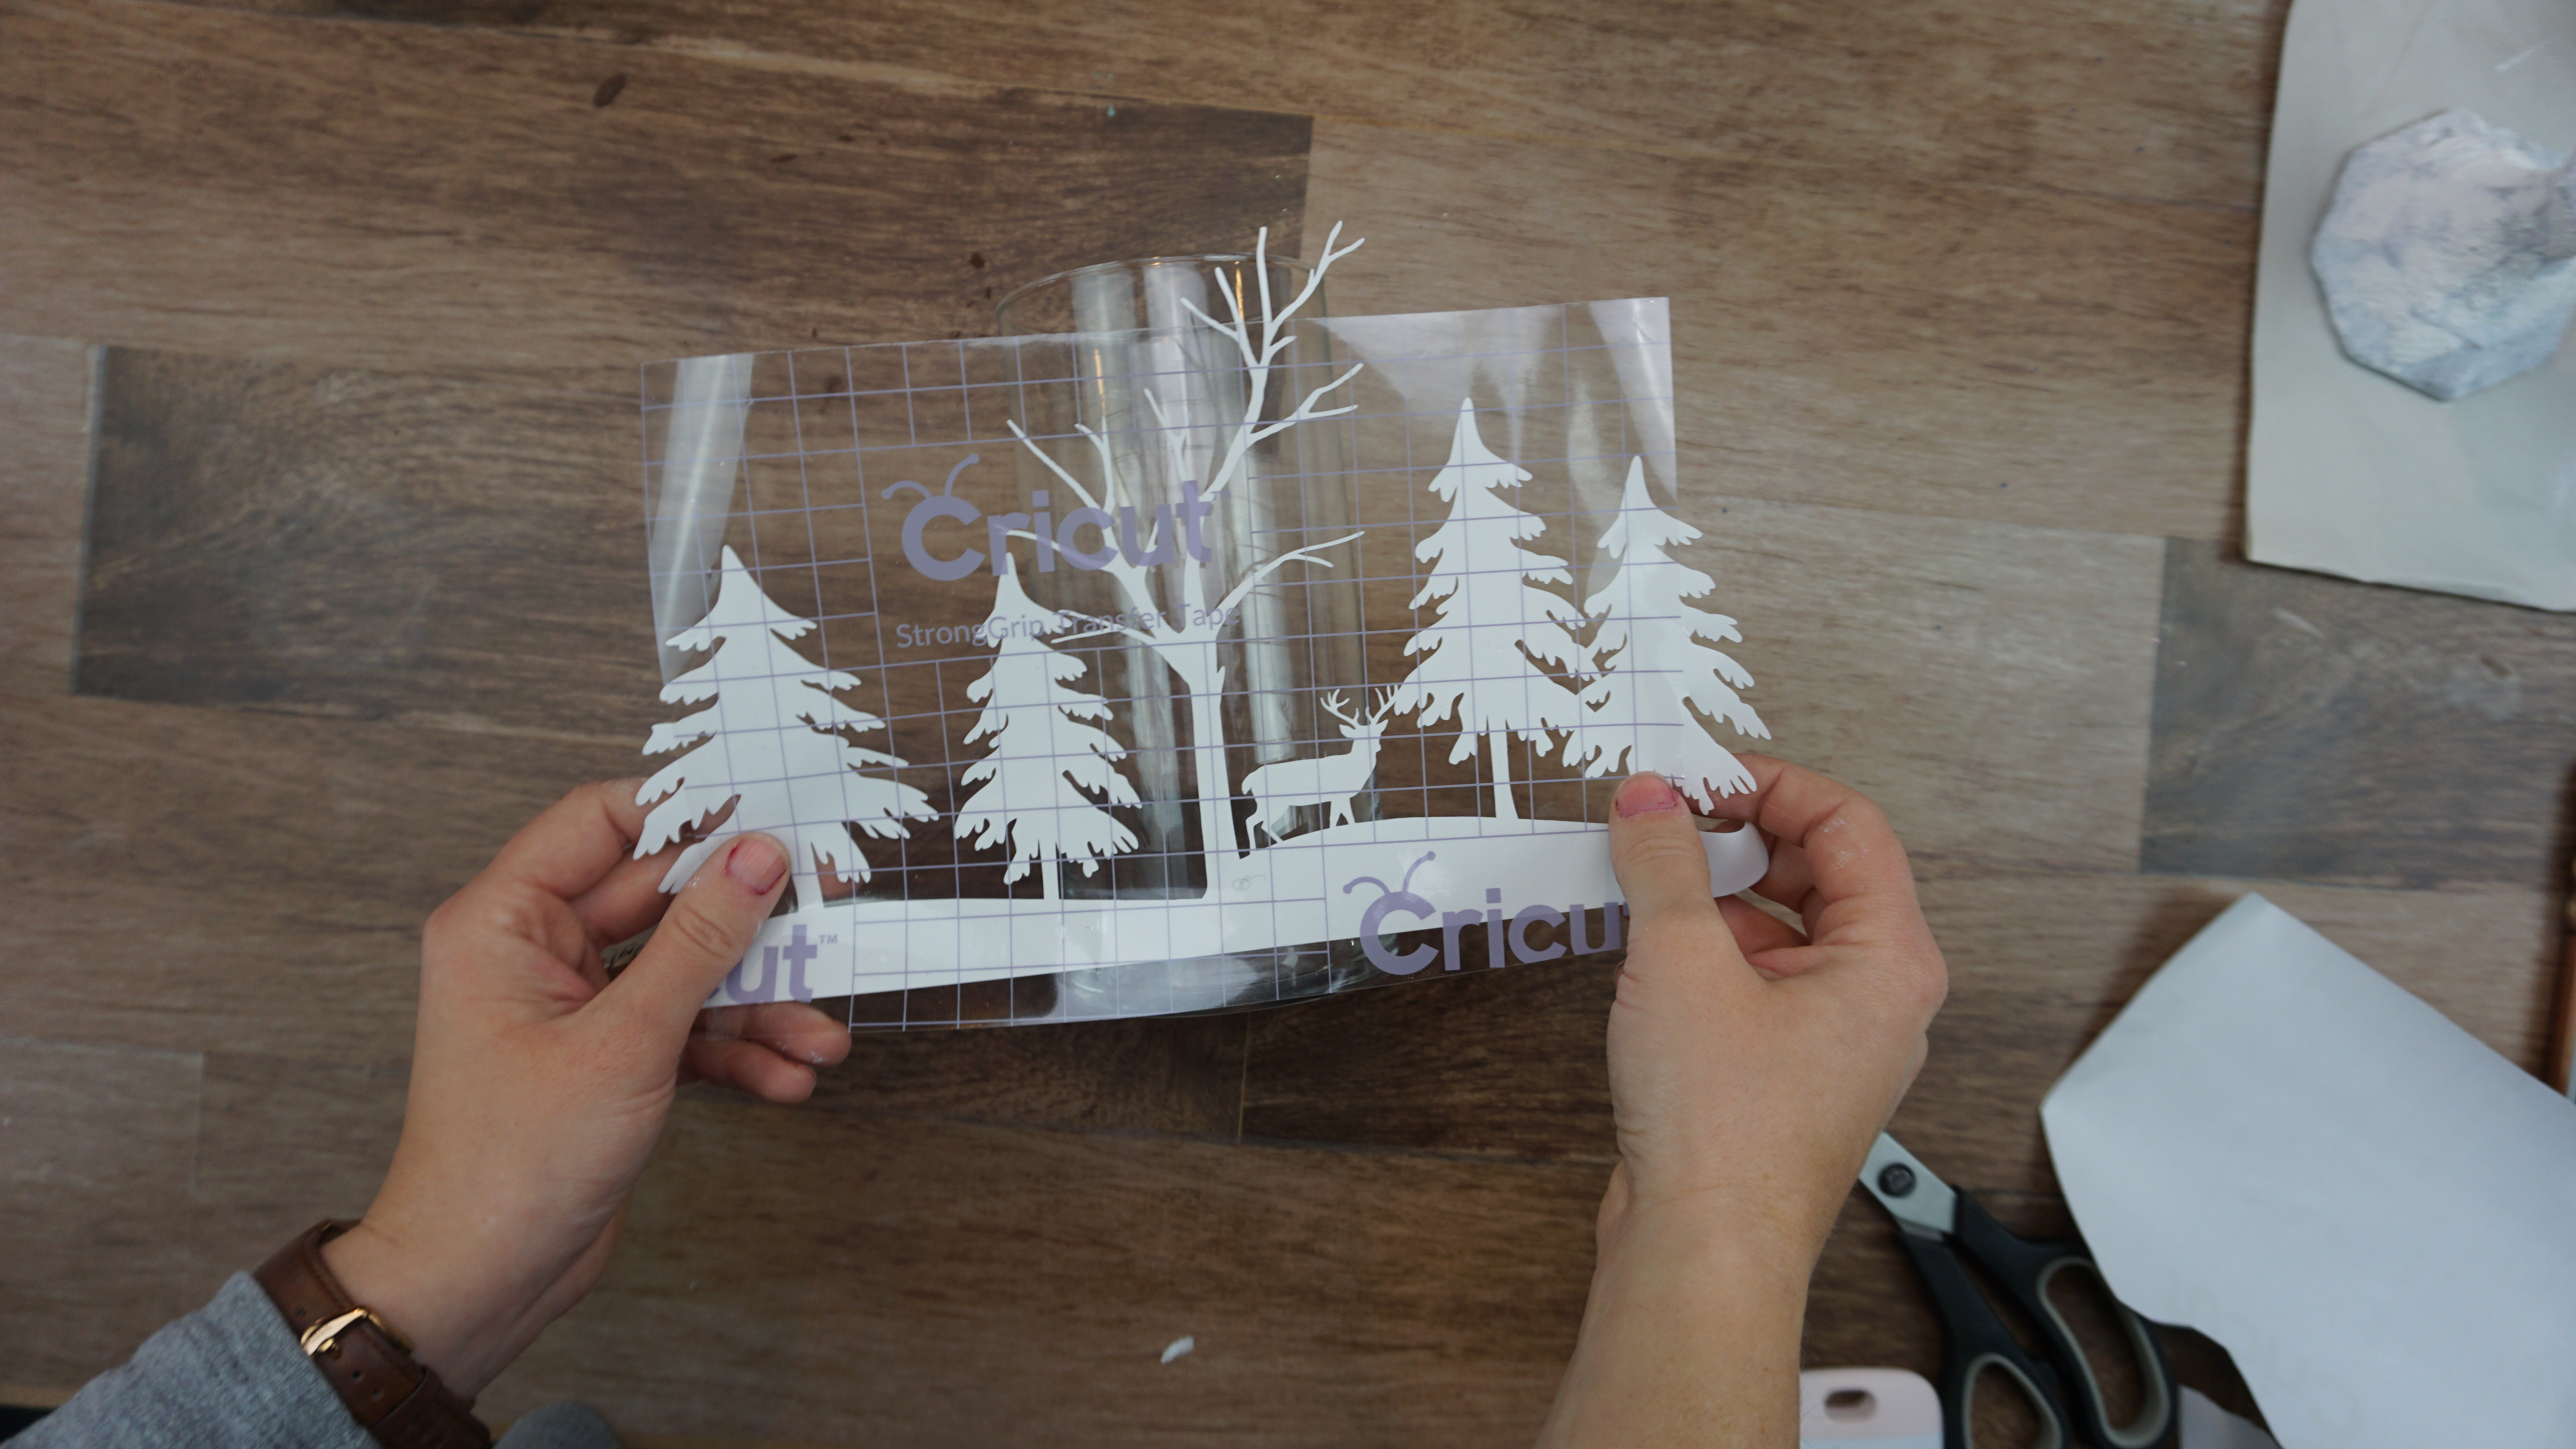
It’s really tricky to apply vinyl to round objects. So sometimes you will get little air bubbles.
Don’t panic! You can remove them easily by gently smoothing the vinyl with the scraper tool. Starting from where the bubble is and working it out toward the edge.
If you get a really stubborn bubble, here’s a tip — slice the bubble with an Exacto knife and then smoot the vinyl with your scraper. Slicing the bubble ever so slightly allows the air to escape.


To attach the vases to my candlestick holders, I used E6000.
When you use E6000, you have to make sure you apply the glue of both pieces that are to be glued together. This ensures the best seal.


Always make sure you let the glue set for at least 12 hours before moving your project.

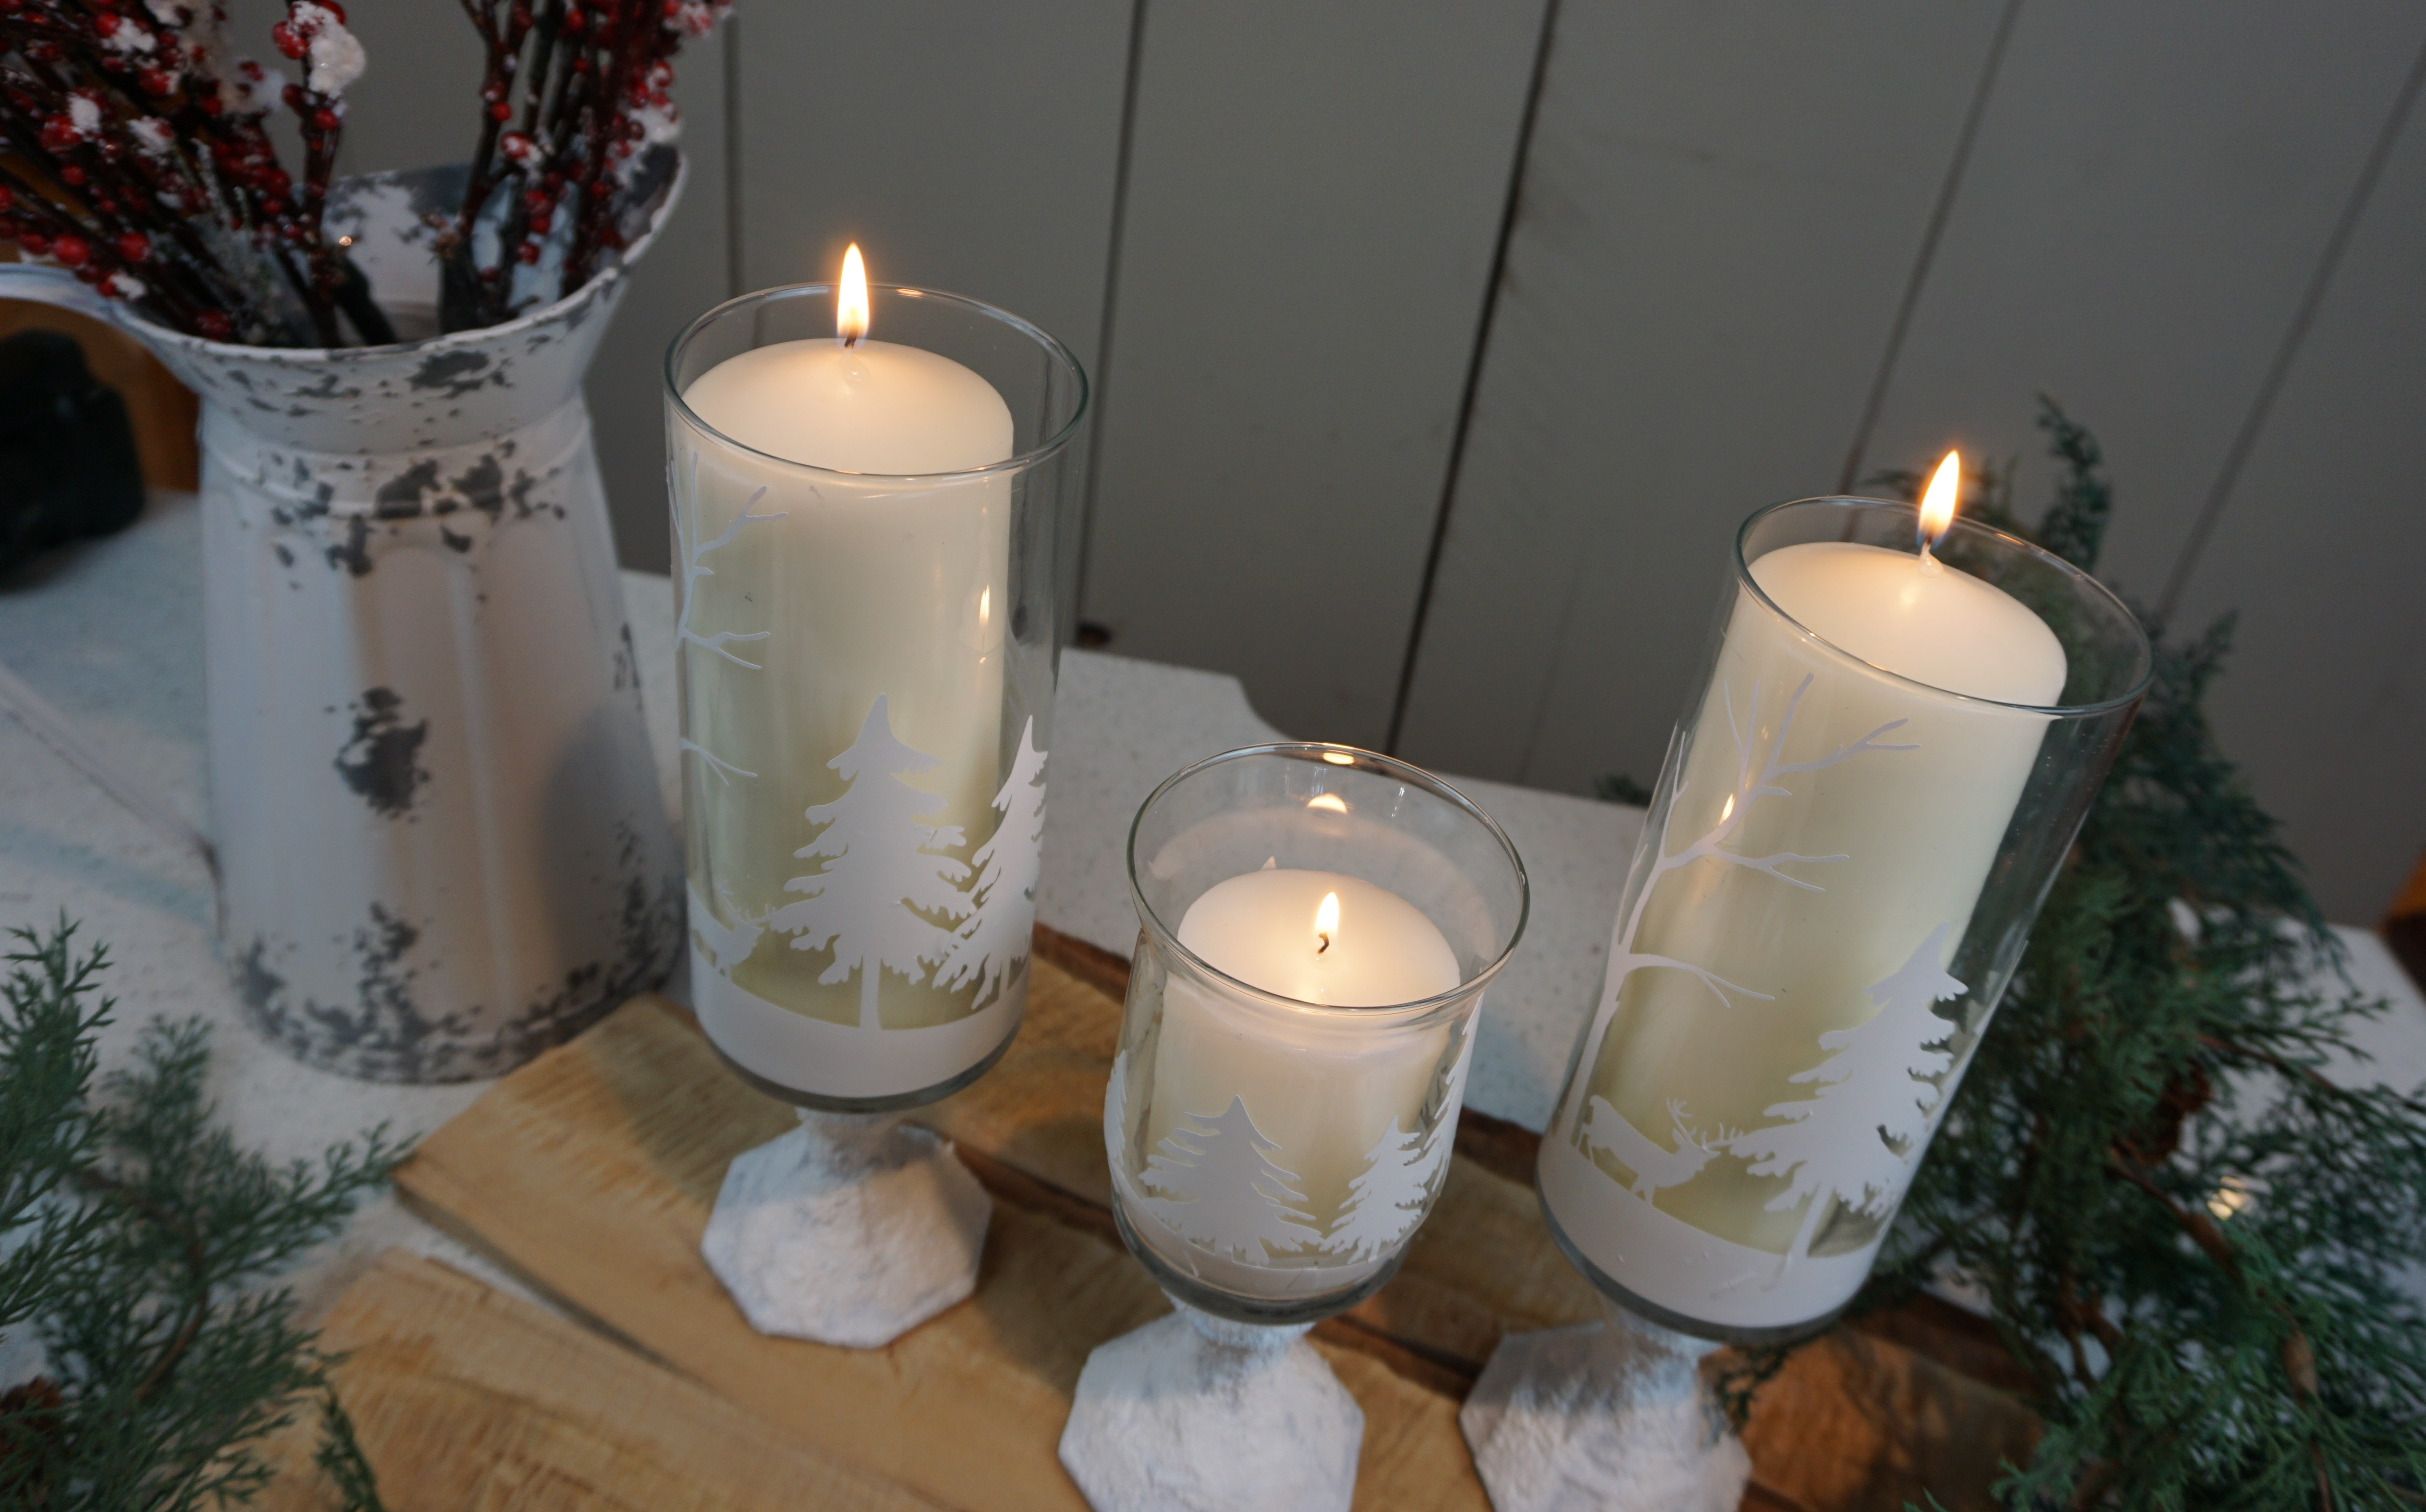
And without further ado — here they are!
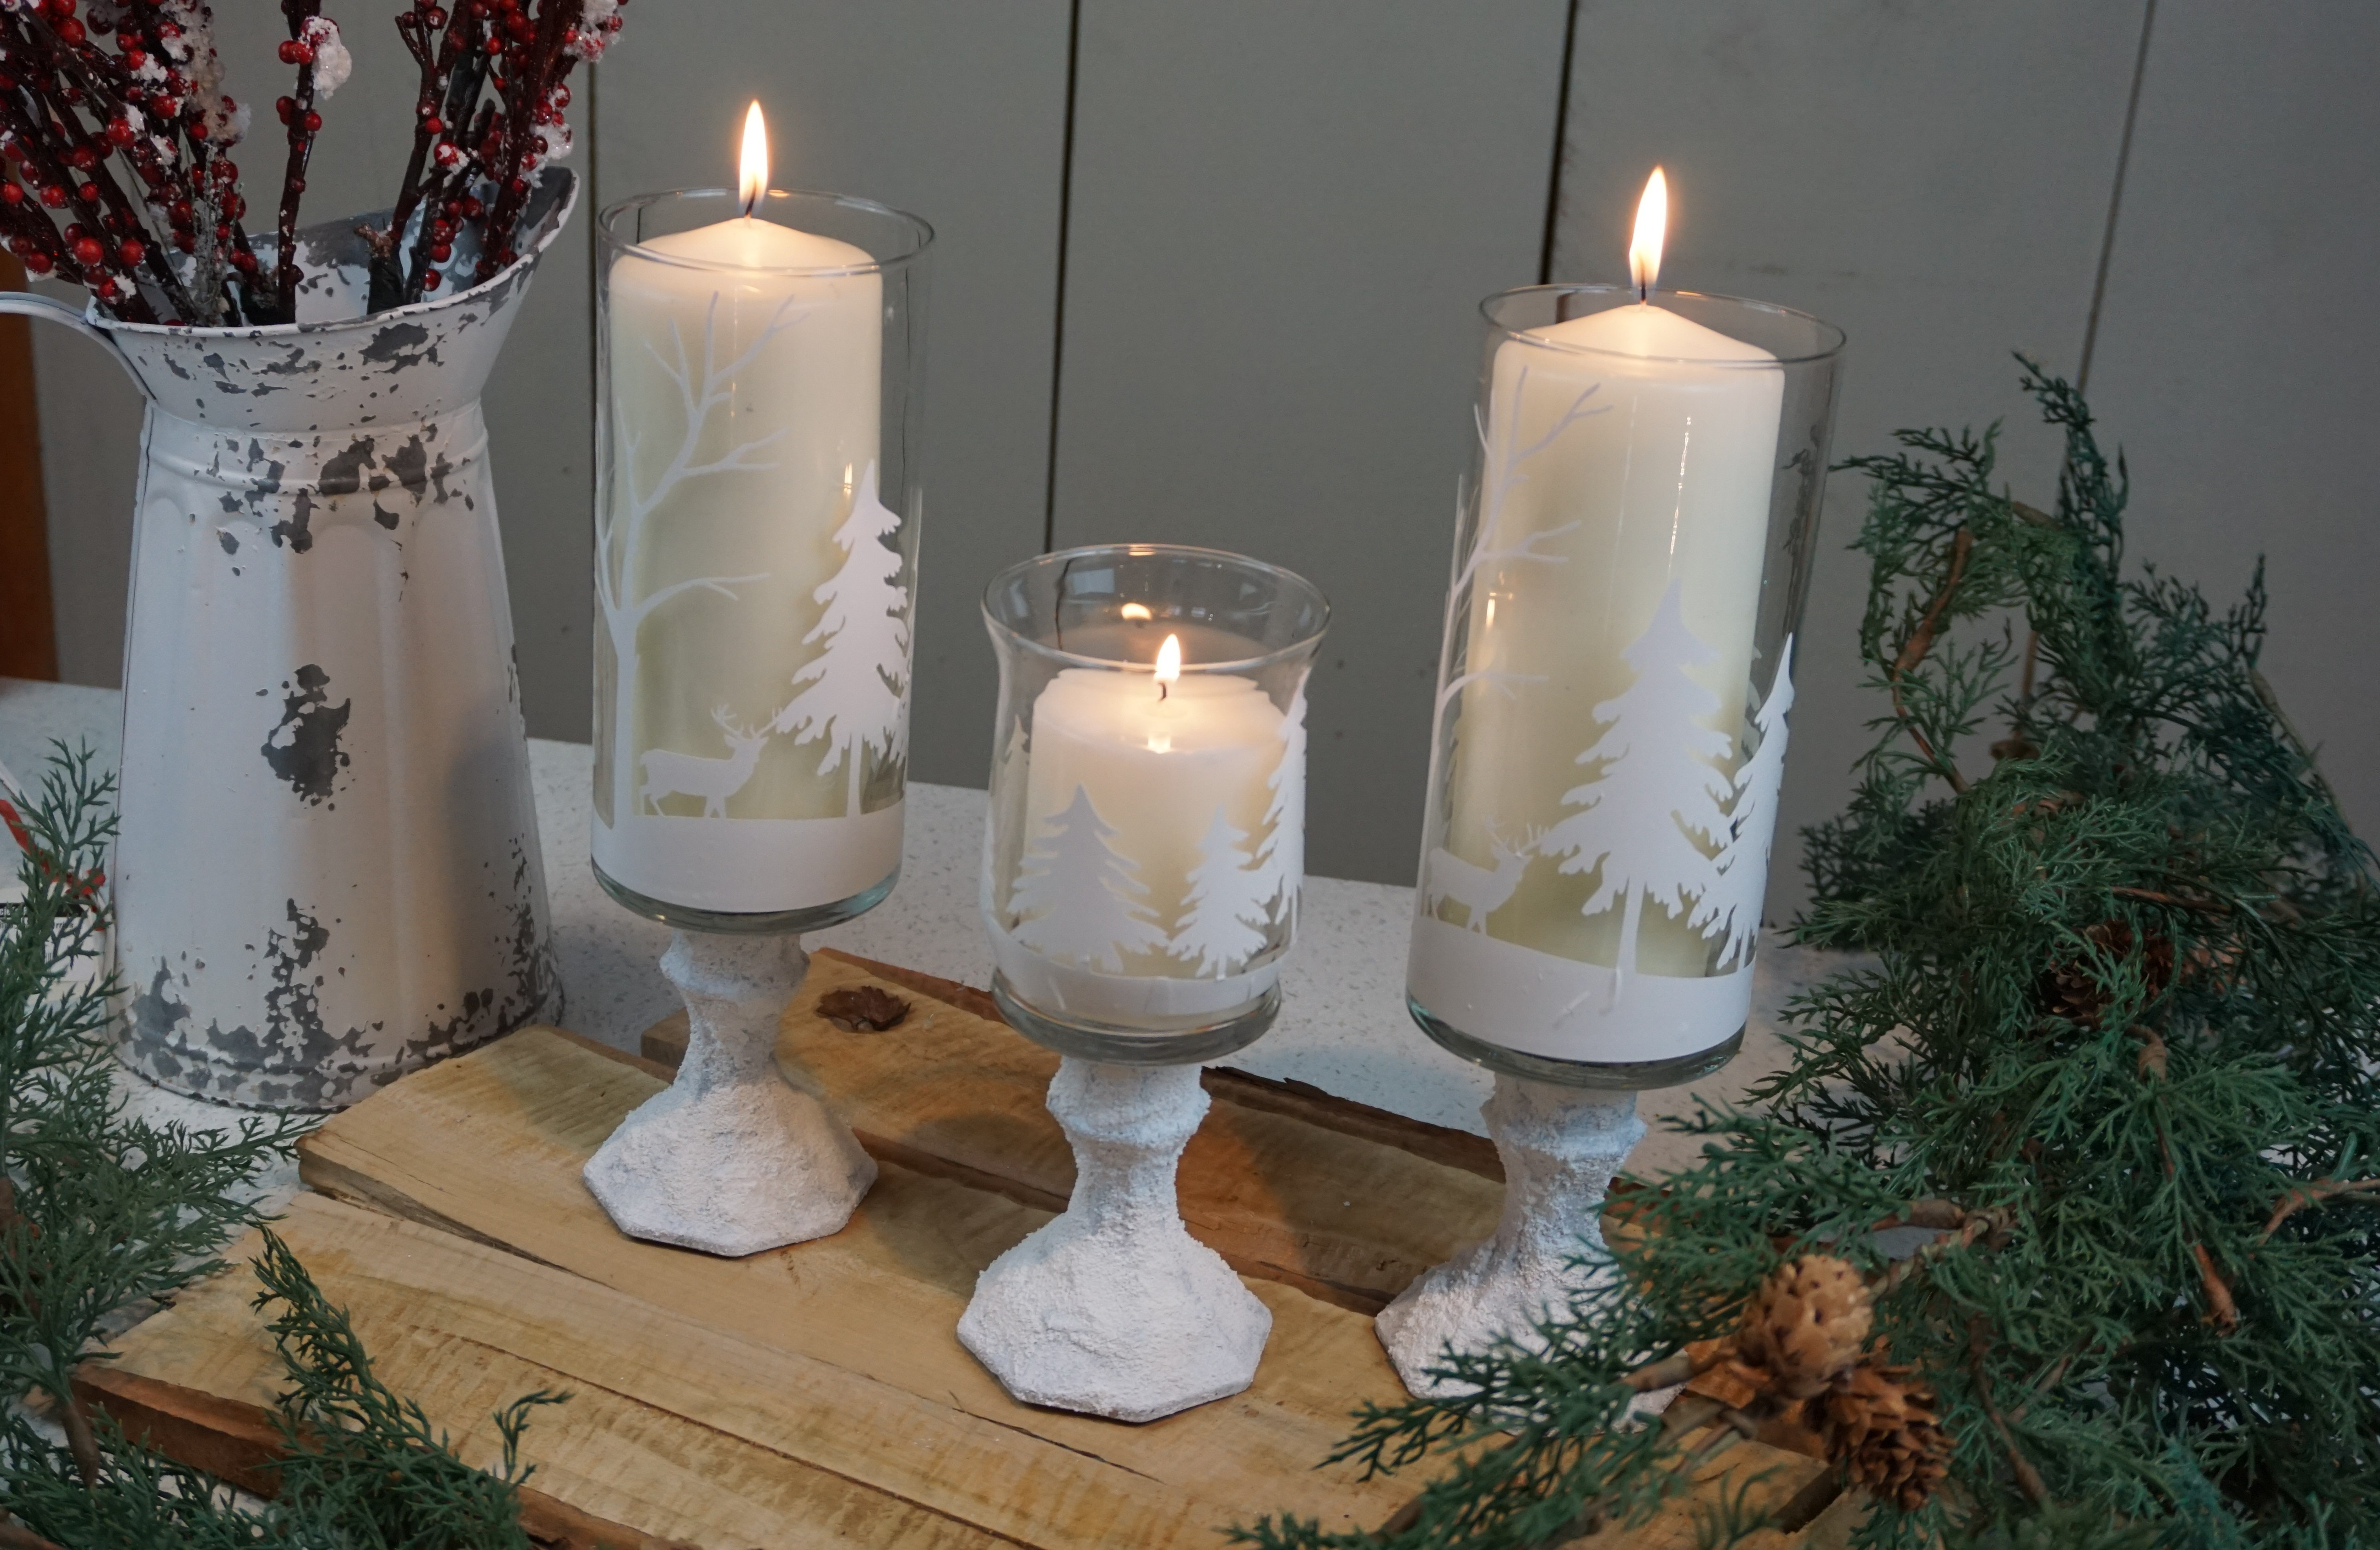
What do you guys think!? Let me know by commenting below.

These would make a great addition to any Christmas table or Christmas mantle and this project was made easy with the Cricut Maker.

As promised here are the free cut files for you to download if you want to recreate this project.
Click the link below to Download the SVGs!!
If you like this project, don’t forget to pin it!


This is a sponsored conversation written by me on behalf of Cricut. The opinions and text are all mine.
POST DISCLAIMER
This is a sponsored conversation written by me on behalf of Cricut. The opinions and text are all mine.
READER COMMENT DISCLAIMER
Comments submitted may be displayed on other websites owned by the sponsoring brand.


Leave a Reply
Pingback: Gorgeous DIY Christmas Candles - Kids Art & Craft on December 5, 2018
16 COMMENTS
Giselle
7 years agoI think yours actually look nicer than the store’s!
hollygrace13
7 years ago AUTHORThank you so much, Giselle!! 😀
hollygrace13
7 years ago AUTHORThank you so much, Giselle!
Yvonne Houle
7 years agoThey look amazing. Yes, even though I used to work for Canadian Tire, I found their prices a little bit
much. It looks like you had fun making yours. Very nice.
hollygrace13
7 years ago AUTHORThanks, Yvonne! 😀
Crafty Chihuahua
7 years agoLove this, so cute!
hollygrace13
7 years ago AUTHORThank you so much!! 😀
Jody Averill
4 years agoOh, Help! I just LOVE these and would make them, but I do not have a Cricut and cannot afford one. Is there any way at all that I could get the vinyl stickers from someone?? I would pay for your, time, material and shipping! I am in Southern CA. Thank you!
hollygrace13
4 years ago AUTHORHello Jody! I am in Canada. I can see how much it would cost to ship them to you 🙂 let me look into this and I will let you know!
Barbara
4 years agoI just came across these on Pinterest and would very much like to make them. However, when I try to upload the designs into Cricut’s Design Space, it says the image is an unsupported image type. I know it’s an svg, so I don’t know what the problem is. Any suggestions as to how to get this to work? Thanks. Your designs are beautiful!
hollygrace13
4 years ago AUTHORHello Barbara! Sorry, you’re having trouble! It might be that this SVG is older and since Cricut made the changes and updates something might be off. I am going to work on updating this SVG right away and I will let you know here as soon as it’s fixed 🙂 Thanks so much for bringing my attention to this!
Brenda
3 years agoHi Holly! I am having issues with the file also. When I try to upload the svg, it brings it in as a print and cut. When I try to change the file type to just a basic cut, it just becomes a gray box. Any ideas of what I need to do?
hollygrace13
3 years ago AUTHORHello Brenda! Sorry about that glitch! I have updated the post and hopefully fixed it. Please try and re-download the SVG pack again with the new link included in the post. Thanks!
Be ky
1 year agoHolly, this is gorgeous! When I download the file, I get blank pages. Is the file still good?
hollygrace13
1 year ago AUTHORHmm, I am not sure why it’s not showing up for you. I just tested and it works for me. If you still can’t get it to work let me know and I can try and email them to you.