This is a sponsored conversation written by me on behalf of Cricut. The opinions and text are all mine.

So if you know me and you follow my blog, I am sure that you have guessed by now that I LOVE my Cricut and all the Cricut products. They are my go to when I want to do some really neat creating. If you’re new to my blog, welcome! And let me tell you there’s nothing like a great Cricut project.
For this post, I would like to shed a little light on a particular Cricut product that doesn’t often get centre stage but it most definitely should.
I am talking about the BrightPad.

The BrightPad is the most perfect companion to coincide with the Cricut Maker and is the must-have tool when it comes to weeding. I really don’t know how I coped without it — especially when it comes to glitter.
Disclosure: This post is sponsored by Cricut. All opinions are my own. Also, this post contains affiliate links – should you choose to purchase through these links I make a small commission at no cost to you.
The Cricut BrightPad makes weeding quick and easy with its adjustable, evenly lit surface. There are 5 different brightness settings and the BrightPad is lightweight, portable, and durable. You can make craft time more enjoyable with this helpful accessory.
Now that we have talked about the specifics of the BrightPad. Let’s get into a project so you can see just how incredible it is for yourself.
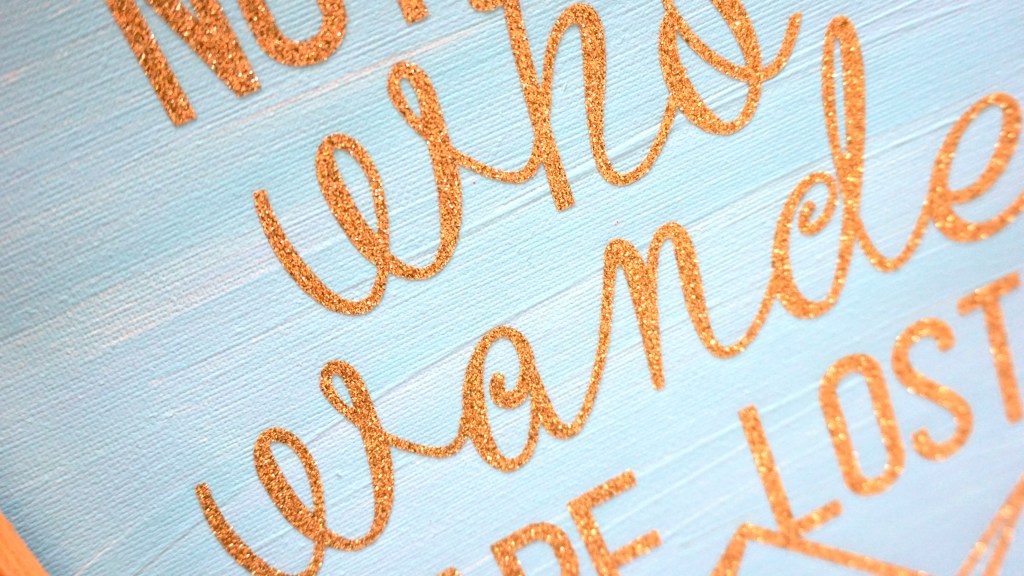
I thought I would demonstrate a project that includes glitter iron-on because glitter iron-on and I seem to have a love-hate relationship.

I love working one glitter iron on projects but I hate weeding glitter iron-on. It’s so hard. Most times it would end up taking me so long because I had to be extremely careful to not wreck my design since I couldn’t really see the cut lines.
The Cricut BrightPad takes all the guess work out of it.

I found this really sweet image in Design Space and I thought it would make the perfect reverse canvas.

So let’s just jump right into it!
Finding projects in Cricut Design Space makes making a project super easy! I love being able to find a project and just go right to the “Make It” option.

For this project you need:
- Cricut Maker
- Gold Glitter Iron On
- Cricut EasyPress 2
- Cricut Strong Grip Mat
- Cricut Weeding Tools
- Cricut BrightPad
- Artist’s Canvas
- Paint
Step 1:
Select the design in Design Space and follow the prompts to cut the design. Load the Gold Glitter Iron On on the Strong Grip mat.

Step 2:
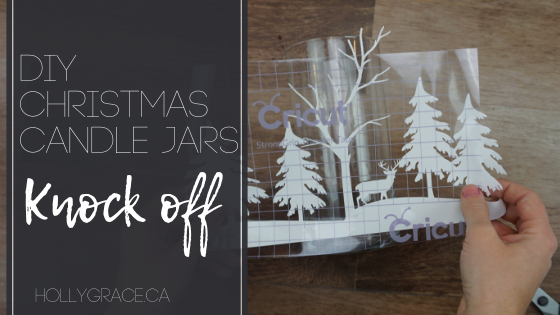
Time to bring in the Cricut BrightPad! Once your design is done cutting, it’s time to weed and this is where you are going to see just how awesome the BrightPad is.

The BrightPad is so easy to set up. Just insert the power cord and turn on the power button.

Step 3:
Using your Cricut weeding tool, weed the areas of Glitter Iron On that are not needed.


Step 4:
These next few steps you can really change up to suit your style and tastes. I wanted a nice blue background similar to the example project in Design Space so I used Aqua Sky and Bahama Blue from DecoArt.

Paint your canvas and allow it to dry before using the EasyPress to apply your Iron On design.


Step 5:
At this point, I decided I wanted to do a reverse canvas, so I removed the canvas from the frame using an Exacto knife.

And then I painted the frame using Gold Vintage Effect Wash from DecoArt.


Step 6:
Time to apply our design! This is super and easy to do using the EasyPress 2. Even easier if you download or even print out the temperature chart provided by Cricut. I printed it out and put it right next to my craft desk so that I always have it handy. This will serve as a guide for the settings.


Step 7:
All that’s left now is to put the frame back together. To do this just simply cut the canvas to fit the size of the frame and staple it back onto the back


So what do you think about this project? Share your thoughts in the comments below!
Make sure you subscribe to my blog because next week I am going to sharing another alternative to using the BrightPad!
If you’re thinking about getting a BrightPad, go for it! It will forever change how you use your Cricut materials. Also, please follow this link here to purchase. I make a small commission off the sale at no extra cost to you and these commissions help me keep my site running! 🙂 Many thanks!!


Leave a Reply
Pingback: Tracing with a Cricut BrightPad on February 7, 2019
1 COMMENT