This is a sponsored conversation written by me on behalf of Cricut. The opinions and text are all mine.
Well, everyone, V day is almost here. February is breathing down our necks so that means it’s time to break out the candy hearts, pink and all things that speak L-O-V-E.
I have to admit that I don’t really go all out for Valentine’s Day. In fact, I rarely decorate but I was thinking to myself… why, not?
Why don’t I decorate? Especially when I have a Cricut machine! Having a Cricut Maker makes every holiday fun and unique and in today’s post, I am going to show you how I made two super quick and easy pieces of Valentine’s Day decor so let’s jump right in.
Material List:


Disclosure: This post is sponsored by Cricut. All opinions are my own. Also, this post contains affiliate links – should you choose to purchase through these links I make a small commission at no cost to you.
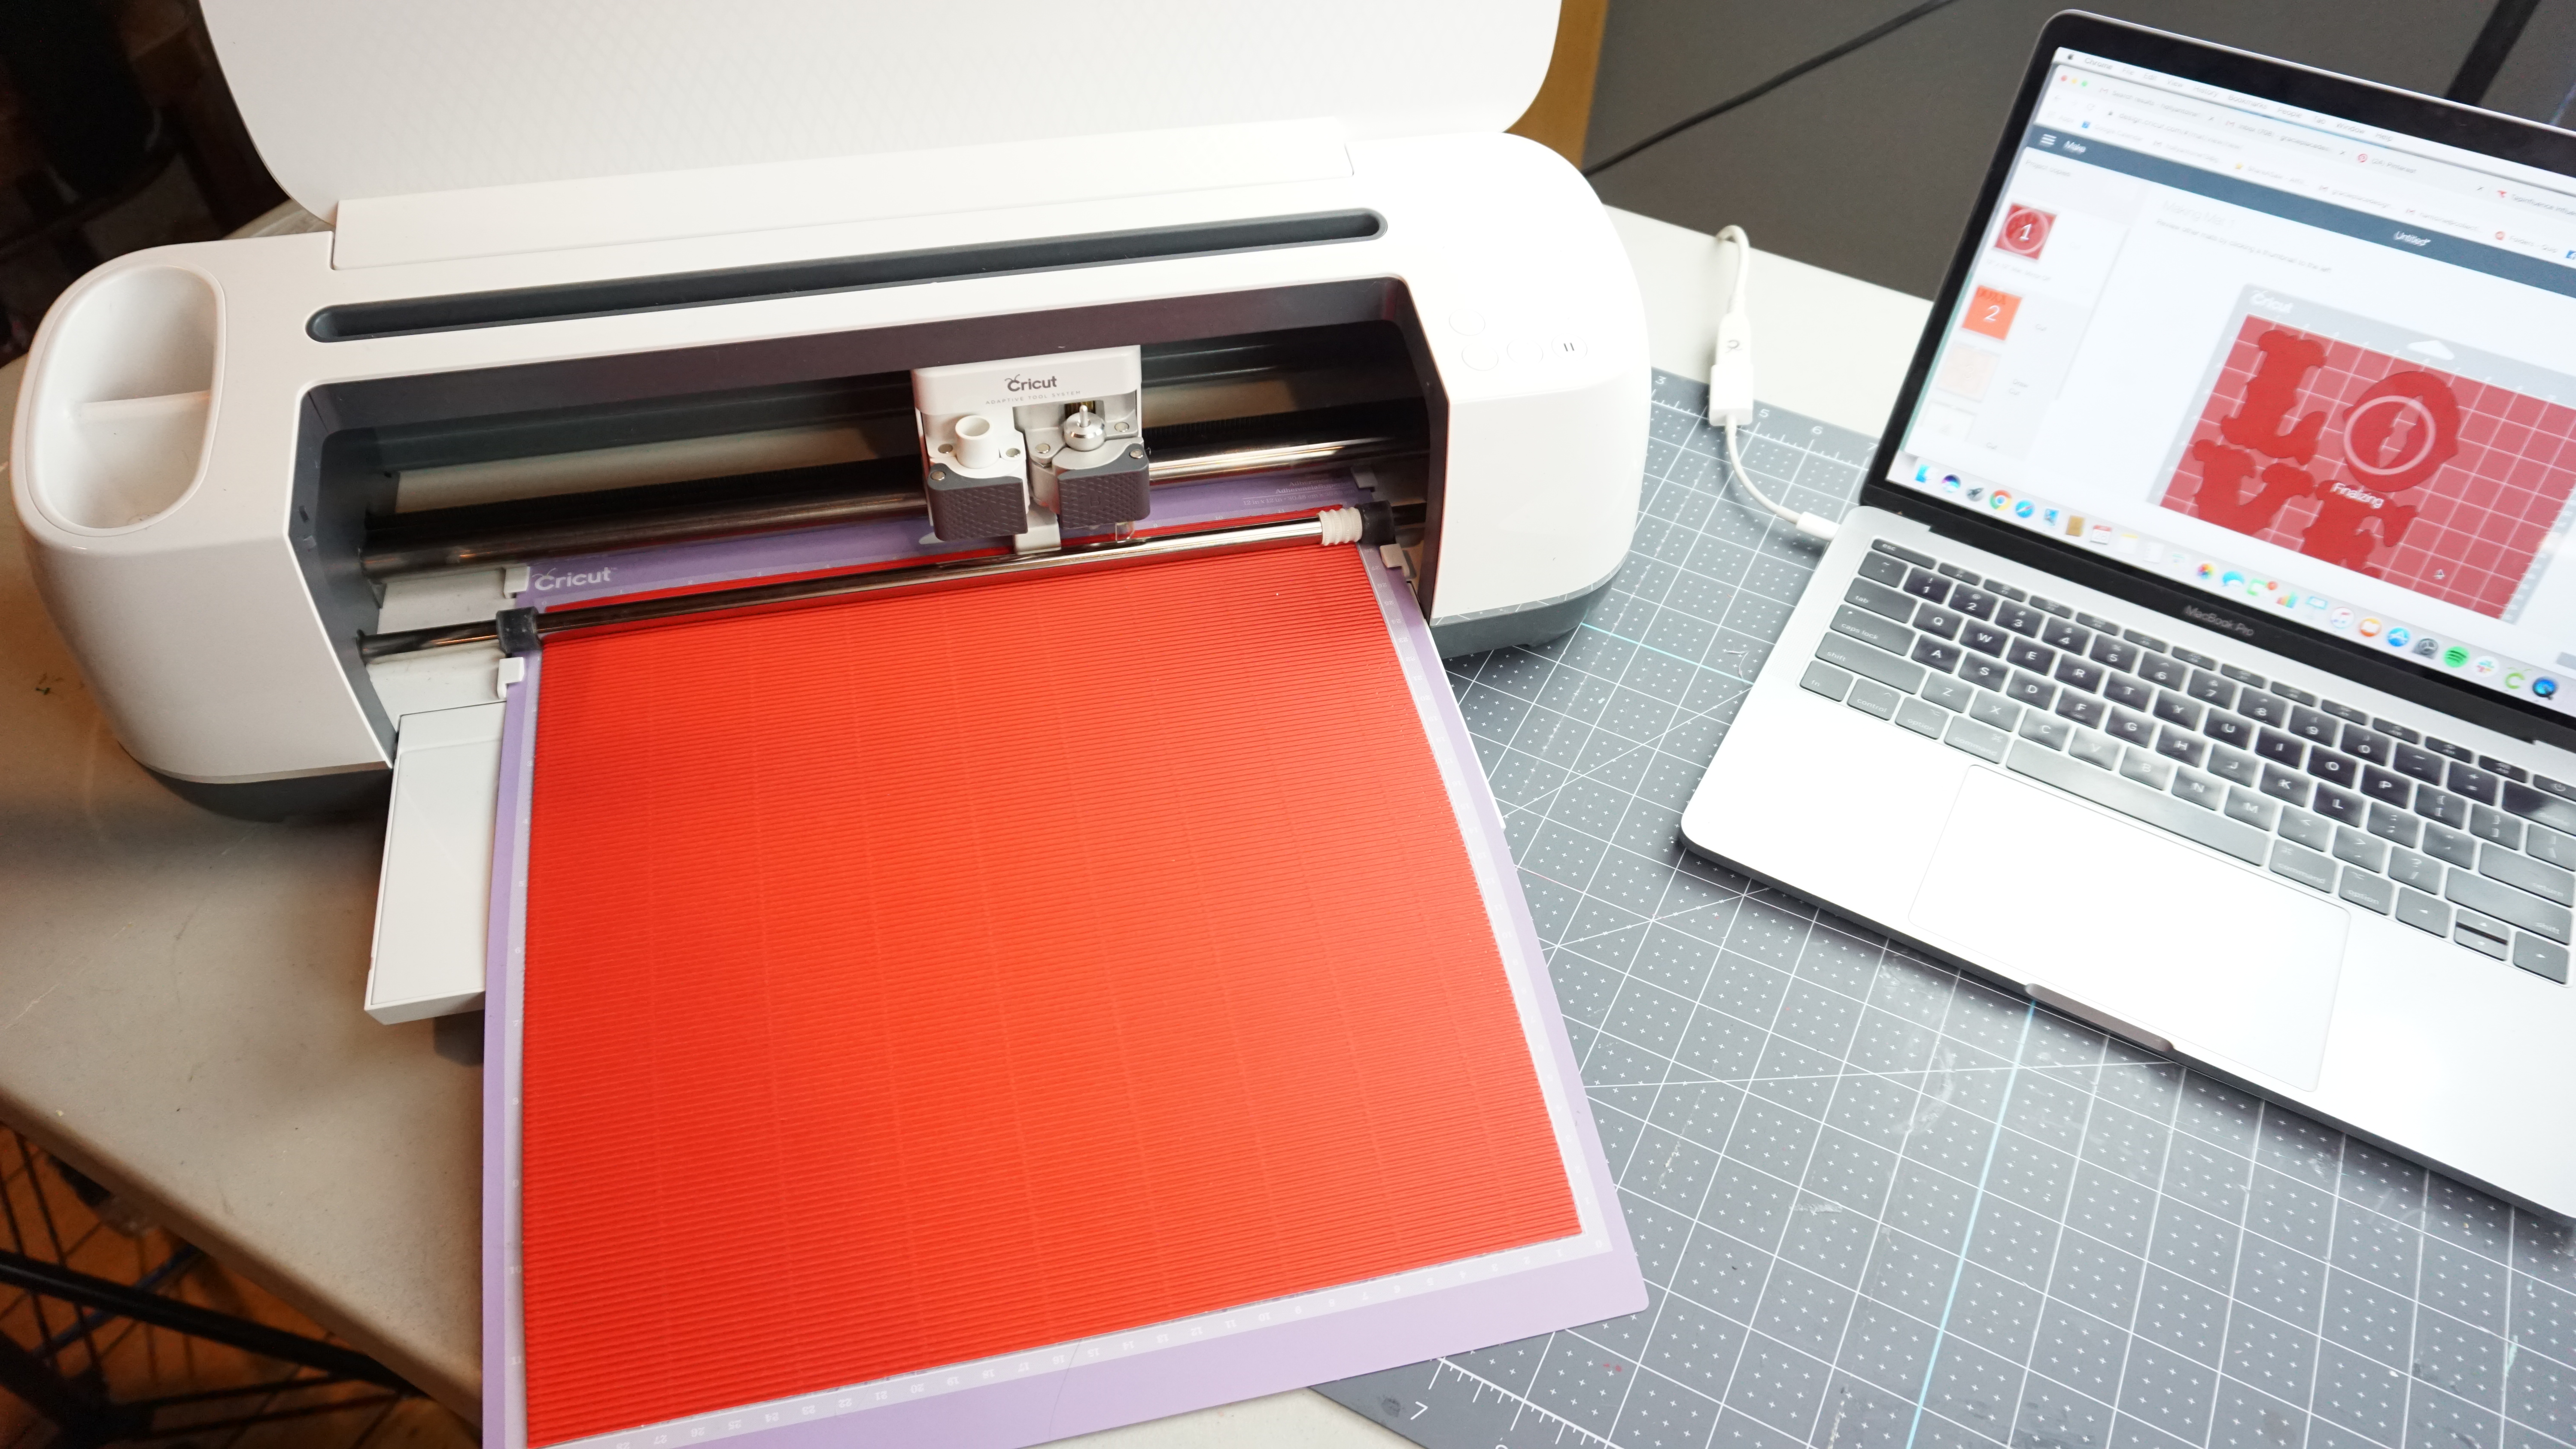
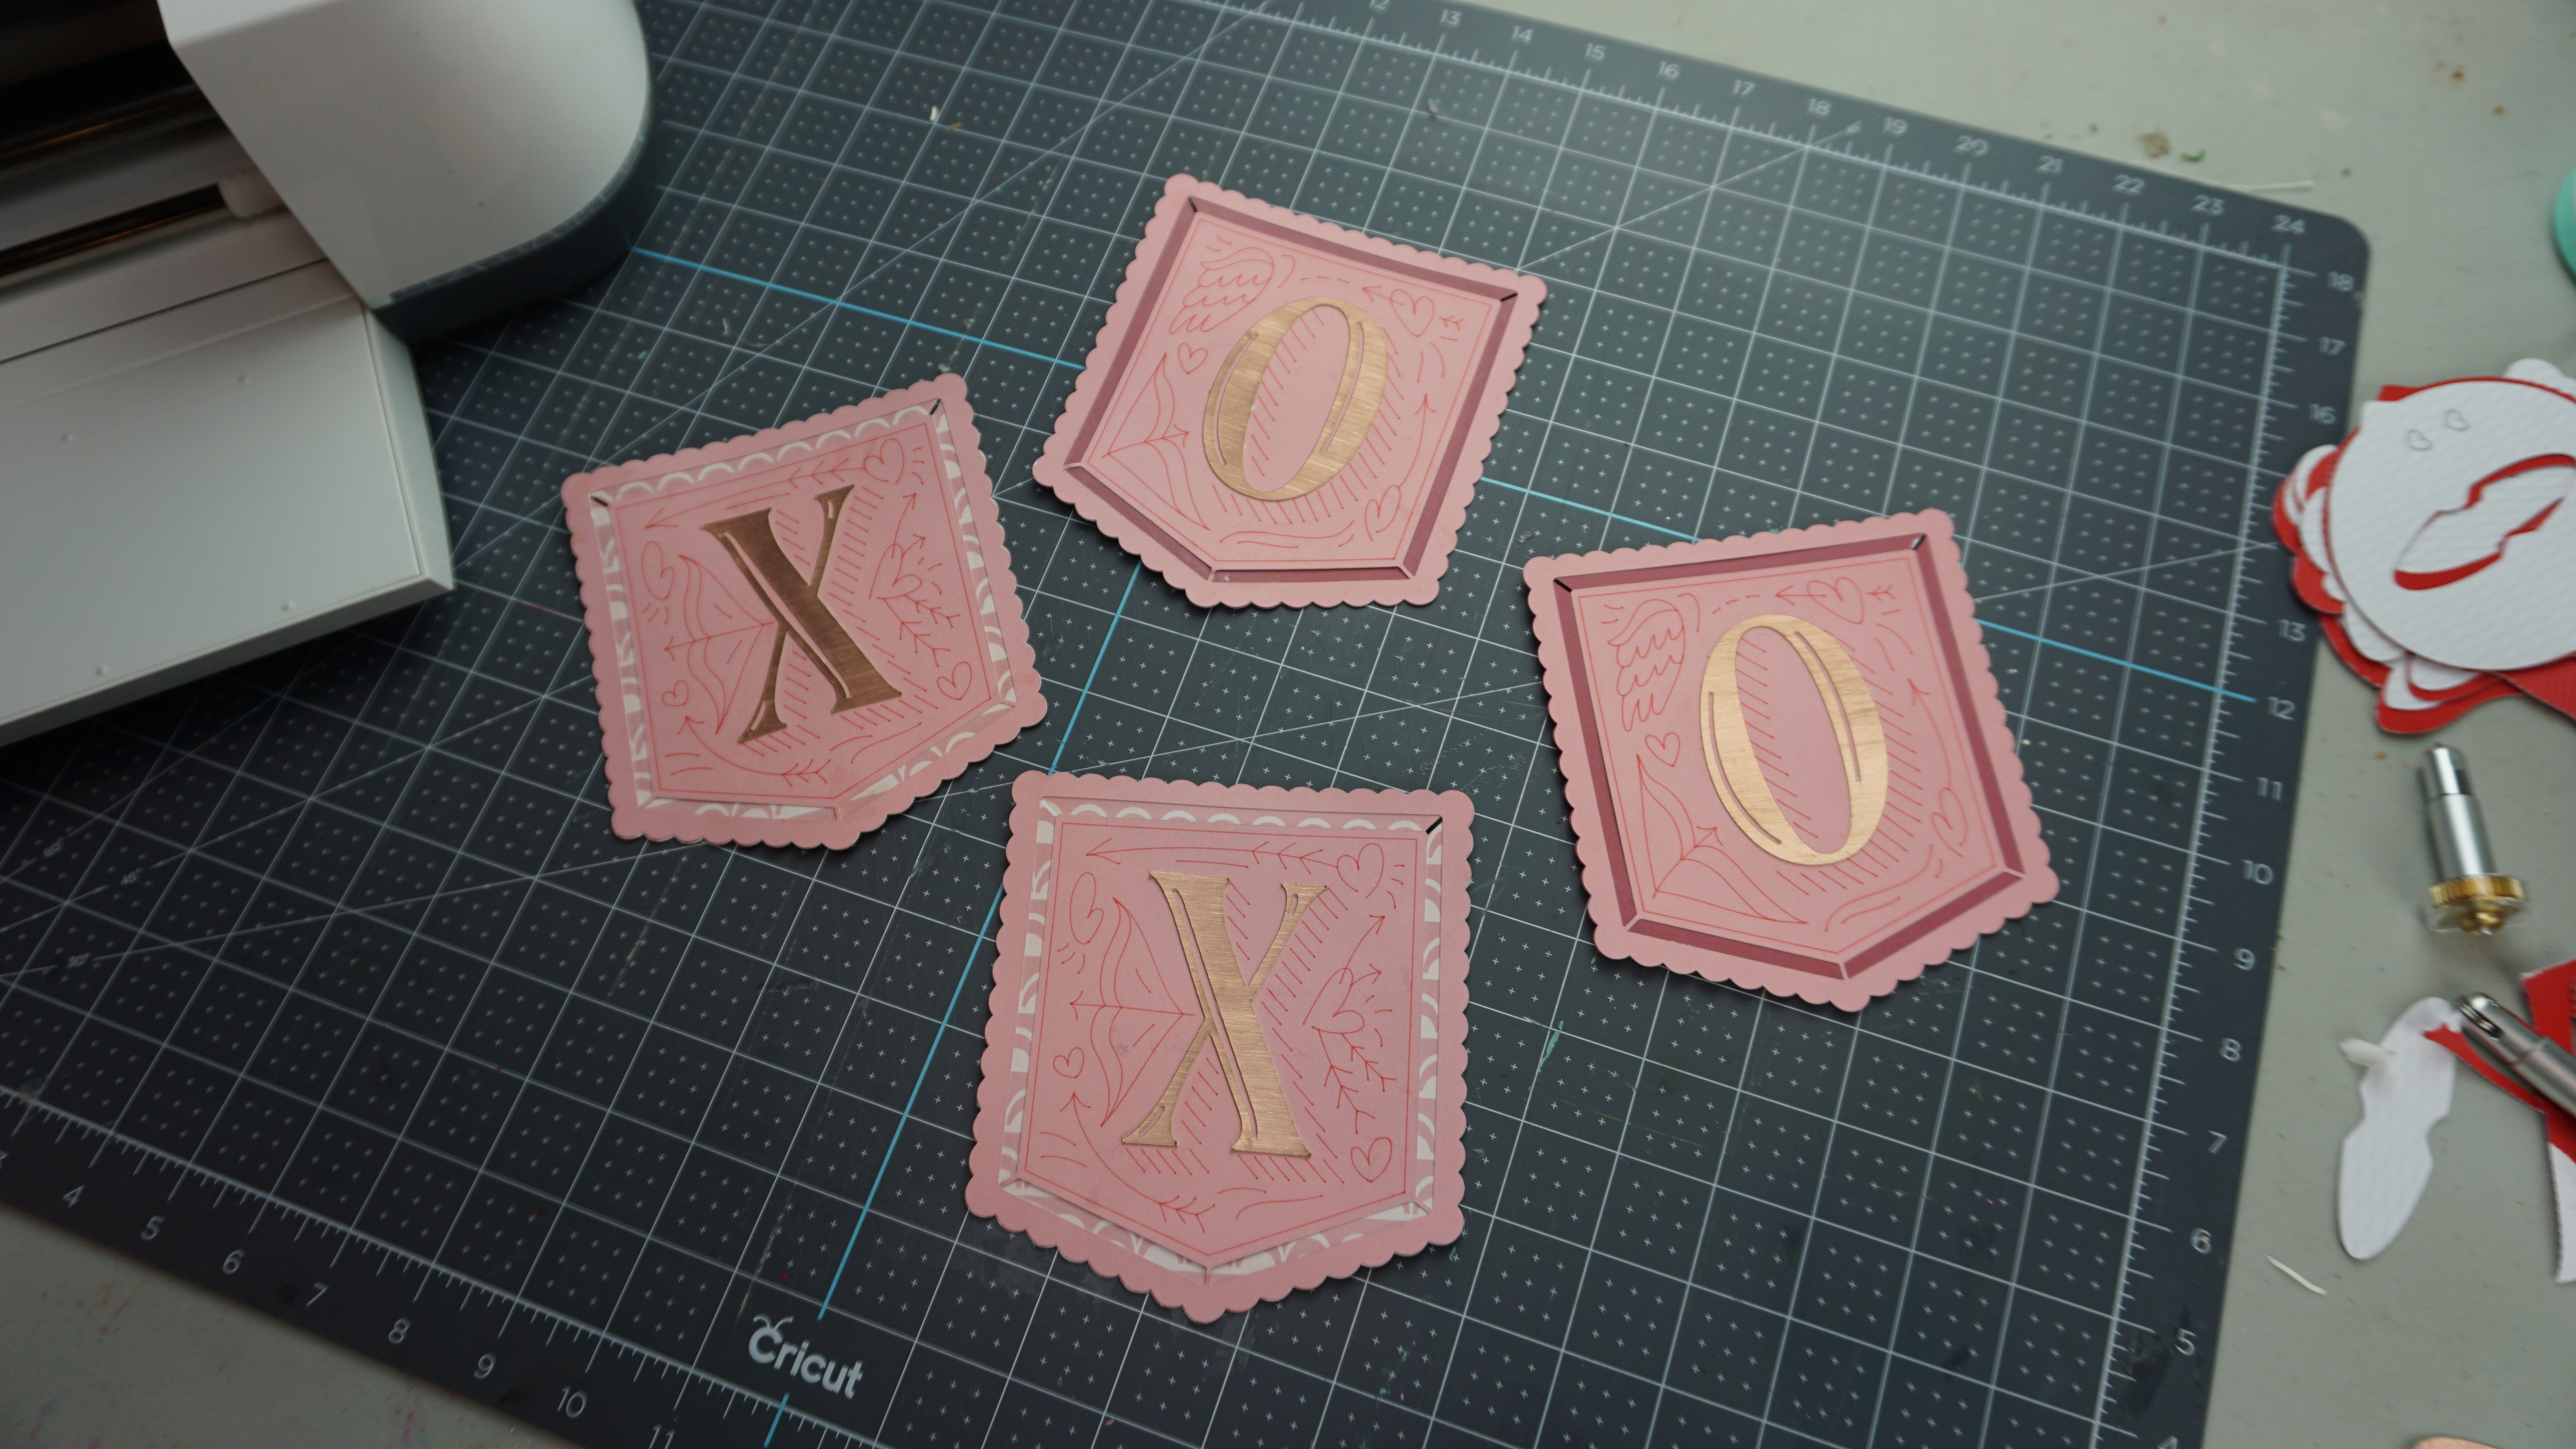
Let’s start with the banner. The first thing you are going to do is visit my project in Cricut Design Space.

Follow the prompts from the cutting screen.
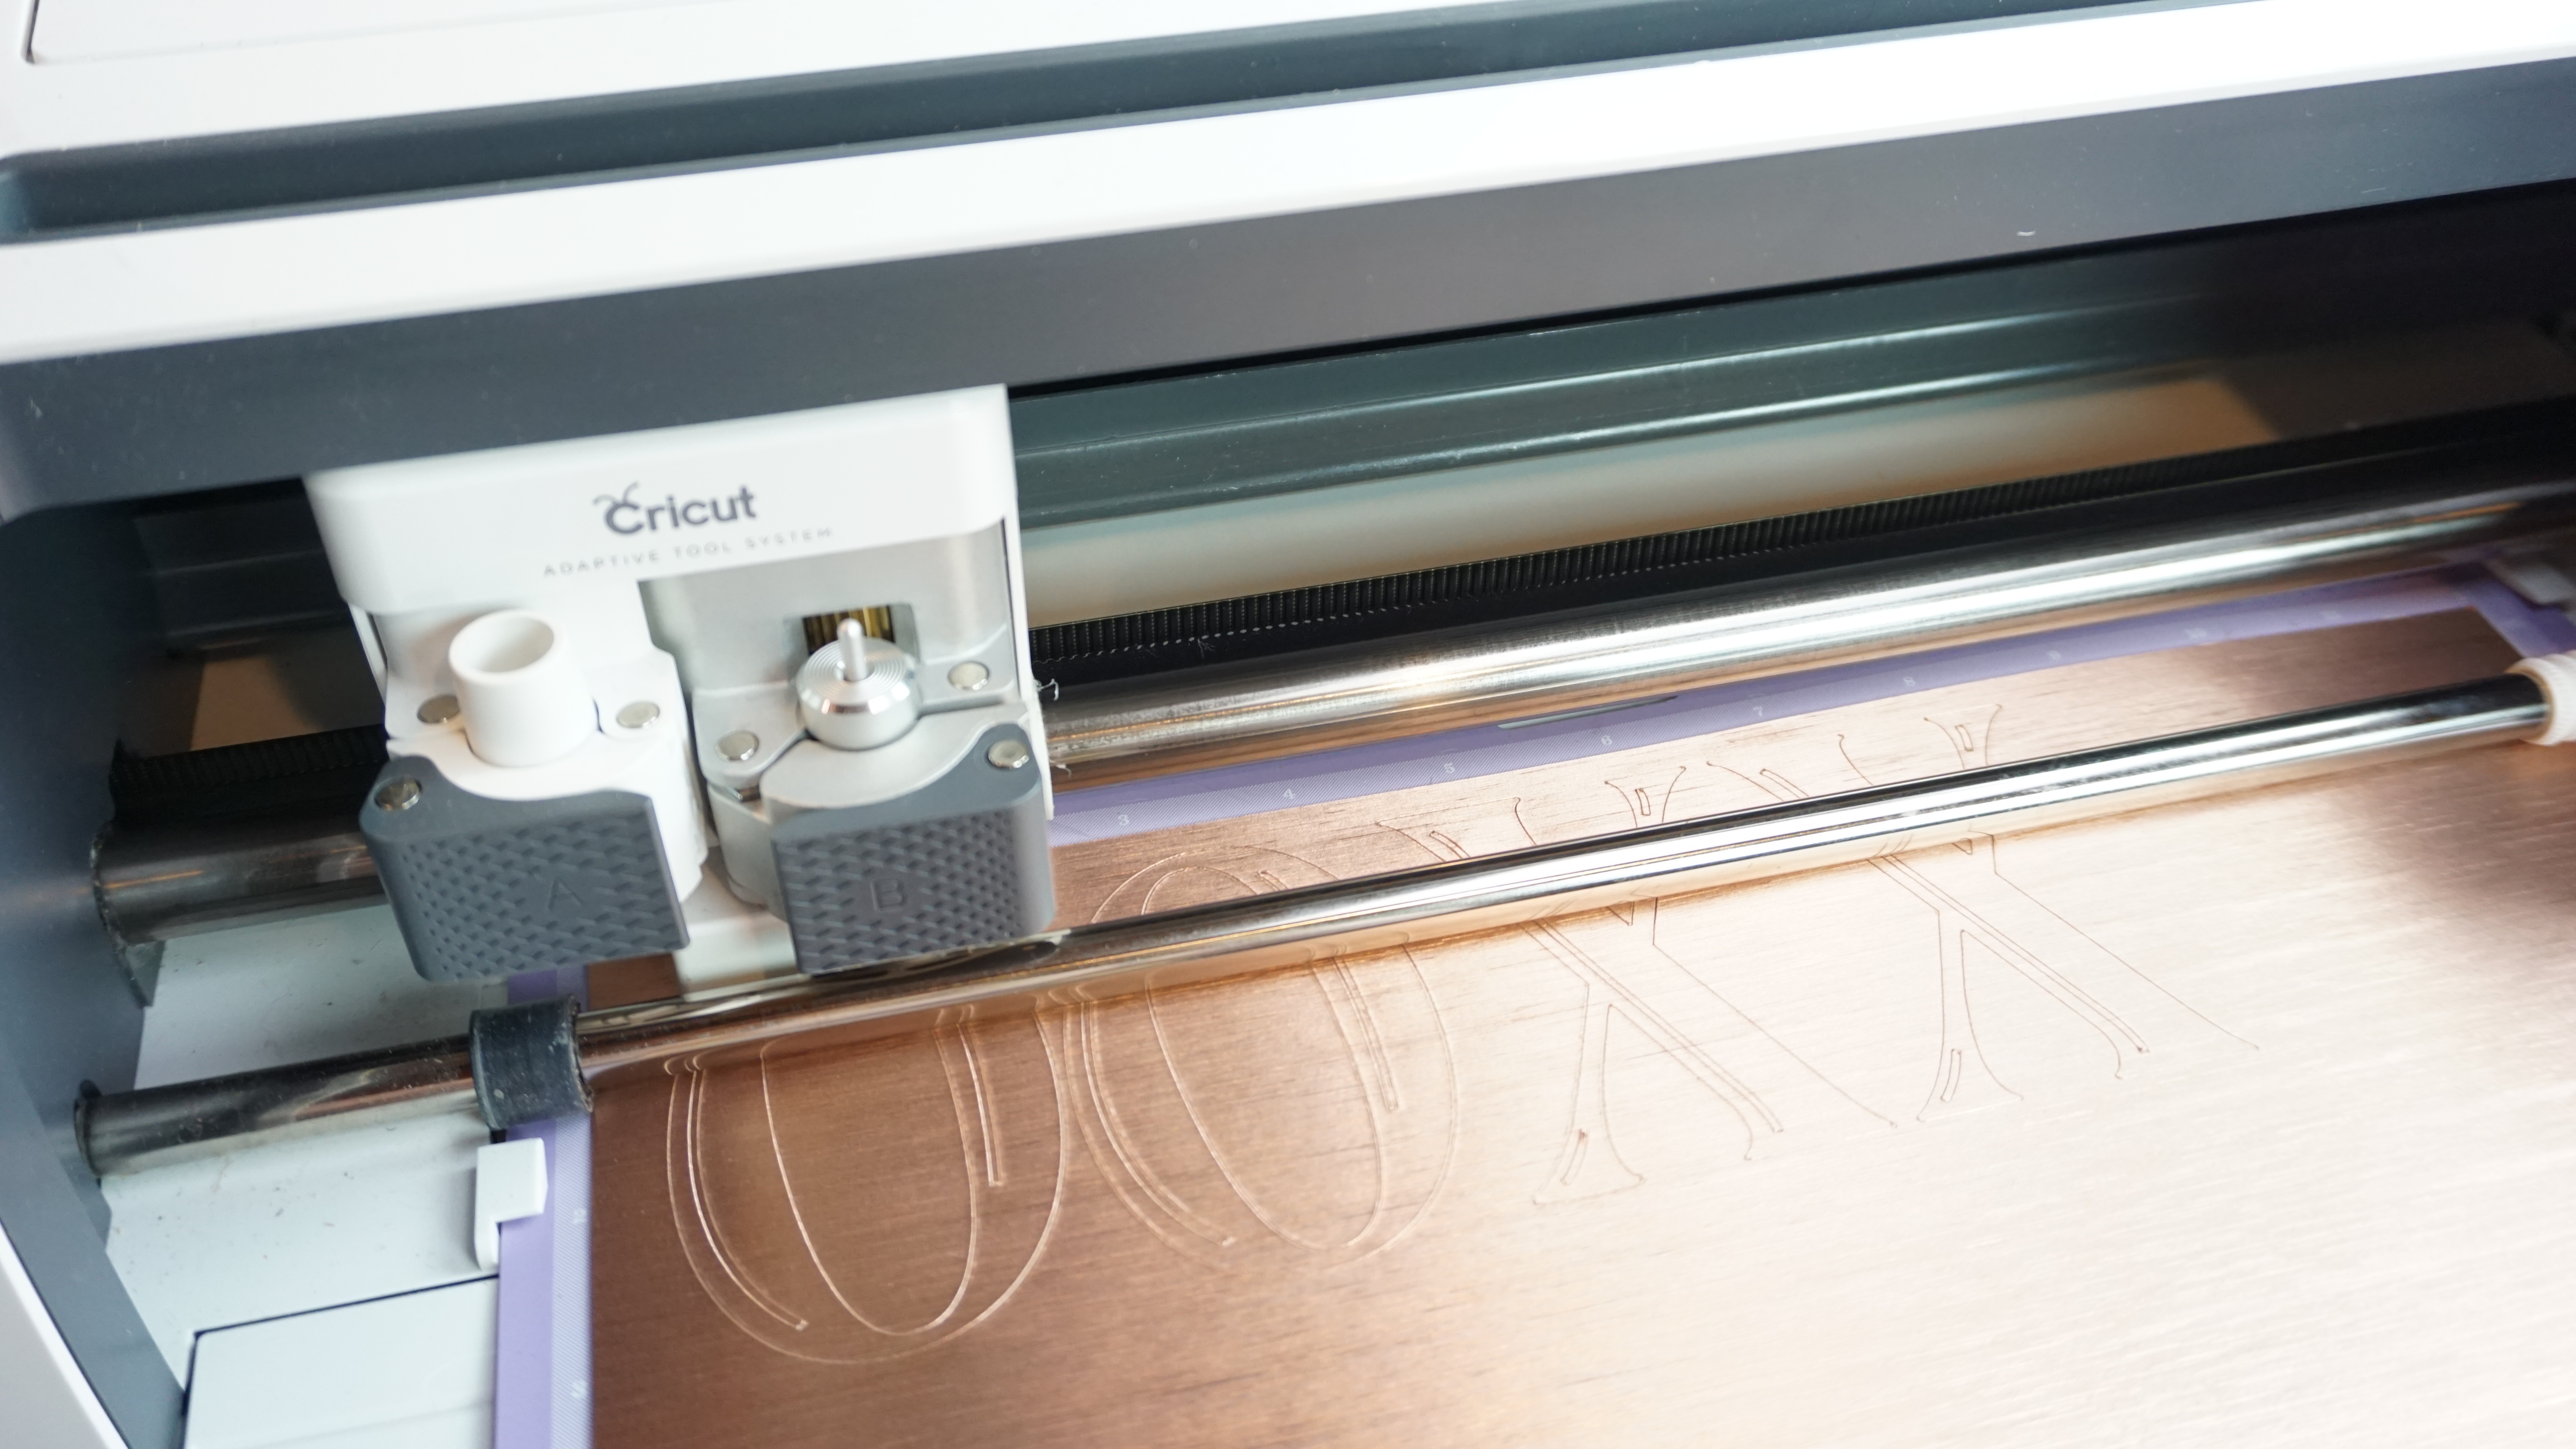
The images that I used for this project are already designed images in Cricut Design Space. They are part of the Cricut Access program, so if you are already a member, you can just go right ahead and make this project.

I used a red pen for the drawing portion. What I love about this banner image is that there are already pre-marked slots for the twine to hang your banner.
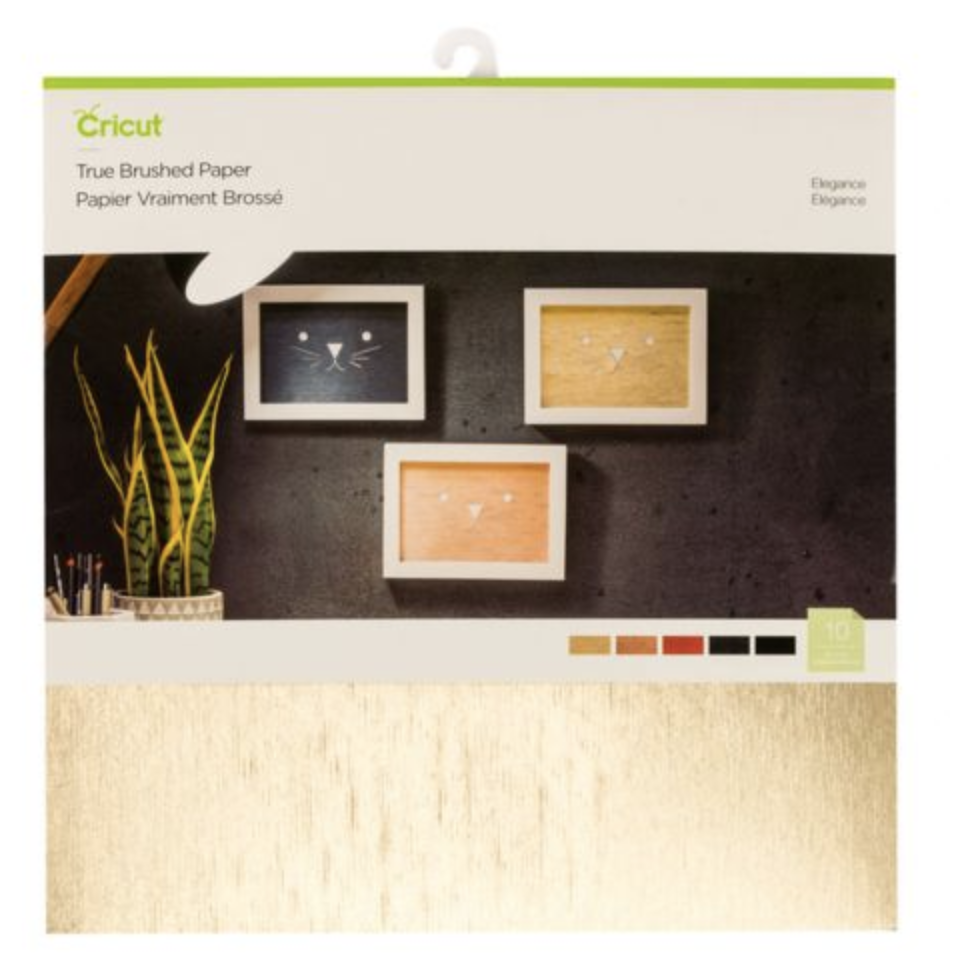
I love the True Brushed paper. When I glue it onto the banner it’s thicker and rich looking so it almost looks as if they are steel letters and not cardstock.
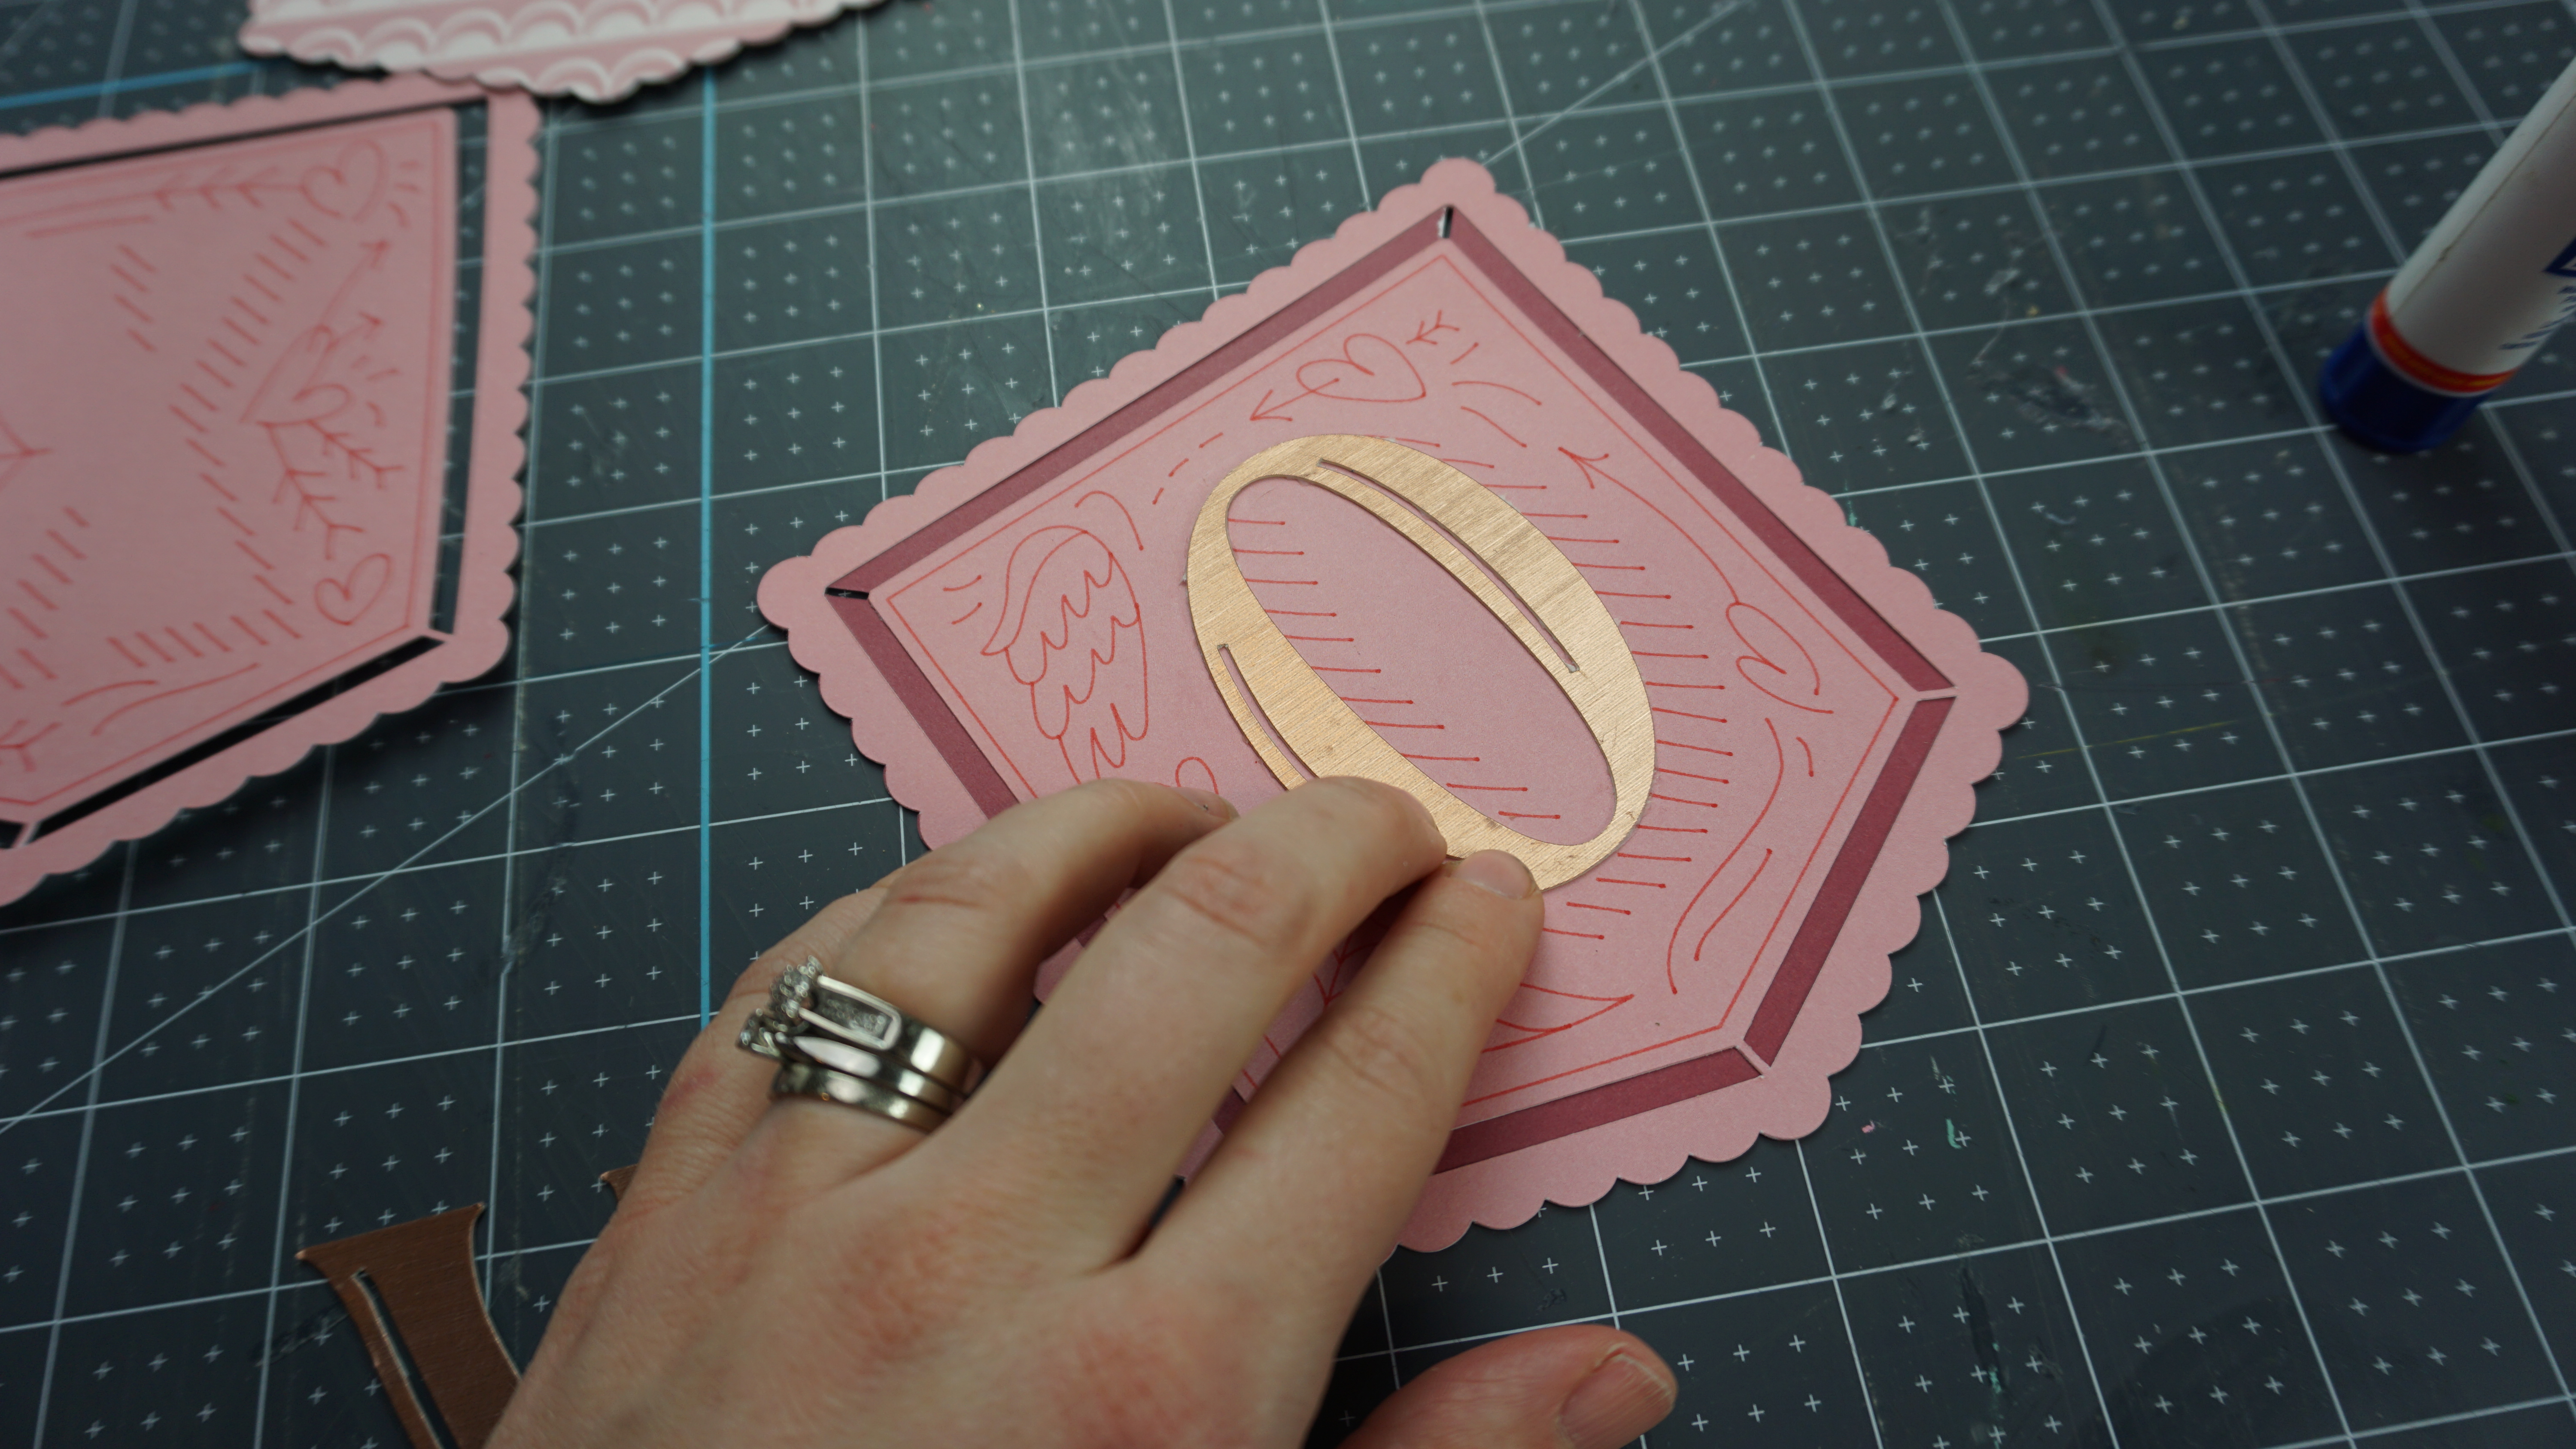
Using a glue stick, I glued all the pieces together.

This image is really easy to layer and put together because of the pen markings. You just line the cut letters up with those.

Once you have all the banner pieces glued together, you just have to string it together with some twine.
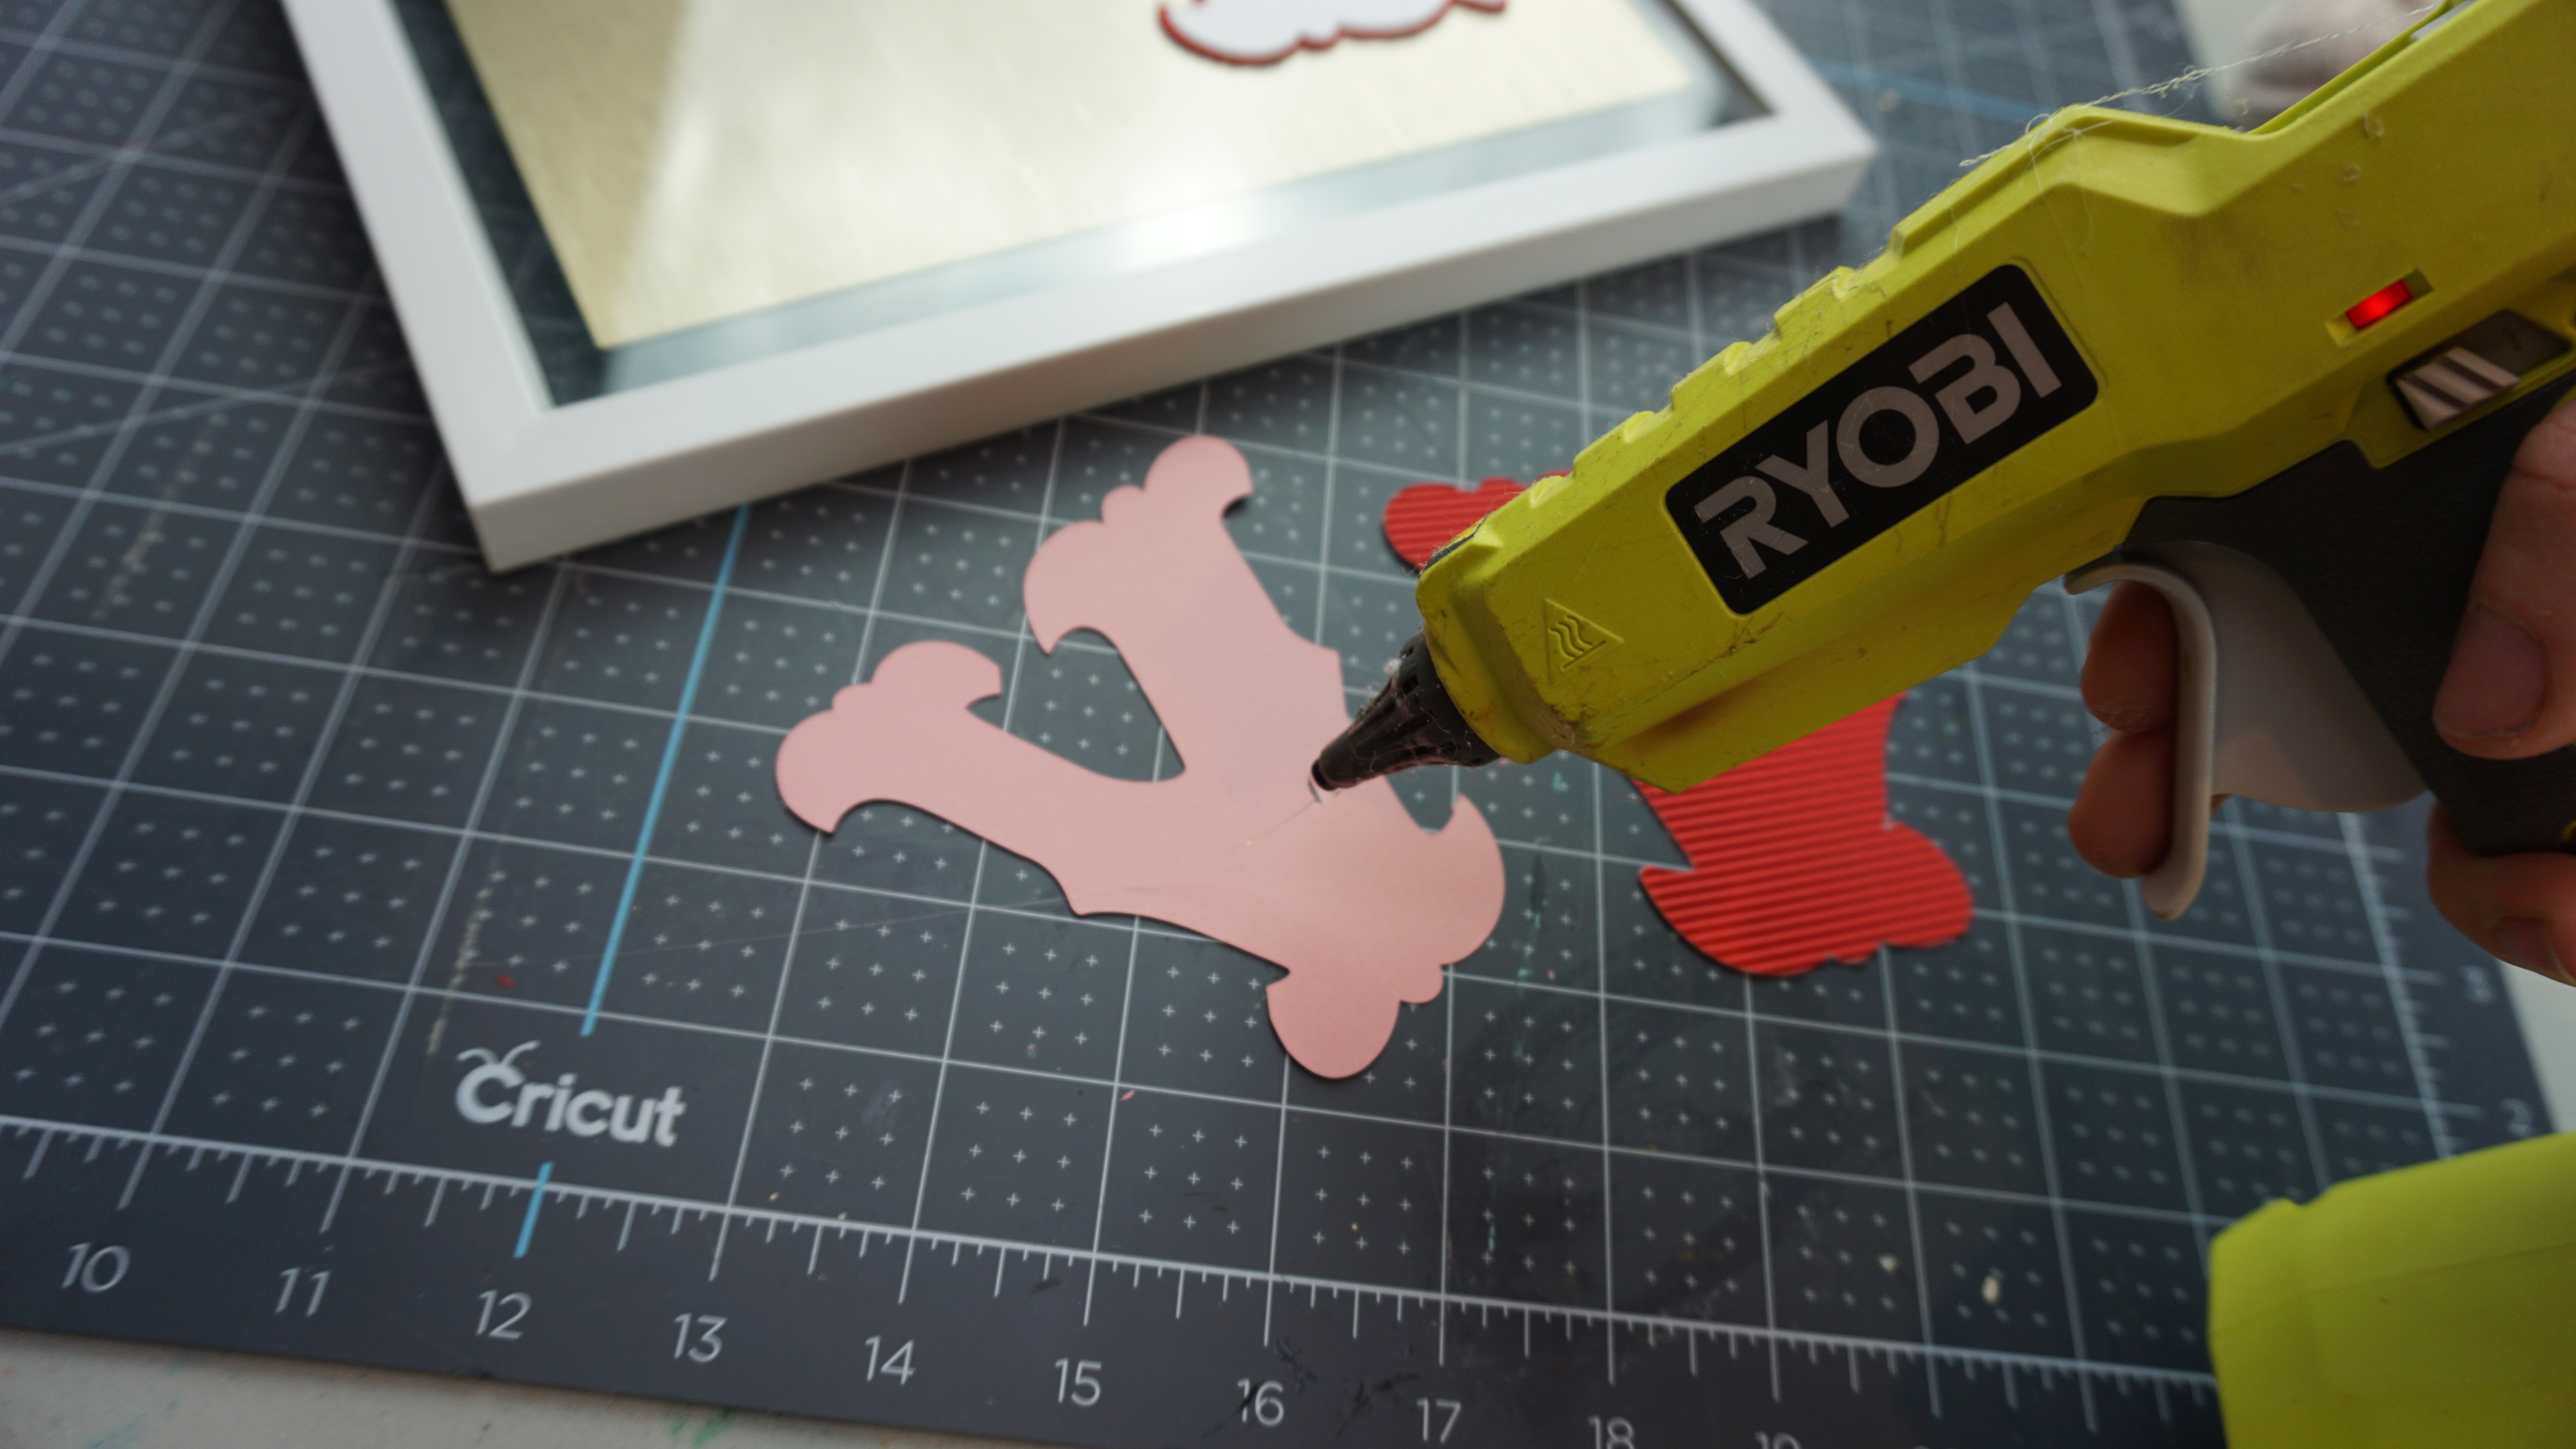
For the LOVE wall art, it’s just two pieces for each letter.
All you have to do is glue them together. I used hot glue for these ones because I didn’t think that a glue stick would hold it on the corrugated cardboard.

I cut a piece of True Brushed paper to fit inside my frame to act as like a backdrop.

Then all you have to do is stick the True Brushed paper in the frame and tape on the LOVE letters.
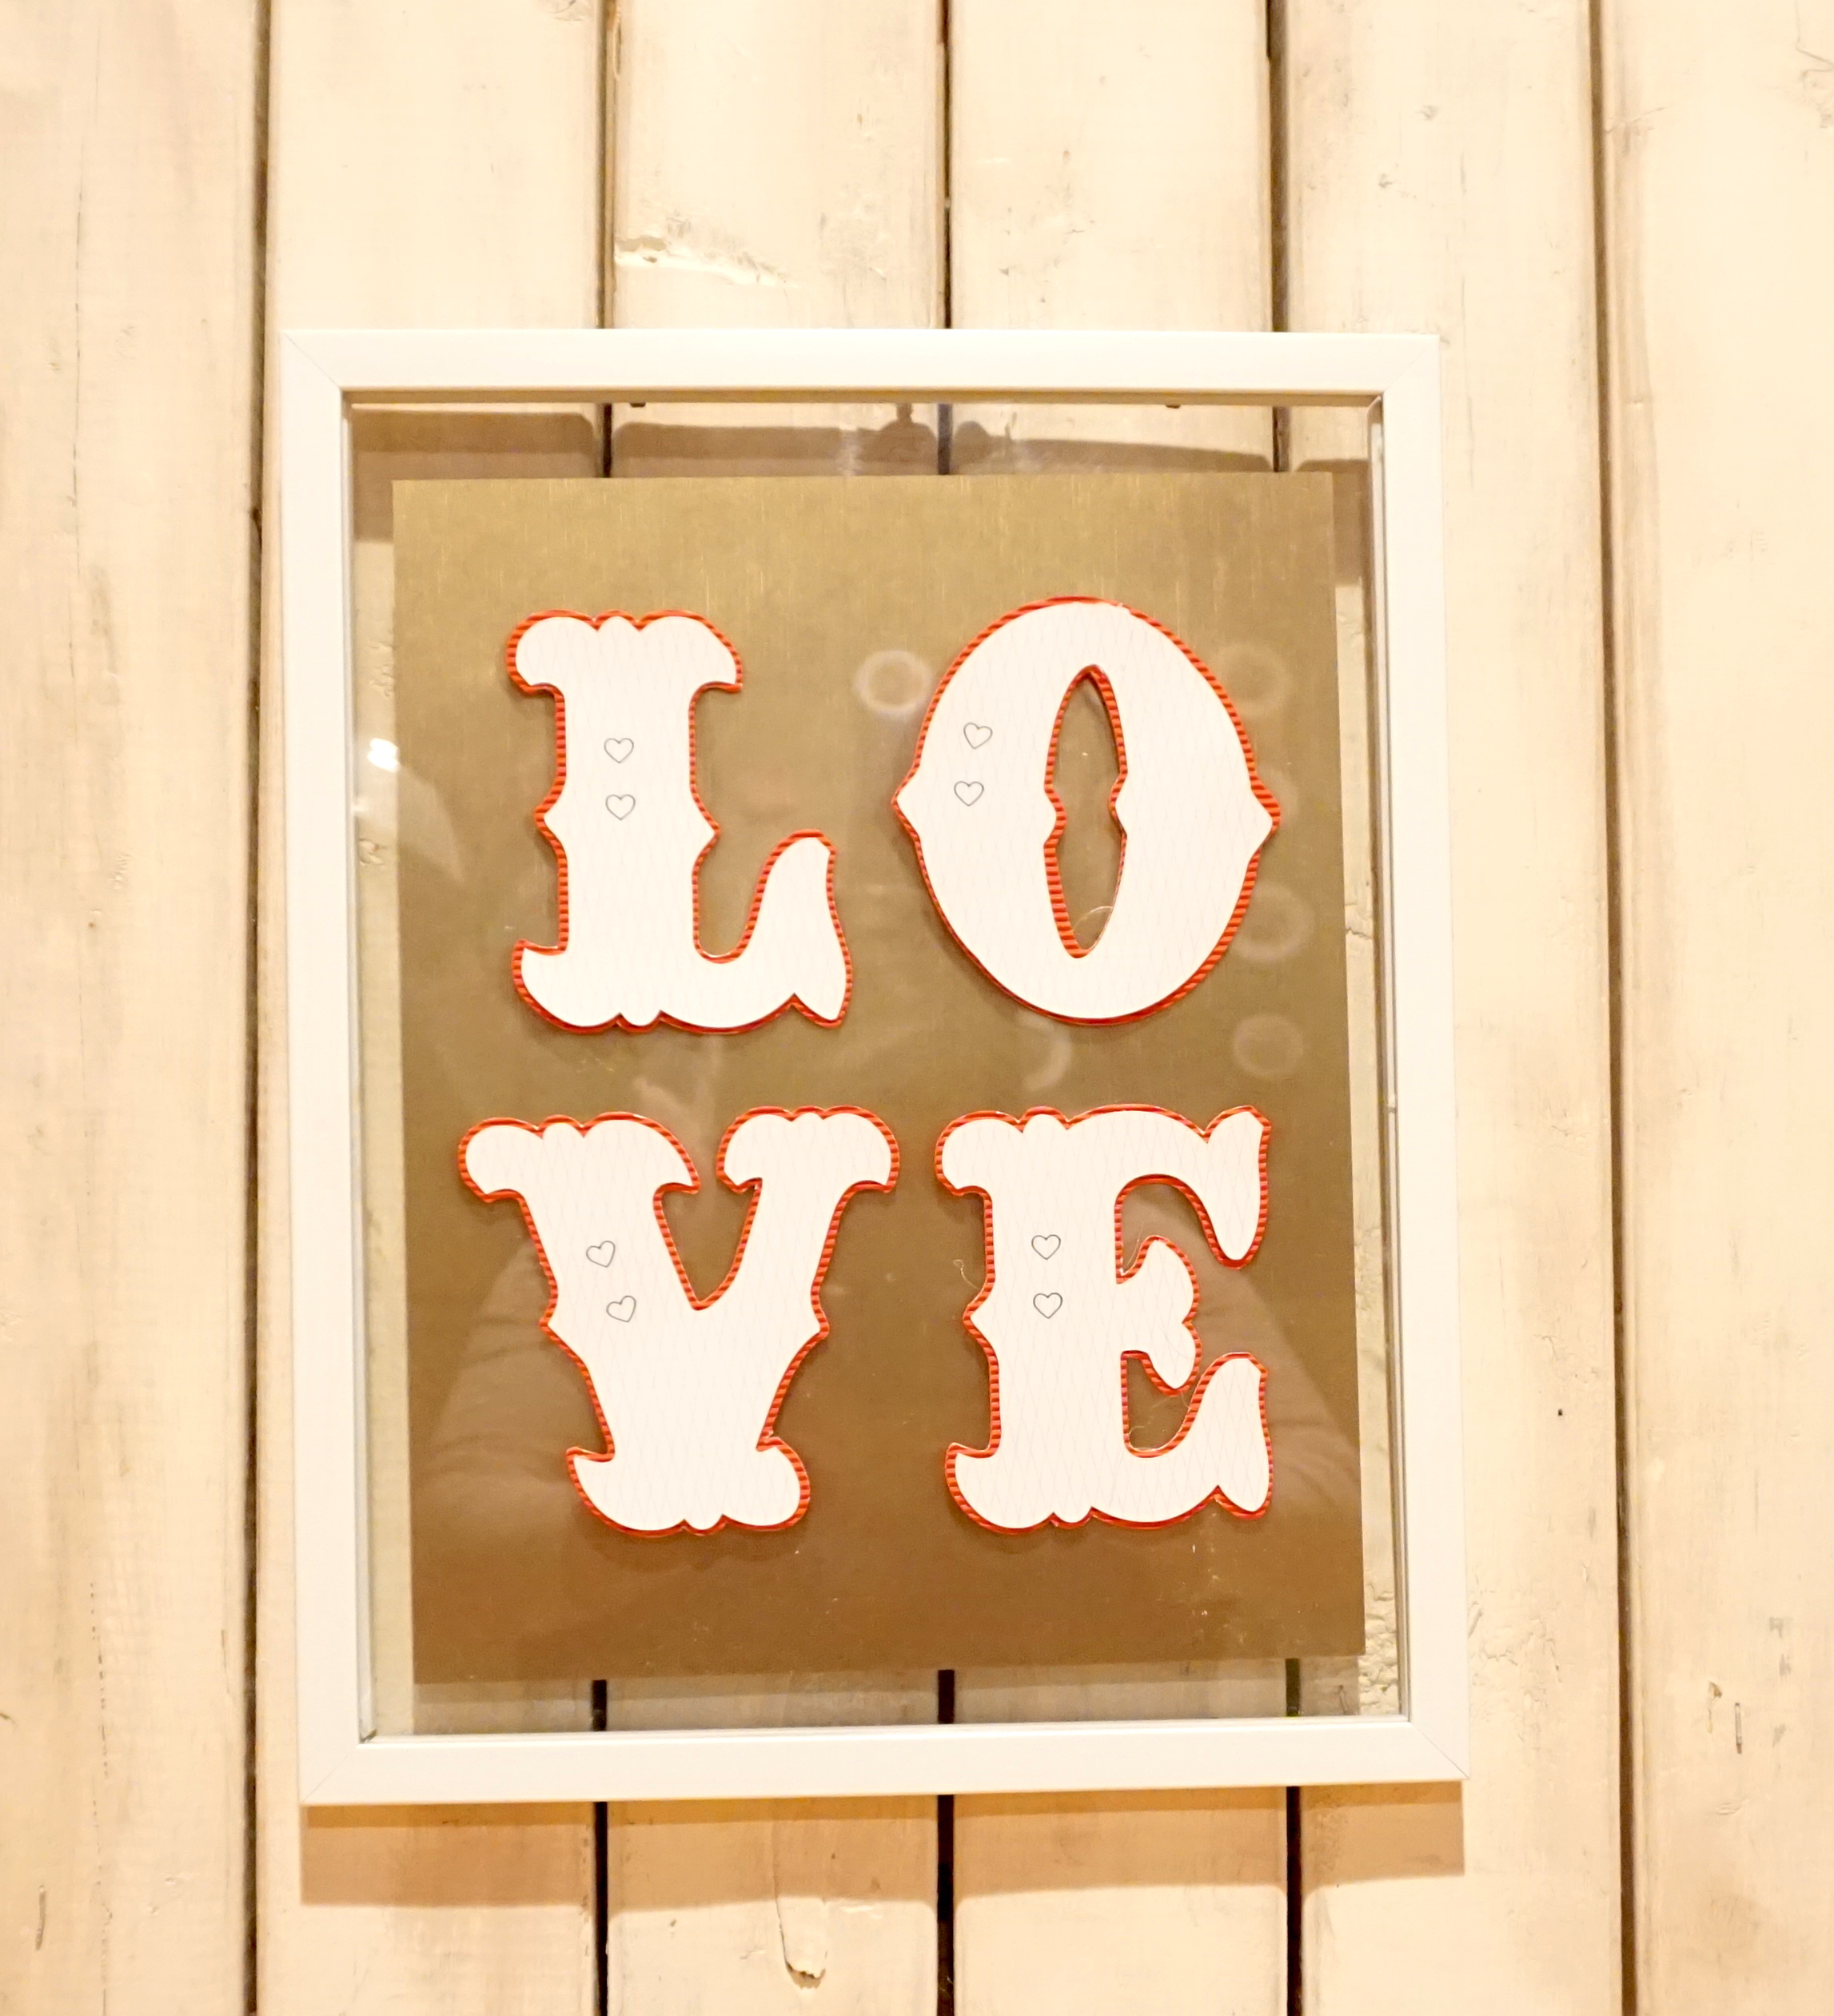
I love this DIY because you’re not permanently doing anything to the frame so after Valentine’s Day is over you can just pack up the letters.
Now that our two easy pieces of Valentine’s Decor are done we can hang them up.

I do love the simplicity of these projects and I think they’re perfect for a simplistic Valentine’s Day. What do you guys think?

If you like those gnomes, I do have a tutorial for those as well that includes a free pattern.
If you love this project, don’t forget to SHARE!
And don’t forget, the project is all ready to go in Design Space. Just click here to go to it! Happy creating, guys!


Leave a Reply