
So I was strolling through the dollar store (Dollarama) the other day and I came across a cute little gift box with a wreath on it. I got to thinking that gift boxes are so pretty. It’s a shame that most people toss them in the trash after they open their gifts.
I mean, sure there are some people that reuse them and that’s great but as I was staring at the rows and rows of gift boxes and bags, I thought, there’s got to be a way to DIY with these.
They are like a perfect canvas. I was holding the gift box with the wreath on it for quite a while but I couldn’t think of anything so I kept moving down the aisle — then, I spotted the most adorable stag head ornament.
That’s when genius struck. I knew just what I could create with the gift box with the wreath image on it.
Check out this video that I made and if you are a fan of written instructions, there are some below the video.
This project was so easy to make and not only that it creates a unique piece of Christmas decor you can enjoy for years to come.
Materials
- Gift box
- Stag head ornament
- 4 – 1x2s (measurements dependant on the size of your gift box)
- 1 – piece of rough pine (cut to fit slightly smaller than your gift box)
- Brad nails
- Stain (colour of your choice)
Instructions
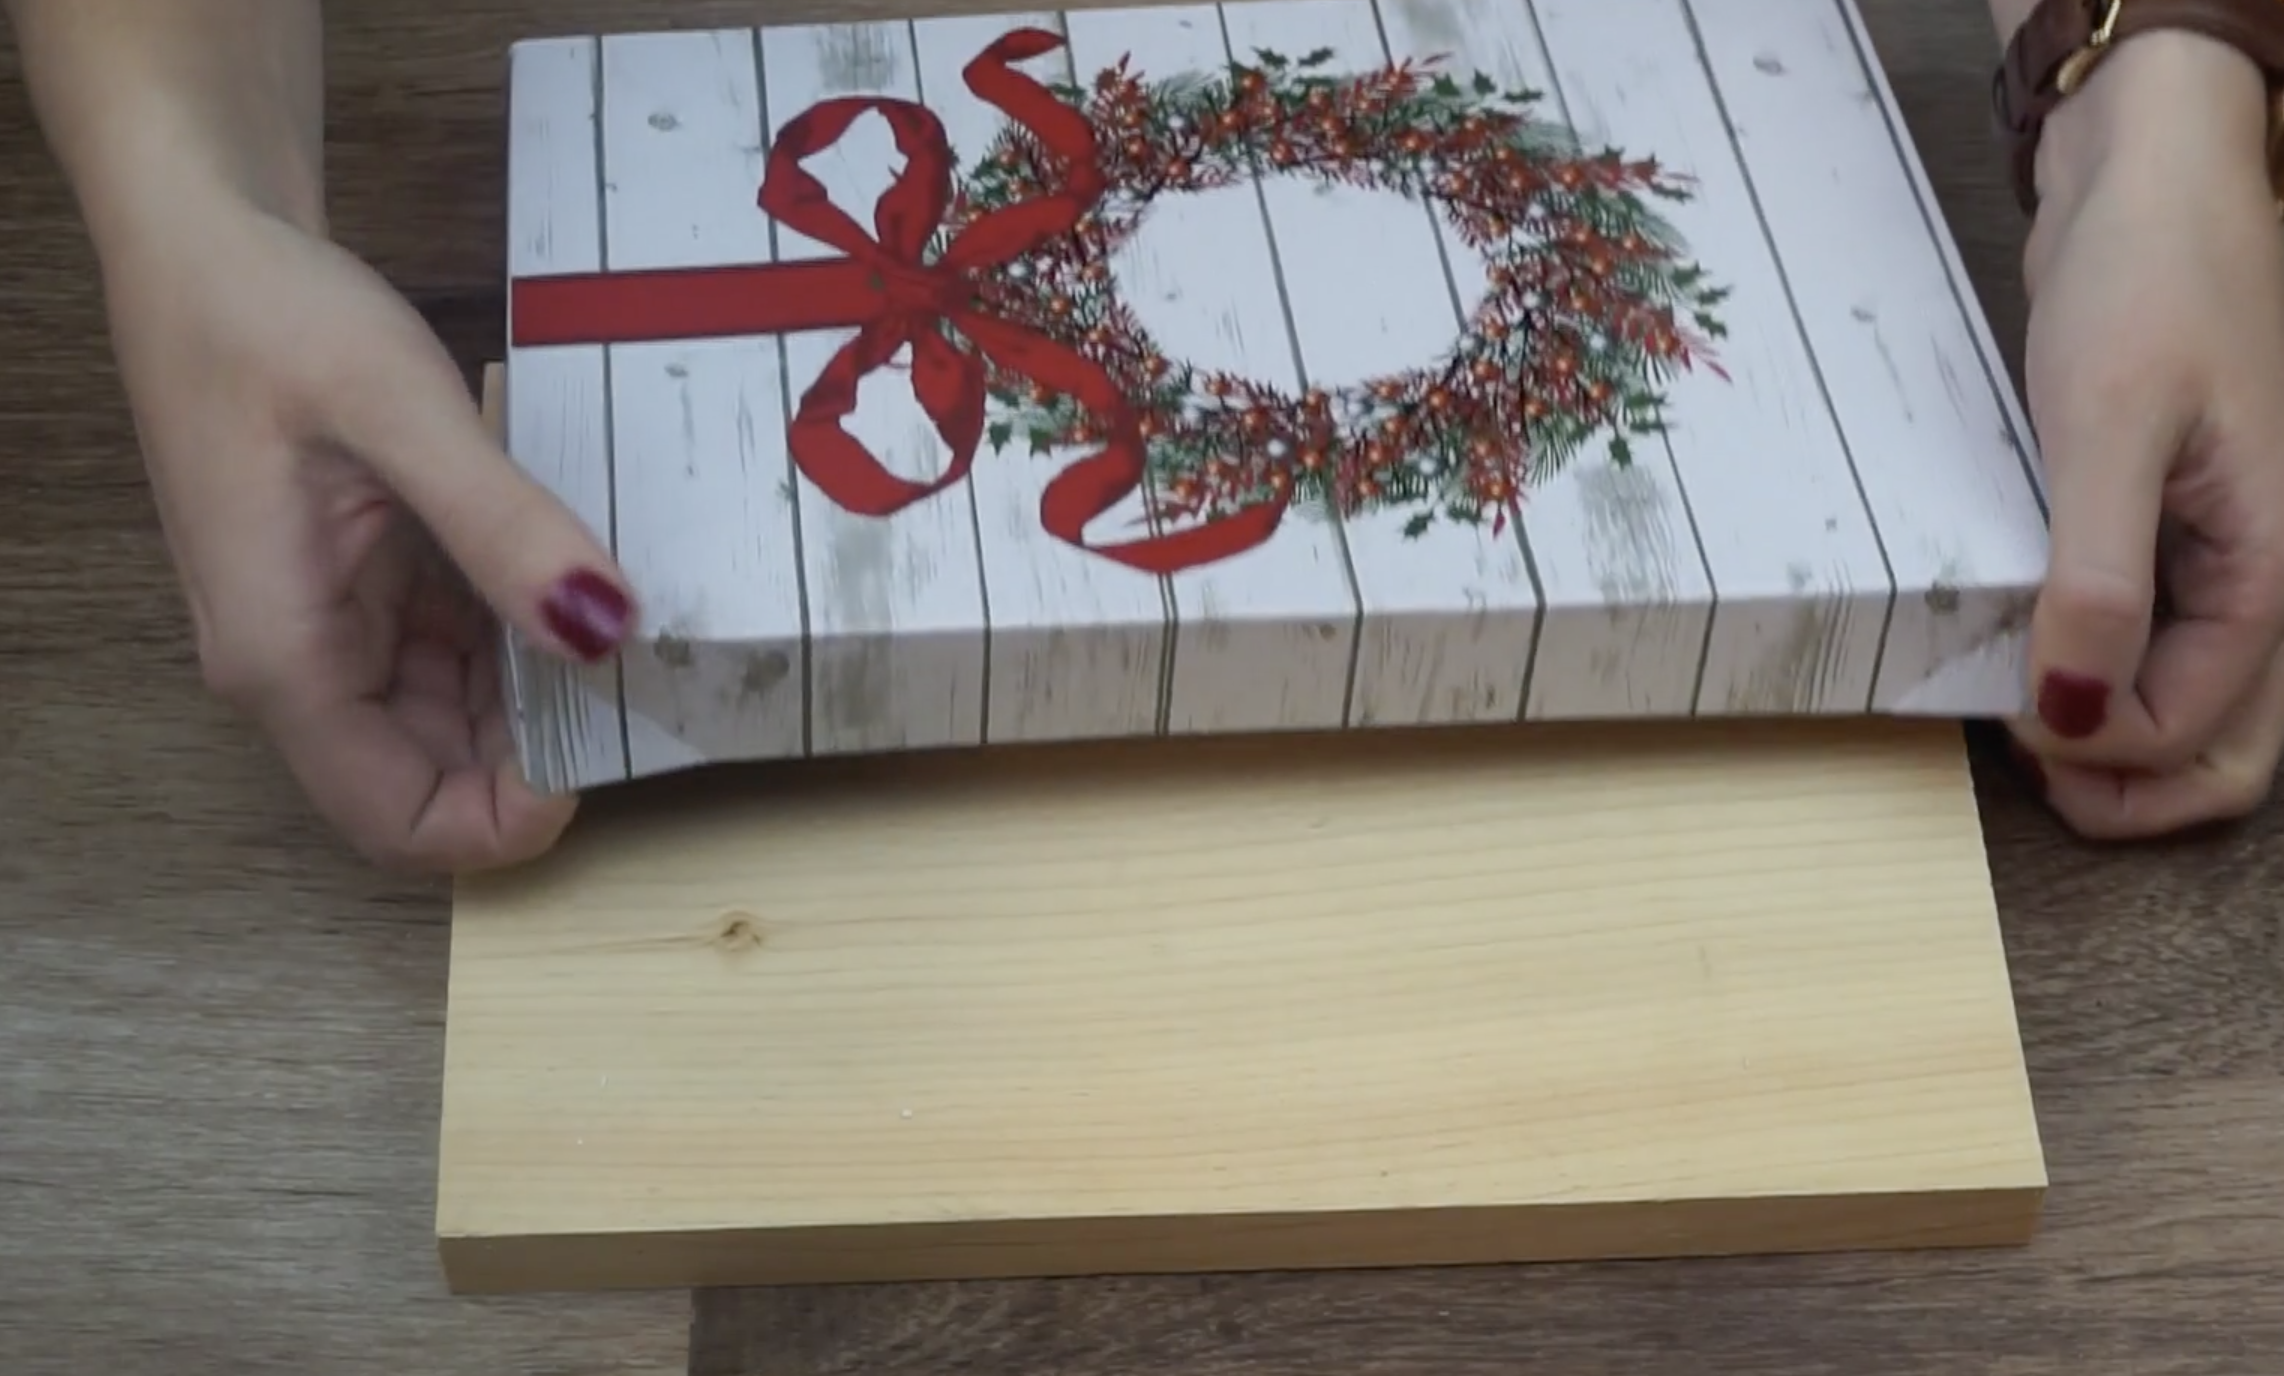
- Step 1
Begin your project, by placing your gift box (sides folded in) on your piece of pine. Using a pencil, trace around the gift box.

- Step 2
Using a miter saw, table saw or jig saw, cut the piece of pine at your markings. I cut on the inside of the marked pencil lines to allow the folded edges of the gift box to fit nicely over my piece of wood. Place your gift box over the piece of wood and staple the overhang from the flaps to the back of the wood.

- Step 3
Cut four pieces of 1×2 based on the measurements of your gift box sign to create a frame. Optional – you can leave gift box sign without a frame if you wish. Doing this will make it look more like a canvas.

Stain the pieces of wood using the colour of your choice. For my project, I chose Vintage Effect Wash from DecoArt.


- Step 4
Using brad nails and an air nailer, attach your 1×2 pieces to your gift box sign.
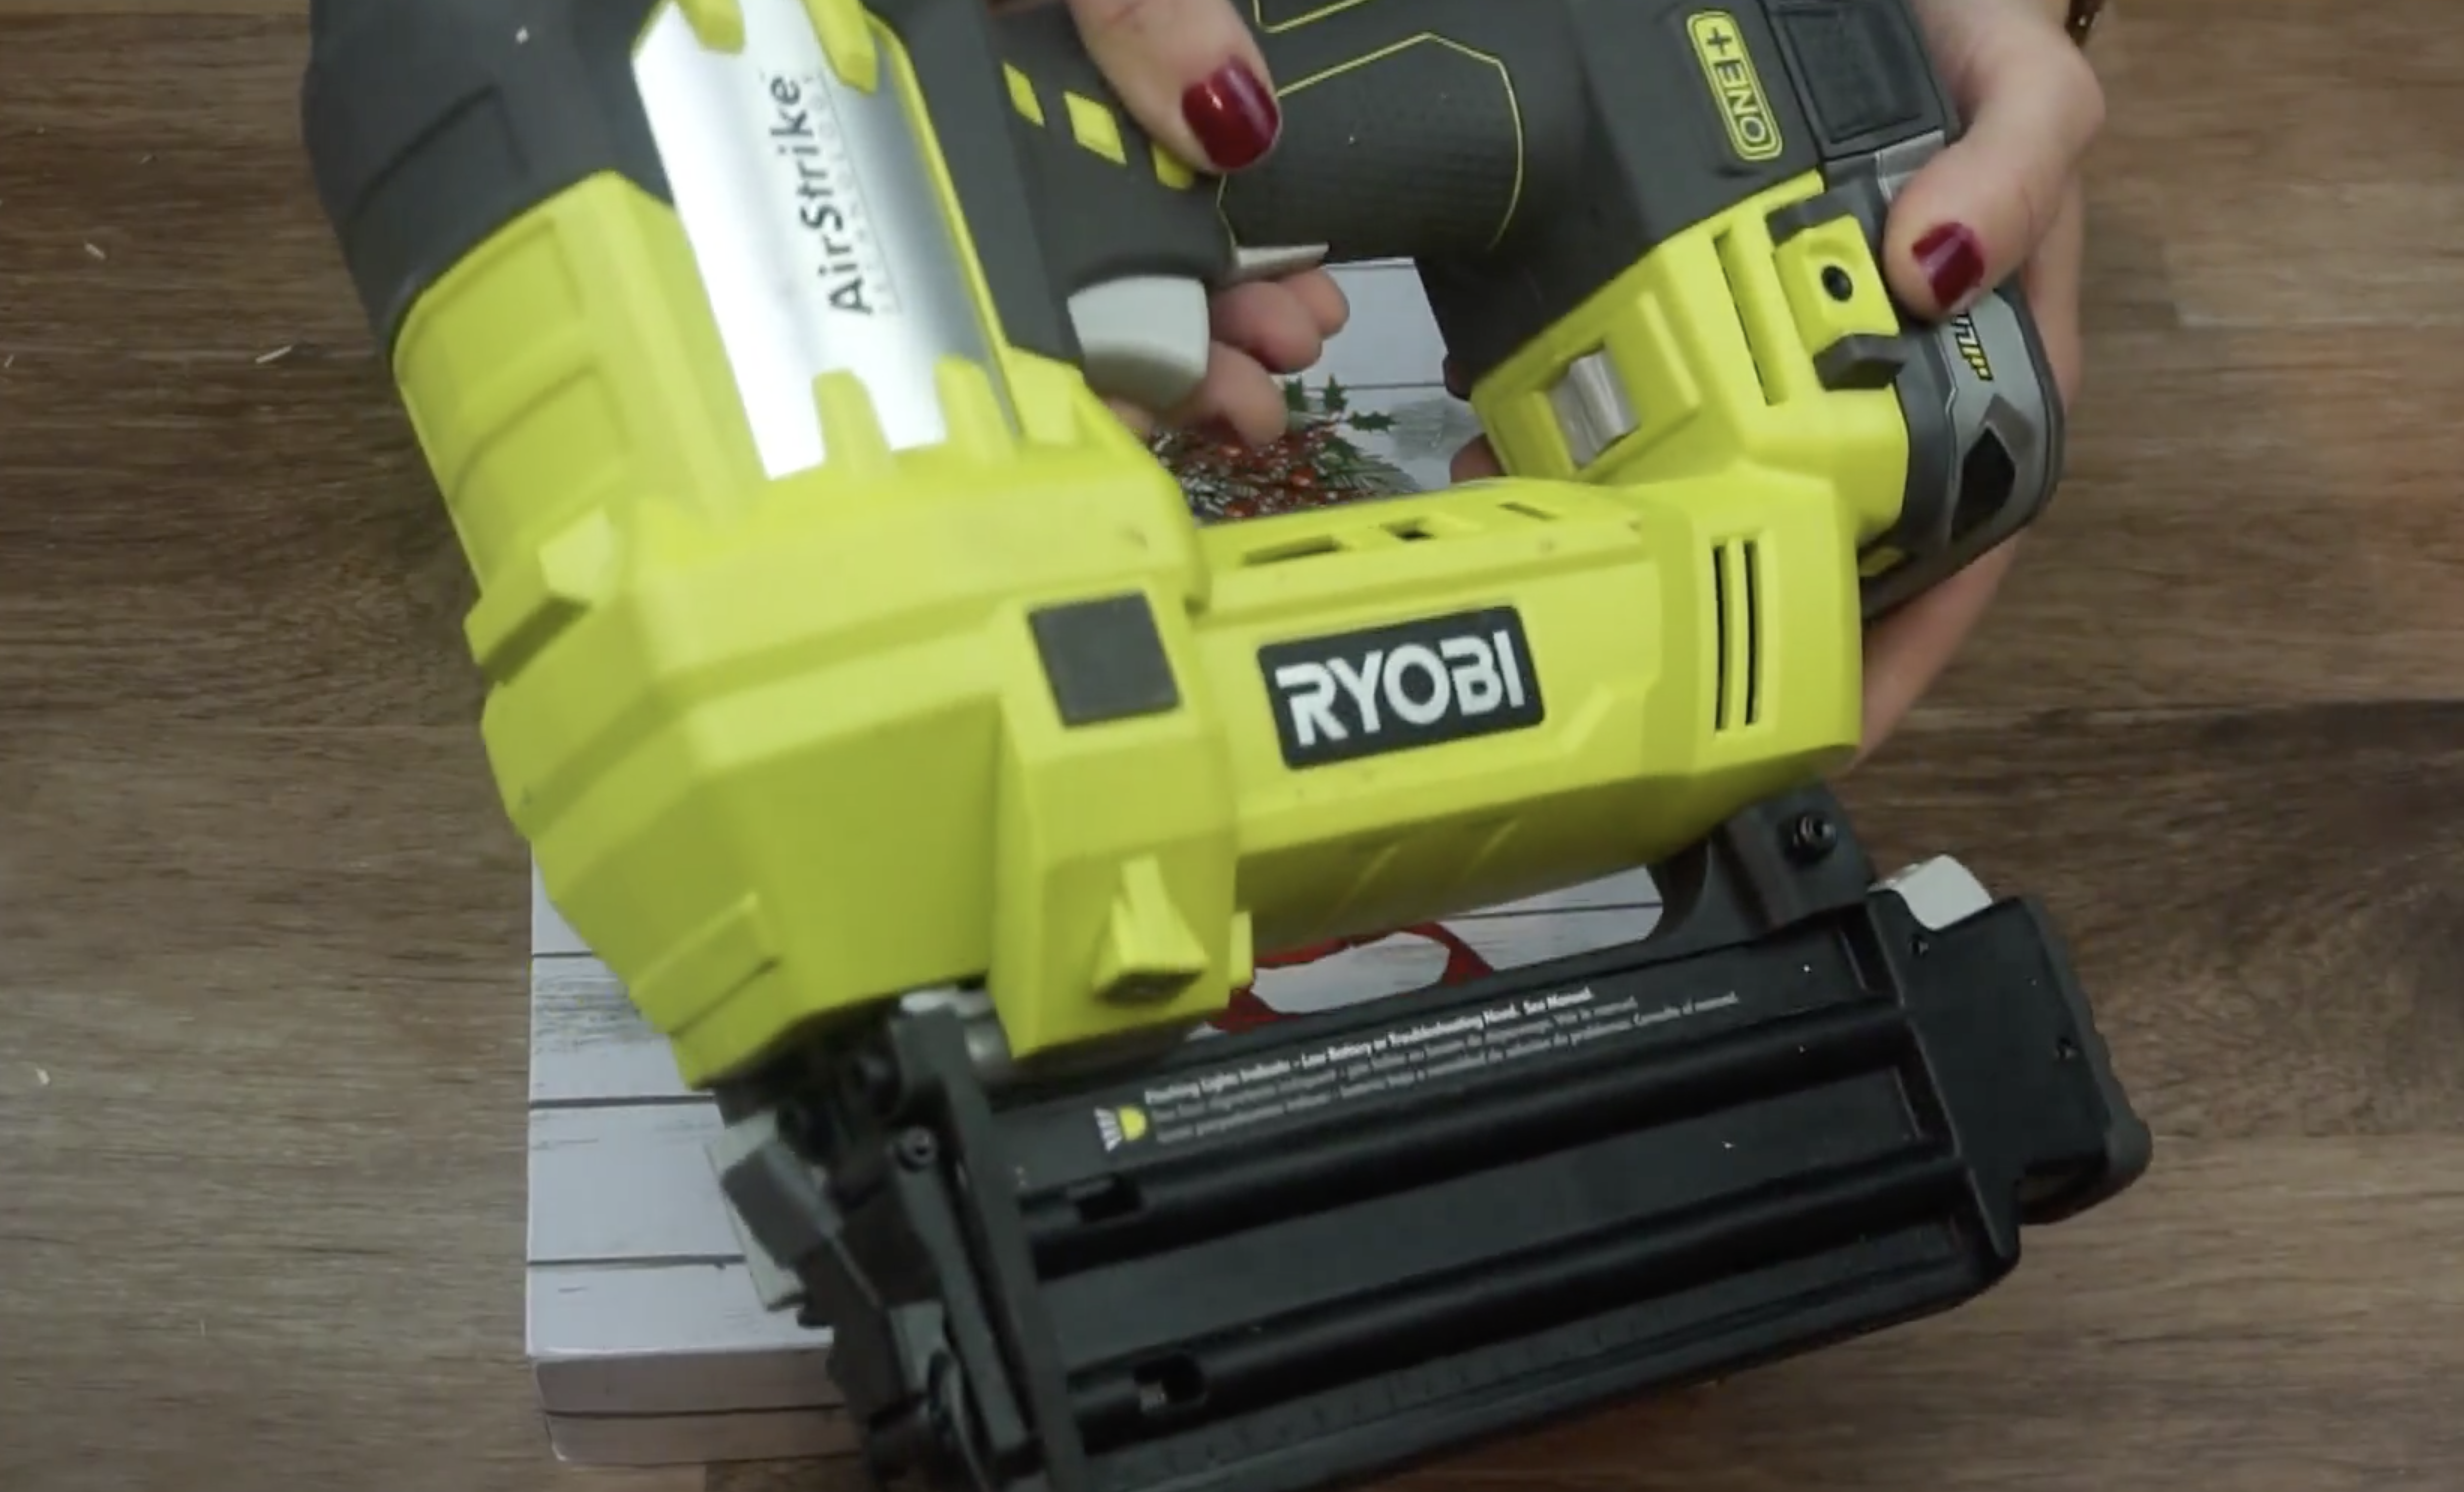


- Step 5
Using brad nails and an air nailer, attach the stag head ornament to the gift box sign right in the middle of the wreath. Optional – you can also use hot glue, but the brad nails would be a more secure option.

You don’t have to do the stag head/wreath combo. Head out to your closest dollar store and see what kind of creativity you can come up with. There are tons of different options for both gift boxes and ornaments.

If you recreate this project, please share your pictures with me! I would love to see them!
And don’t forget, if you like this project, make sure you pin it!


Leave a Reply